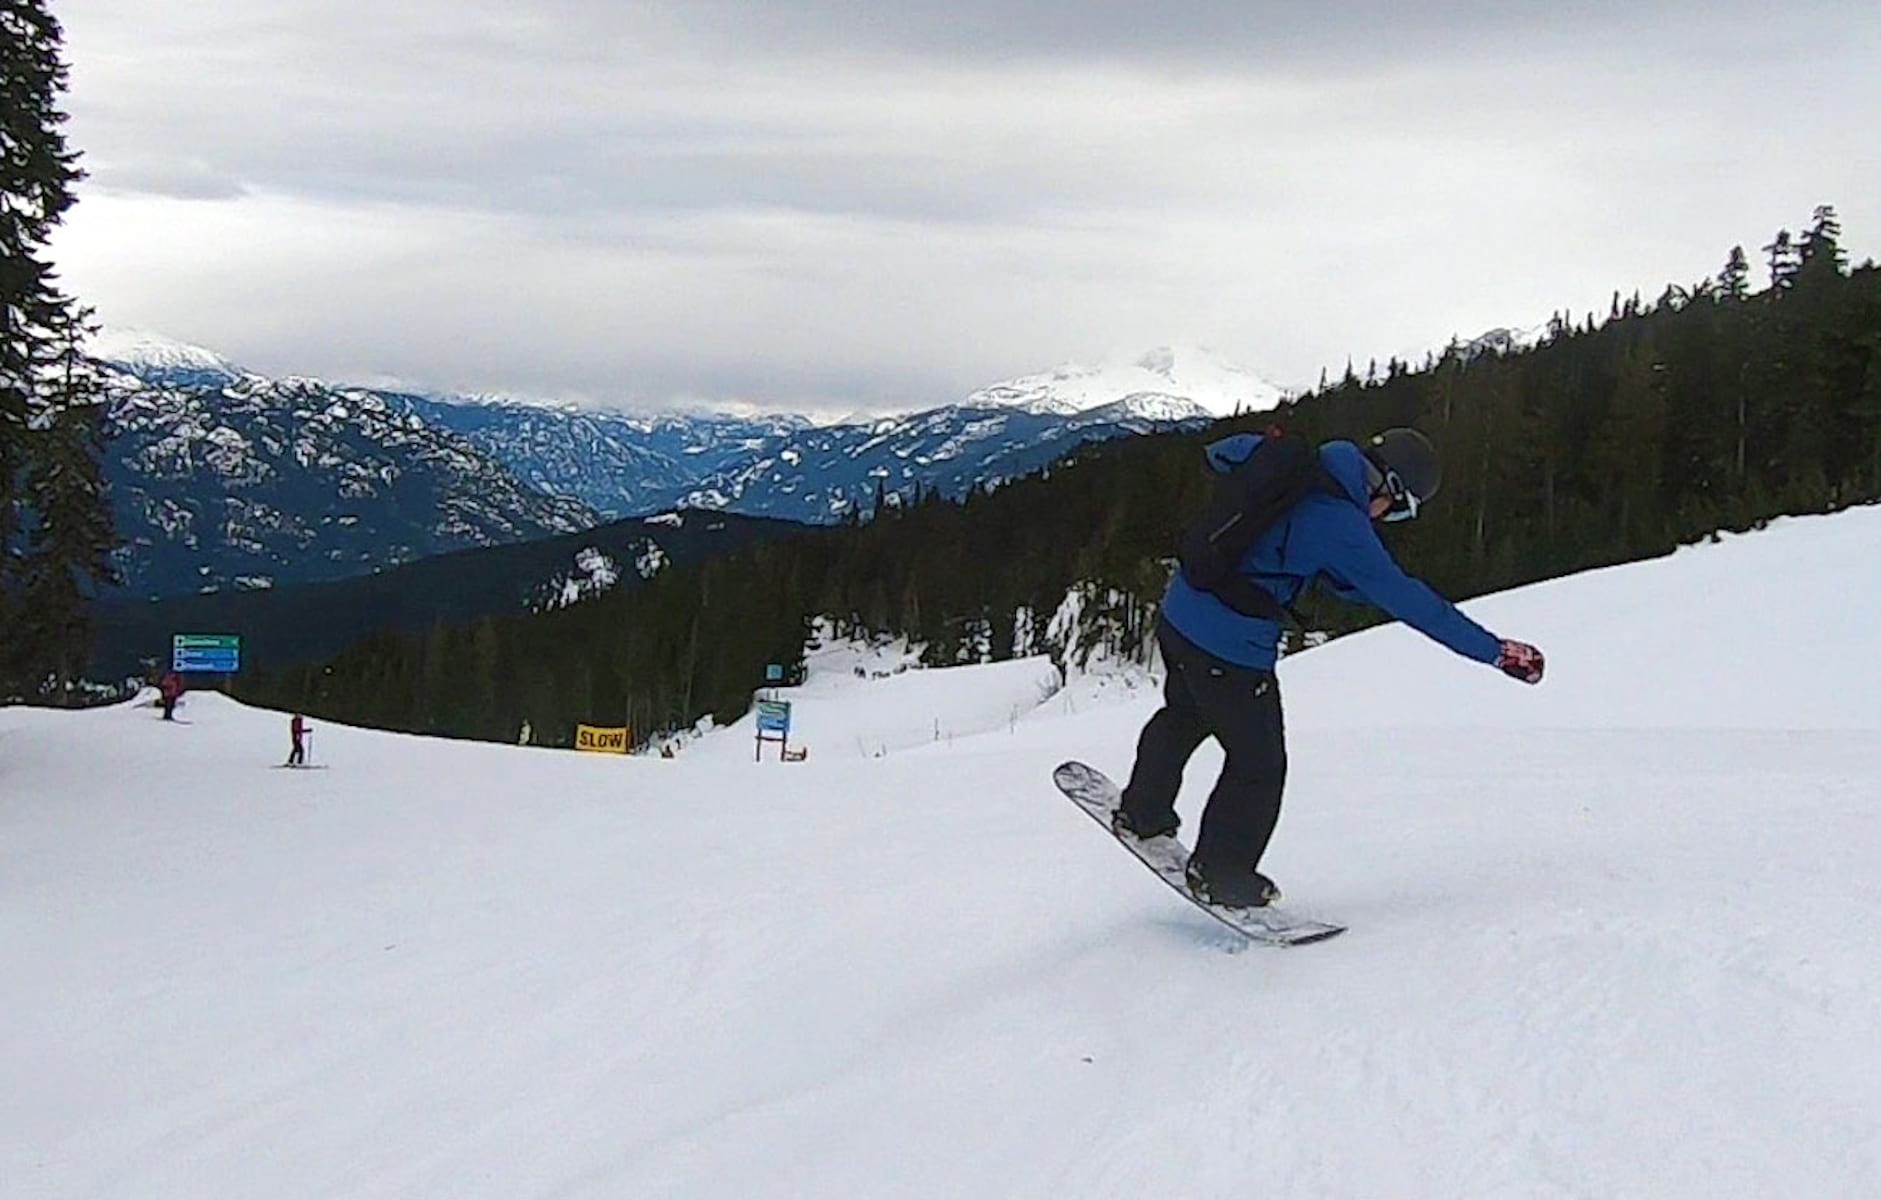
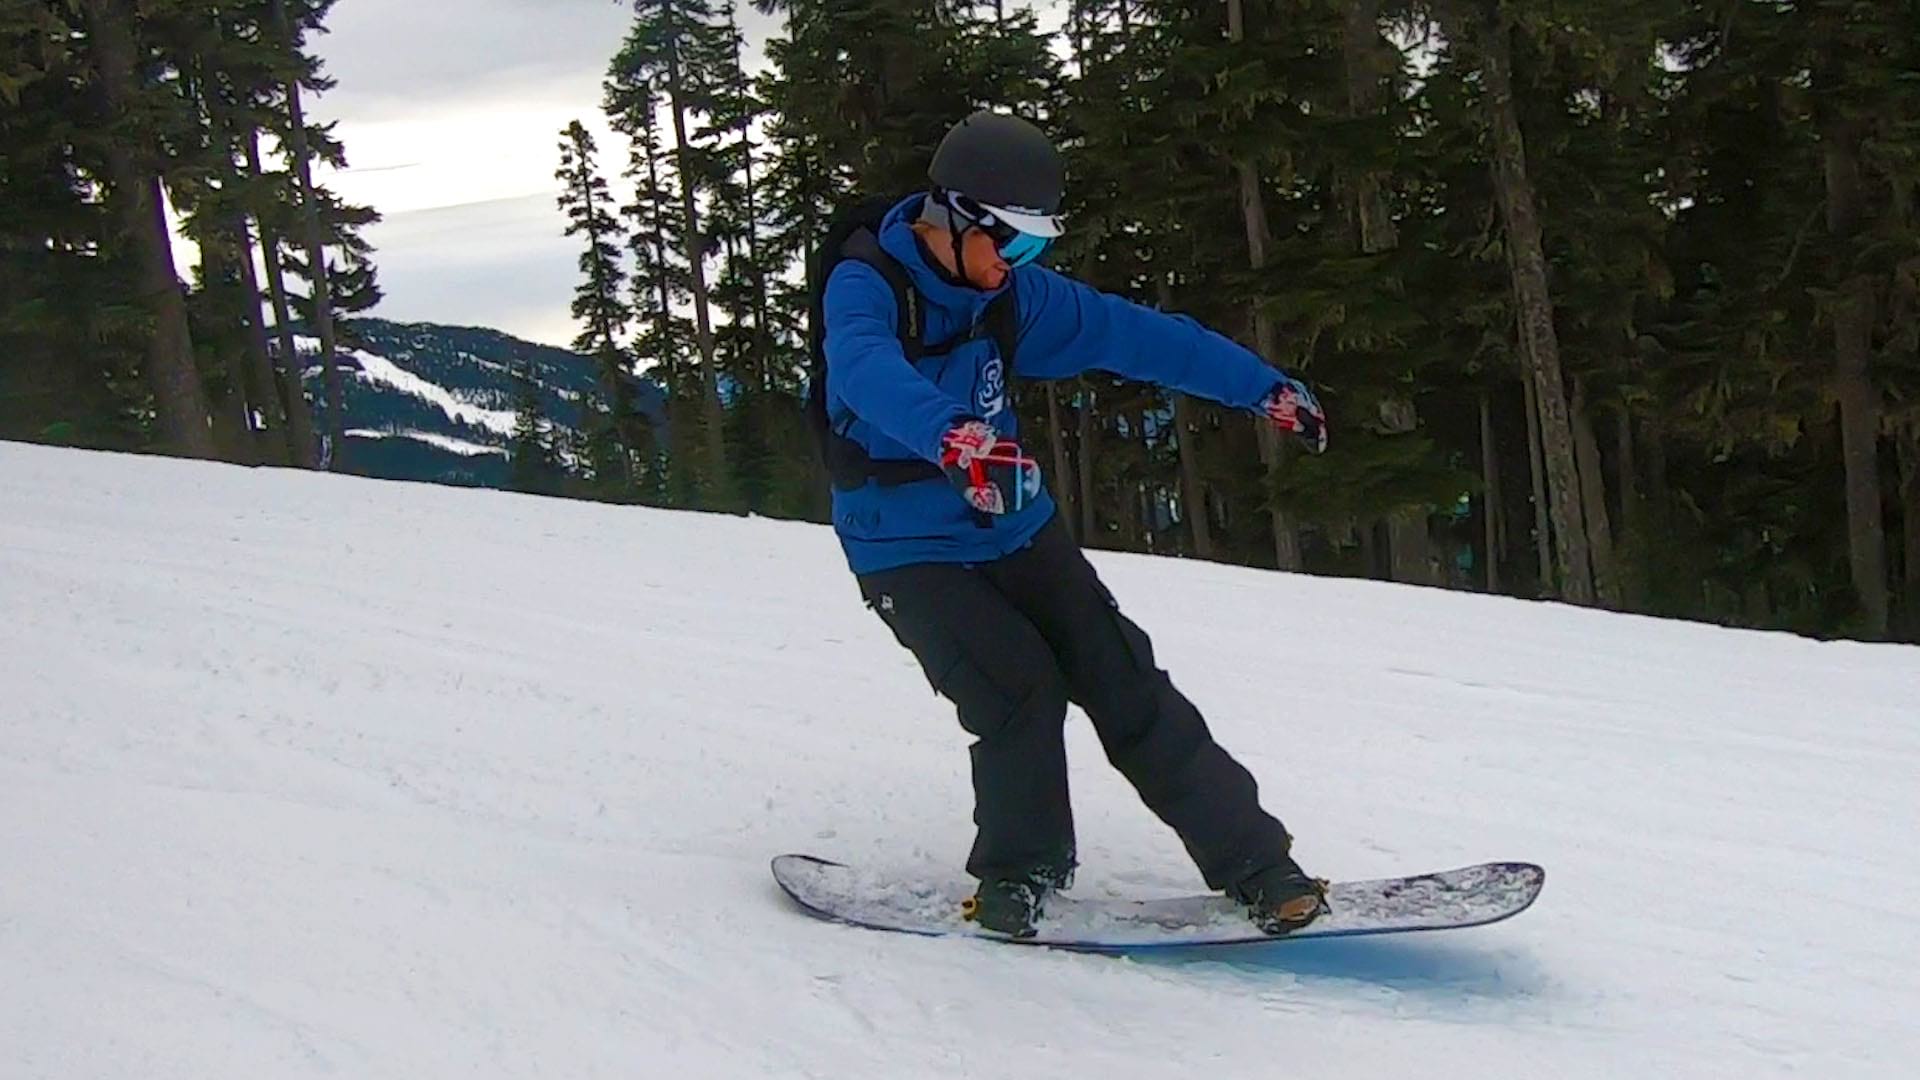
Butters (or ‘presses’) are a great way to have fun on the slope. They’re snowboard tricks performed on flat ground without the need of jumps or rail features. You can do them all around the mountain, and they allow you to bring more creativity into your snowboarding. Once you have mastered smooth linking turns, freeing you up to really explore the mountain, you are soon going to be looking to style things up a bit. For beginners, buttering is a great entry level trick to master and has the advantage of looking exceptionally cool. Of course, you have to master the basics first and like everything to do with riding snowboards it takes patience and time… and a firm backside to deal with the falls. Thankfully, it all starts at a super low speed so the price of failure of this trick is not that high.
What is a butter?
A butter is basically like pulling a wheelie on a bike but on a snowboard. You pull up on either leg to flex your board and lift that part of the board off the snow, leaving you to ride on the one contact point under the other foot. Once you have that basic principal nailed you can advance your butters to spins. Obviously having a board with plenty of flex helps but you can butter almost any board to a certain extent.
They require good balance and can be intimidating because chances are you are going fall on your backside a few times learning them. There are some steps you can take to minimize your chance of injury and fully focus on the butter. Here we will focus on the two introductory presses, but the same technique is used for more complex tricks.
Check out my video of tips here and then read on for some specifics.
Can’t see the video? Click here
1 – It’s All in the Hips
To initiate the butter the weight shift should come entirely from the hips, moving them over the tail or nose. If it’s shifted far enough the board will lift off the ground and only a small portion of the board is still in contact with the snow.
2 – Shoulders Back
Alignment is really important here, shoulders should be pointed in the same direction as the snowboard. Turning the shoulders will turn the snowboard, usually towards the heel edge. We don’t want to do this just yet so shoulders, hips and feet should all be be pointing in the same direction.
3 – Stand Up Straight
Bending the back reduces the ability to correct changes in balance as you perform the butter. A straight back gives equal movement in all directions and gives you a more stable centre of balance.
4 – Practice Butters Stationary First
By practicing stationary you can focus on correct body position. Find a flat spot on the slope, not ‘kinda flat’ but completely flat – the top and bottom of chairlifts are great if you don’t mind people watching. To check, place your board base down on the snow and it shouldn’t move. Occasionally while practicing you may start moving due to the type of butter. If it’s constantly in the same direction chances are there’s a small slope, consider finding a new spot.

5 – Go Slow
The beginner area of the mountain is the perfect place to practice butters. Find a very gentle constant slope at least 10-15m long. For nose and tail butters your board needs to be pointing down the slope, which means you can pick up speed fast. If you feel after 3 seconds you’re picking up too much speed find a more mellow slope.
6 – Aim Board Down the Fall Line Not Run Direction
The “fall line” is the direction of the slope, and not always the same as the run direction. Same idea as “off camber” sections in mountain biking; It’s the direction a ball would roll if you dropped it on the ground. Butters are possible in these off camber sections but the direction of travel must be down the fall line. Study the slope beforehand and be aware the fall line can change quite significantly as you ride down the slope.
7 – Soft Conditions
There’s nothing worse than catching an edge and flipping onto ice. Nice soft snow will reduce risk of an injury and as a consequence it’s easier to focus on the butter. One of the main things you want to do while learning is reduce the consequences of falling. The less you are thinking about the fall the more attention you can give the butter.
8 – Get Some Protection
It’s guaranteed you’re going to fall at some point, especially to the side of the hips and back (as you can see in my video). Usually inconsequential they can add up over the day and be a great excuse to jump in the hot tub and soak the bones. A piece of equipment I love and one that sometimes gets overlooked are Impact Shorts (butt pads). They take the sting out of falls and have saved me many a time, especially when you get to the age where you don’t bounce back up so quickly (don’t forget to leave your ego at the door for this one).
9 – Hop Into Butters
Once you start feeling comfortable doing nose and tail butters you can add some style by hopping in and out. This is great practice for presses on rails/ boxes as the motion is the same. Visualizing a box on the snow for 2-3 meters is a great segue to taking these tricks into the terrain park. For nose presses, first shift your weight to your back foot and lift the nose of the board slightly off the ground, press off the back foot and then shift your hips forward over the nose of the board and straight into the nose butter.
10 – Get Someone to Record you
We all unknowingly do something weird with our bodies when snowboarding: twisting when we shouldn’t, bending the back too much, throwing your hands all over the place to keep your balance. While we are learning this is going to happen, but recognising and fixing flaws will increase your control and make you a better rider. The better the video quality the easier to notice any issues. If a friend is videoing consider having them stationary to film.
BONUS TIP – Watch for Others, Wait Until The Run is Quiet
Practicing on the easier runs probably means more beginners around. Always be aware of who’s around you, uphill and down. If there are too many people wait on the side of the run for it to get quiet or find another location.


