Home › Forums › Chat Forum › Pump track build
- This topic has 9 replies, 7 voices, and was last updated 7 years ago by kenneththecurtain.
-
Pump track build
-
kenneththecurtainFree MemberPosted 7 years ago
A couple of weeks ago I was riding a pump track and thought ‘this is awesome, I should make one.’
It so happens there was some spare earth going from when our neighbour dug up a field drain a few weeks before that.
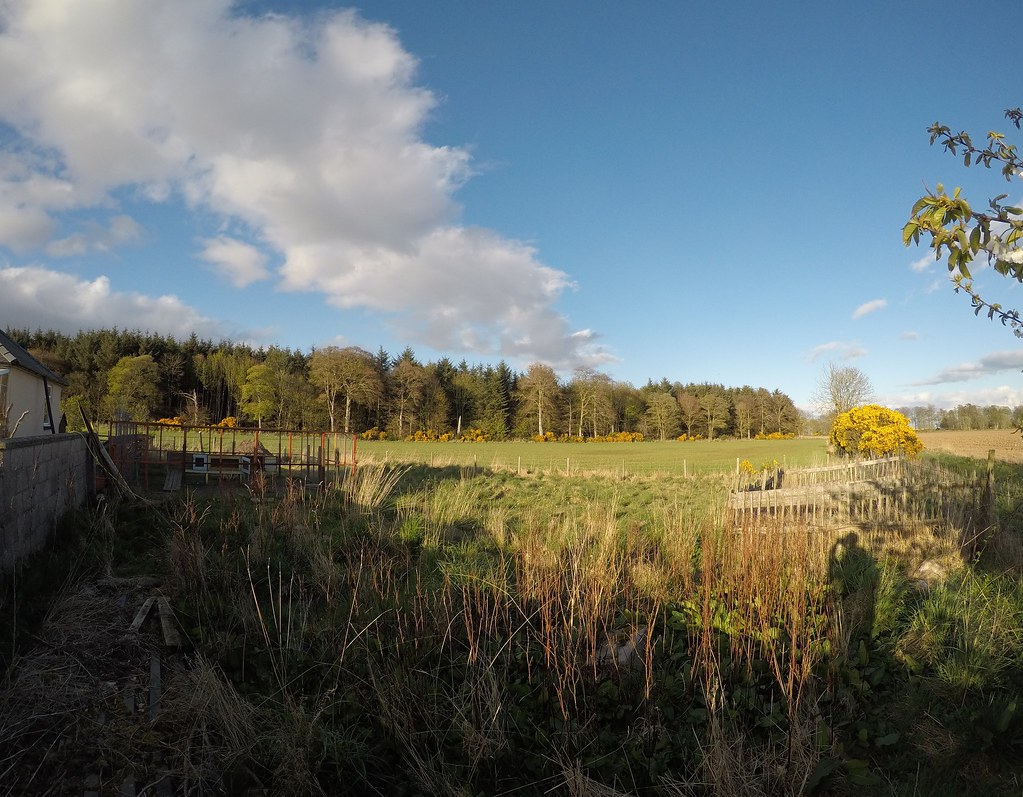
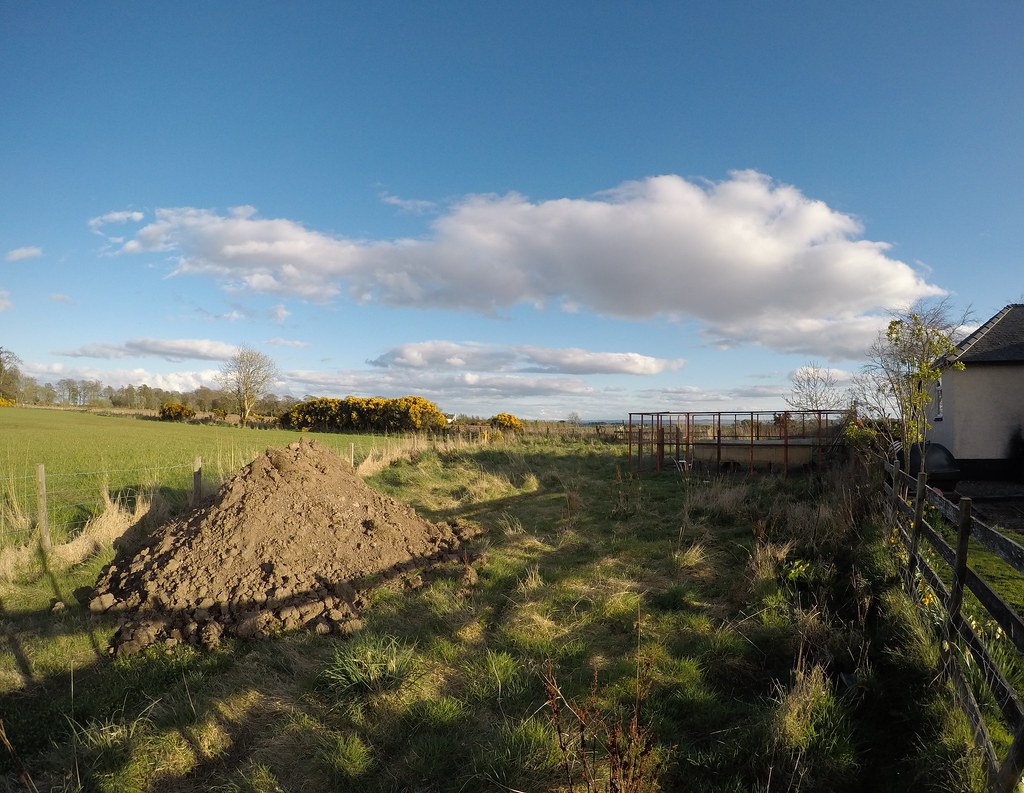
There’s also a patch of waste ground between our house and the adjacent field. Well, our ducks live there, but other than that it’s got nothing in it. Not sure on overall dimensions of the space but I reckon it’s big enough for a sizeable pump track.
A plan was born.
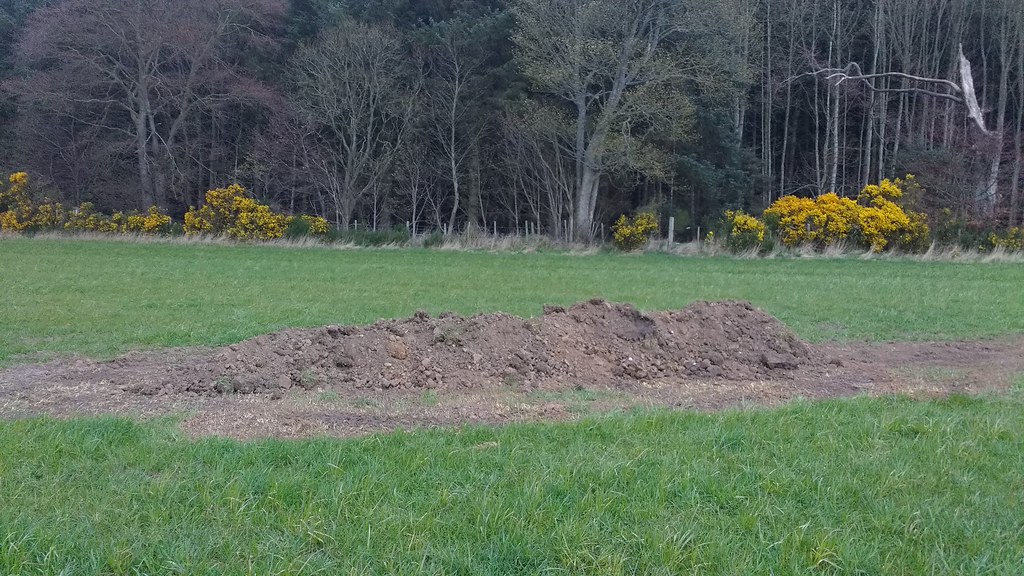
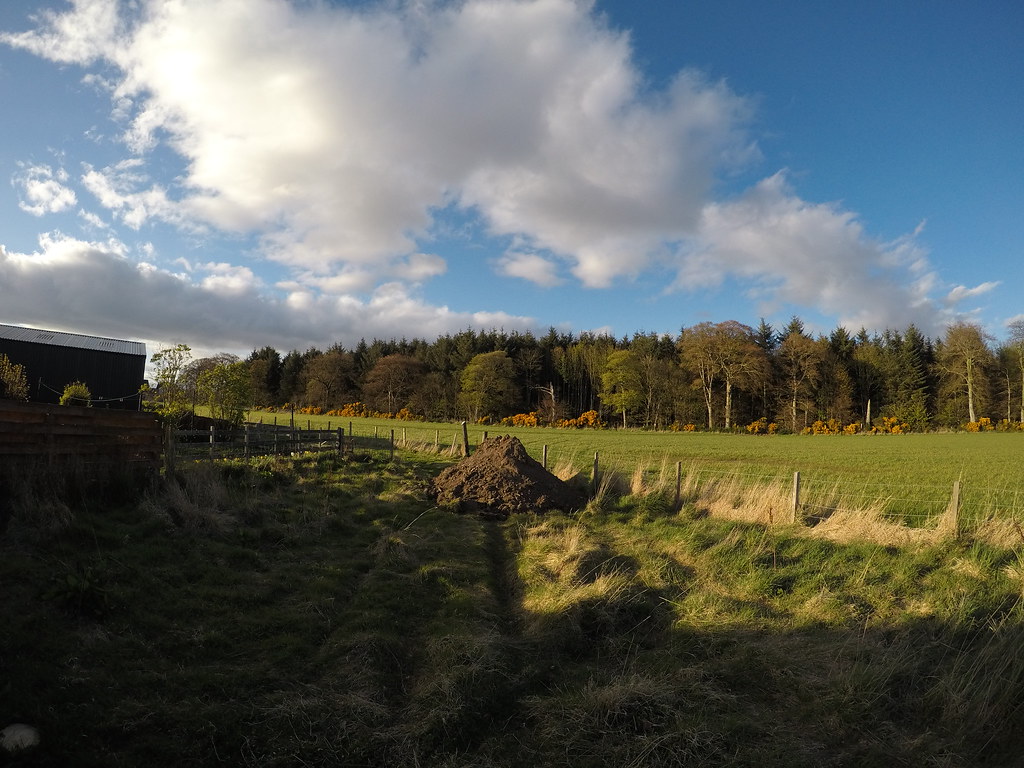
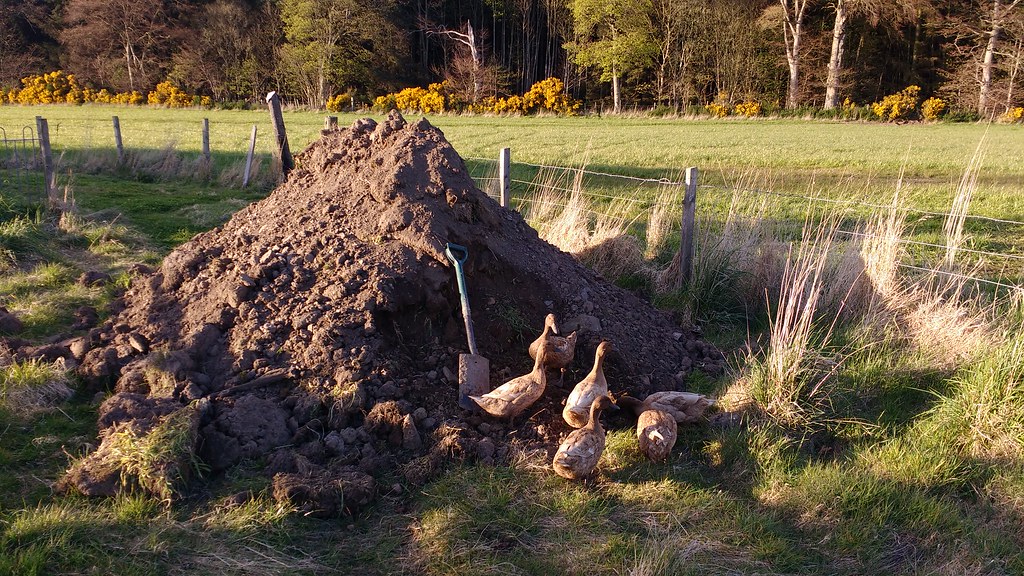
Our neighbour swung by with his Manitou (loader, not back to front mountain bike forks) yesterday and dropped the earth off, so I nipped out for a bit tonight to scope some lines and test the soil.
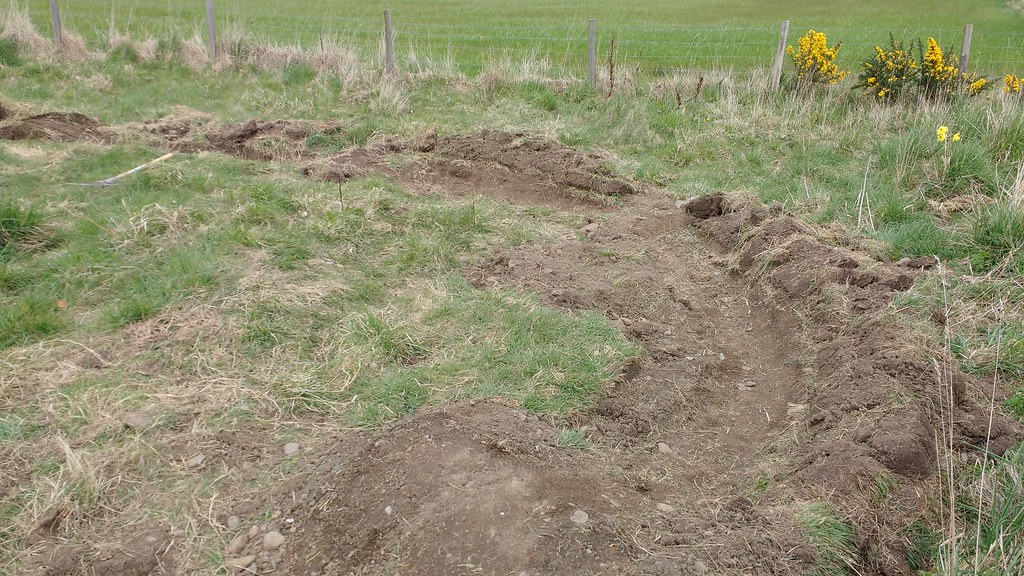
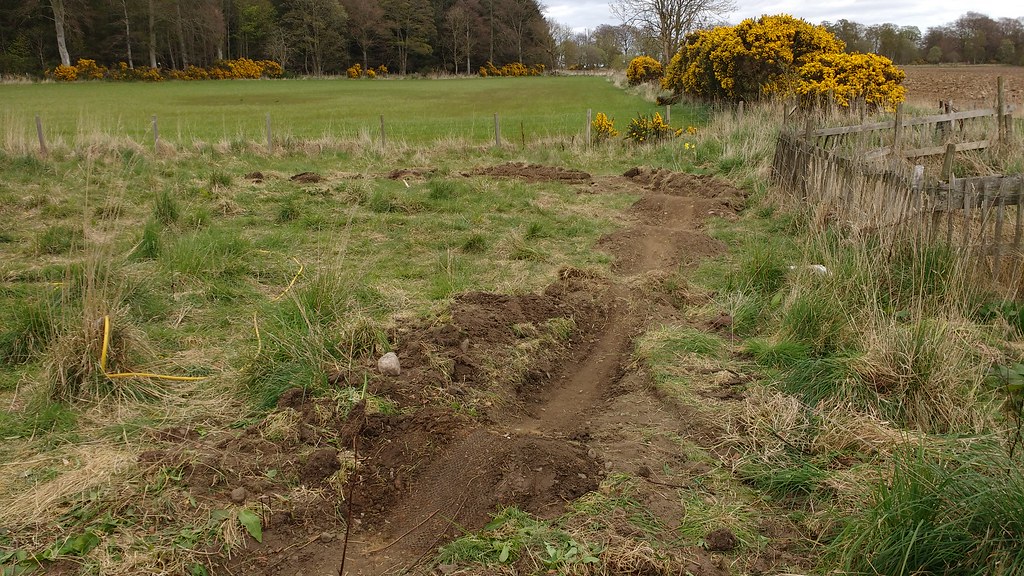
From the ‘big pile ‘o soil’ end:
I’ve done some trail building before, but not a pump track, so there will likely be a fair bit of trial and error to get it right. I’m going to start with a basic loop down at the far end and see how it goes.
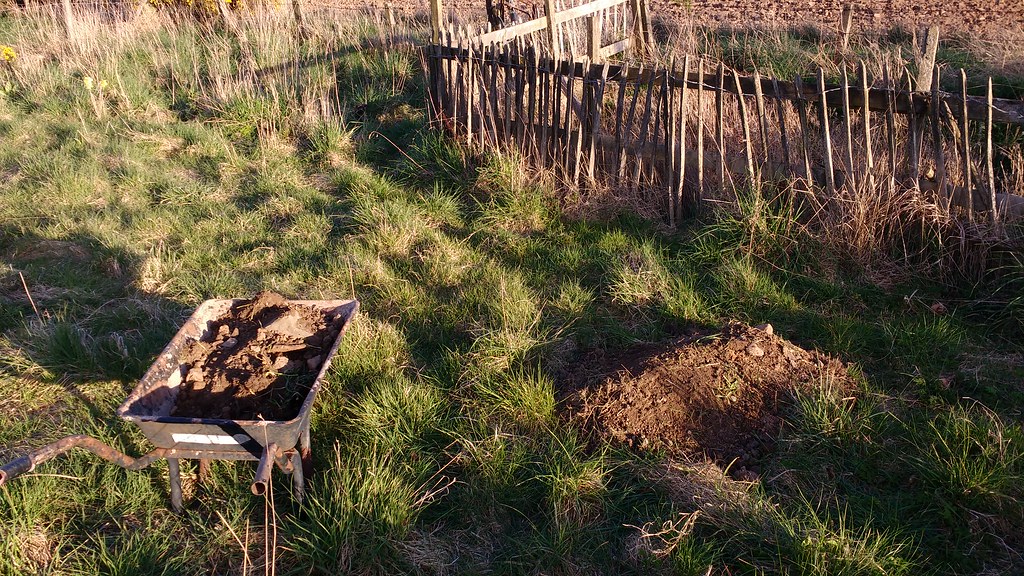
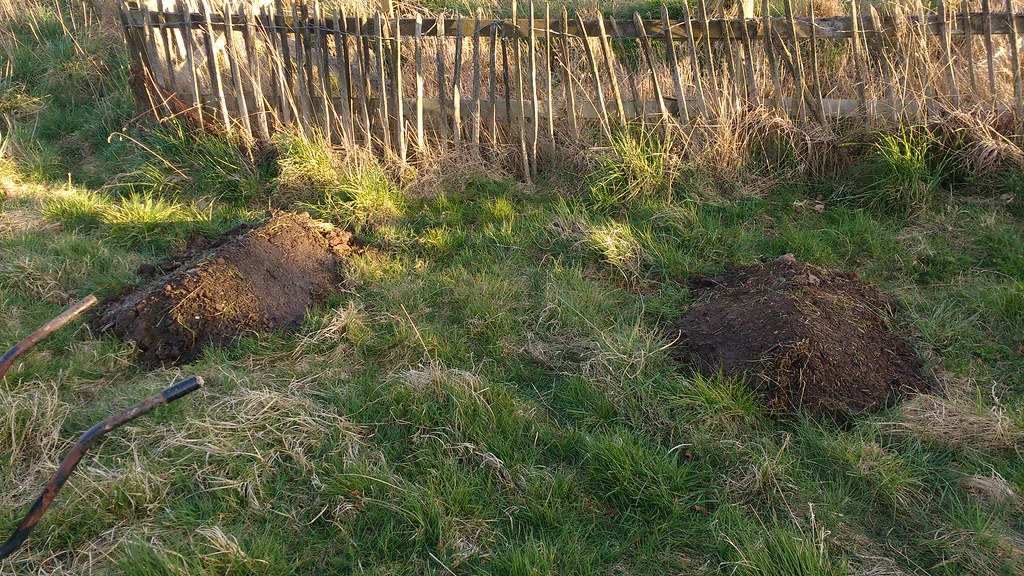
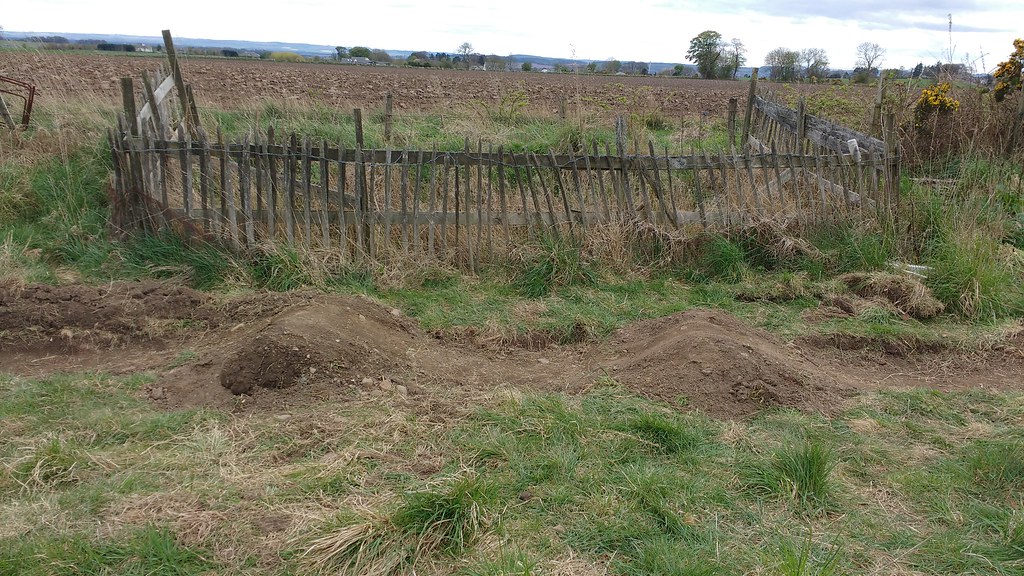
Tonight I built a couple of test bumps and gave them a good hosing and packing down. I’ll take the bike out tomorrow and see how they are for size/spacing/shape etc and modify my technique as required! The soil is fairly loamy for the top 8-10 inches, below that in some areas there’s a band of clay, so somewhere in that pile there should be some clay for precision lip sculpting.
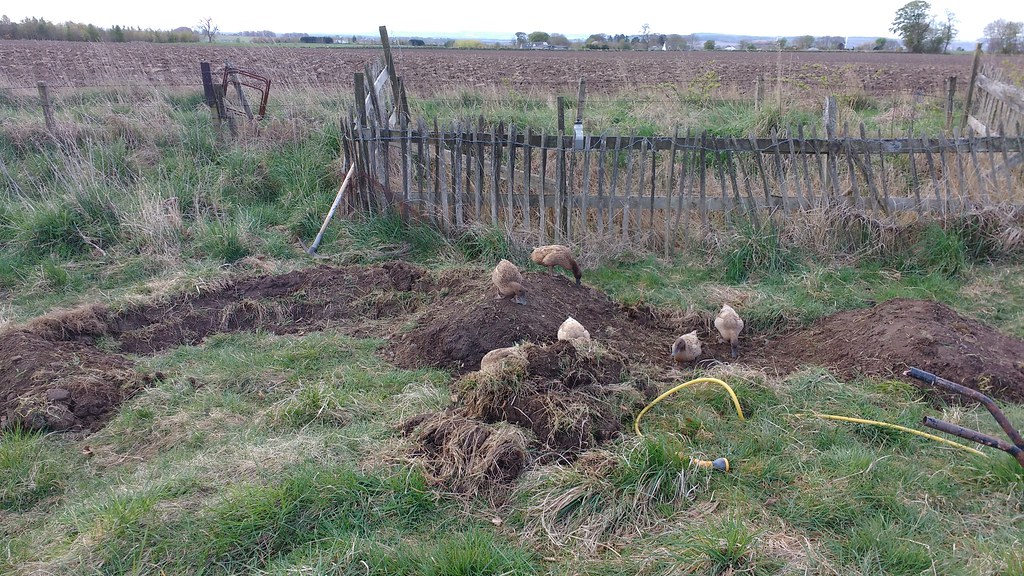
The residents offered to help. Unfortunately by ‘helping’ they meant ‘eating worms and getting in the way’. I’ll forgive them ‘cos their eggs are well tasty.
I’ll keep this thread updated with any progress – love a build thread.
alpineharryFree MemberPosted 7 years agoIt’ll be a lot more work but i’d recommend taking the top layer of soil off of whereever your track is going to be and digging down if you can. Will work out much better and berms will last longer in the long run. Good luck though
WillHFull MemberPosted 7 years ago+1 for the pump track nation book, it has plans for various size tracks, discusses spacing between germs, rollers etc. Could save you a lot of digging if you’re doing it by trial and error!
kenneththecurtainFree MemberPosted 7 years agoDon’t worry, there’ll be plenty digging down too. The turf that comes out is ace for building up berms so it’d be rude not to.
Cheers for the book recommendation. I’ll be honest though, part (or most) of the appeal to me with this sort of thing is the trial and error process – appreciate it’s not the most efficient method of actually getting stuff done, but it’s just how my brain works.
I’ve put more important (read: more boring) stuff on hold this morning to do some digging.
EuroFree MemberPosted 7 years agoFond of a build thread myself 😀
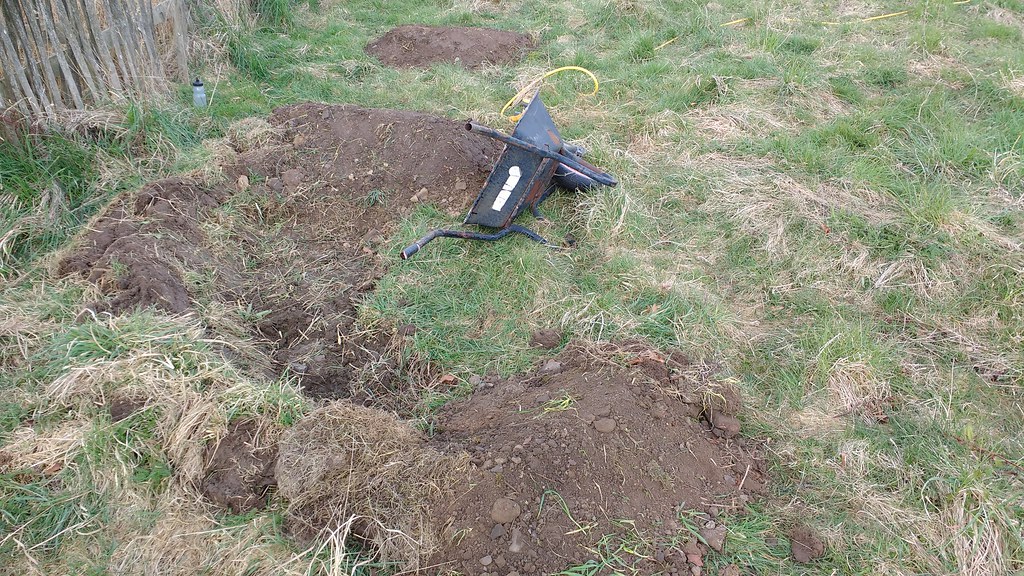
Trial and error is a great way to learn, however the berm in the bottom pic looks too close to the last roller and looks a little tight – unless your barrow is huge or your riding a 16″ wheeler.
If i may suggest something? Dig out your track shape (without rollers and berms) and ride it first. It’ll give you a feel for what’s working and what needs altered. Make any changes then start on the berms/rollers. Every time you build a feature – ride it to see if it works, then on to the next bit. It’s very easy to mark something out that looks perfect when you digging as you’re up close but shrinks dramatically when you ride it with a bit of speed.
Keep up the good work. Not enough proper building threads on here – it’s all **** bikes and sheds 😆
kenneththecurtainFree MemberPosted 7 years agoYou were spot on about the berm euro, soon as I rode a bike at it it dawned on me! Far too tight. Opened it up a bit now.
My namby-pamby office worker hands have had enough of digging for now, but I’ve got to a stage where what’s there is ridable. I reckon I’m 50% there to having a rideable loop.
The two rollers closest to the berm are pretty sweet, the others aren’t quite there yet. I think I’m getting a feel for the shape they need to be, so sorting it out shouldn’t be a problem.
There’s a bit of a slope to the run, from right to left as shown in this vid. It’s harder going the ‘up’ way, but it’s rideable in both directions. Pretty happy with it so far!
I’ve borrowed the mrs’ teeny tiny rigid hardtail for test riding – not sure my size extra lanky full sus would be the best tool for the job. I’ll give it a wee spin tomorrow but I think it’ll be too long and too bouncy. If the track ends up being half decent I might pick up a cheap second hand bmx or jump bike.
Edit: embedded video doesn’t seem to work – I dumped a youtube address into video tags, wrong approach?
kenneththecurtainFree MemberPosted 7 years agoI was abroad for a couple of weeks so nothing more got done on the pumptrack build.
Apparently it didn’t rain the whole time I was away, so naturally come the day I’d planned some digging with a few extra pairs of hands we got a day of solid rain…
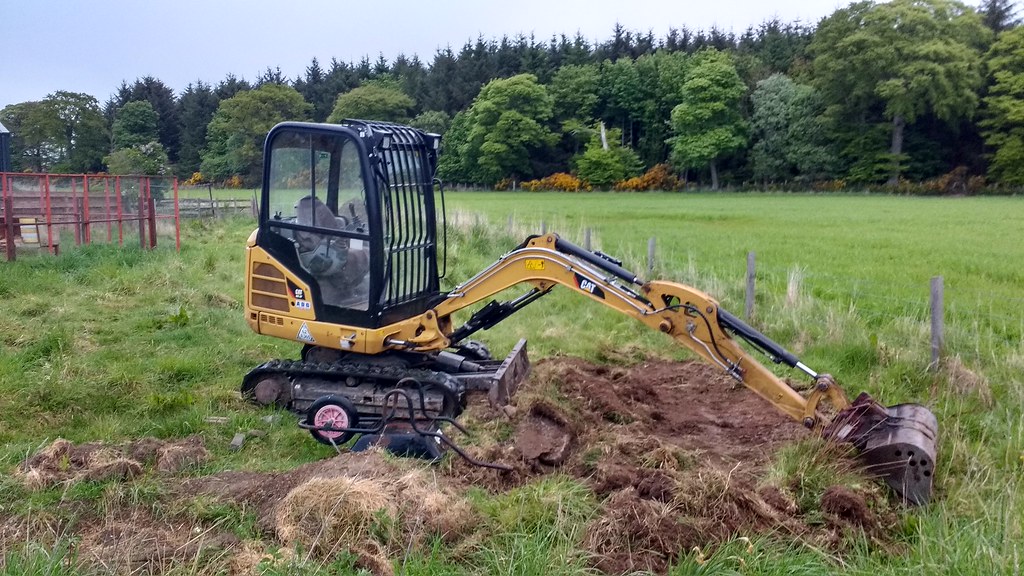
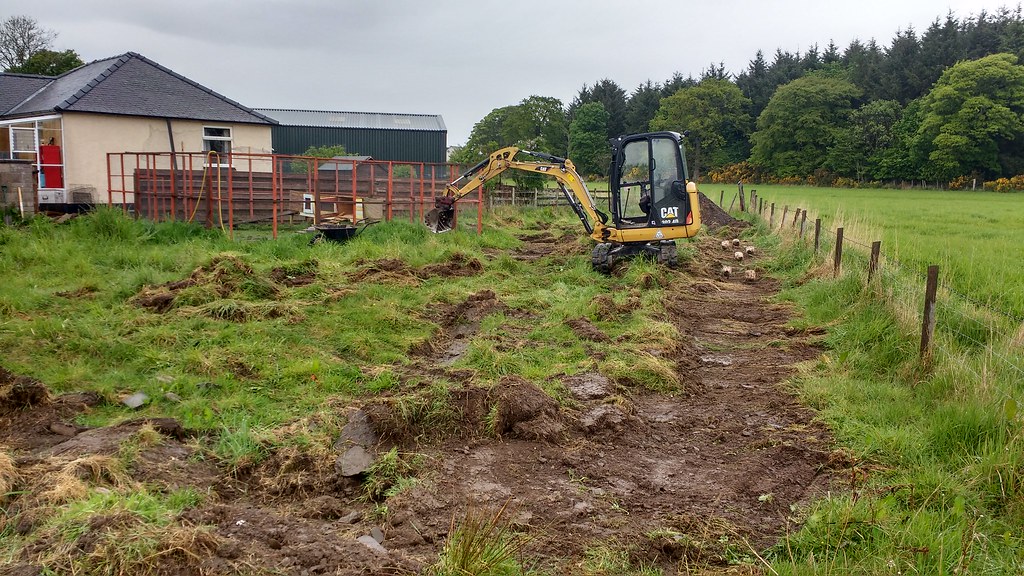
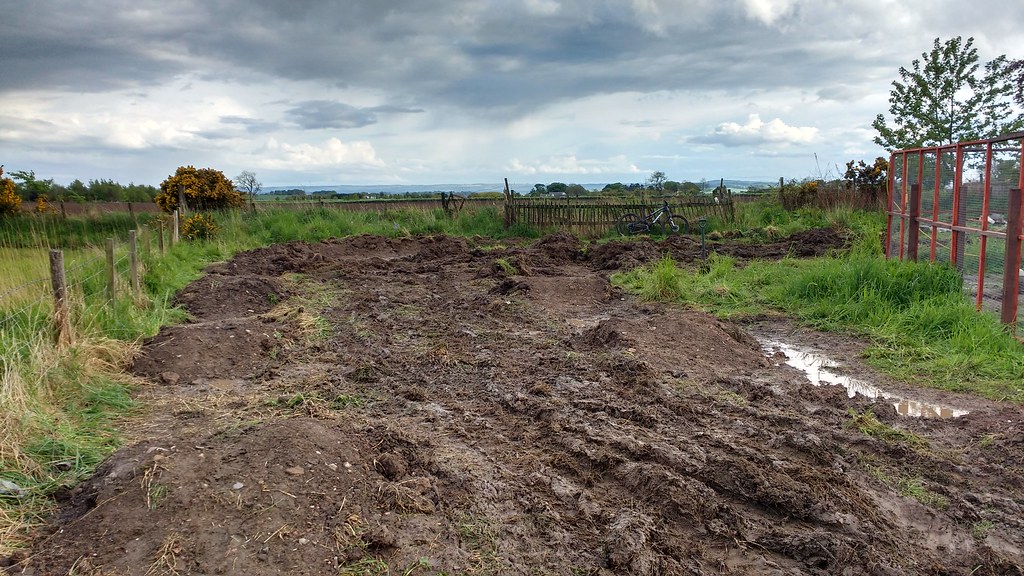
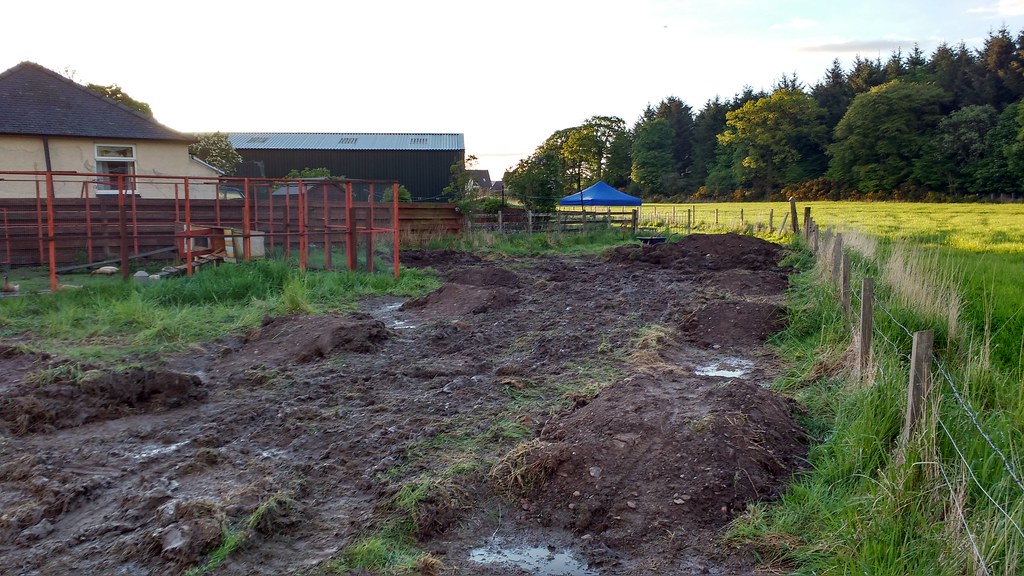
On the plus side, I got a lend of a mini digger so much banter was had. This thing was the business for scraping back the topsoil – it would have taken all day to do by hand what this did in half an hour.
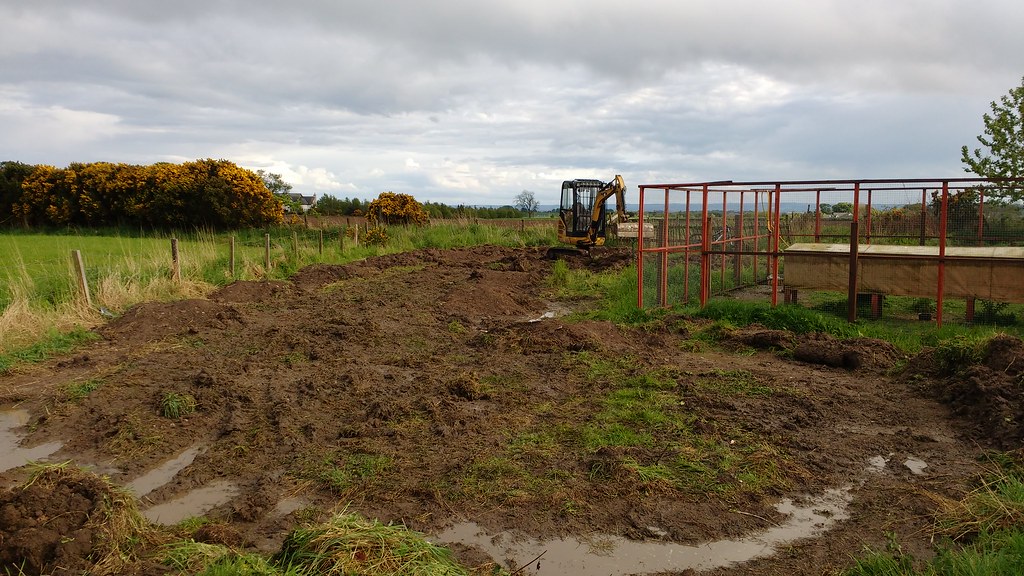
It’s also AWESOME for making a massive mudbath!
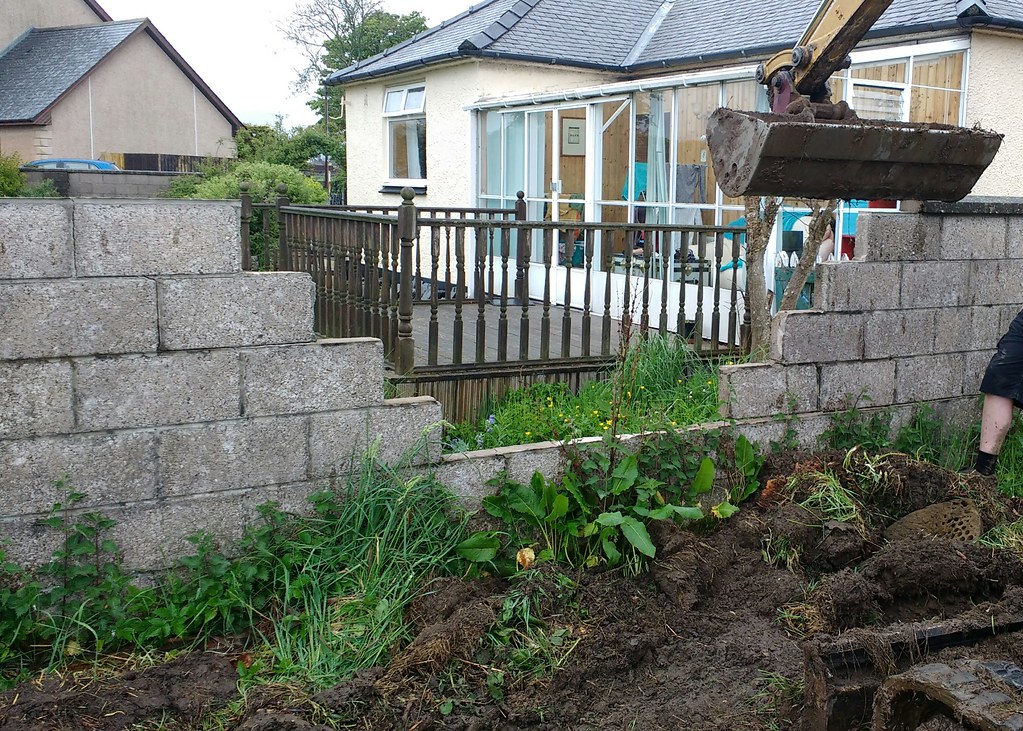
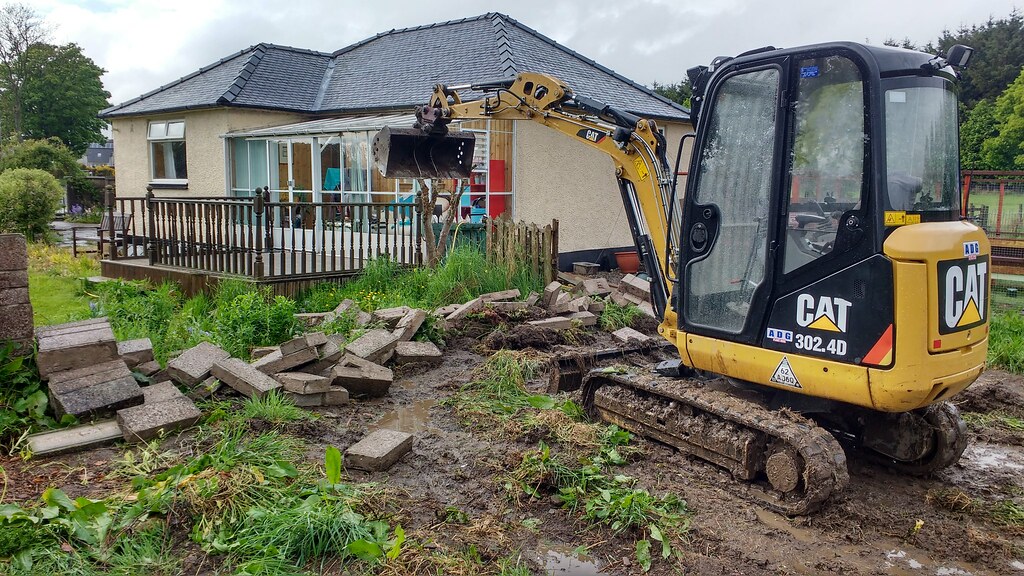
The bulldozer-esque bit on the front is the bomb for pushing berms into place as well. Just make sure you lift the bucket out of the way if there are any walls nearby.
Oh well, I didn’t like it anyway…
The excessive clagginess meant the track was unrideable, so we were only able to roughly put features in place – all the test riding and detail will need to be done on a drier day. The main thing is all the topsoil is scraped back on the planned lines, which was the worst bit doing it by hand.
Yea, we made a mess. Top day!
The topic ‘Pump track build’ is closed to new replies.

