Home › Forums › Bike Forum › Lumicycle Halogen to LED conversion with piccies and a step by step guide.
- This topic has 372 replies, 66 voices, and was last updated 13 years ago by RustyMac.
-
Lumicycle Halogen to LED conversion with piccies and a step by step guide.
-
0303062650Free MemberPosted 14 years ago
Hi there, please forgive me if this has been asked/answered already.
My battery pack is 3.7v @ 7.5Ah, would this be a suitable power source?
0303062650Free MemberPosted 14 years agosilly technology and browser not refreshing, despite trying …
stumpy01Full MemberPosted 14 years agoerm…..I am far from knowledgeable about these kind of things, but I think you need nearer 13-14v for the Black Cat drivers most people are using for this conversion……
You can get drivers that ‘boost’ the battery voltage from places like Cutter though, I think that’ll probably work.
0303062650Free MemberPosted 14 years agoHummm … time to have a butchers at the boost drivers then. thanks stumpy (it seems about right from memory)
BlackCatTechFree MemberPosted 14 years agojontawn – there are a number of types of LED drivers, mine need an input voltage higher than the output (known as ‘buck’ drivers). To step up from 3.7V to run three LEDs you need a boost driver. Be aware that this is quite a large step up – driving three LEDs at 1A your driver will be drawing about 3A from the battery. I’ve been looking at boost drivers and ones able to handle this power aren’t common.
I’ve been prompted to post details of the heatsink I need on here – I’ve uploaded a screen grab of the sketch I did:
If anyone knows of a machinist who could do a batch of these at a reasonable price, please let me know!
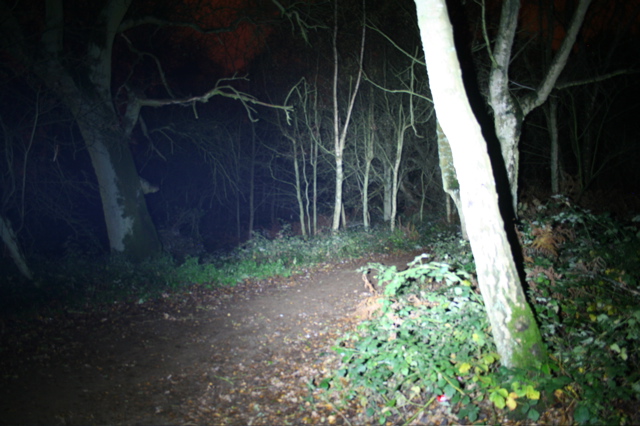
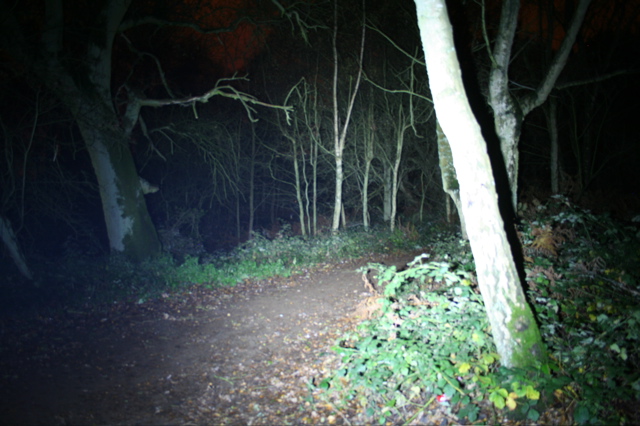
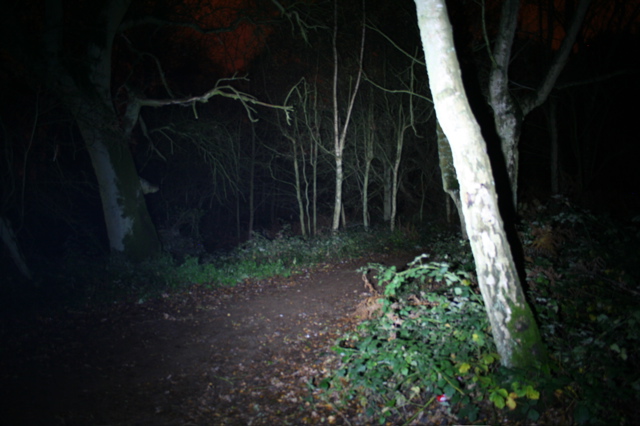
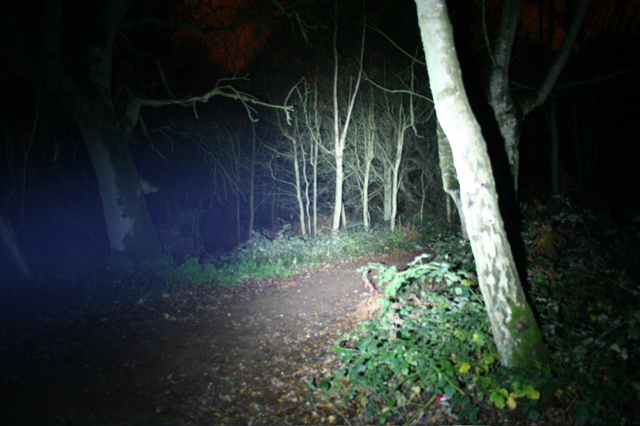
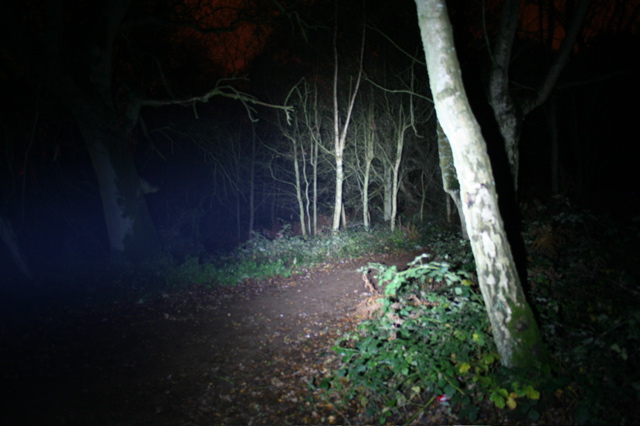
pdwFree MemberPosted 14 years agoI finally got the parts from Cutter to complete the conversion of my two old Lumi halogens, and get some beam shots together for a comparison with my Lumi LED3.
LED3 (wide angle) on full power:
Converted triple XPG, medium optic, 670mA driver full power:
Converted triple XPG, medium optic, 670mA driver “half” power using 150k pull-down resistor:
Converted triple XPG, spot optic, 670mA driver full power:
Converted triple XPG, spot optic, 670mA driver “half” power using 200k pull-down resistor:
As you can see, there’s nothing to choose between the LED3 and the wider angle converted XPG.
Both converted lights have a 3-way switch for off/full power/half power. Although a 200k resistor on Black Cat’s driver should give half power, it felt brighter than this, so I switched to using a 150k resistor on the second light which dims it more convincingly.
plugp7Free MemberPosted 14 years agoJust a couple of questions in general about heat transfer on LED light.
Is it better to solder heat sinks to the casing of the light rather than use Arctic paste or similar? ie. is solder a better conductor of heat?
I read somewhere that a painted surface would radiate heat better than an unpainted surface. Talking about aluminium body here. If so, what type of paint?
BlackCatTechFree MemberPosted 14 years agoSolder probably is a better conductor of heat but you’ll need a pretty big iron to manage that as you’ve got a big lump of metal to heat up before the solder will ‘wet’. Also you couldn’t do it with the LEDs attached to the heatsink as you’d burn them.
Not sure about painted vs unpainted, I know that the solder resist on PCBs does slightly inhibit heat transfer so I’d assume the same applies to paint unless it is some special paint.
RustyMacFree MemberPosted 14 years ago@ plugp7
painted v unpainted more relates to radiators, you can not solder to a painted surface.
You will not be able to solder the heatsink to the case of the light without running the risk of the light deforming ,you would need that much heat. Good artic paste has really good transfer properties, you should be fine with that.
What heatsink are you using in your build. Trout has designed a updated heatsink assembly that can be found in the following tread
http://www.singletrackworld.com/forum/topic/lumicycle-halogen-led-kit-vote
another option is to do as some people have and put a heatsink for a rc car motor size 540 onto the outside of the lamps to help aid cooling see the following thread for what i mean.
If this is secured with a couple of small screws through the case into the bulk of the heatsink and artic paste is applied between the heatsink and case you will be doing pretty much evrything you can to keep it all nice and cool.
Lastly when you are out on your bike the movement of air past the light will be what keeps it coolest when stationary it will get warmer. When you test it i would not get too concerned if it gets quite warm when you come to use it in reality you will keep it cooler.
plugp7Free MemberPosted 14 years agoThanks you guys. The questions do not relate to the Lumicycle conversion but more in general as I’m building a set from scratch with some leds I have from a previous project.
Thanks for comments.
squeekybrakesFree MemberPosted 13 years agoI’ve been running the triple XRE conversion for over 6 months with no problems with cooling (though the can does get hot when still). I left the lights on when the bike was parked recently and the optic melted and cracked before the battery drainied but it all still works.
I’m thinking of now ordering the quad XRE with the optic as they’re on special offer with Cutter at the mo. Has anyone converted with the quad and if so what’s the result in terms of brightness and heatsink issues?
RustyMacFree MemberPosted 13 years agosqueekybrakes
you may want to have a look at this thread
http://www.singletrackworld.com/forum/topic/lumicycle-halogen-led-kit-vote
i just rebuilt my lumicycle light with the re-designed heatsink led package, this uses XPE or XPG Led’s. My lights seem fantastically bright so may be an upgrade over your previous mod.
The topic ‘Lumicycle Halogen to LED conversion with piccies and a step by step guide.’ is closed to new replies.


