Home › Forums › Chat Forum › Christmas Airfix!
- This topic has 2,391 replies, 148 voices, and was last updated 2 months ago by Harry_the_Spider.
-
Christmas Airfix!
-
eddiebabyFree MemberPosted 4 years ago
Every time I see the great work on this thread I have to hide my cards to avoid buying a Tamiya 1/32 Mosquito.
Harry_the_SpiderFull MemberPosted 4 years agoBack in the late 80s I had a fine collection if 1/12 scale Tamiya F1 cars. Just had a quick peak on eBay to see how much they go for now. 😯
Shan’t be buying any soon.
eddiebabyFree MemberPosted 4 years agoI think I bought the Tamiya Gold Leaf Lotus 49 three times…
Woke up at 3am and couldn’t sleep so started watching a Mosquito build on YouTube, I soon got tired of the thought of even trying to match that. The 1/48 Corsair looks interesting though as does the 1/12 Kawasaki Ninja. Im amazed you can double the cost of the kit with photoetch parts and seatbelts.spursn17Free MemberPosted 4 years agoIm amazed you can double the cost of the kit with photoetch parts and seatbelts.
Just double, I wish! I’ve had a 1/48 B26 Marauder on the go for a few years and I dread to think how much I’ve spent on the extras, decals/resin wheels/photoetch/resin .50 cals/more decals it goes on and on.
I think I bought the Tamiya Gold Leaf Lotus 49 three times
I remember making the Marlbro M23 McLaren years ago, loved that kit but I’m not shelling out for one now..
A tad over my price limitvinnyehFull MemberPosted 4 years agoIm amazed you can double the cost of the kit with photoetch parts and seatbelts.
Here’s a link to a thread on pistonheads, which ‘started’ with a redo of a Tamiya MP4/6, I’d hate to think how much has been subsequently sunk into detailing it….
budgierider67Full MemberPosted 4 years agoThe work that’s gone into this P-51D to give it that well used & weathered look is amazing.
PJM1974Free MemberPosted 4 years agoI’ve abandoned my F-80 – trying to get an nmf with metalcote didn’t fork for me and the kit is a write off.
I have however taken delivery of an Airfix RAF P-51, so will be trying to build Dooleybird here: RAF Museum
Because I am hilariously inept with NMF so far, I’ve spent a small fortune on some vallejo water based metal paints. I’ve only done a couple of small test airbrush sprays with it, but it’s way, way ahead of metalcote or Tamiya in terms of applying a thin, highly reflective finish.
And a another Phantom FGR2 and a Tamiya Me262 arrived yesterday too.
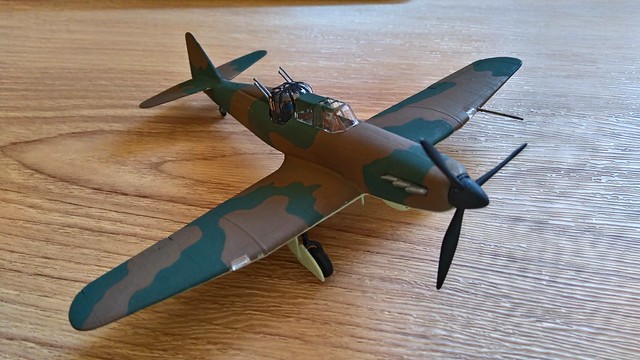
stumpy01Full MemberPosted 4 years agoRight, then…ages ago in this thread I asked for some general advice as I’d bought an Airfix 1:72 Boulton Paul Defiant.
I started it some time in the New Yr and I’ve just been doing bits here and then in the evening while sitting watching the telly.
It was an all-in-one kit, and so the glue & paints were a bit thick which I was warned about. I ended up watering down the paint with a bit of water.
It’s now built to the stage of putting the decals on – I’m not massively happy with it, but it’s not bad for a first attempt.
It actually looks better in the flesh, than in the photos – I think the camera pics up so much detail you can see the poor workmanship more obviously!I was hoping for some advice before I put the decals on. If it’s gonna require a ton of work, or buying of more stuff then I’ll probably just whack them on. But, I was wondering if there’s anything I should be doing to get the decals on more successfully?
 IMG_20200404_184158 by STW stumpy01[/url], on Flickr
 IMG_20200404_184253 by STW stumpy01[/url], on Flickr
 IMG_20200404_184223 by STW stumpy01[/url], on Flickr
 IMG_20200407_110652 by STW stumpy01[/url], on FlickrHarry_the_SpiderFull MemberPosted 4 years ago
Don’t put them directly on to matt paint. They will look bobbins and may not stick.
If possible apply a coat of clear gloss, do the decals then finish with a clear matt.
If not possible brush on some watered down PVA white glue and apply the decals whilst it is still wet.
The paintwork looks nice and sharp BTW.
munrobikerFree MemberPosted 4 years agoI’ve been building a Heller Renault R8 Gordini kit for the past couple of months – one night a week. I prefer to paint before building.
The engine’s gone together nicely-
 IMG_20200309_203908 by Luke Bradley[/url], on Flickr
 IMG_20200331_202632 by Luke Bradley[/url], on Flickrstumpy01Full MemberPosted 4 years ago
Harry_the_Spider
Don’t put them directly on to matt paint. They will look bobbins and may not stick.
If possible apply a coat of clear gloss, do the decals then finish with a clear matt.
Cheers! Is this something I can buy? I’d really only be able to brush on, not spray.
I’ve seen floor polish mentioned before, but I think that was for airbrushing?
Do you use that stuff that helps the decals conform to the surface of the model…? Can’t remember what it’s called.The paintwork looks nice and sharp BTW.
Thanks. It’s generally Ok, but I struggled with certain areas – getting my hand into a suitable position & holding the brush steady was tricky in some places. I tried to paint everything I could before gluing it together.
I painted the underside first & masked the fuselage using frog tape. Once I did that and removed it, I realised it would be hard to apply a reverse mask for the upper fuselage, so I just tried to go free-hand.
I drew on the camo pattern with a pencil and then tried as best I could to follow it.
I guess if you have a very light/dark camo pattern, you could perhaps do the whole plane in the light colour & then just have to apply the dark colour over the top. I wonder if that would work?I found the transition between the topsides of the wings & tail to the undersides very tricky – it was hard to get a crisp edge at the transition.
What’s annoying is that I spent ages on the simple interior & the pilot & gunner, but once the windshields are in place you can barely see them – the plastic seems quite thick and it distorts a lot.
Good fun so far though.
I nicked a Matchbox Skyraider 1:48 scale off my Dad last time I visited them, which must be 25 years old at least! It’s been sitting in his wardrobe & never touched.
It looks quite basic in terms of detail – no idea how good Matchbox models are, but it looks a lot easier to get to grips with as the parts are so much bigger.Harry_the_SpiderFull MemberPosted 4 years agoCheers! Is this something I can buy? I’d really only be able to brush on, not spray.
Yep Tamiya clear is about £2 a pot. Get standard clear for the gloss and a matt, or semi gloss, for the top. It can be diluted with Tamiya thinners which cost about £6 for a life time supply. Not sure if you can thin them with water.
I’d leave it to dry overnight before applying the decals so that it has properly hardened off.
stumpy01Full MemberPosted 4 years agoThumbs up! Nice one Harry_the_Spider…
So, it looks like Tamiya X22 is the gloss & XF-86 is the matt…might have to get an order in, along with some thinners.
I was half tempted to just whack them on, but I’ll do it (semi) properly…!
CoyoteFree MemberPosted 4 years agoQuick question. Are the reference numbers on Humbrol and and Revell paints the same? I’ve always used Airfix kits and Humbrol paints. Got a couple of Revell kits and they obviously list Revell paints.
johndrummerFree MemberPosted 4 years agoI’ve got an Italeri Renault 5 that’s almost finished- just needs the door mirror. I’m half way through a Revell Type VIIc u-boat and about 3/4 of the way through a Tamiya Kawasaki Ninja.
Might get the motorcycle finished this week.
Loads in the stash, including a terrifying T-54 with over 1000 parts (probably 900 of them make up the tracks!)
spursn17Free MemberPosted 4 years agoI was wondering if there’s anything I should be doing to get the decals on more successfully?
stumpy01, so long as you make the surface glossy you wont need anything else apart from a matt coat when its all dry. I’m a big fan of the floor polish method, you dont need to airbrush it, I always use a brush to apply it as its so thin that you hardy ever see brush marks. I’ve had a bottle of the original Kleer for over 25 years and I reckon that I’ve got about two years worth left!
Kleer is now called Pledge floor polish but the formulation is different and doesn’t give as good results as the old stuff. Floor polish from Lakeland is rumoured to be close to the original Kleer but I’ve not tried it yet. Or just buy any model paint gloss and matt! 😊a terrifying T-54 with over 1000 parts (probably 900 of them make up the tracks!)
johndrummer, I’m the same, I’ve got a Takom King Tiger with a full interior and am too scared to start it!
munrobiker, nice work on that engine!
CoyoteFree MemberPosted 4 years agoWhich paint would you recommend between Humbrol and Revell. Bear in mind I am currently brush based only, no plans for an air brush yet.
Harry_the_SpiderFull MemberPosted 4 years agoPersonally I like Tamiya, but it is very much down to your own preference.
Not tried Revell and my experience with Humbrol hasn’t been great.
ChrisLFull MemberPosted 4 years agoRevell have a smaller range than Humbrol and a lot of the other brands too. This tends to result in the painting instructions for Revell paints involving a lot of “80% this paint, 10% that paint, 5% another paint and 5% yet another bloody paint”. At least Humbrol tend to have specific paints for most of the common colours you’ll see in typical model kits.
CoyoteFree MemberPosted 4 years agoHa! Yeah, just opened a Fairey Swordfish and the paint mixing instructions was quite something!
PJM1974Free MemberPosted 4 years agoThat’s pretty good work on the Defiant, you’re better with a brush than I am and you’ve made an excellent job of the canopy frames.
As others have probably said by now, don’t apply decals directly to matt paint otherwise they’ll not adhere properly and air bubbles underneath will make them “silver”. Your best bet is to order some Pledge floor polish and apply thin coats of the stuff over your Defiant, leaving a couple of hours between coats. You want to end up with a glossy, shiny surface before you add the decals.
Once the decals are on, a final coat of Pledge is a good idea. If you want to try a panel wash (thinned dark paint applied directly to the panel gaps) then again it works best on a gloss finish. Once you’re happy with everything, add a top coat of matt varnish (avoiding the canopy and turret) and it’ll be pretty much bang on.
PJM1974Free MemberPosted 4 years agoWhich paint would you recommend between Humbrol and Revell
Model paints broadly come in two varieties – oil based enamel or acrylic, you can’t mix the two types of paint. Humbrol carries both types, enamels are usually in tins (and thus will need enamel thinners, white spirit for brushes etc) and acrylics in little plastic flip top bottles. Enamels can give great results, but Humbrol’s range is inconsistent – some tones are harder to mix and work than others. Humbrol’s acrylic range is not worth bothering with, a lot of of these shades are absolutely dire.
I’ve tried those little square pots of Revell acrylic paints and they’re not too bad. They’re a little lumpy, but you can thin with ordinary water. They’re equally happy being brushed or sprayed.
TBH, I am a fan of Tamiya acrylics. They seem to do pretty much anything that you want them to do, they brush well and spray well. The range of Tamiya colours isn’t great, so you learn to mix colours. Getting an exact match is a bit of a fool’s errand, aircraft kept outside tend to dull and fade quickly.
Whichever type of paint you go for, make sure to get the right varnishes otherwise they won’t play nicely together. Enamel paints like enamel varnishes, but work okay with Pledge floor polish. Likewise Acrylics will also work with Pledge okay, but will need an acrylic varnish.
stumpy01Full MemberPosted 4 years agoPJM1974 – thanks for that. It’s much appreciated.
For the canopy, the painting was quite rough (I intentionally over-painted) and then cleaned it by gently scraping up with a sharpened bit of sprue that worked really well; I saw that tip on YouTube.I added a range of paints, thinners & masking tape to a basket today on Modelsport & when it got to the checkout there was a message saying they are now not shipping new orders for paints/thinners etc.
So, I need to look somewhere else….great advice though, all!johndrummerFree MemberPosted 4 years agoKawasaki Ninja 1/12 by Tamiya – a work in progress:


Oops double post!
matt_outandaboutFull MemberPosted 4 years agoRight folks, lockdown bites…
Suggest me a source of some varied, fun and cheap kits.
The lads are not into fast coldwar jets so much (yah boo), so suggest some cars, trucks, boats and non military planes.
We likely need a few paints as well – but we aren’t going to be world class modellers….
JonEdwardsFree MemberPosted 4 years agojohndrummerFree MemberPosted 4 years agoNice 🙂
Is that the Trumpeter kit? I had one in 1:48 scale, don’t think I ever finished itjohndrummerFree MemberPosted 4 years agoThe clue is in your post 🙄
I didn’t realise Airfix had one with a detailed interior
Harry_the_SpiderFull MemberPosted 4 years agoThat Wellington looks fabulous!
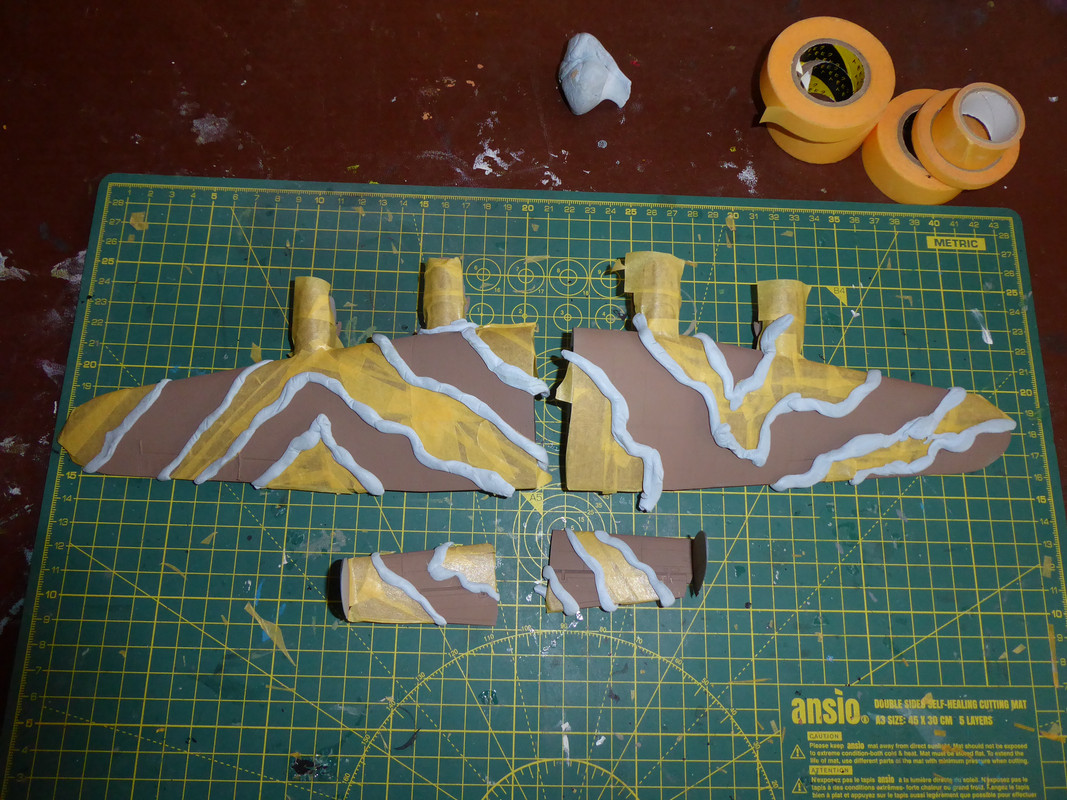
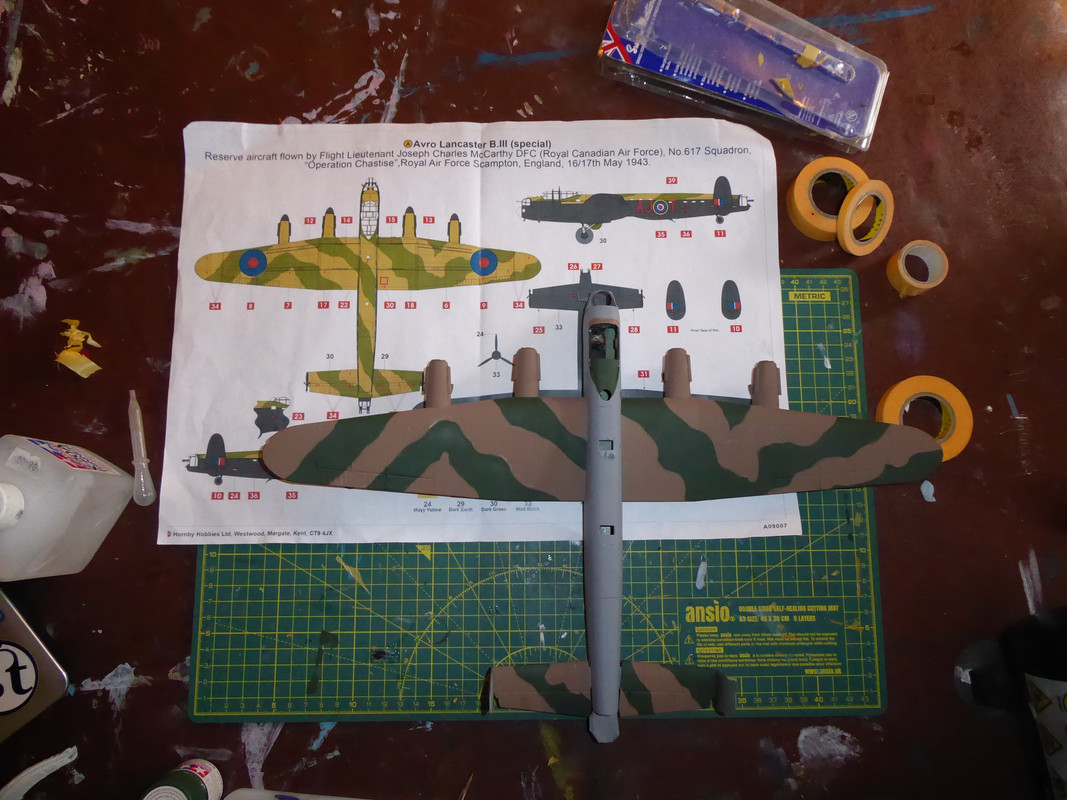
My Lancaster is almost finished. I hope that it comes out as good as that.
You must be logged in to reply to this topic.


