Produced in association with Finish Line Sealant
It was quite surprising for the Singletrack team to learn that one of their own was still running inner tubes. The guilty party, having worked here for less than a year, was well aware that there are more arguments for going tubeless than there are against it, but claimed that the opportunity simply hadn’t come up yet (great excuse).
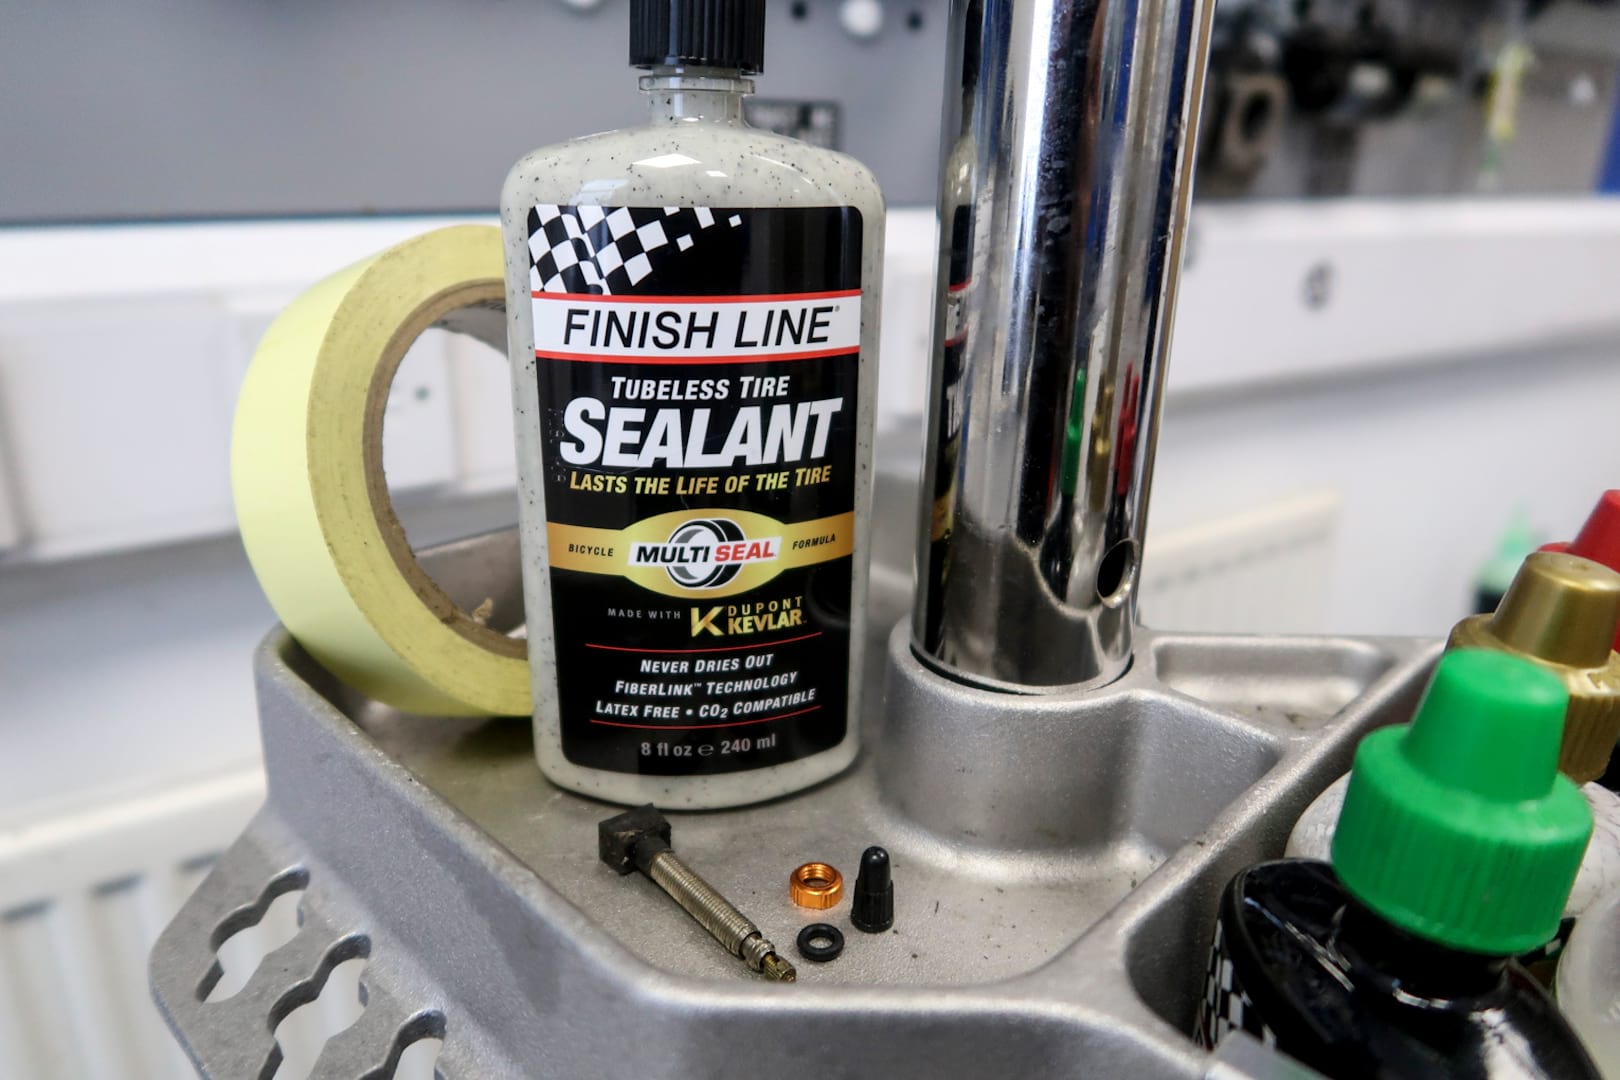
The person in question is me, director of art and cutter of corners when it comes to bike maintenance. My attitude of ‘if the wheels are turning and at least one brake works, it’ll be reet’ is very un-singletrack and something I am gradually improving over time, with a little guidance (pressure) from my colleagues. When it comes to going tubeless, I have a very simple reason as to why I haven’t bothered yet. I haven’t had a puncture, and strongly believe in the term ‘if it aint broke, don’t fix it’. Yes, I could run lower pressures, but I’ve survived some pretty crazy rides and races with my tubes in and my pressures high so it hasn’t been too far up my priority list. But we recently received a good haul of Finish Line tubeless sealant in Fresh Goods Friday, so I asked to be shown how to use it.
What is tubeless?
Tubeless refers to the obvious fact that your tyre doesn’t have an innertube. It’s not a new technology – cars haven’t had innertubes in their tyres for decades, but it’s only recently been an available option for cyclists. The principal is that if you seal up the spoke holes and valve hole around the rim and then use a tyre with an airtight inner wall, there’s no need to insert an innertube. The bead of the tyre intself is held tight enough against the rim hook by the air pressure in the tyre to create an airtight seal.
Well that’s the theory.
In practice there’s always enough imperfections in both the rim and the tyre itself to be a bit too leaky, plus the pressures used in tubeless tyres tend to be quite a bit lower than for tyres with innertubes and the end result is that it’s all a bit leaky. but that’s where the use of tyre sealant comes in.
Tyre sealant is a liquid that blocks up small holes in both the tyre wall and also along the tyre bead where it contacts the rim. It helps make that airtight seal that makes the whole system work. Sealant contains micro particles designed to clump together around holes and literally block it up. And this is where the extra value of tubeless comes into play – the sealant will not just seal the edges of the bead/rim interface but also any small holes that may appear in the tyre while you are riding. Tubeless systems are not puncture proof but the sealant will do a great job of sealing up small holes caused by thorns for example. The way this is achieved varies between different sealants. For this demonstration we used Finish Line sealant which uses DuPont™ Kevlar® fibres to seal the holes.
Why go tubeless?
Well, as we stated above, there’s the whole self healing punctures thing – but don’t get too carried away by that. If it was a miracle cure for punctures then there would be no such thing as tubeless puncture repair kits – but unfortunatley they do exist. There’s no doubt though that they do reduce the instances where a puncture stops play. And they especially do away with a certain type of very common puncture.
You may feel a little pinch
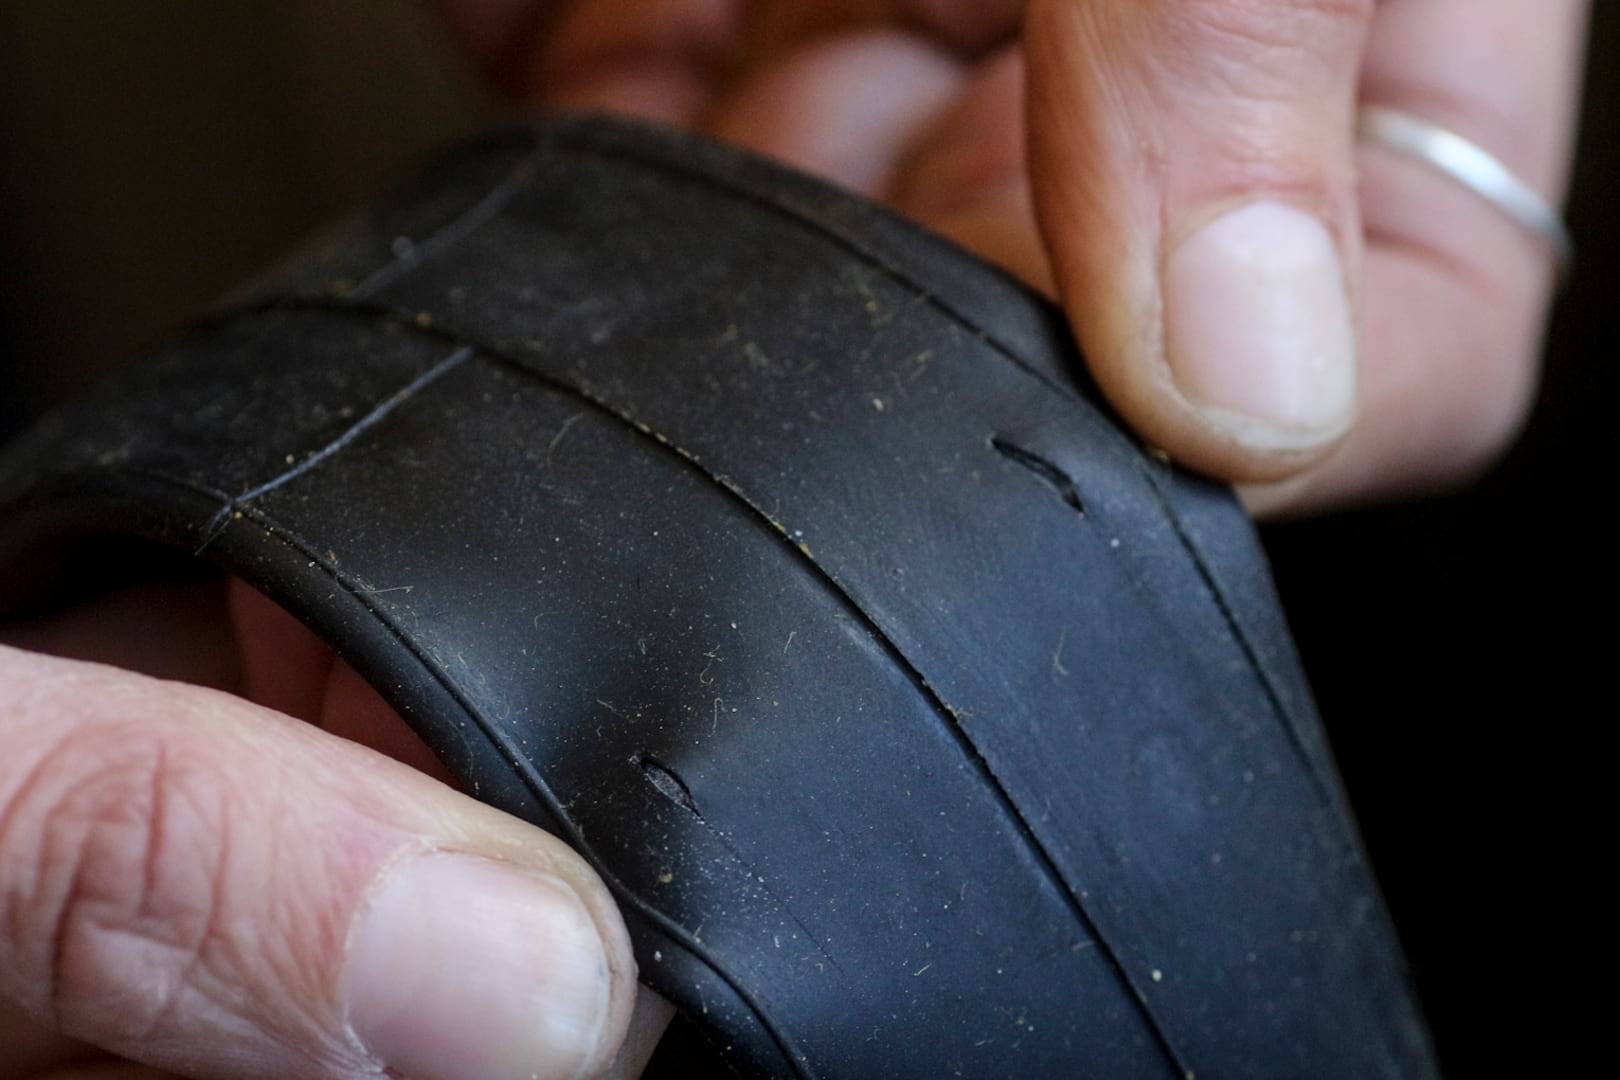
A snakebite or pinch puncture is one where you have hit a rock or obstacle hard enough that despite the tyre pressure you compress the tyre enough to sandwich your innertube between the tyre and rim. The result is two identical holes on either side of your tube. These punctures are very common, especially if you run tyre pressures low in order to gain more traction. It seems that with innertubes you need to compromise between how much traction you want and how many pinch punctures you are prepared to put up with. Simply doing away with the tube altogether and running a tubeless set up means no more pinch punctures and you can run your tyres at much lower pressures to gain more traction. Of course, if you go too low and ride too hard then you now run into the new danger of hitting your rims hard enough to break them – but at least you won’t pinch flat.
There’s also the weight issue. Innertubes add weight to your wheel. Get rid of the tube and you lighten your wheels. The bit of sealant you pour in there will most likely weigh much less than a tube. Lighter wheels means less mass to cart around your ride and since it’s rotating mass it also means theoretically greater acceleration.
What do you need?
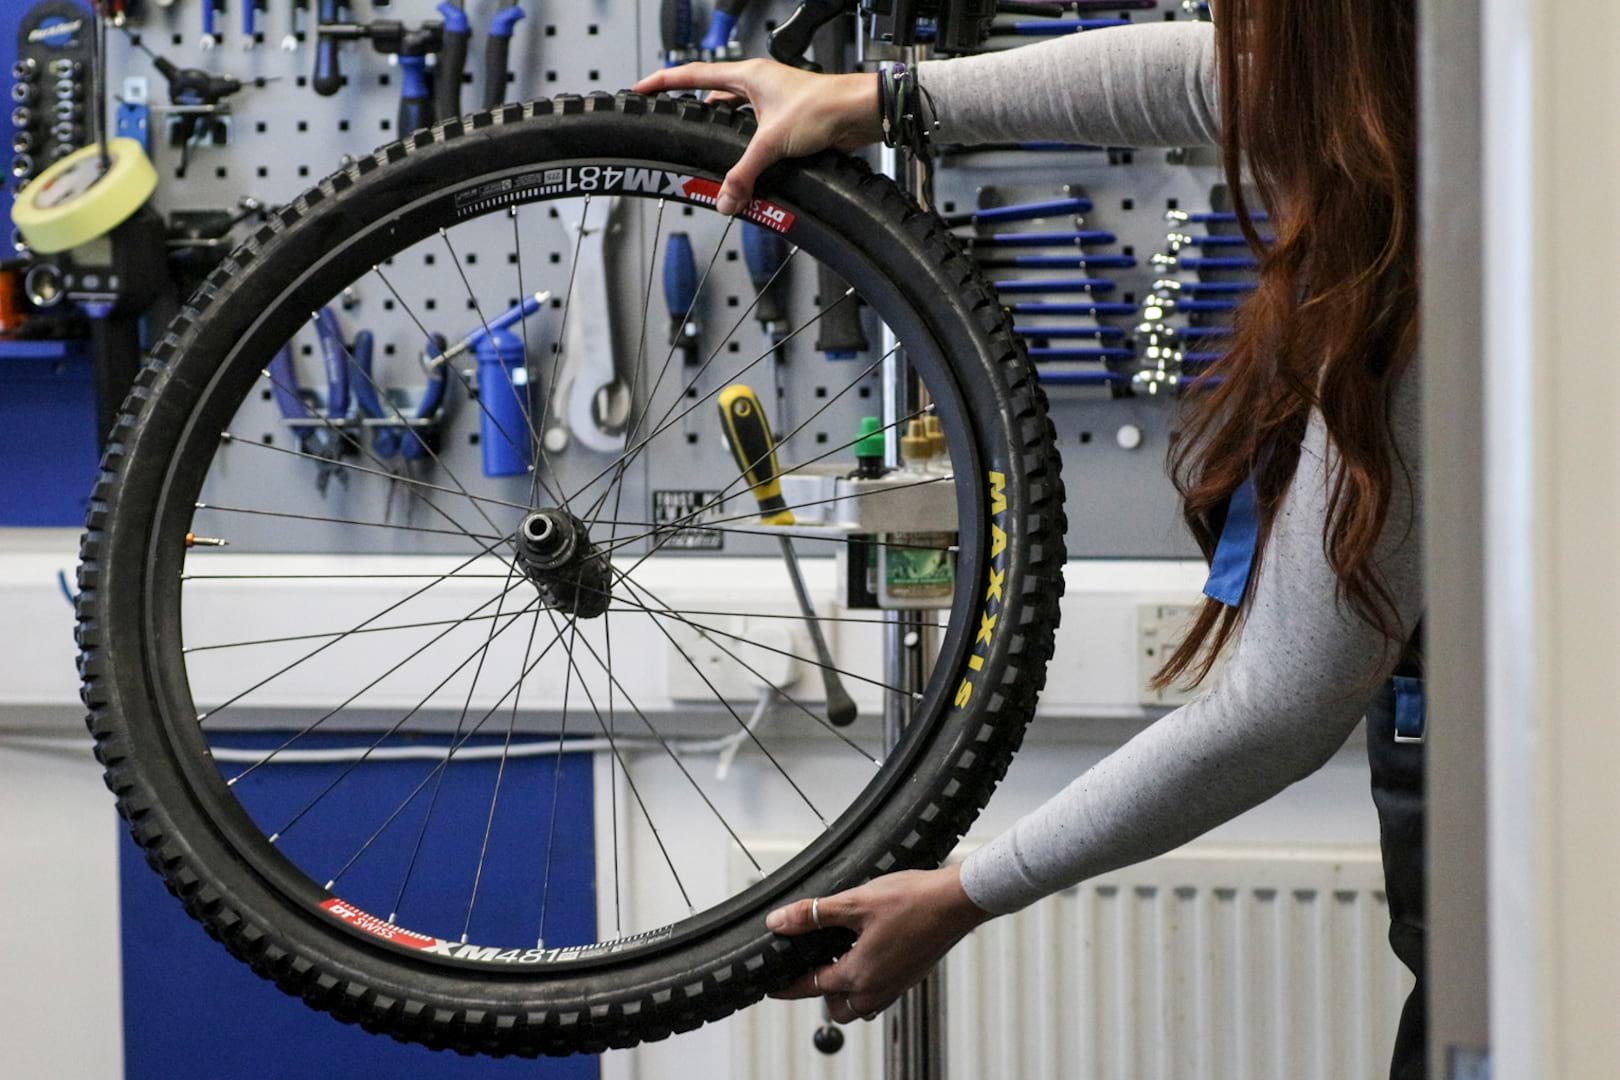
You need a sealed rim to start. If you are converting your old rim it’s likely you will need to replace the rim tape with one specifically designed for tubeless wheels. If your wheel came tubeless ready then it will already be taped up and sealed.
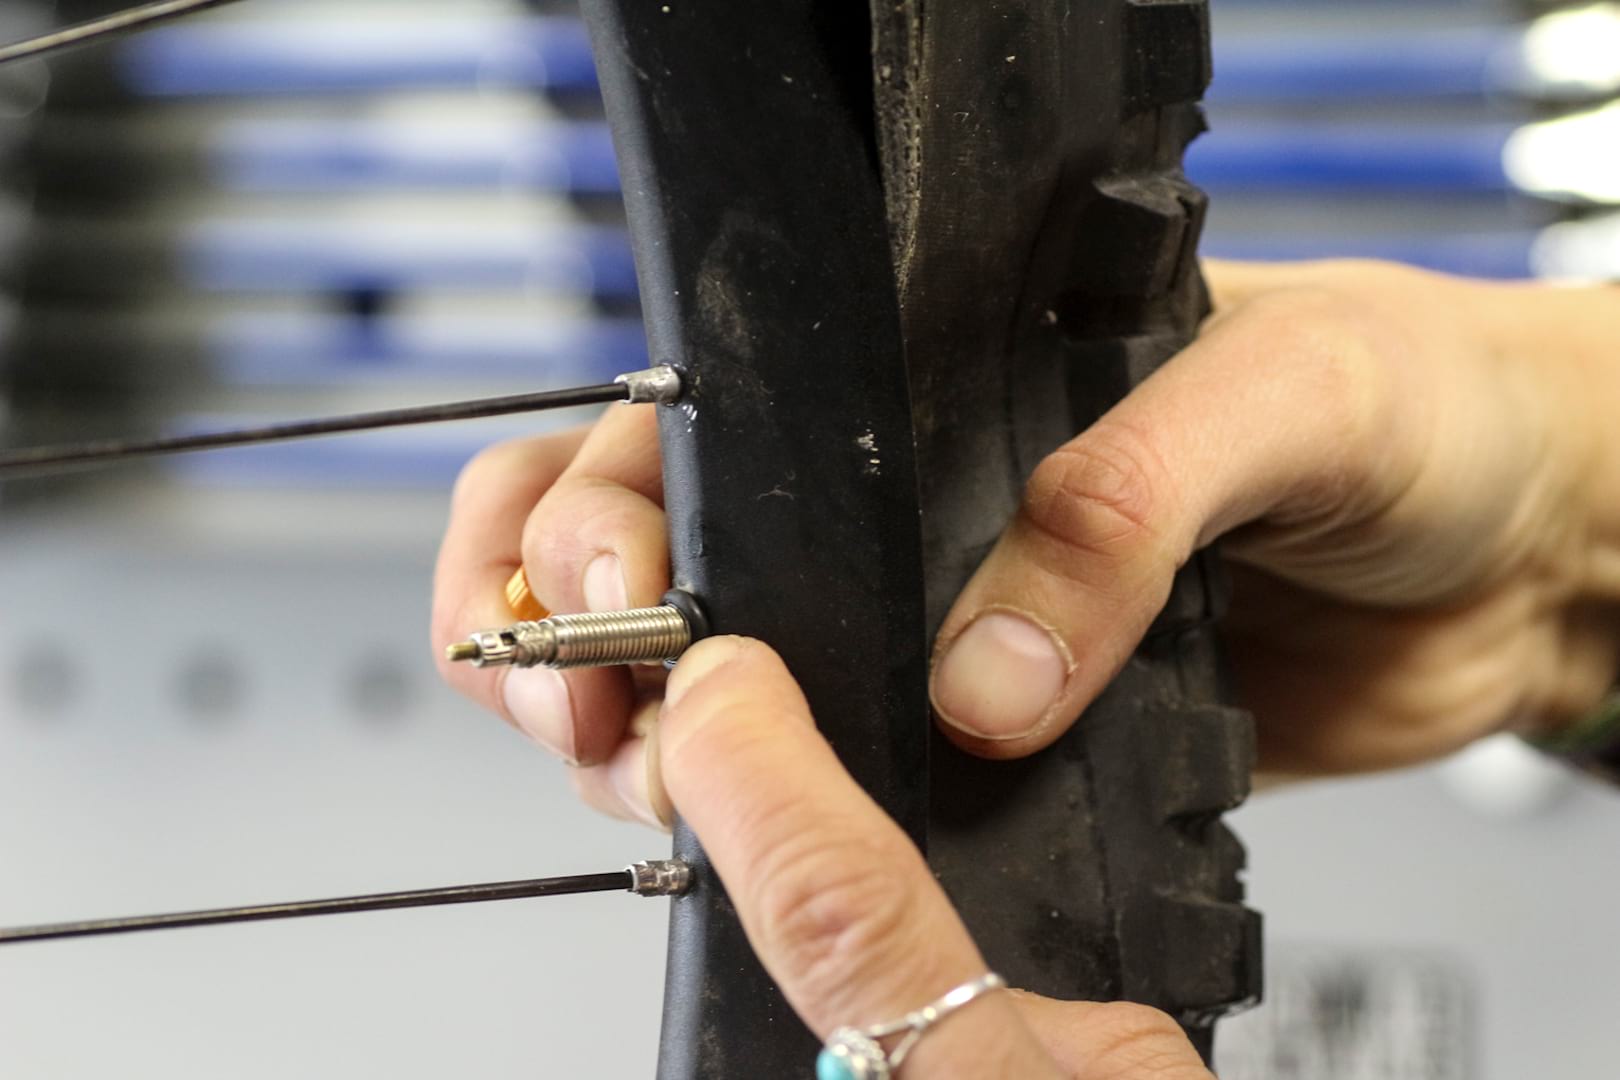
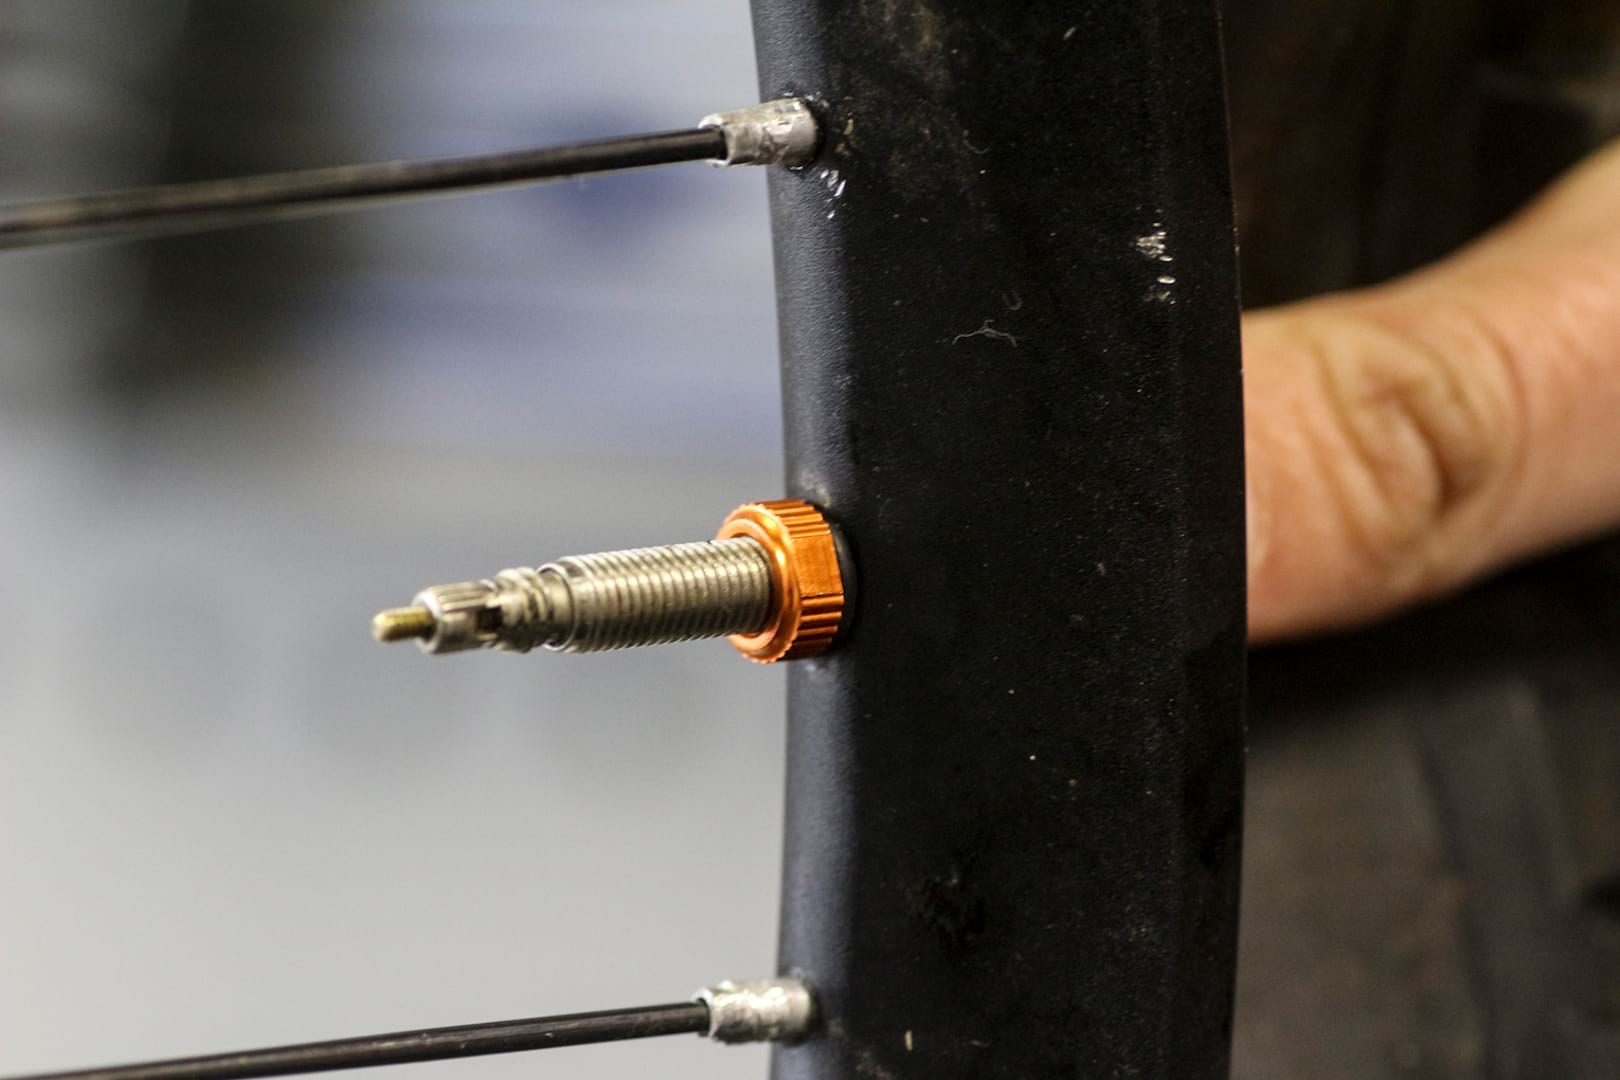
- You need a tubeless valve kit to replace the one that comes with an innertube.
- You will need a good sealant such as the Finish Line Tire Sealant.
- A tubeless ready tyre – most modern tyres are ready to go tubeless and tend to be labelled as such.
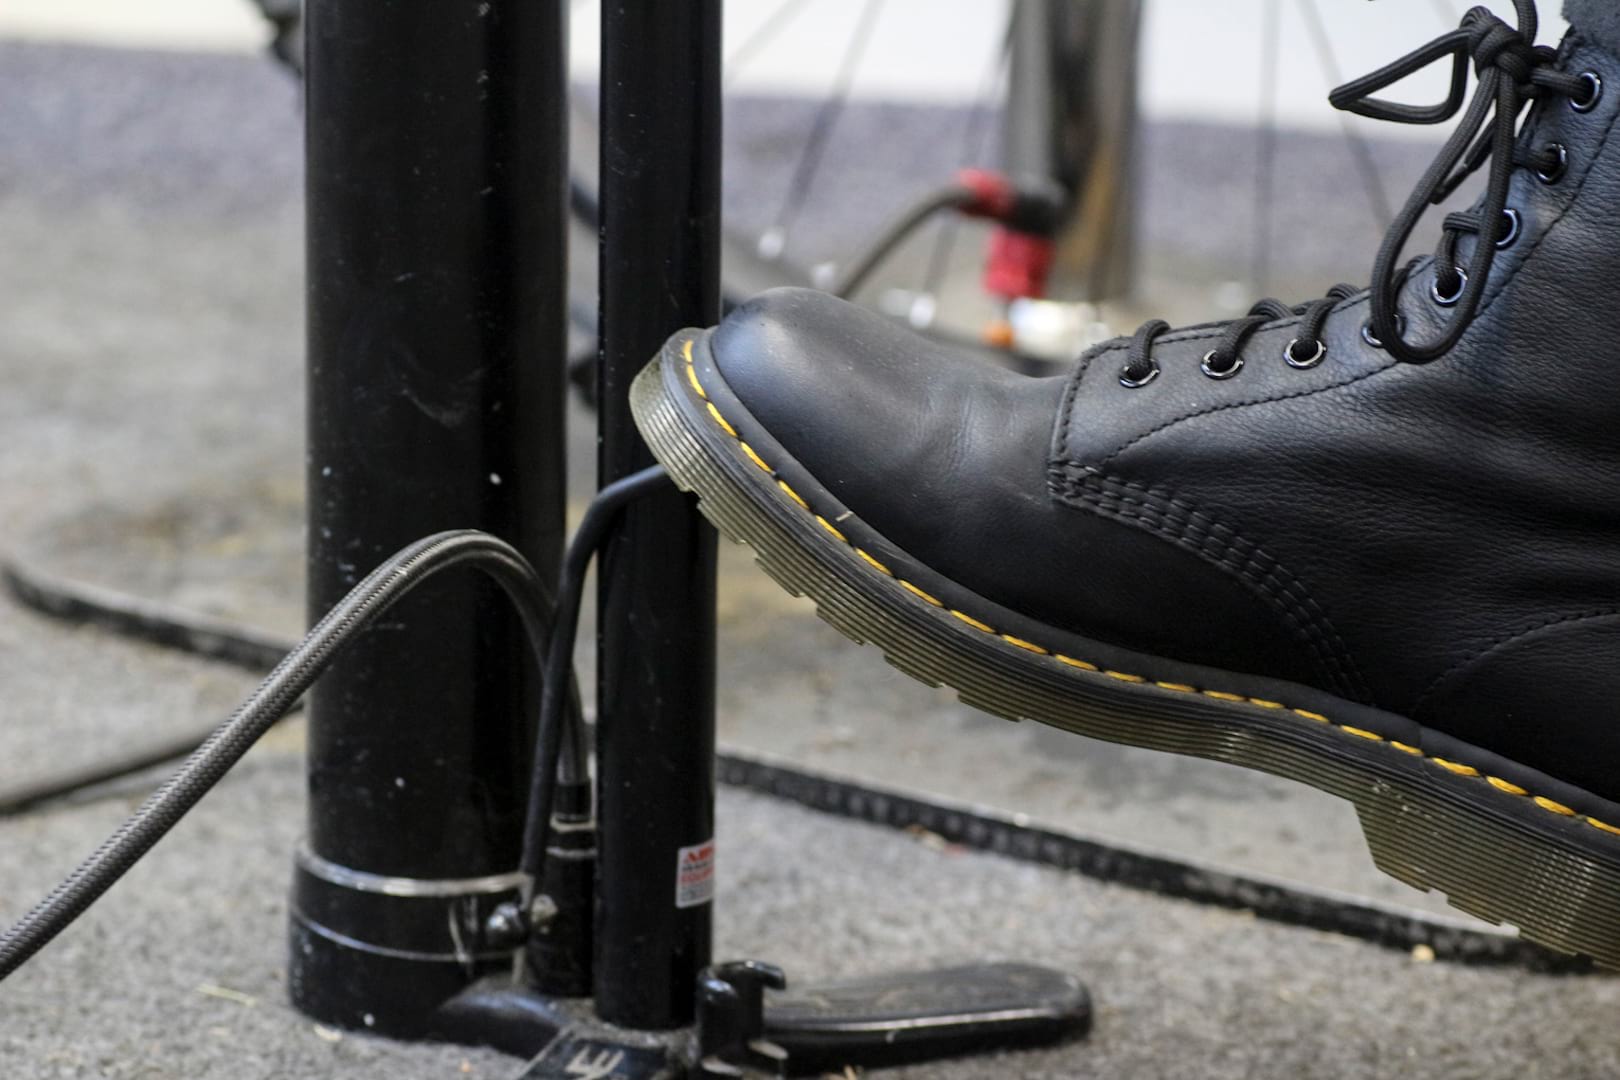
- A good, high capacity track pump or track pump with tubeless reservoir that can move a lot of air very quickly. Don’t even bother to use a hand pump.
Now watch as Chipps shows Amanda how it’s done
Expectation: Sticky mess, several attempts, at least one injury and a good hour of my day.
Reality: Zero mess if you get everything you need ready and in arms reach, works first time if you don’t rush, and doesn’t take long at all. (I did manage to hurt myself, but that’s just who I am).
So if you are still running tubes and are reluctant to convert, it’s relatively easy, it doesn’t need to take a long time, and that’s coming from someone who would rather buy a new chain than clean her existing one.
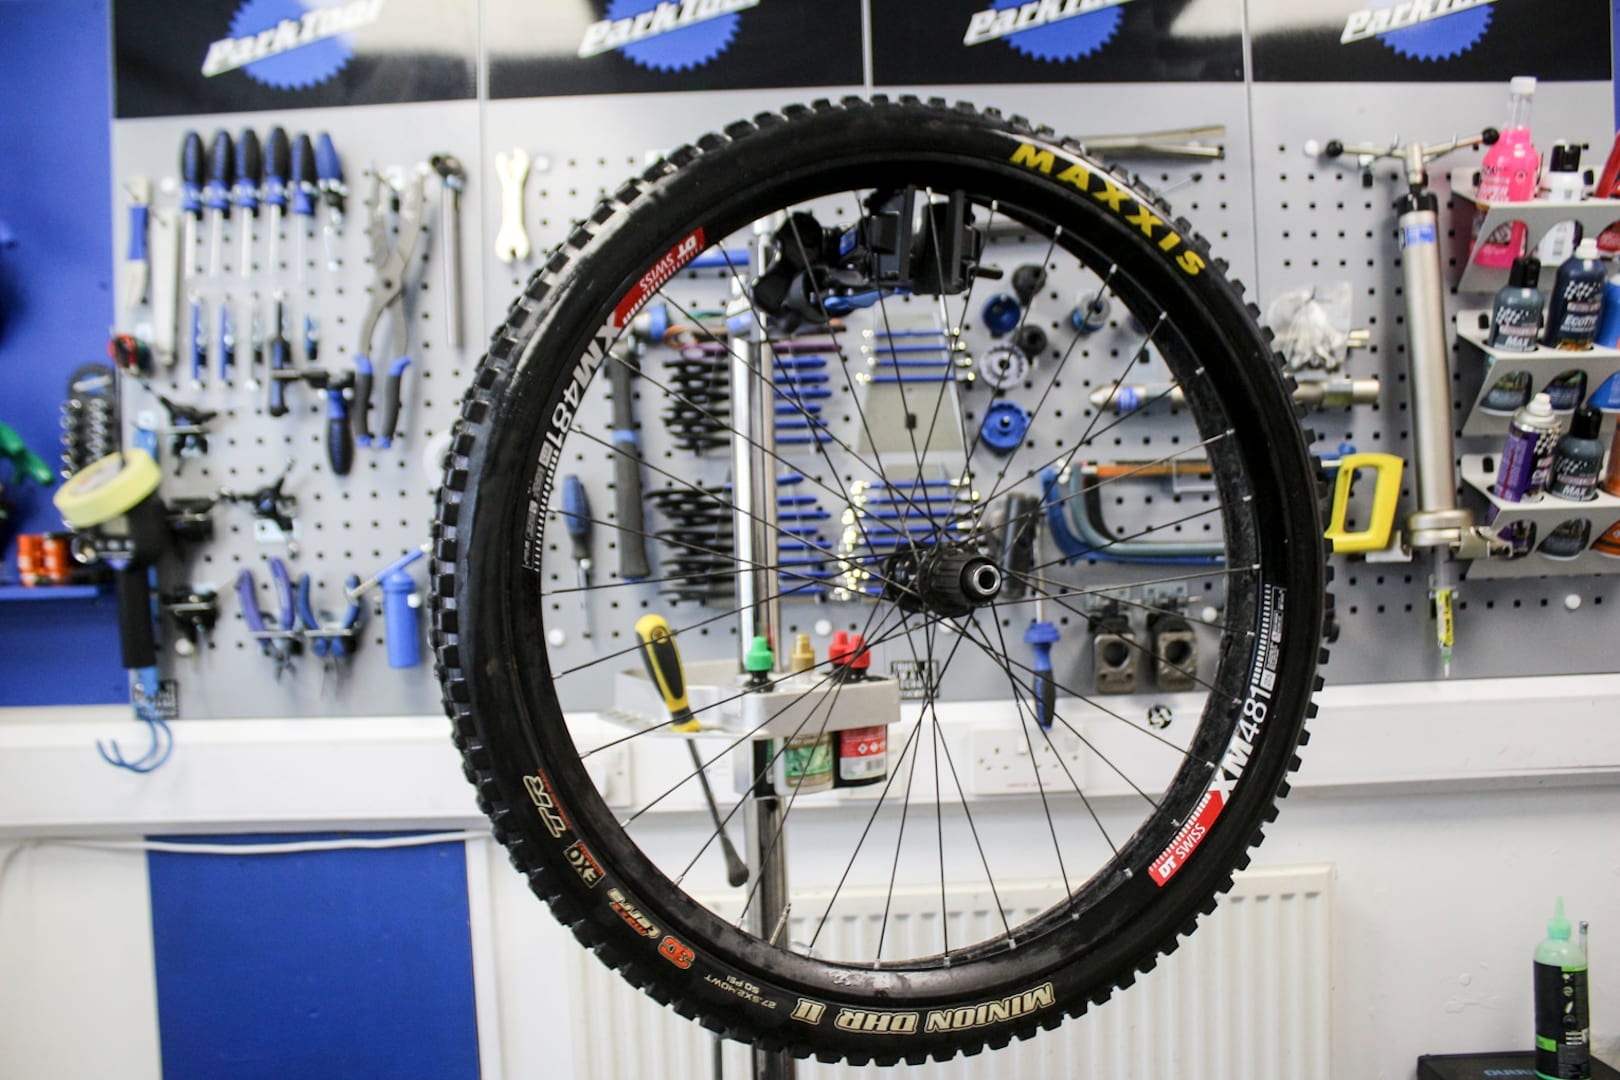
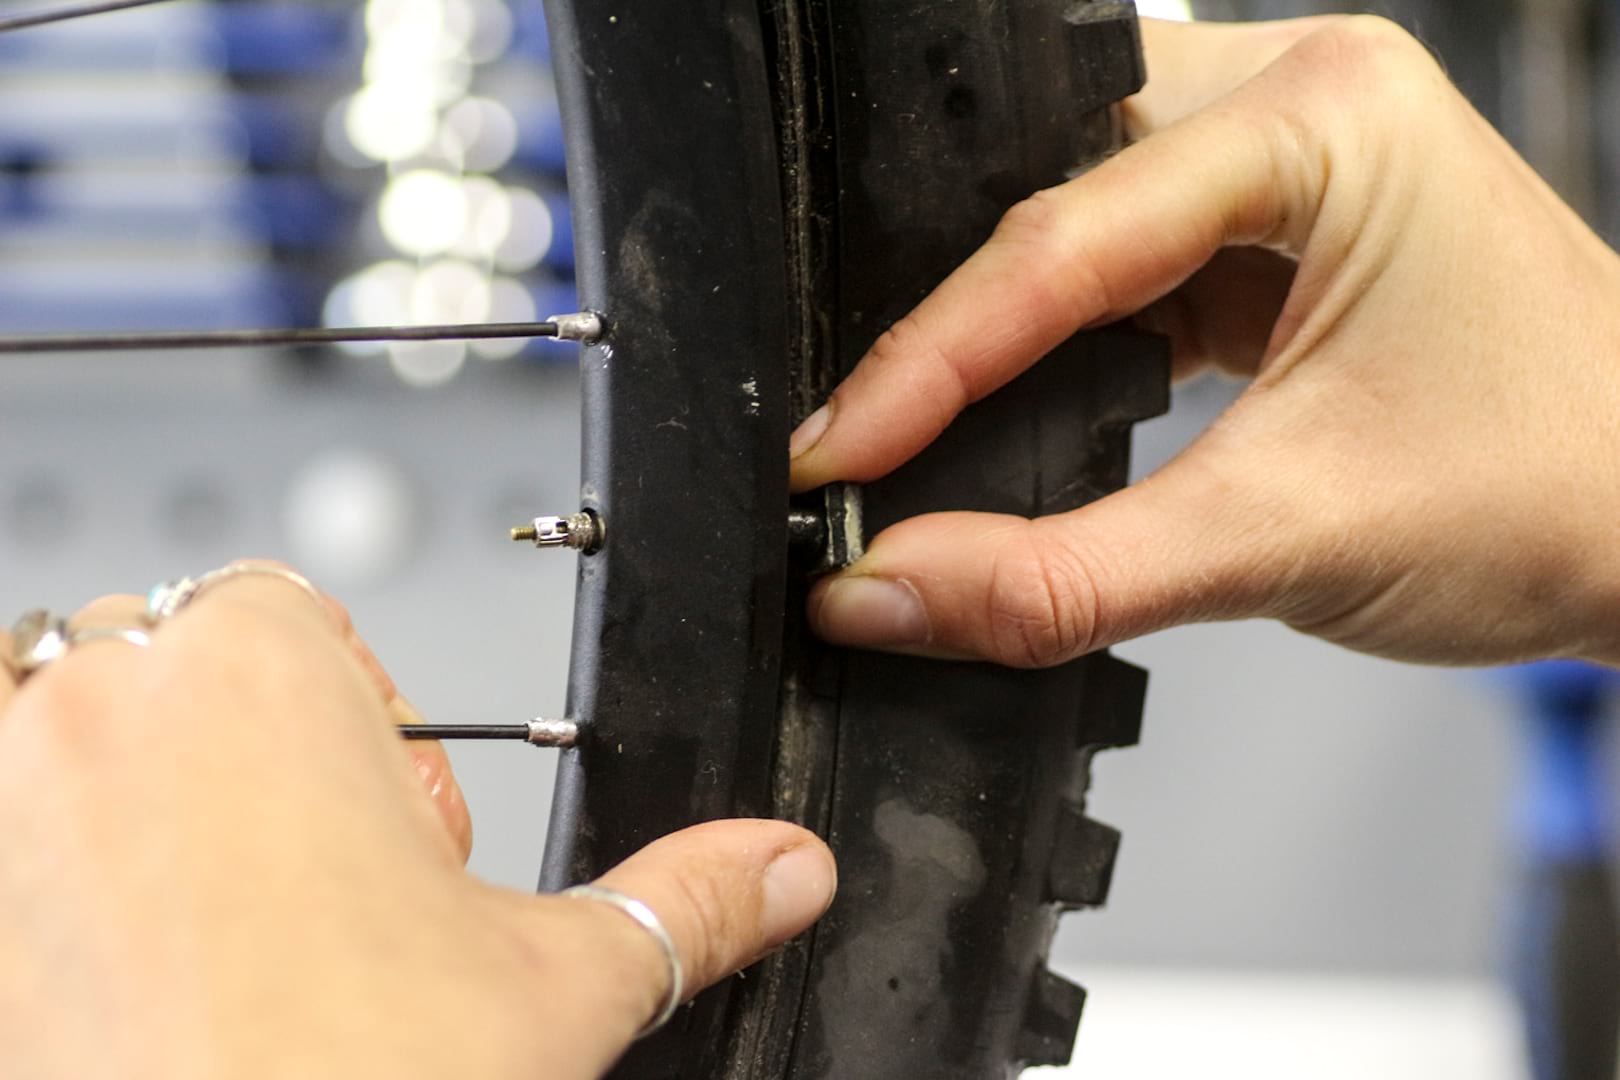
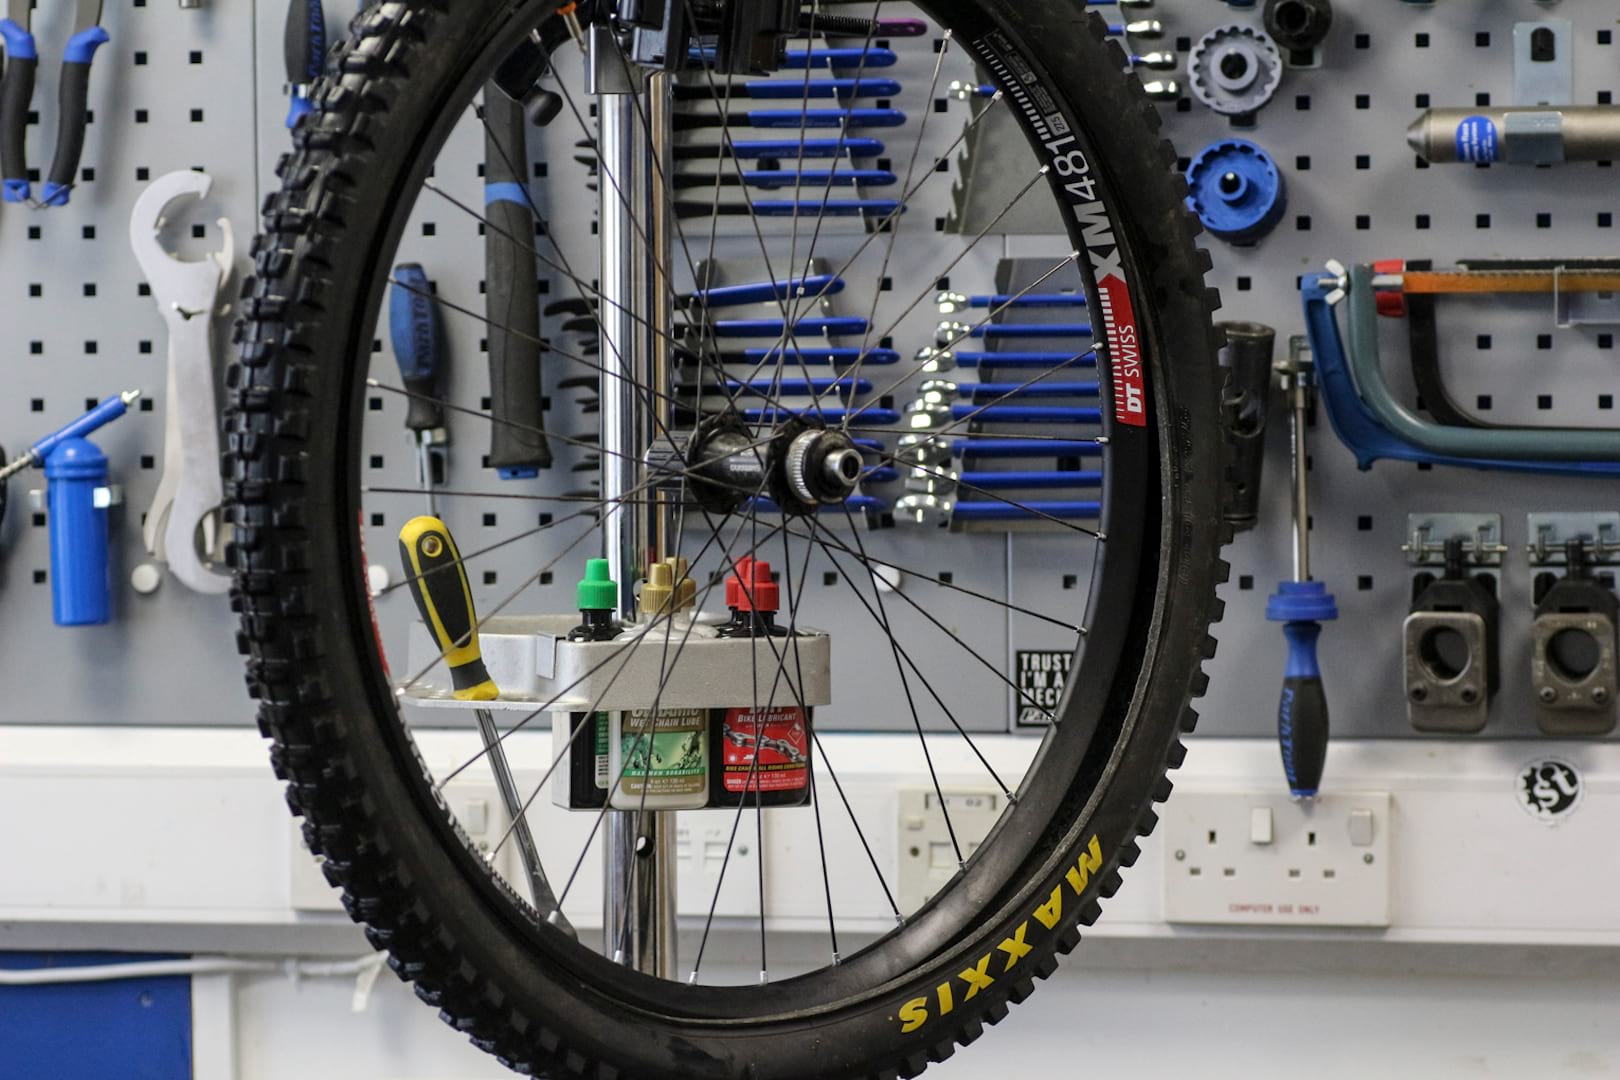
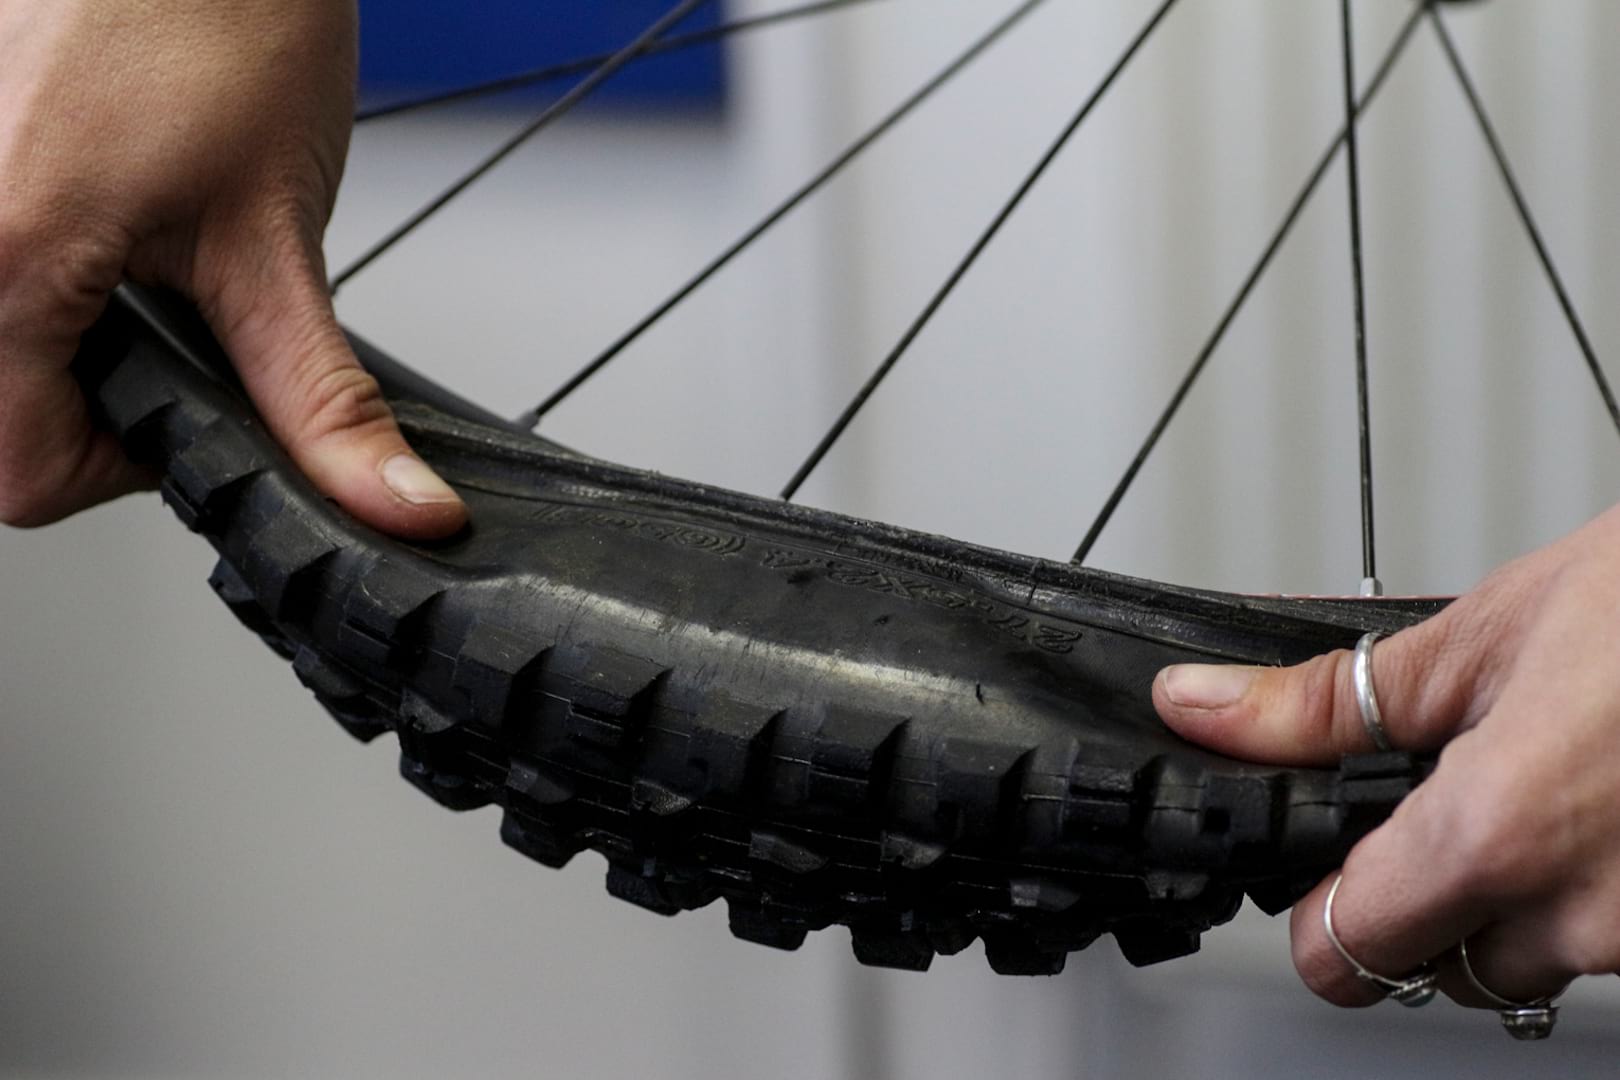
A reminder then in pictures

Disclosure
This feature was produced in association with Finish Line Sealant


my experience of tubeless is its great on the right tyre and wheel rim combo, some wheels i can setup in minutes, other times i think death would be a viable option..
dont get me started on that barnoldswick rim :0)
You can also cut the costs of going tubeless with the following……
Use Gorilla tape or equivalent instead of dedicated tubeless tape (its much cheaper BUT its a b*gger to clean up when you take off – also may require a bit of scissor and Stanley knife work to cut to the right size)
Get an old inner tube and cut out the valves to use as your tubeless valves.
Make your own tubeless sealing fluid – yep it can be done and if you have a few bikes to do will save money. The bike industries mark up on tubeless fluid must be massive – even more if you get a celebrity rider to endorse your product!
Create a ghetto tubeless inflator from a water spray can.
And as noted previously some tire and rim combinations will be almost impossible to seat.
Check out YouTube and bike forums for more detailed instructions.
cba creating my own but a tin of carnation milk would be more use than that finish line tackle…
I’ve been using the Finish Line sealant. It seems to work when needed. I have heard it bad mouthed, but all I’ve noticed is that it does seem to weep through sidewalls a bit, where others I’ve used did not.
That finish line sealant is rubbish, and you probably know that
Why would you recommend to take off the tyre a bit to fill in the sealant?
With a compressor/pump with a booster its much less trouble if you get the tyre on the rim properly first, take out the valve core, fill in the sealant, put back the valve core, pump it up, spin the wheel and go for a ride..
Completely agree with Jonnyboi. Been tubeless for four years and this year tried the new finish line sealant and so far in the last six months I have had one tyre loosing pressure, four punctures (compared with my two punctures over the last four years) that do not seal or take lots of wheel out horizontal wheel spinning. It dries and congeals so that it does not stay thin enough to move to the desired area… I have heard by some that the congealing is caused by the silicone used by manufacturing to help to remove new tyres from there moulds. If that is the case why do they not take this into consideration.
If you have bramble thorns or similar in the centre of the tyre it usually works. Anything else.. not a chance Stans (imo) is still the best. The distributor still believes they have seen It seems to be the Emperors new clothes.