Brought to you in association with
Words and pics by Sanny
Bikepacking? Isn’t that just a fancy term for touring? A sneaky way to part us with our hard earned money on new kit in the name of adventure?” I hear you ask. The cynic in me might have been tempted to agree but as a way of unlocking the potential for adventure that comes with every bike, I am a bit of a convert. But just what exactly is it?
As long as there have been mountain bikes, riders have used them for multi day trips into the backcountry (we don’t say countryside any more, backcountry gives it more of an epic ring) whether rack and panniered up or with a BOB trailer in tow. As someone who has happily used both, when it came to what I consider to be proper off road riding, the additional heft of panniers or a trailer and their general unwieldiness as the back end of your bike which ends up feeling like you have dropped a boat anchor was a bit of a limiting factor.
Narrow, rocky singletrack trails drift from pleasure to chore each and every time you hit a rock or the deceptively stationary undergrowth decides to jump out and claw at your panniers sending you for a burton.
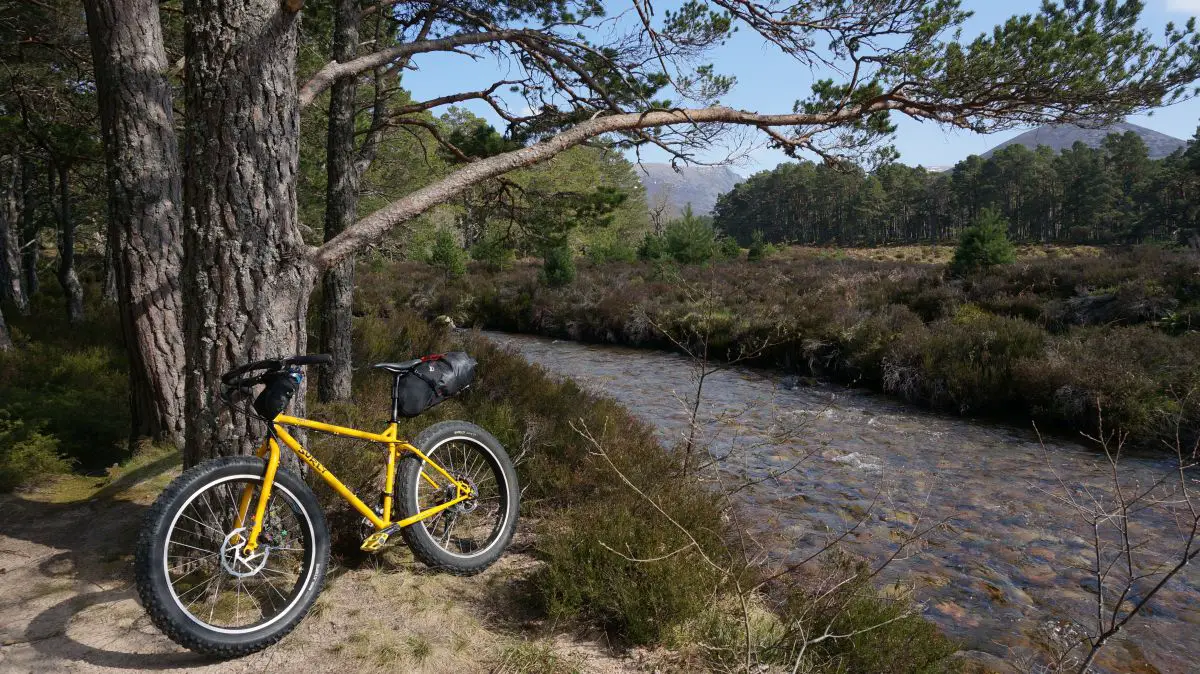
Fortunately, trail savvy riders such as Eric Parsons of Revelate Designs recognised that by using custom designed soft bike luggage that attached at various points around your frame, you would not only save weight but also reduce the adverse impact on the way your bike handles as your gear is evenly distributed about your bike. From a deceptively simple idea, a burgeoning industry was born.
It’s no exaggeration to say that the availability of kit that eliminates many of the negatives associated with traditional touring has opened up multi day adventures to a whole raft of riders who would not have otherwise considered it. With this in mind, if you are one of those people who are bikepacking-curious ©, what are the things to consider when planning your first foray into the scene?
The gear
First and foremost, you want to be thinking about how you are going to be carrying your gear for an overnight or multi day trip. A typical set up might consist of a seatpost mounted bag which may range from approximately 10 litres up to 18 litres, a frame bag or half bag which mounts within the main triangle of your bike, a top tube bag or climbers chalk bag style feedbag that attaches to the back of your bars and finishing off with a double ended style dry bag out the front.
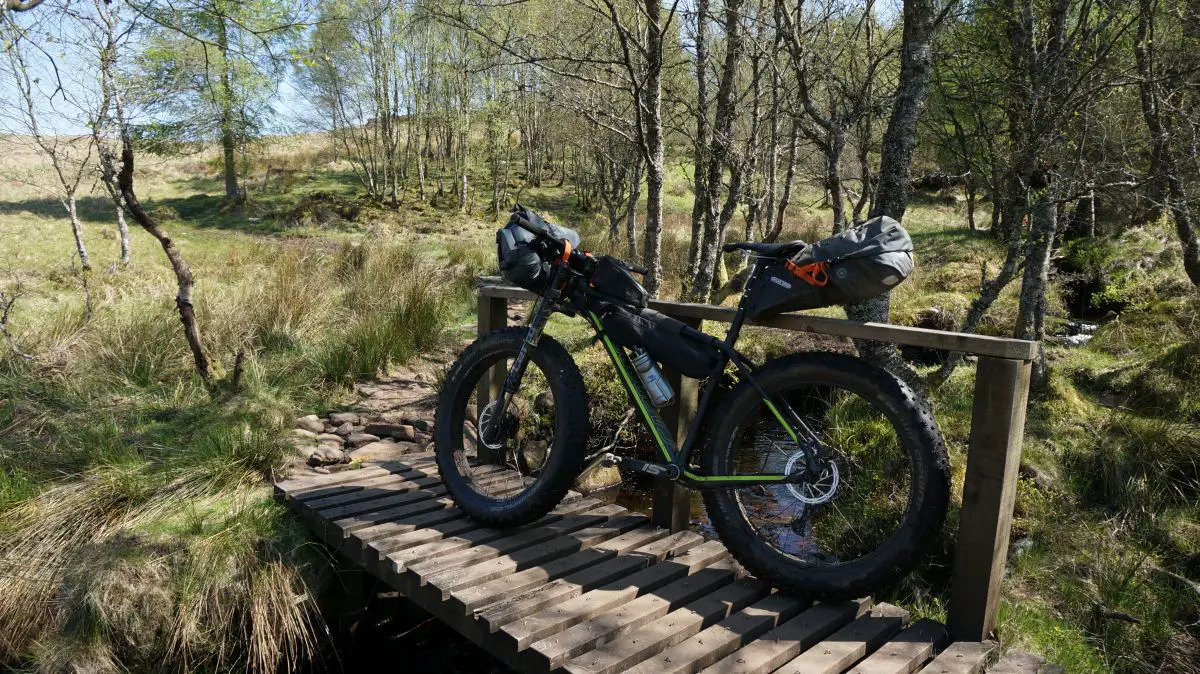
There are no real hard and fast rules as to which combination of bags you use other than just experiment with different set ups on your bike, playing about with where you store your heavier and lighter items. Over time, you will find a set up that works for you and your riding style. For me, I like to have heavier items mounted in a frame bag or close to my saddle at the back. This allows me to keep the front end relatively light and thus have less impact upon the steering.
Decisions, Decisions
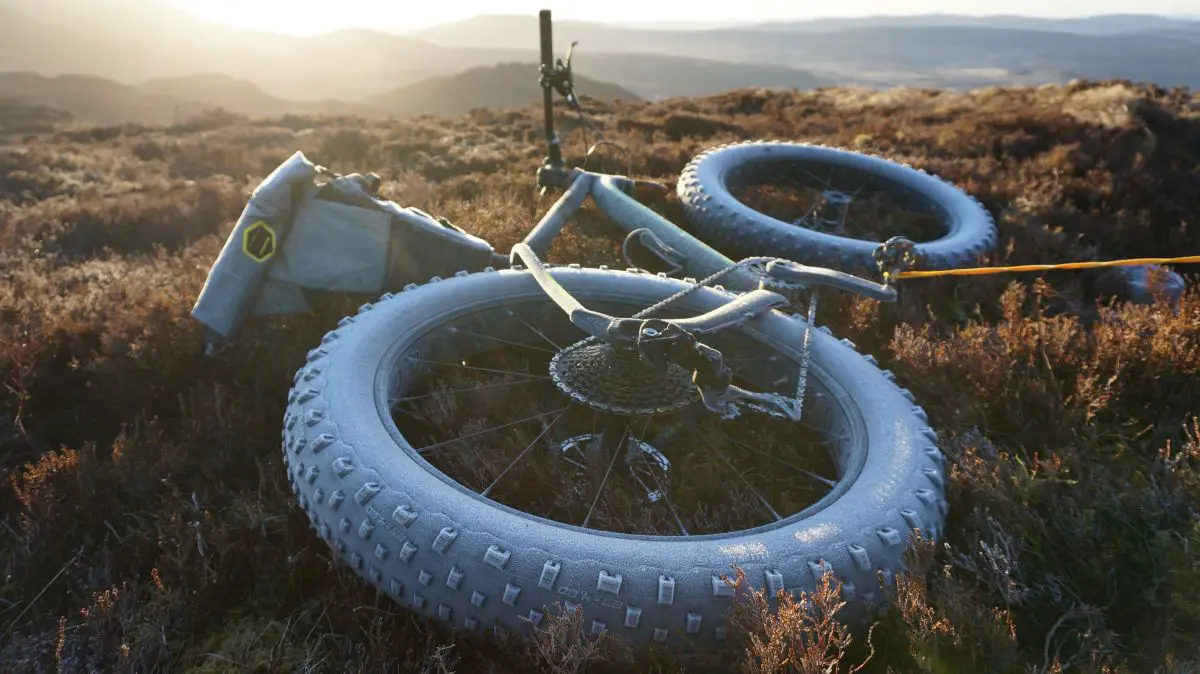
Which brand should you chose and how much should you spend? Do a quick online search and you will be amazed at just how many companies now make bikepacking kit. Revelate Designs were the first to popularise the concept but they have since been joined by the likes of Ortlieb, Apidura, Alpkit and Wildcat Designs, to name but a few. If you are on a budget, Alpkit offers some excellent options for those wanting to dip their toe in the water without a major cash investment.
As a simple first step, you might consider buying a couple of double ended dry bags and some straps to attach them to your bars and seatpost. While this is probably the least stable option on rough ground, it is a very cheap and cheerful way to get started. Couple them up with one of Alpkit’s Gourdon 20 ride packs and you can be out and riding for around £50. As you start moving up the price range, you’ll notice the detailing and design ramps up quickly.
Attachment methods become increasingly sophisticated while the general quality of materials and ease of use also increase. Of late, I have been using a Revelate Designs Terrapin seat pack. Instead of being an all in one seat bag, it features a holster with custom shaped dry bag which slips in and out easily. On wet and miserable days, it eliminates the need to undo your seat bag to take it into your shelter.
Up front, I have been using Ortlieb’s first foray into bikepacking kit, their double ended dry bag which in typical Germanic fashion has a bombproof construction and very secure harness system. Both are at the upper end of the price range.
Do it right, go light
First rule of bikepacking. The more kit you pack, the more kit you have to carry. What may seem like a lightweight set up can feel considerably different after a long hard day in the saddle. It’s easy to pack those just in case items but be honest, do you really need the moisturising beard balm with built in action liposomes or the iPad?
What you take will depend on your personal priorities. Are you someone who is happy to endure a cold and wet night shivering inside a wafer thin bivvy bag that has all the waterproofness of a torn tea bag because it saved you 123 grams over your next best option? Are you happy to be an all you can eat buffet for the entire midge population of Western Europe? Great! Just remember to leave the insect repellent and midge net at home.
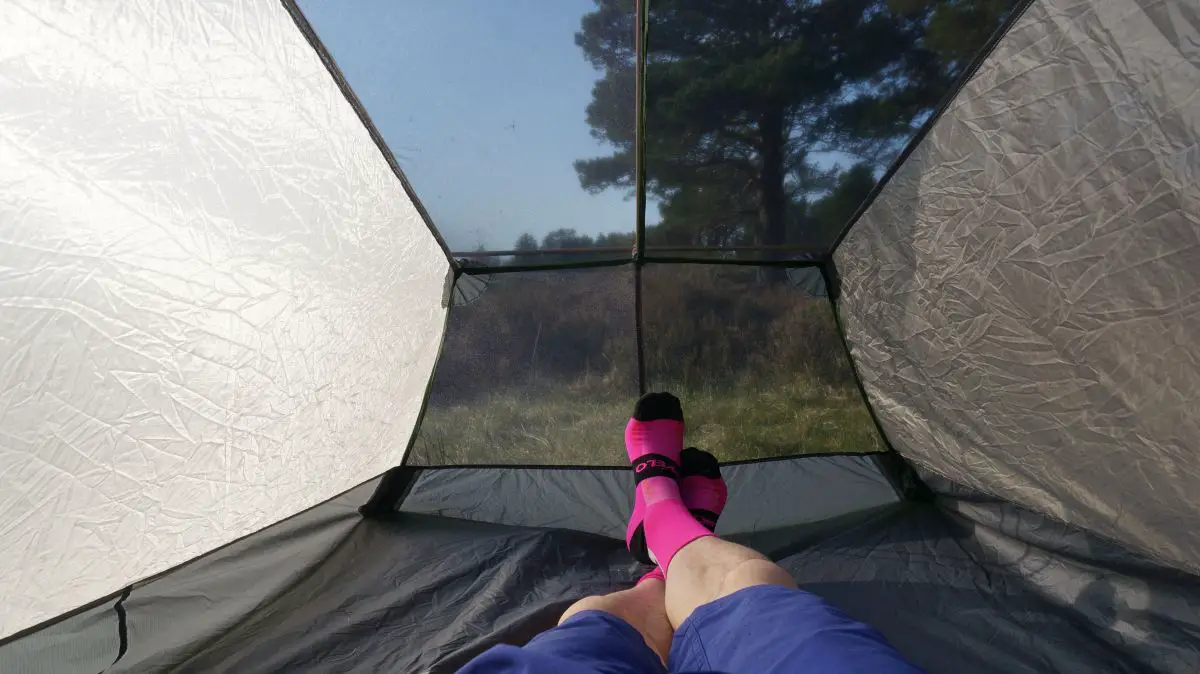
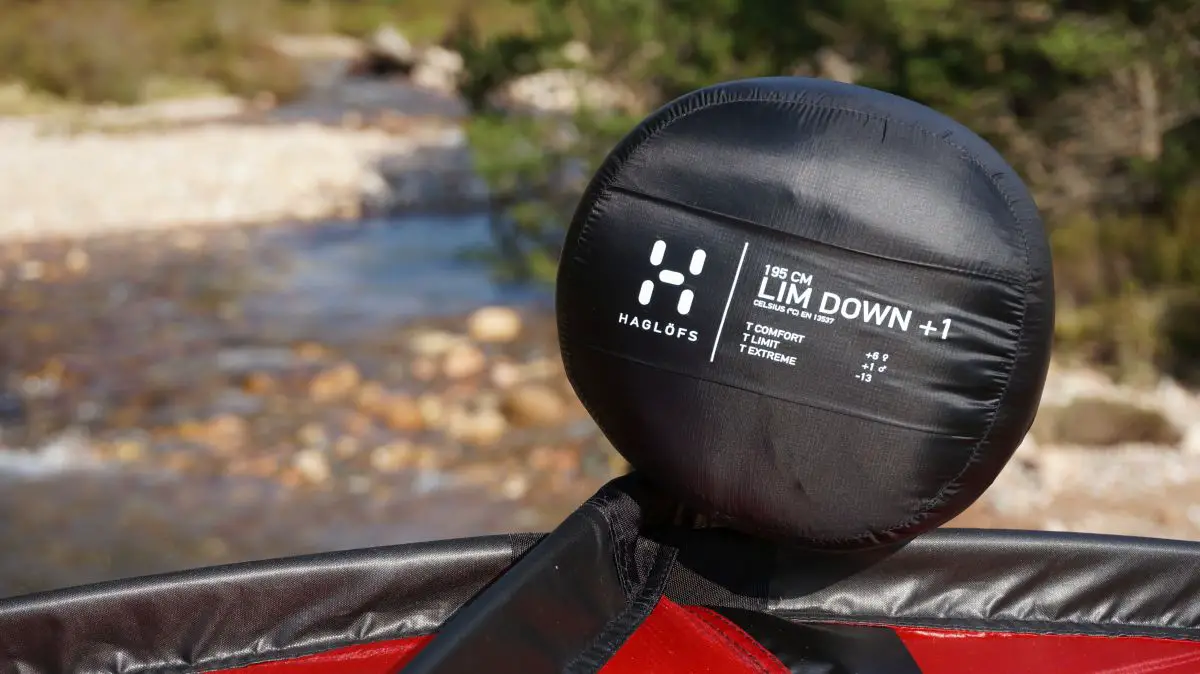
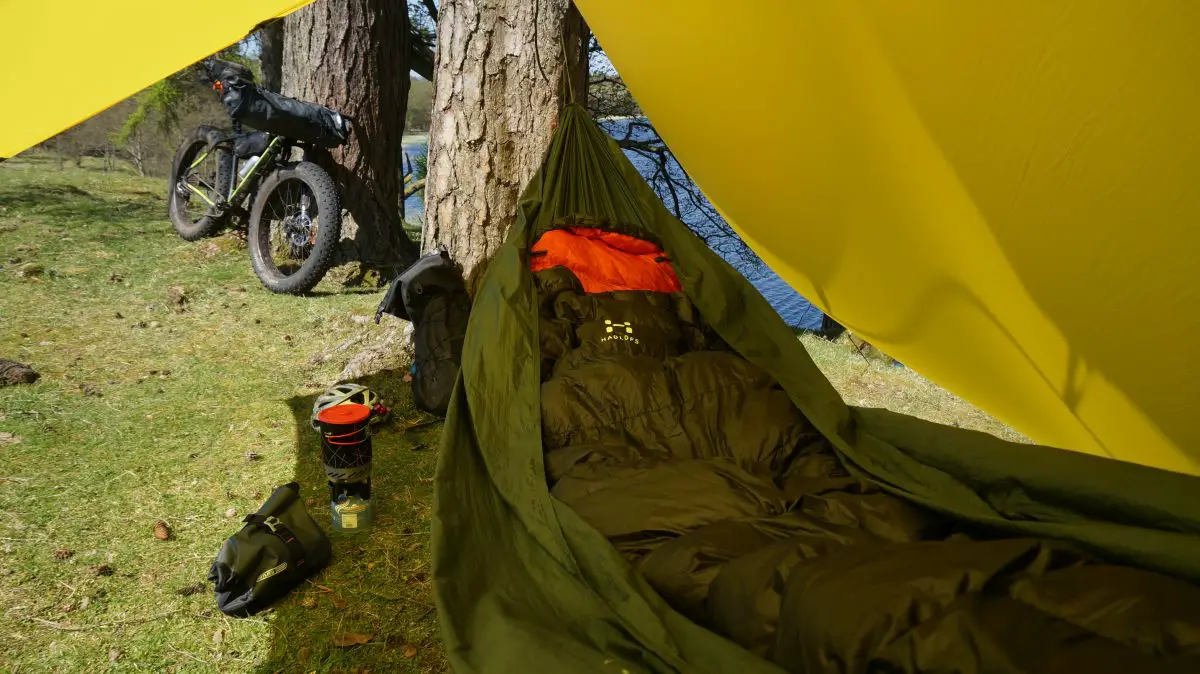
Any fool can be cold and wet, the real art comes in being comfortable and content. Ultimately, it’s all about balance and compromise. For example, I am a warm sleeper thus have happily used a 500 gram Haglofs LIM sleeping bag which is comfort rated to 1 degree, down to temperatures below zero. I could go minimalist and use it with just a bivvy bag but I prefer the comfort and shelter that a tent offers. Be warned though, once you get into it, don’t be surprised if you find yourself poring over dedicated bikepacking sites and agonising over whether to buy the 8 gram or the 22 gram stove!
Food for the Gods
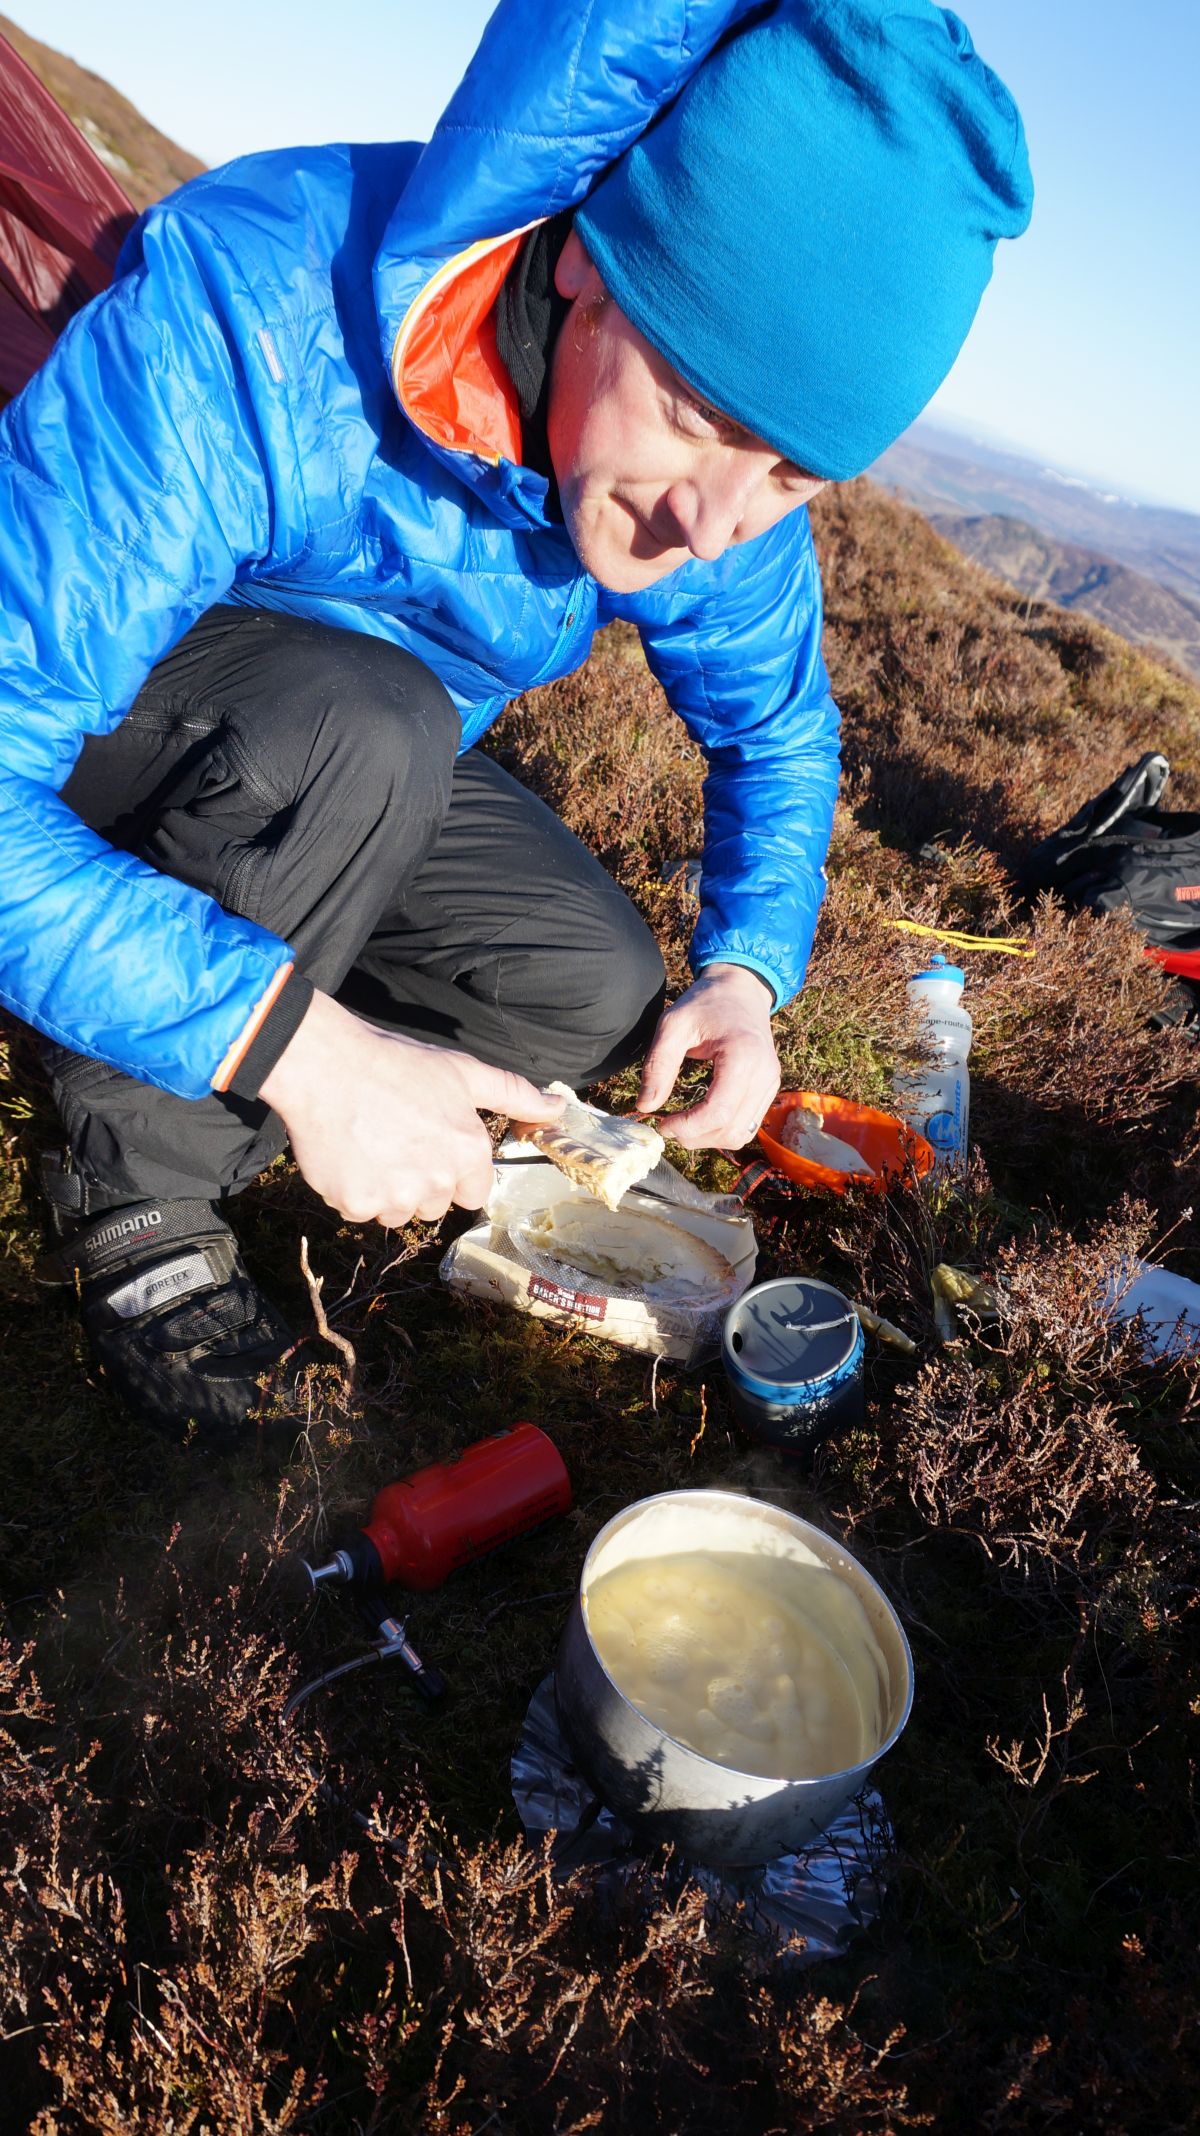
What kind of food do you look forward to after a long day in the saddle? Are you a pasta crammer or a meat sweats fiend? Do you long for a Yung Chow fried rice with chicken satay and prawn cracker accompaniment? Must everything you eat be accompanied by a jus (it’s gravy with a fancy name!) or a foulis of coulis of boulis? Whatever your preferred source of sustenance, one area not to be skimped on is your post ride fuel.
While there are all manner of freeze dried and vacuum packed options that will satisfy even the most minimalist of bikepacker, it’s hard to beat real food that you genuinely look forward to practically inhaling. Super noodles may weigh little but for me at least, they just don’t cut the mustard. There are only so many noodles I am willing to eat on a trip before waving the white flag. As such, I’ve been known to happily forgo weight savings and have brought all manner of inappropriate food on trips from whole apple pies with custard through to smoked salmon, cold pizza, day old Chinese takeaway through to probably my least wise choice, jam sponge snowballs. The latter tasted delicious but the combination of rough trails and somewhat delicate design of said snowball created a near blizzard of desiccated coconut in my tent.
If you like a tipple, bring that too. A gin and tonic can work wonders at the end of a long day!
Getting a good night’s sleep
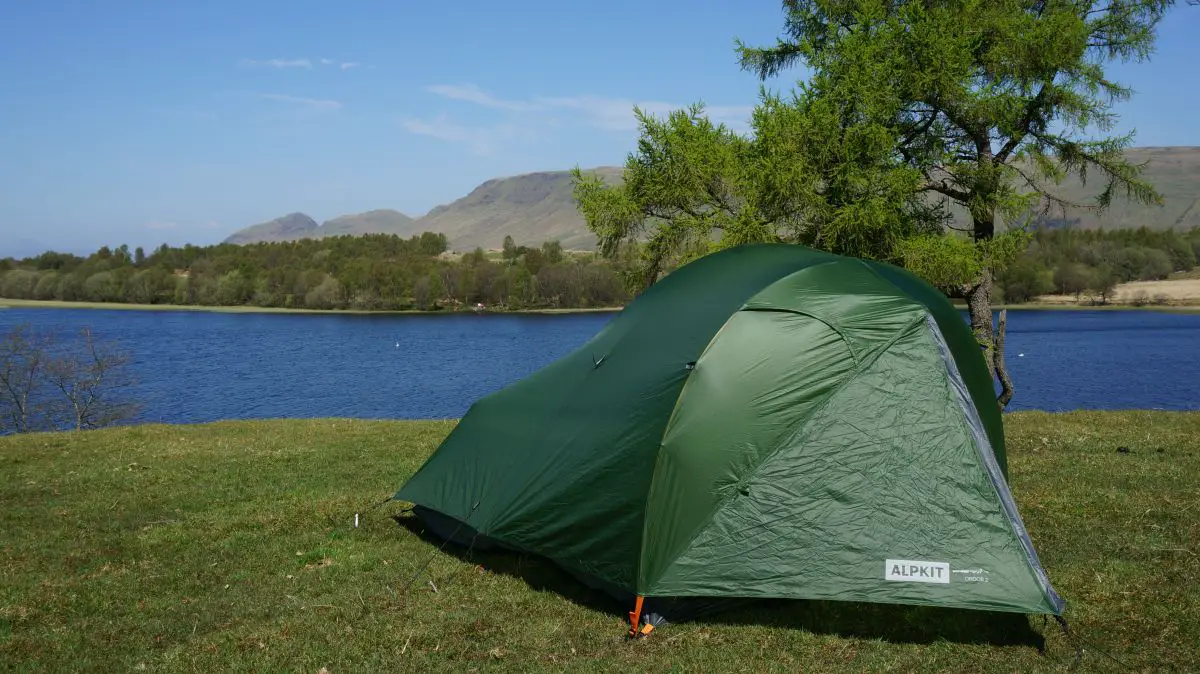
Now this is a tricky one. If your vision of bikepacking is sleeping in peaceful solitude with nary a breathe of wind for company, prepare for something of a shock. Nature is bloody noisy! Whether it is the gentle breeze barely lapping against your tent and creating an almost imperceptible rustle or the distant call of an owl, your mind has a way of focusing on such things to the point that they can become infuriating. Even the most Mr Miyagi of Zen practitioners can be reduced to a gibbering wreck.
Light is another enemy. Ever been out in a full moon on a cloudless night without a light? Bloody bright, isn’t it? Add in summer evenings where sometimes it doesn’t really get properly dark and you’ll be reaching for your eye mask and ear plugs before the dawn chorus decides that seventeen minutes of fitful sleep is more than you deserve. Eye masks can be picked up for a couple of pounds and while they have a certain “niche” look, they really do work, while ear plugs come in many forms. In my experience, the solid wax ones are the best as they can be moulded to the shape of your ear, are arguably the most comfortable and do the best job of staying in all night. They also provide the best noise protection…..unless you have tinnitus, in which case you’re screwed!
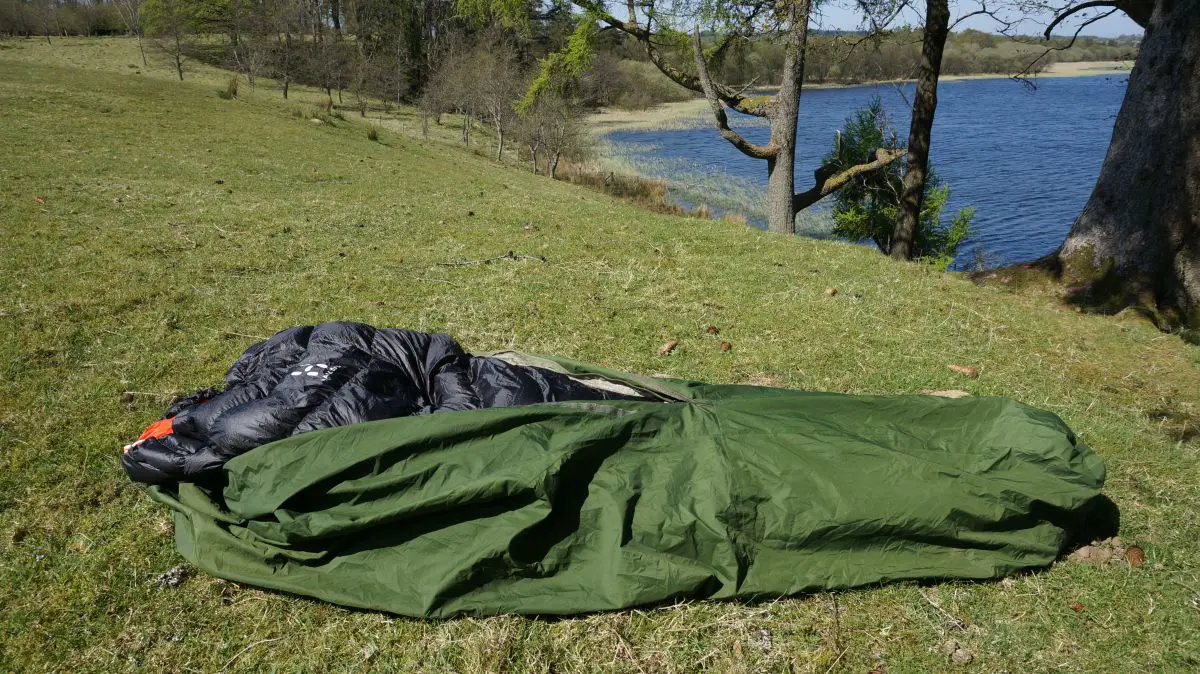
In terms of what to sleep on and in, sleeping pads and mats come in all shapes and sizes. The minimalist crew might only use a Tyvek groundsheet in the name of ultimate weight saving. However, this is a pretty hard-core approach and not necessarily an approach I would encourage.
Sleeping mats vary from the cheap but bulky closed cell Karrimat style mat through to self-inflating foam pads and culminating in inflatable mattresses from the likes of Exped, Sea to Summit and Thermarest. The latter tend to be the comfiest and smallest packing option but come with a price premium to match. Given the choice, I tend to opt for a full size insulated inflatable mattress with a dry bag style inflator. While you could go for a three quarter length number or one that isn’t insulated, you are trading off comfort and warmth for weight saving.
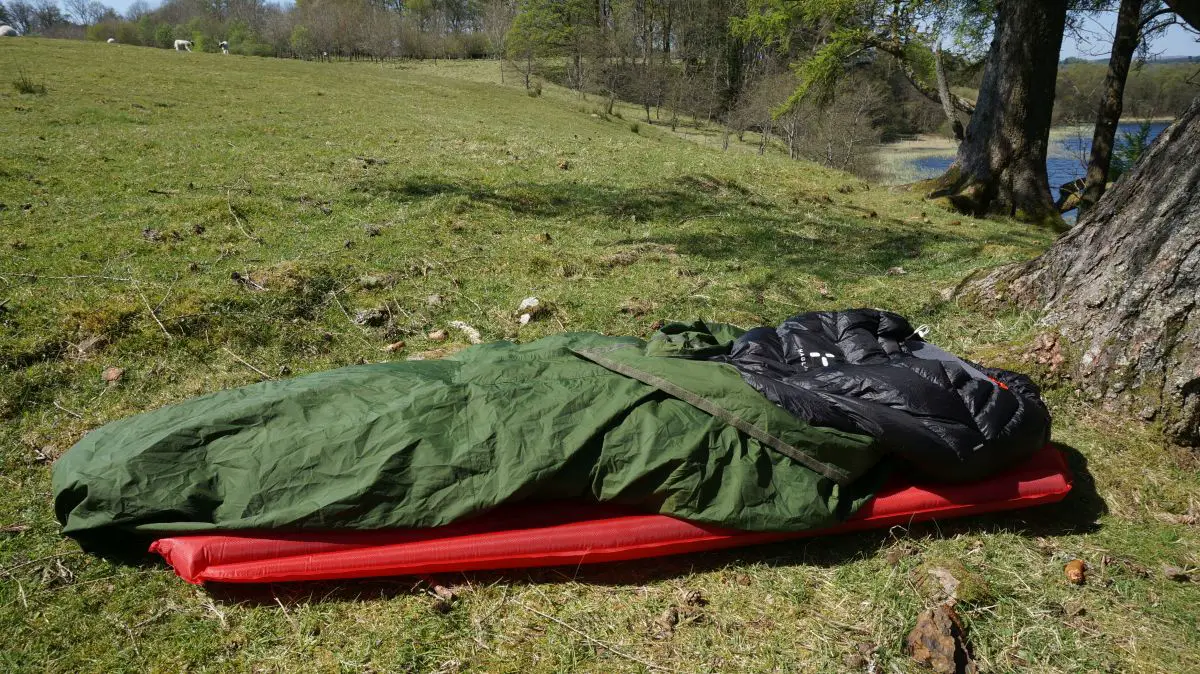
Sleeping bags are worthy of an article in themselves so I’ll only cover the basics here. Down bags are the lightest and pack down smaller for a given level of warmth than synthetic bags. The downside (Get it? DOWNside?) is that they command a higher price and lose much of their insulating qualities if they get wet. It is an oft quoted fact that synthetic bags will outperform a down bag when wet. However, if your bag is sopping wet, it doesn’t really matter what insulating material you have as you are in for a miserable night.
Whichever bag you chose, be realistic about when you intend to use it? Are you a warm or cold sleeper? What matters more – pack size and weight or price? Are you planning any sub-arctic trips or are you a warm weather traveller? There are no quiver killers here. What is right for you may be of zero use to someone else.
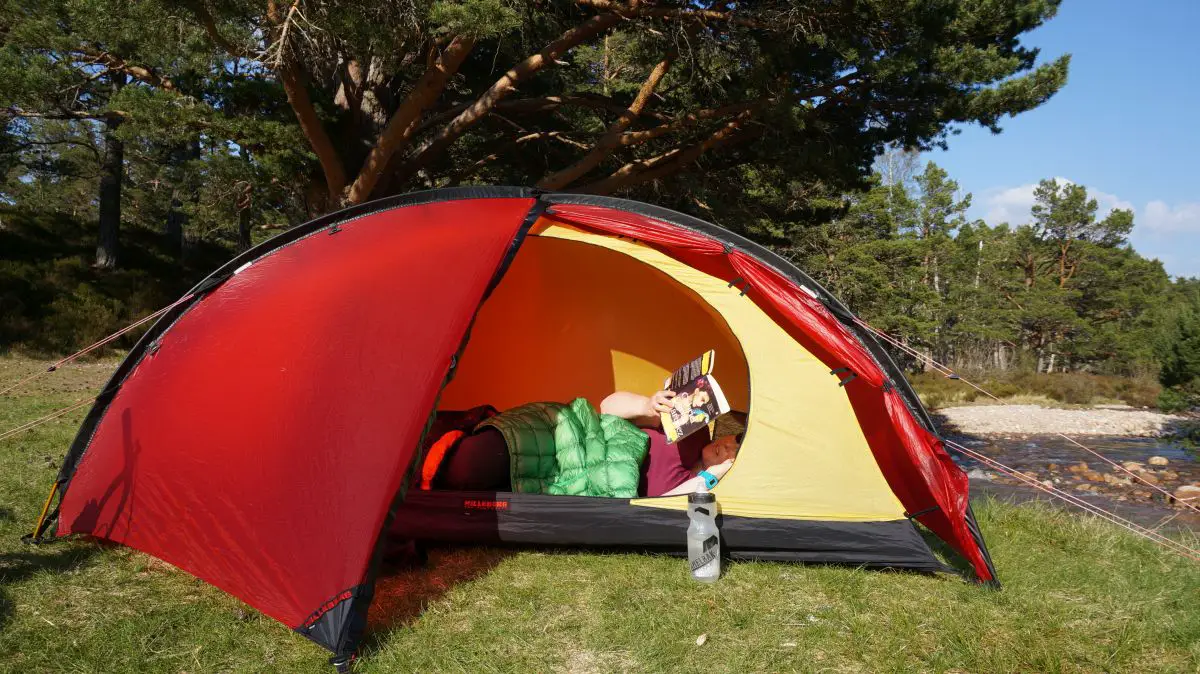
When it comes to shelter, my gear choices vary with the route choice and the expected weather. For multi day trips when the weather looks like it will be iffy or where I expect the dreaded midges to be out in force, I always opt for a tent. Of late, I have been using Hilleberg’s latest 2 man lightweight offering, the Niak. It is positioned at the top end of the market but it offers great protection in bad weather, masses of useable living space and a quality of construction that borders on the obsessive.
When wanting to save weight, I have had a positive experience using the latest version of Alpkit’s Ordos 2 tent. An inner pitching first design, it lacks the bombproof quality of the Hilleberg but weighs several hundred grams less and costs less than a third of the price of the Hilleberg.
Hammocks & Tarps
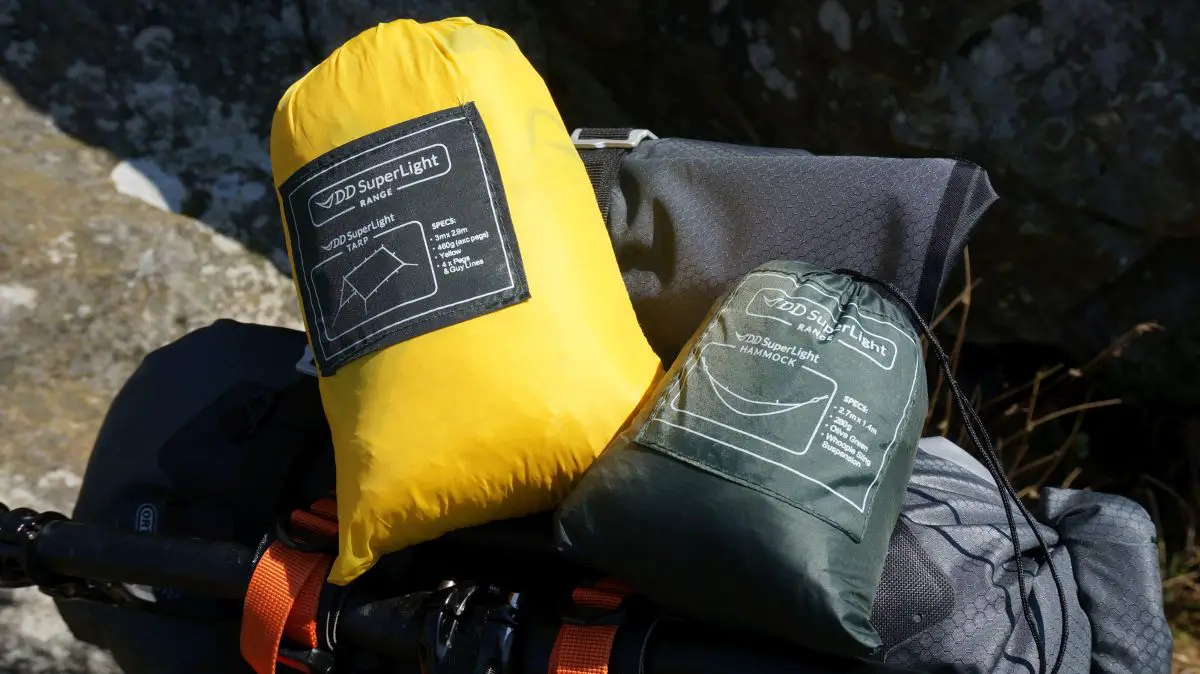
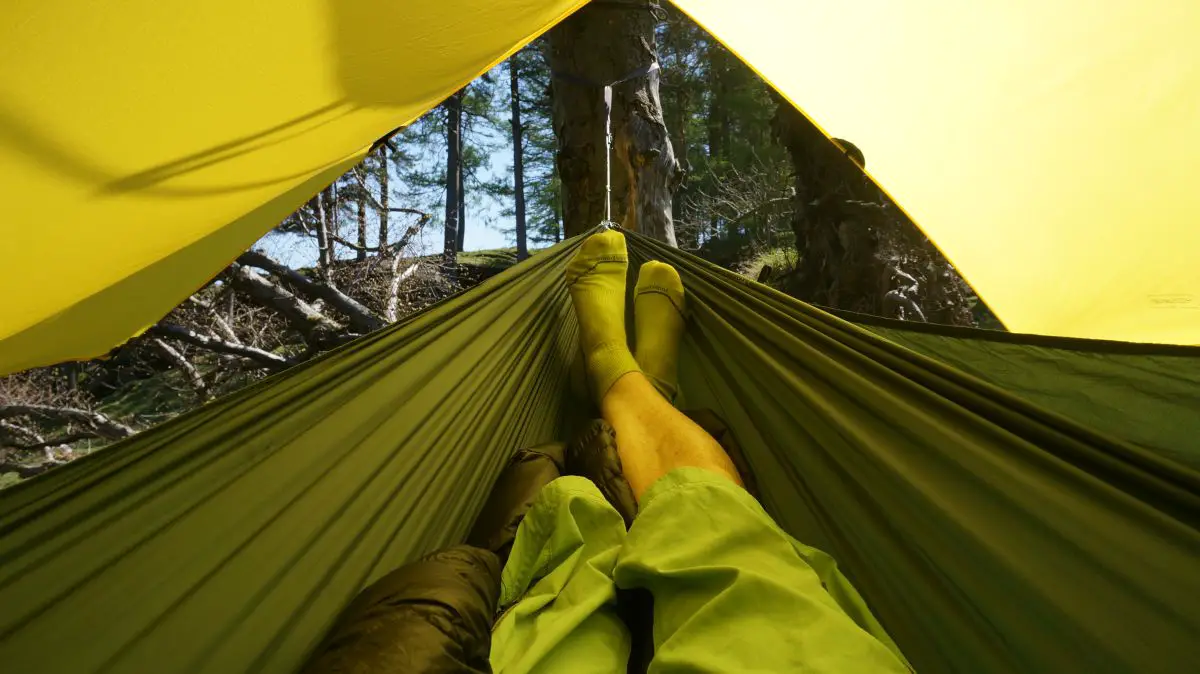
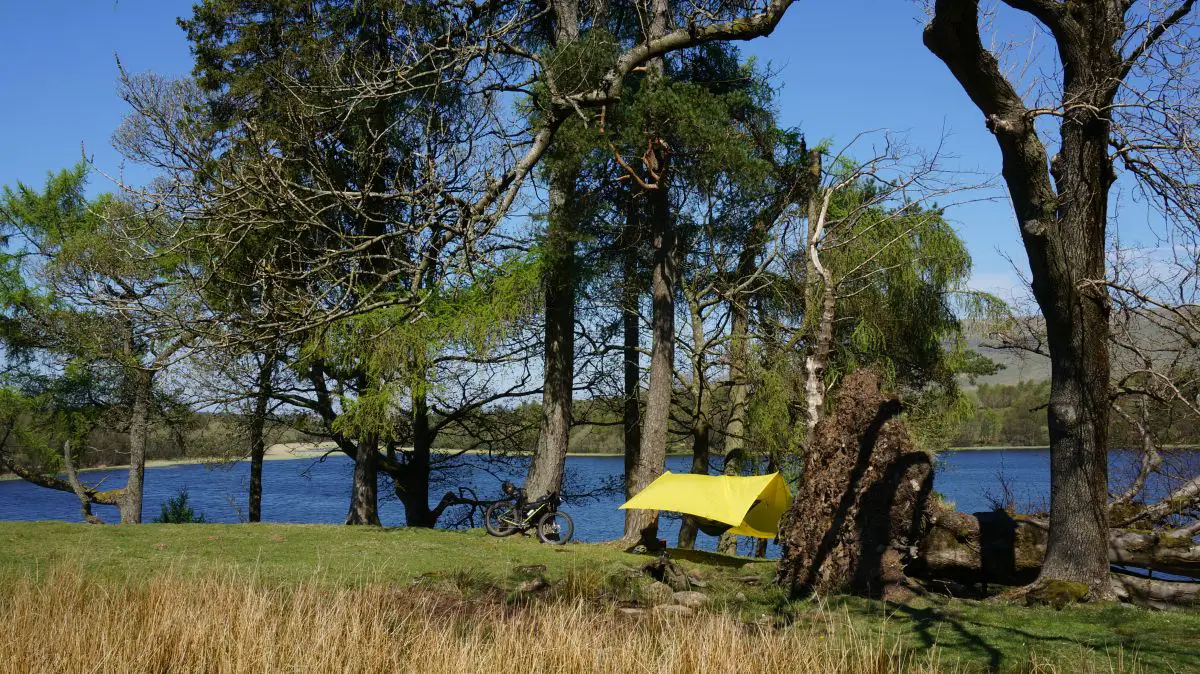
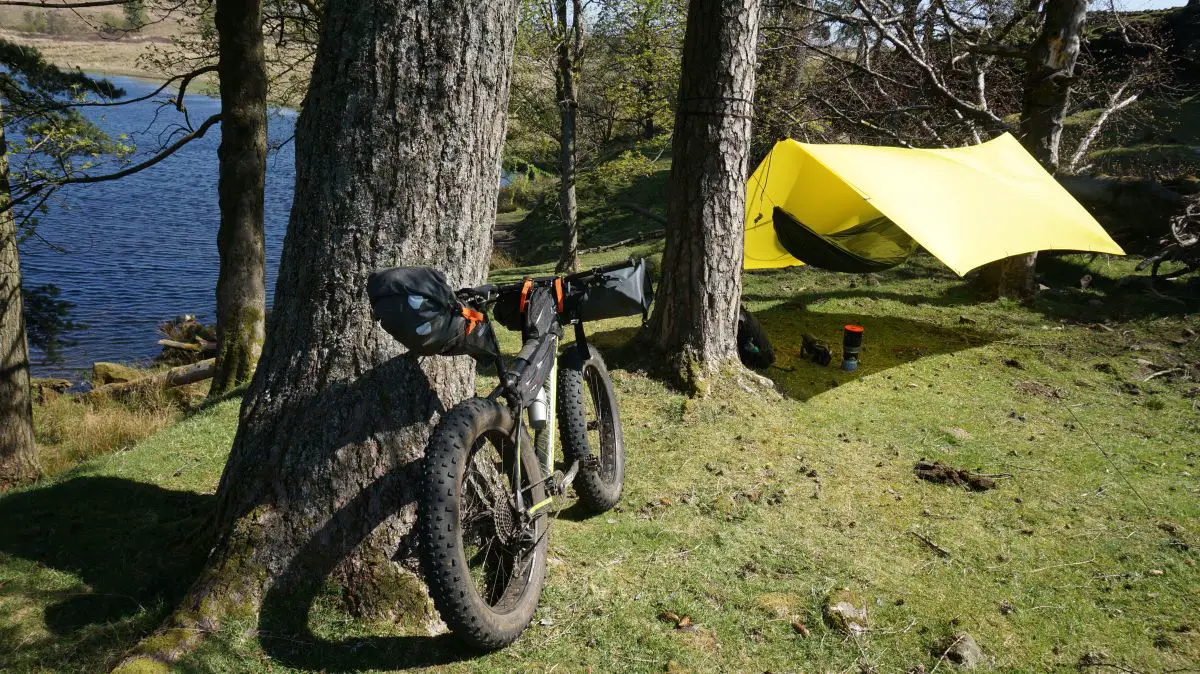
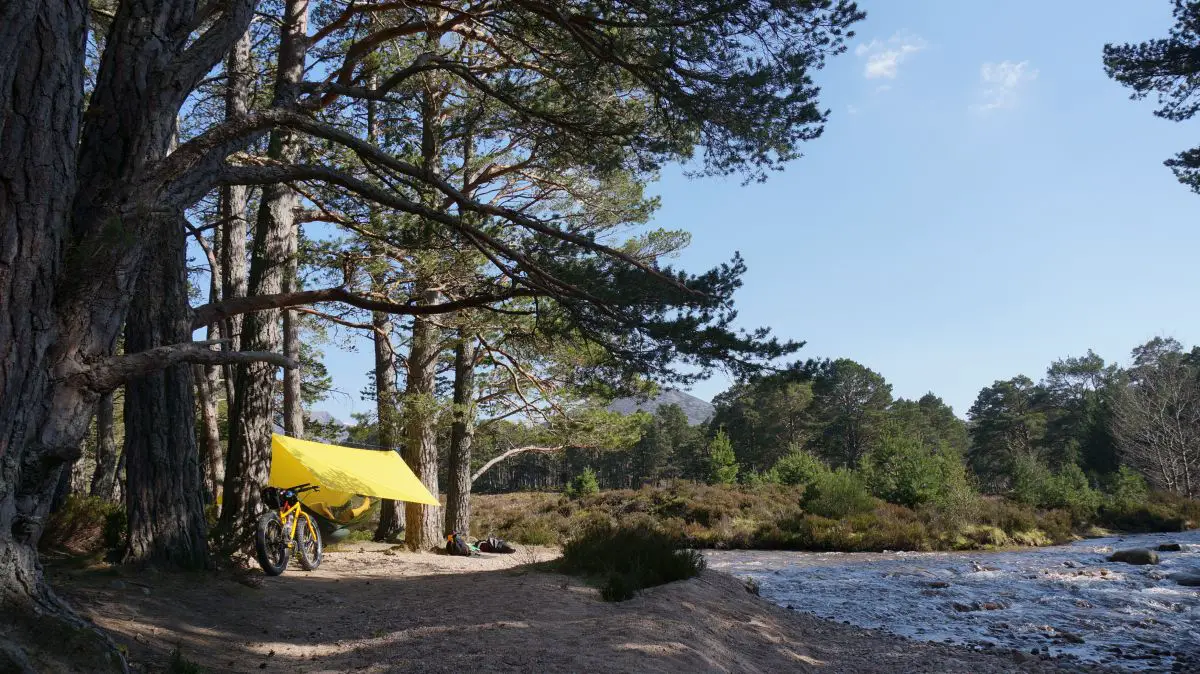
On warmer trips where I know that there will be plenty of woodland riding, I am something of a recent convert to the art of hammock sleeping. Coupled with their Superlight Tarp, I’ve been using a DD SuperLight Hammock and mosquito net set up.
Setting a hammock up takes only a little bit of practice, albeit with a lot of patience should you try and do it in high winds. Who knew that a bit of wind and a partially set up hammock could make for a really effective kite? I have to hold my hand up and admit to a Basil Fawlty on Gourmet Night tirade when I tried putting it up on a windy day for the first time. On colder nights, you’ll want to consider adding an under blanket for insulation. While this adds weight, it beats the hell out of spending the night shaking with cold!
An added advantage of a hammock set up is that it can be set up in a minute or so and be used for a mid-ride powernap. As my friend Iona, first woman to complete the Highland Trail 550, puts it so eloquently – the day bivvy!
Dressing for dinner
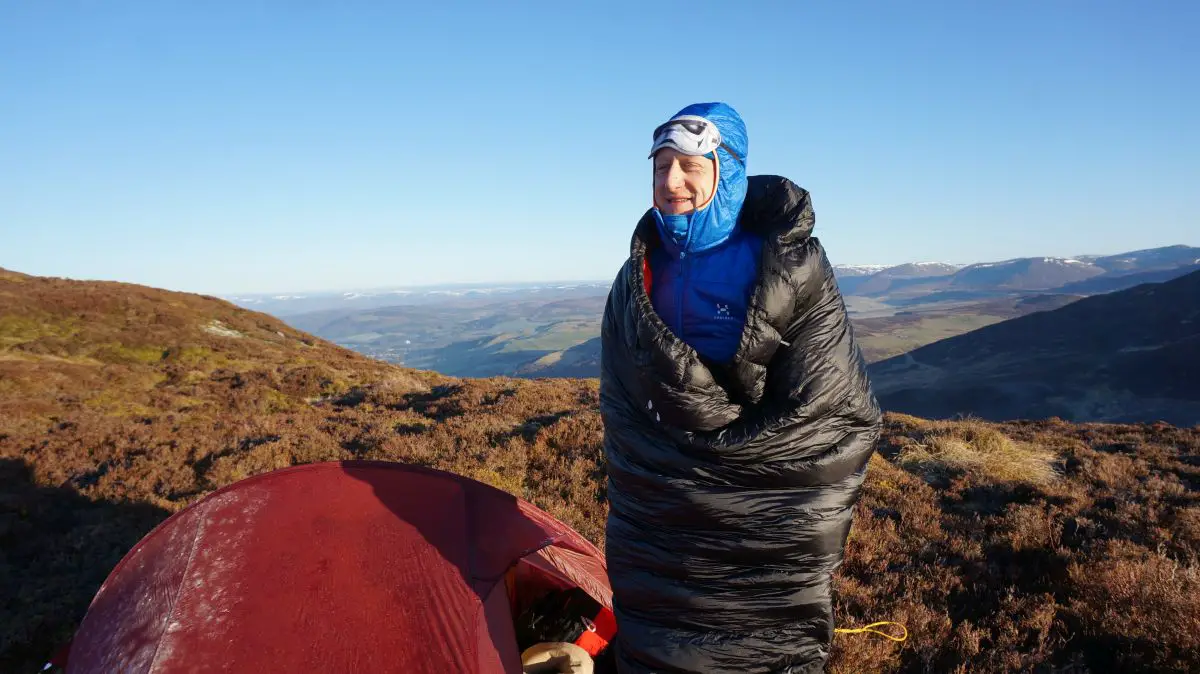
So your riding for the day is finished. Priority one is to get (or stay) warm and dry. If it is tipping it down, plan on getting your shelter for the night sorted. However, if it is a balmy summers evening, you can adopt a more relaxed approach. Whatever the conditions, unless you happen to be particularly blessed with good weather, you should expect to cool down fairly rapidly. Bear in mind that it is a lot easier to stay warm than it is to warm up.
Having comfortable camp clothes to change into can give you a real psychological boost. But what to take? A lightweight down or synthetic insulating layer can be a Godsend. Having experimented with many options over the years, I’ve settled on a Haglofs LIM Essens down jacket for summer use and a PHDesigns Minimus down jacket with hood for winter use. The former weighs less than 200 grams and gives what can only be described as a warm hug every time I pull it on while the latter is rated to minus 15 but packs down small for the level of warmth it provides. Both are comfortable enough to sleep in if my sleeping bag needs a wee top up of heat. In terms of base layers, merino or merino mix is hard to beat for multi day use. Ice breaker, Helly Hansen and Smartwool are all good brands to consider.
For legs, you can go for the Max Wall look by sporting a pair of long johns or you can go for the luxury approach of an insulated zip off trouser such as the Barrier 3 pant from Haglofs. I remember having gear envy on an overnight trip when my riding buddy Kev Dangerous pulled a pair of those out from his pack! To top things off, a warm beanie hat and gloves will keep you toasty.
The little essentials
In the obsessive quest for weight saving, it’s easy to go to extremes – chopped up tooth brush, ditching the water bottle in favour of a plastic cup (not a great approach to be recommended in the Wadi Rum but pretty effective in the Lake District), ditching the sleep mat and tent for an ultralight hammock. Heck, you can even ditch the toothbrush and paste for sugar free chewing gun unless you’re really going for the Unabomber off grid living look where your bad breathe could kill a cat at fifty yards. That said, there are some luxuries that I’ll always take on a trip. For botty comfort, a small tube of Sudacrem can do wonders at the end of the day for dealing with saddle sores and general rubbage.
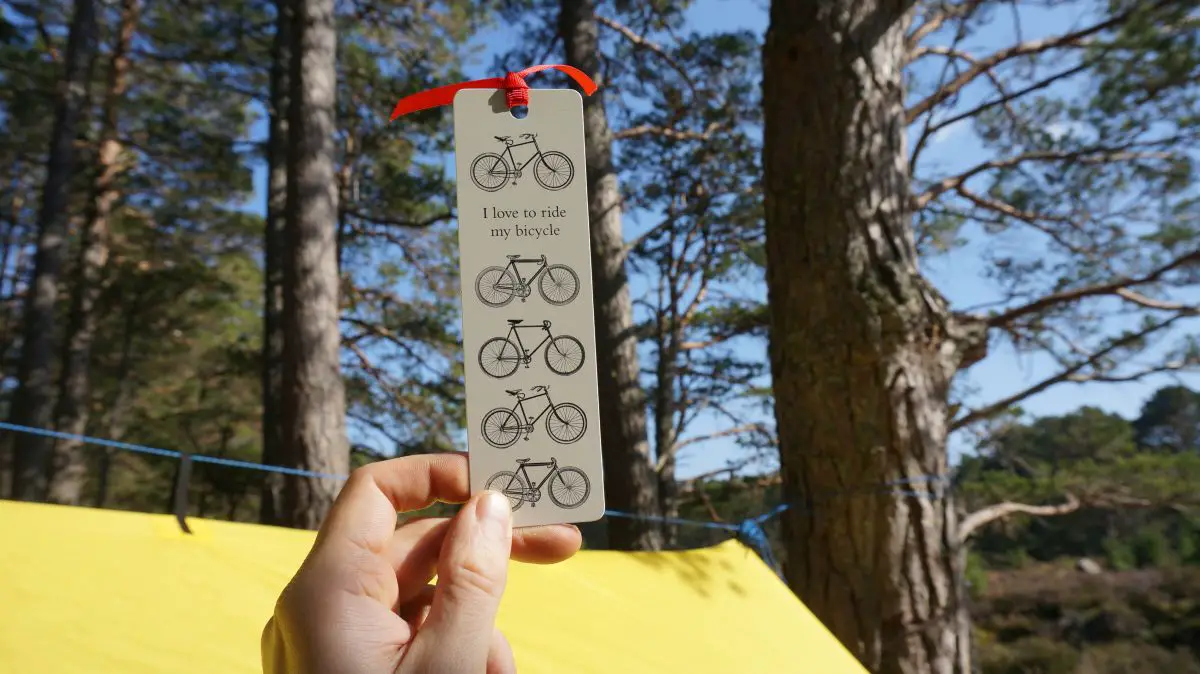
A dry bag toilet roll holder is the difference between being able to keep your nether regions happy and stumbling in the dark in an ultimately fruitless search to locate the soggy bog roll which you dropped and will be as much use as a chocolate fireguard should you ever find it again. (Hint: I can guarantee that it will have rolled into a dank, muddy puddle). A small aerosol of shower in a can is good for masking the heady smell of putrefied socks when you have to dip into civilisation for a resupply. Finally, something to read to pass the wee small hours. Kindles are great but paperbacks have the advantage of being able to be repurposed when you lose your bog roll. “War and Pees” by Leo Tollystoy is a personal favourite. [Groan – Ed]
Start small to go big
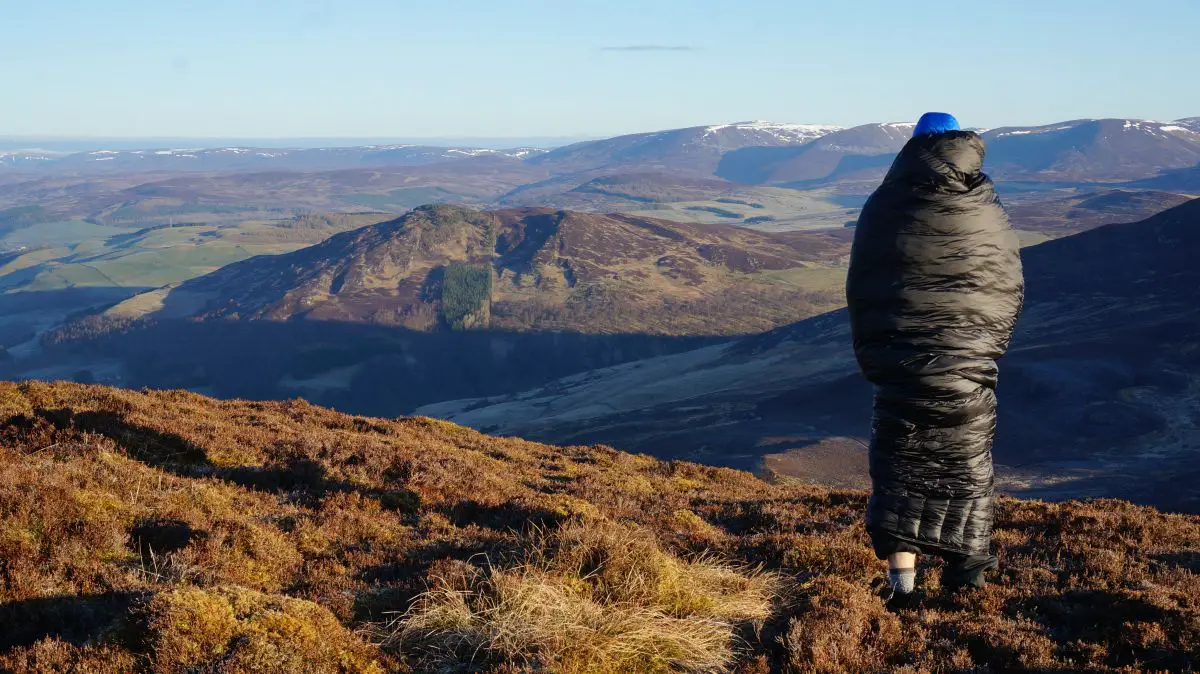
So you have your gear sorted and you’re ready for your first trip. But where to go? While Outer Mongolia is lovely this time of year, you don’t need to go far nor adopt a Ray Mears style approach to survival to get the most out of your first trip. One of the best aspects of bikepacking is poring over maps, tracing your finger down a line of potential singletrack nirvana and piecing together your route.
Downloading GPX files is all well and good but there is something deeply satisfying about taking a step into the unknown (well, unknown to you anyway). Consider a short overnight trip to a campsite with a welcoming nearby pub. A hearty pub meal washed down with a pint or two of your favourite tipple lends a welcome feeling of luxury to any trip.
As for when to go, aim to do it around a good weather window. Your first forays should be about getting familiar with your kit and the feel of riding a loaded up bike. First and foremost, you want to be having fun. As the old saying goes, any fool can be cold and wet. Contrary to what your parents might have had you endure as a nipper – horizontal rain, sleet, howling winds, midges that could carry away a small cow, camping doesn’t have to be miserable!
Go slow to go fast
Finally, your planning and prep has come together and you are doing it. Feels good, doesn’t it? But slow down there, friend. What is with the race pace? I don’t see no race numbers nor hear shouts of “Strava!”. While riding at warp speed feels good, six or seven hours down the line and you’ll be paying for your enthusiastic start. Bikepacking is about the journey, not about who can arrive at the destination in the fastest possible time. Kick back on the speed and take the time to take in your surroundings. Without the requirement to start and finish at the same point in one day, your riding horizons expand exponentially in front of you.
Try something new
As with all things, the more you do it, the more proficient you will become at gear choice, the art of packing your kit, route finding and generally enjoying yourself in the outdoors on overnight or multi day trips. Once you feel comfortable and confident enough to take on new challenges, the world will be your oyster. I’ve long been an advocate of bothys and tents but my eyes have been opened to the world of tarping and hammocks in the course of preparing and writing this article. I now find myself eyeing up the likes of the Priest Hole cave in the Lakes and the Secret Howff in the Cairngorms and contemplating new adventures. Wherever you go to find your adventure, just remember it doesn’t have to be an epic tale of hardship, adversity and misery! Enjoy!
Looking for inspiration
The internet is brilliant for getting your bikepacking Jones on. Favourite sites of mine include:
- www.bikepacking.com – a US based site which combines lovely images with in depth reviews.
- www.whileoutriding.com – Cass Gilbert’s inspirational blog about cycling the Americas.
- www.bearbonesbikepacking.co.uk – the go-to site for every conceivable bikepacking question which you may have.
- www.blog.scotroutes.com – forum regular Scotroutes aka Colin Cadden’s blog following his Scottish adventures. While he would describe his trips as pedestrian, the blog is always an excellent read and worthy of being bookmarked in your browser.
- www.backcountrybiking.co.uk – Aviemore based experts who offer tuition and guiding in the art of backcountry travel. Also the UK distributor of Alpaca packrafts and Revelate Designs bikepacking gear.
For more info on the DD Hammock range, including tarps, hammocks and cooking accessories visit their website



Great article will share amongst my bivi curious friends
Great article and fab pictures. Going on my first bike packing trip next weekend !
Nice article (but then I would say that….;-) )
I think it needs to be emphasised that short journeys make ideal first nights out. That way you don’t have to commit to anything major and you can always head for home if it’s a complete disaster. Same with kit – get out there with what you have rather than delay until you’ve researched it to the nth degree and before you reckon you need to spend thousands of pounds. That way you’ll learn what suits YOU best rather than just what suits someone else.
Excellent. Timely and shared, ta.
Enjoyed reading that, great advice in it without weighing it down.
‘Bikepacking’ – touring, but with more straps to lose? (Nice bit of writing, tho!)
OK, now I feel guilty. Need to get out more.
Great article Sanny. Truly inspirational stuff. Goin to get me some bikepackin kit!
Another good article Sanny- nice one
Thanks for the nice comments. It’s very much appreciated!
The hammock and tarp set up is something new to me but it is incredibly comfy and the gentle sway of the hammock is strangely comforting. It packs down ridiculously small and like I wrote in the piece, it is so light that it is worth taking for a mid ride day bivvy! It is always something that has intrigued me but one that I was never quite sure of……..until I tried it! I was genuinely surprised by how much I liked it.
As Colin says, there is no need to pore over kit to the nth degree – just get out and try it for yourself. Heck, do a local ride loaded up and camp in your garden if you like.
For inspiration, have a look at Colin’s Scotroutes piece about Glen Affric. I REALLY want to ride there!
For info, the pics were taken above Pitlochry, in Rothiemurchus east of Aviemore and around Loch Ardinning just north of Glasgow.
Any questions. Just ask!
Cheers
Sanny
Great article – something I’ve been wanting to do for ages but didn’t know where to start – I no longer have that excuse!
Great read that.
All my bivvys to date have been hammocking. There’s just something appealing about being off the ground, sleeping supported, having a large tarp area to move around under and being able to look at your surroundings all night. Worth spending some time making sure that you can get a diagonal lay so that you are nice and flat.
I was meant to be out last night in my first bivvy bag experience but forecast put me off!
Wonderful read – thanks for sharing
Nice write up Sanni!
I’ve done a couple of Bike Packing trips, the last 1 in Italy, but didn’t end well. You can also use a tarp with a bivvi / sleeping bag combination. It has the added advantage of giving you a temparary shelter during the day should it rain more than you’re happy riding in.
Also the luxury item I always take is a pair of boxers! Nothing worse than sleeping in short liners, and having your nuts sent back up to where they came from!
Sleeping in your liners is maybe optional on a quick overnighter but is best avoided for reasons of cleanliness and comfort. Get those bits aired a little and try to let the liners dry off as much as possible overnight.