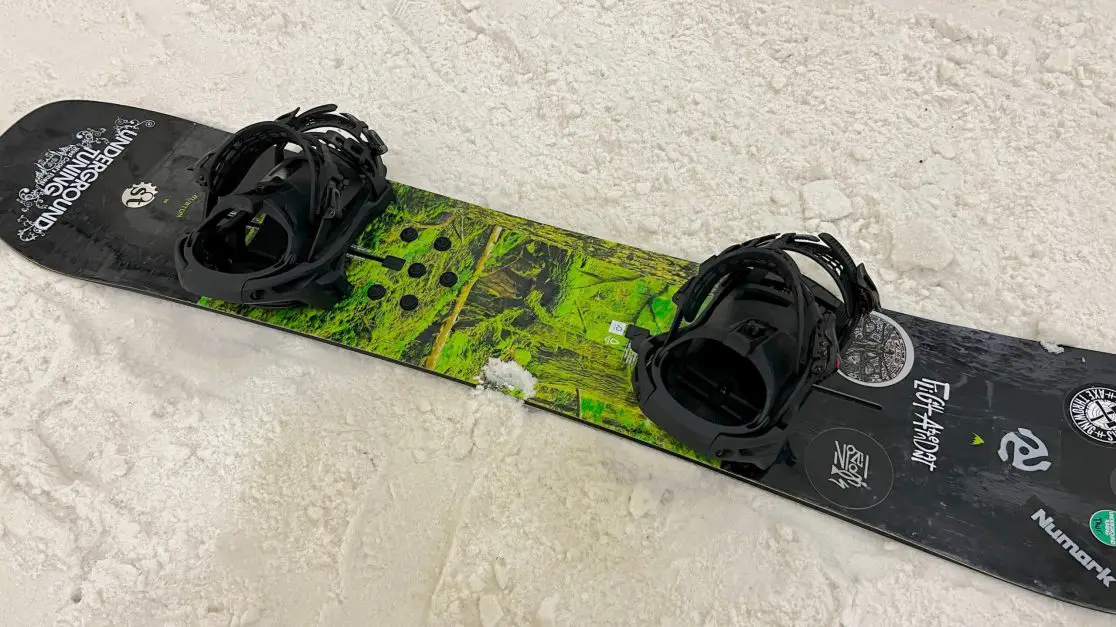
The Nidecker Supermatic bindings are a snowboard binding that allow you to step in, lock and go. They are the snowboard equivalent of moving from clips and strap pedals to Shimano SPDs.
This is first look review that comprises of my thoughts following setup and a few hours of riding on an indoor slope. A more detailed review will follow in a few weeks once they’ve been ridden in the real outside world.

First a quick 1 minute learner about snowboard bindings
Traditional snowboard bindings consist of four main components. There’s the baseplate that bolts to the board, a toe strap, an ankle strap and a backplate called a high-back. Each strap has a quick release ratchet buckle that allows you to crank up the tightness to the necessary blood constricting levels, while the high-back acts as a big lever in contact with your calf area to activate the back edge (heel edge) of your board while riding. All these components are necessary to give you the complete control over the board through shifting your weight forwards or backwards to initiate the heel (back) or toe (front) edge of the snowboard and allow you to turn the board.
This setup has worked very well since the first ever snowboards were created. It still works well in fact. But it does come with a drawback that you will notice skiers do not have. Skiers simply step on to their ski bindings and with a reassuring click, they are attached and ready to slide. When they want out of the bindings a stab at the back release lever with a ski pole and out they pop. This makes snowboarders jealous as they have to bend over and fiddle at four individual buckles to get both feet in or out of their bindings. Notice how on a busy piste when you get off the chair the only people sat on their backsides around the lift station are snowboarders fiddling with their bindings. Their ski mates are already heading down the slope. This is not fair.
There have been attempts in the not too distant past to create a more ergonomic binding that requires less bending and levering of buckles. The Flow binding was the first commercial attempt at making things easier for boarders. It consists of a high-back that can fold backwards around 45 degrees to allow an easier insert of boot without having to loosen the ankle and toe straps. It then locks back in place via the activation of a lever attached to the high-back which activates a cable attached to the base plate.


More recently, Burton have introduced their own step in bindings called the Burton Step On system. These work in a more SPD-esk way, doing away with the heel and toe straps completely and using a cleat system. These require compatible boots which currently means buying both boots and bindings from Burton. As an elegant solution they certainly have a lot going for them, but if you really like your current boots or you just don’t get on with Burton boots then this is an issue.
And so to the Nidecker Supermatic Bindings
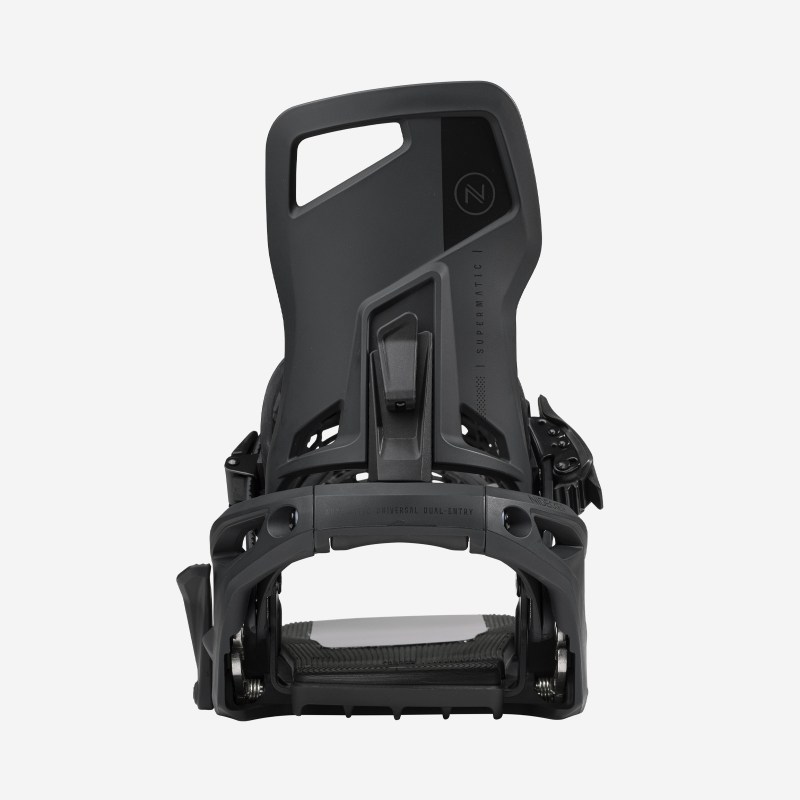
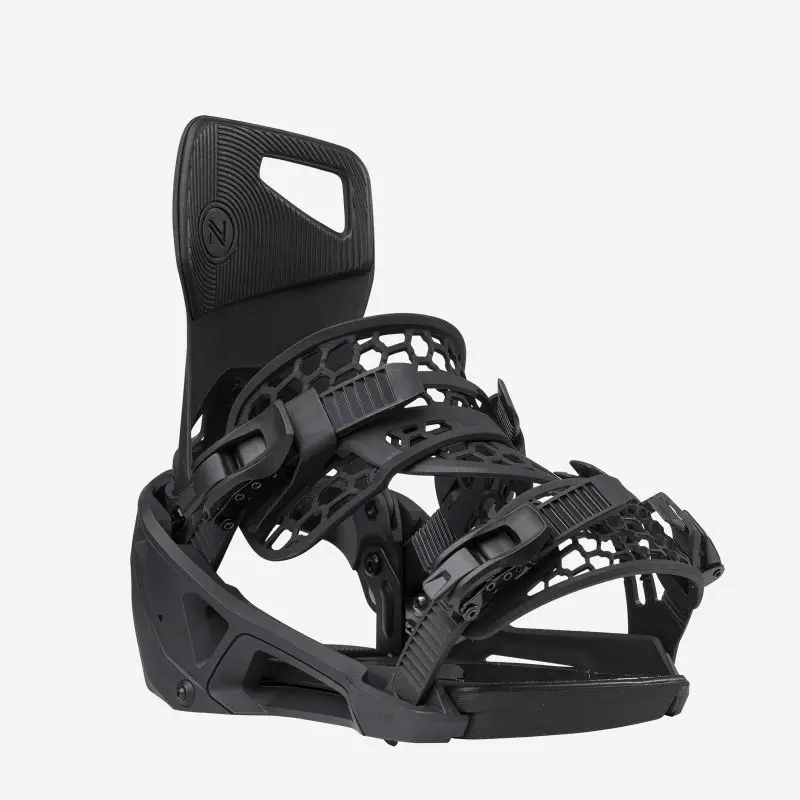
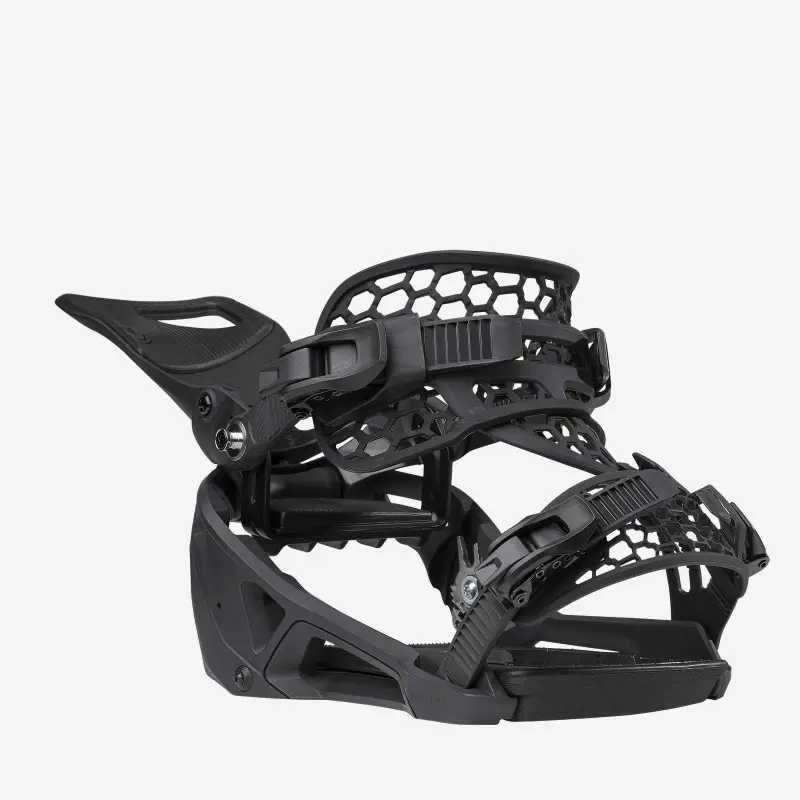
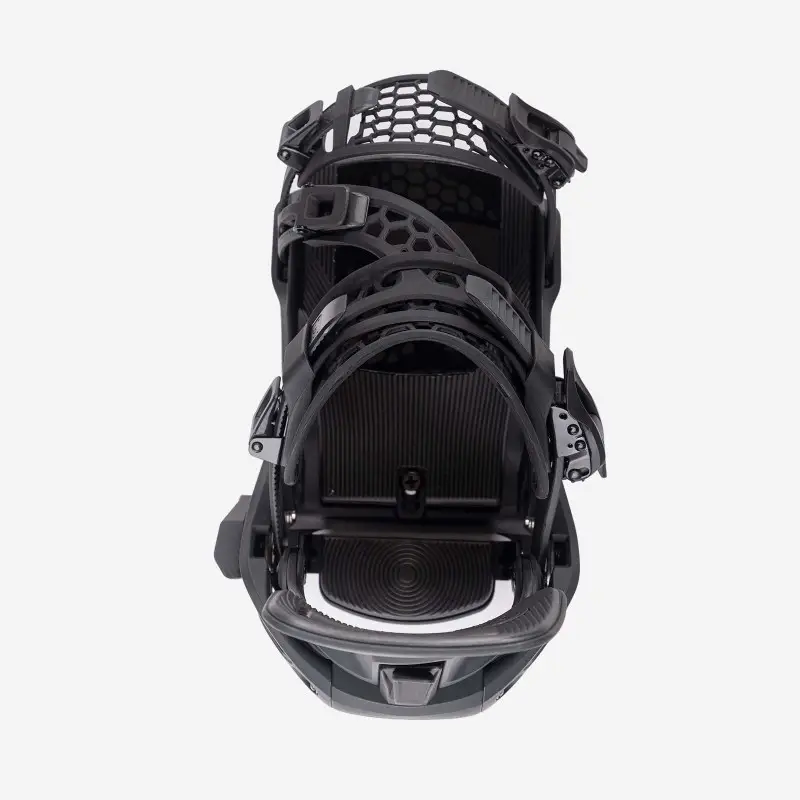
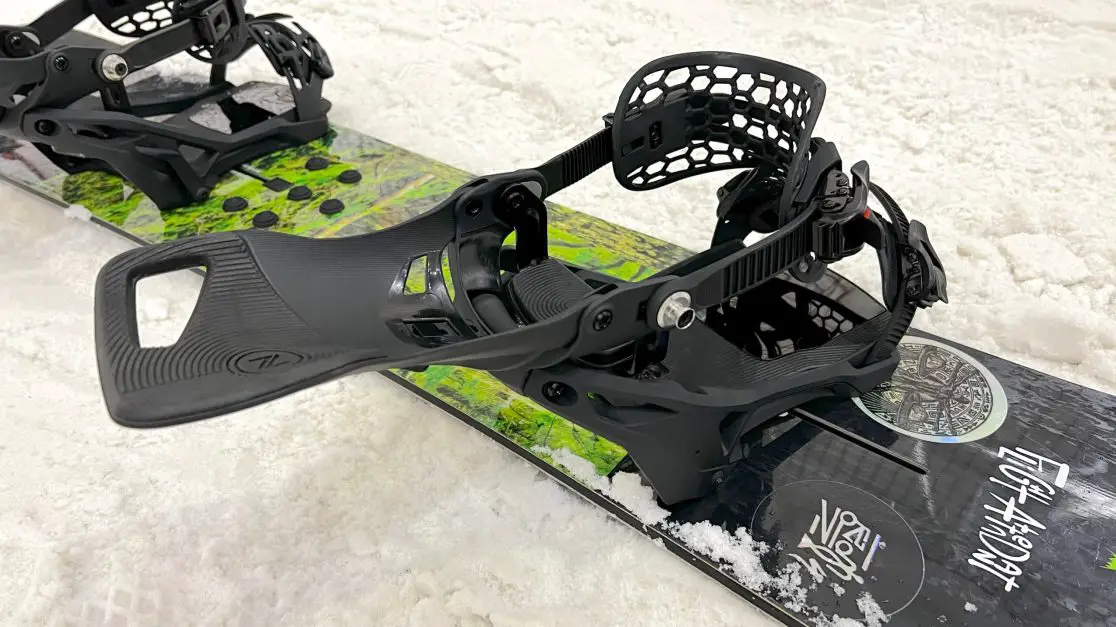
These bindings are kind of a combination of both of the above systems – more weighted towards the Flow system. They comprise of a traditional looking toe and heel strap but with a high-back that folds down almost 90 degrees when activated allowing your boot to enter the already setup ankle and toe straps from a much more shallow angle. There’s no lever to pull up to lock the high-back like there is on the Flow system. Instead the action of putting your weight down activates the high-back as your heel engages with the clever floating heel plate. It’s hard to explain it in words and much easier to understand when you see it in action. And so here’s a quick video of me stepping in and out of them for the first time at an indoor ski centre near Leeds.
First impressions
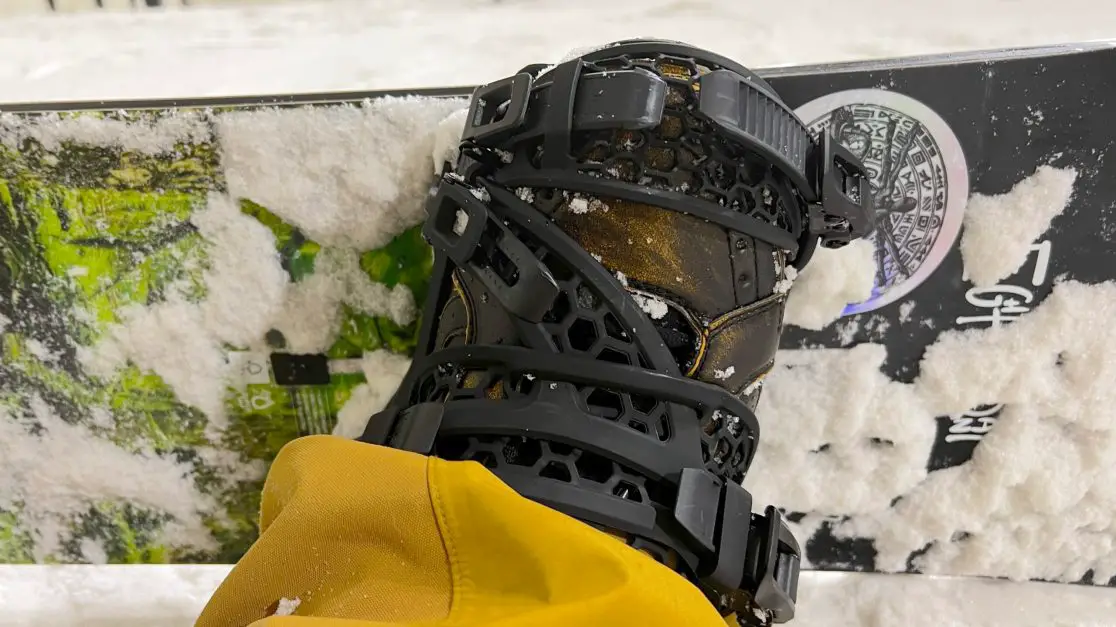
To set them up you treat them just like any other non-step in bindings. Step in with the high-back up, and tighten the ratchet buckles as you would normally. There’s an extra strap that connects the ankle strap to the toe strap – this is needed in order to keep the toe strap in place ready for your foot on entry. Once you have everything snug you can activate the little locking levers on the buckles that will prevent the main ratchet buckle lever from operating and moving the strap settings. This makes sure that nothing is going to get moved around when the bindings are stored away or when carrying your board around. It’s a clever little feature. Then you set up the high-back as normal.

Now, you just need to extract yourself from the bindings by pushing down on the lever on the inside of your heel. This disengages the high-back lock and with a little lift of your heel the high-back falls backwards and your foot will slide out.
Getting in is just the reverse although there are some clever bits of mechanics to help you. First of all there is the floating heel plate that is essentially the big lever that will pull the high-back up when you put your full weight on it. But there’s a couple of other features that make things glide smoothly. There’s the heel roller, which is, well.. a roller that helps the back of your boot slide the heel into place and then there’s the special sole plate that is made of a super smooth surface to allow the toe and ball of your foot to slide into the toe strap. Altogether these features are what make the mechanism work as smoothly as it does with very little friction.
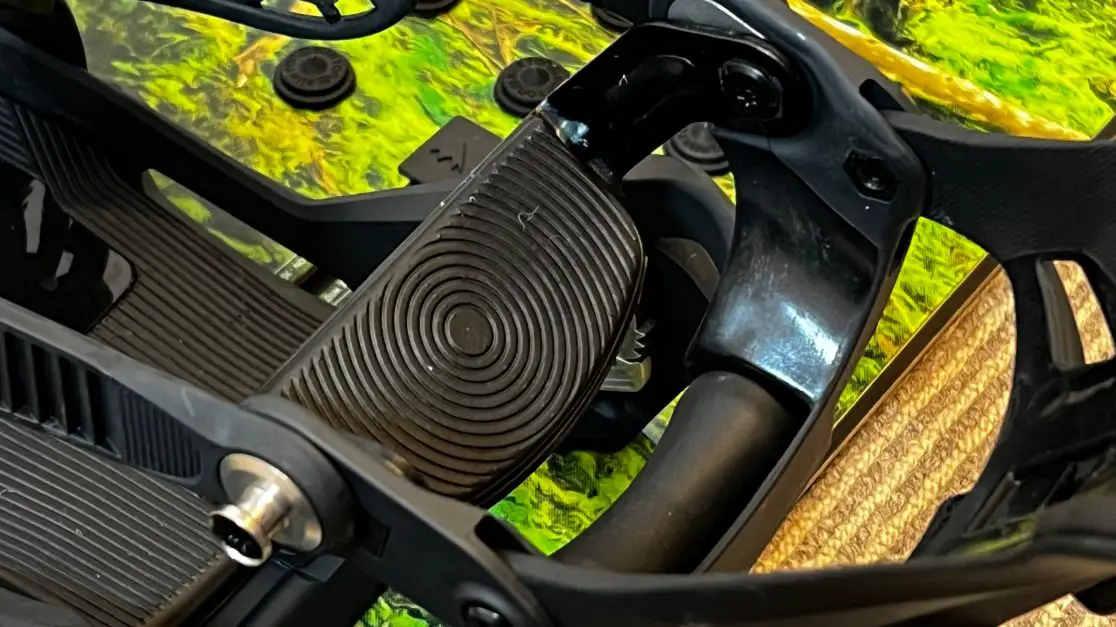
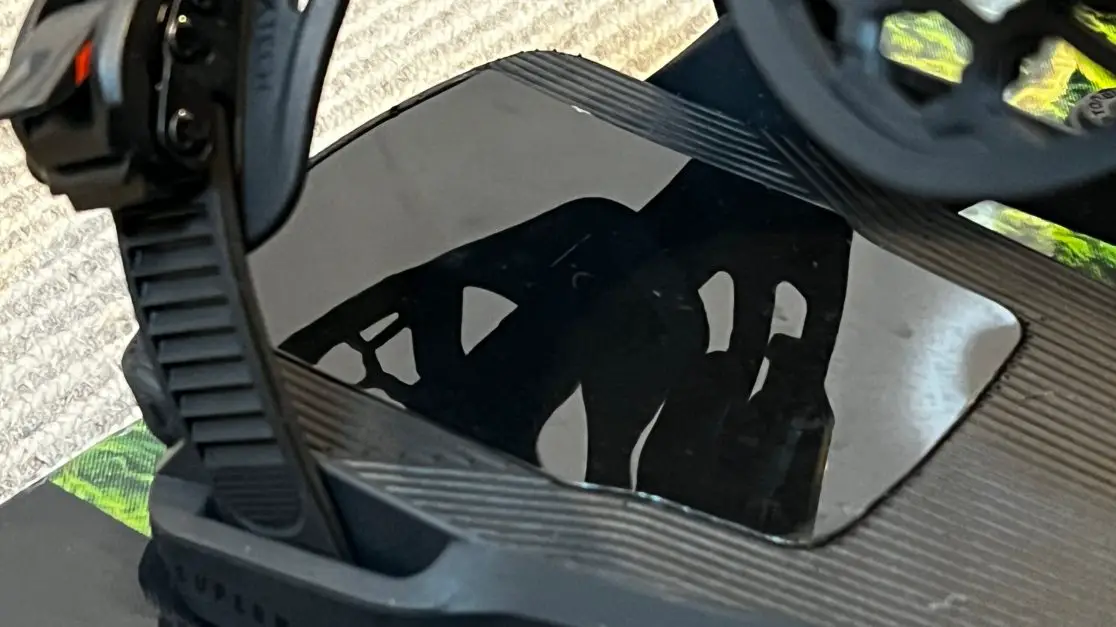
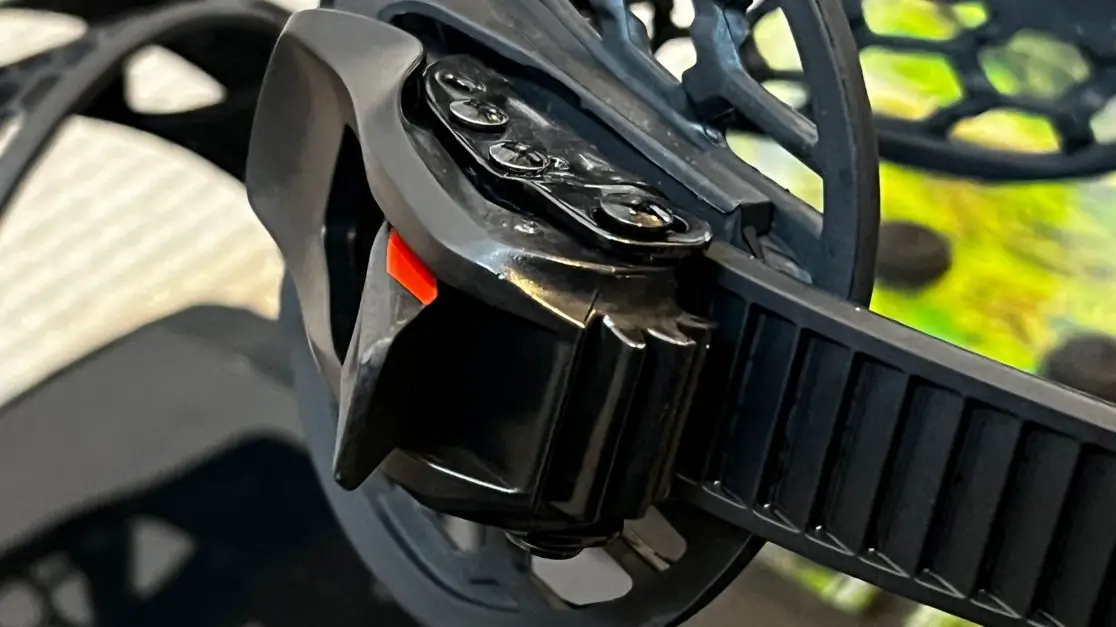
Getting your foot into place as smoothly as I was doing in the video does take a bit of practice. It’s essentially a new learned movement and you need to be firm with it rather than gentle. But after a few goes on the carpet at home it’s all fine, although you need to be aware that it will be a little sticky at home on the carpet as the presence of actual snow aids the frictionless operation. It’s ultimately quite a natural movement. The locking mechanism is reassuringly ‘clicky’ – there’s no mistaking the feeling of being locked in. And boy, do these things feel tight.
Riding the binding I was really surprised at how secure it all felt. I was expecting it to feel more loose than it did. My old bindings were Burton Malavita Reflex bindings, which are a great responsive binding. I was not expecting the Supermatics to feel as solid as they did. That extra strap that is needed to connect and hold the toe strap to the heel strap gives another level of security that really locks your foot to the plate and at no point in the brief couple of hours of this first ride did I feel that the bindings had stretched or moved enough to warrant resetting the buckles.
In short, I loved them. They performed much better than I was expecting.
Just one question
Is the disengagement lever easily activated by accident? What about if that happens on a chairlift?
This question has been asked a lot in various snowboarding groups and my very early thoughts on it (Caveat I’ve only drag lifted so far) is that the chances of losing your hanging board on a chair are about as great as for a standard binding. In other words – remote. Even if you managed to somehow activate the lever, the fact the front of your foot is still inside the toe and ankle straps should mean it won’t fall off before you have noticed. Also, the act of getting your foot out of the binding does require that you lift your heel slightly when you press the lever. It’s not a spring loaded system so the high-back won’t just spring backwards unless you also lift your heel. To conclude, I’m not at all worried about accidental lever activation. If you are, then there’s a binding leash included in the box.

Burton Step-On or Supermatics?
It’s important to understand that the two systems work very differently – not simply in how they work but also in how you use them. With the Supermatic system the high-back drops away so your foot can enter the binding at a shallow angle from behind. With the Burton system the high-back does not fall back and so to step in you need to lift your foot over or around the high-back and step down into the footplate. Which is better? I’m going to say that comes down to personal choice. As I said above, using the Supermatic requires a new learned movement and it’s arguable that the Burton system more closely resembles a traditional binding in terms of ‘strapping in’. The new way with these Nidecker bindings took me literally a couple of runs to get used to.
Shut Up and take my money
Ah! Here’s the problem right now. These are like hen’s teeth at the moment. At least in the UK. I managed to get lucky and grab the one pair that were briefly in stock at The Snowboard Asylum. They come in three sizes – medium, large & Xlarge. Mediums seem to be appearing in stock before the other sizes. Medium will take you up to a UK size 7 boot. If you are lucky and are of small feet then you should be able to get hold of some this side of Christmas (As of December 5th 2022). The stockists I’ve spoken to have all said the same thing – these are hard to get hold of right now, especially in the UK. Supplies will eventually come through but you may need to wait until the new year, and perhaps further while supplies catch up with demand.
How much?
At £365 (More on ebay while the opportunists cash in) they are not cheap for bindings. But they are similar in price to Flow bindings. Burton Step-On bindings can be cheaper but there’s less mechanicals going on and you need to buy new, cleated boots to go with them. That said, the Burton Step-On X Re:Flex top of the line binding is slightly more expensive than the Supermatic.
Snow and Rock currently offer an alliterative Burton bundle of boots & bindings for £620.
OK, I’m off to pack for a proper session on these bindings somewhere in the Canadian Rockies. When I’m back I’ll have an update for you on how they perform on a real actual mountain.
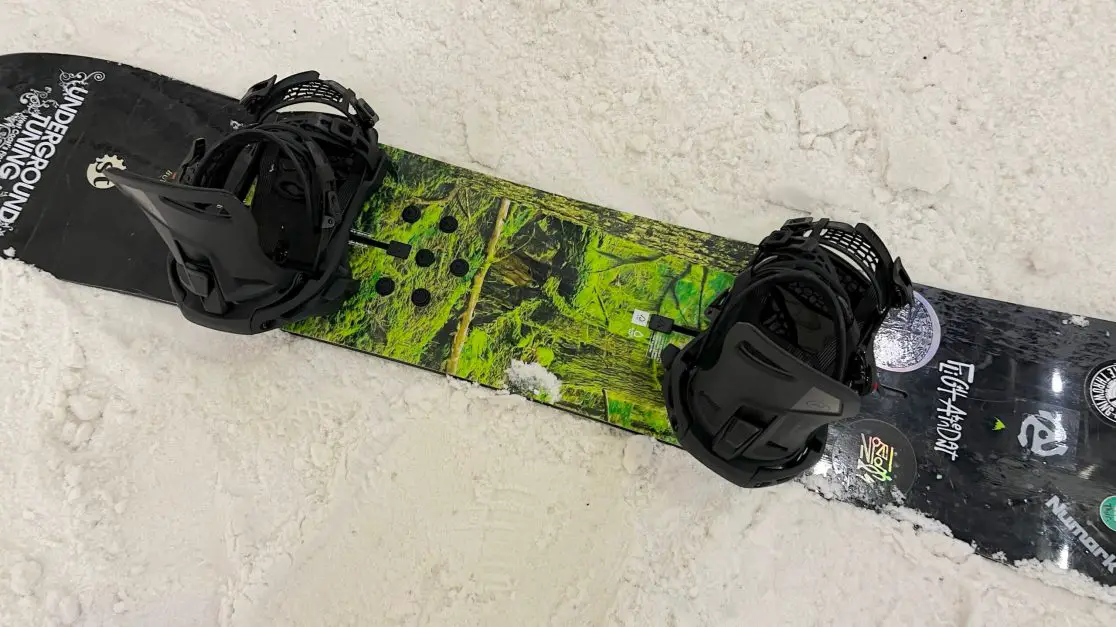
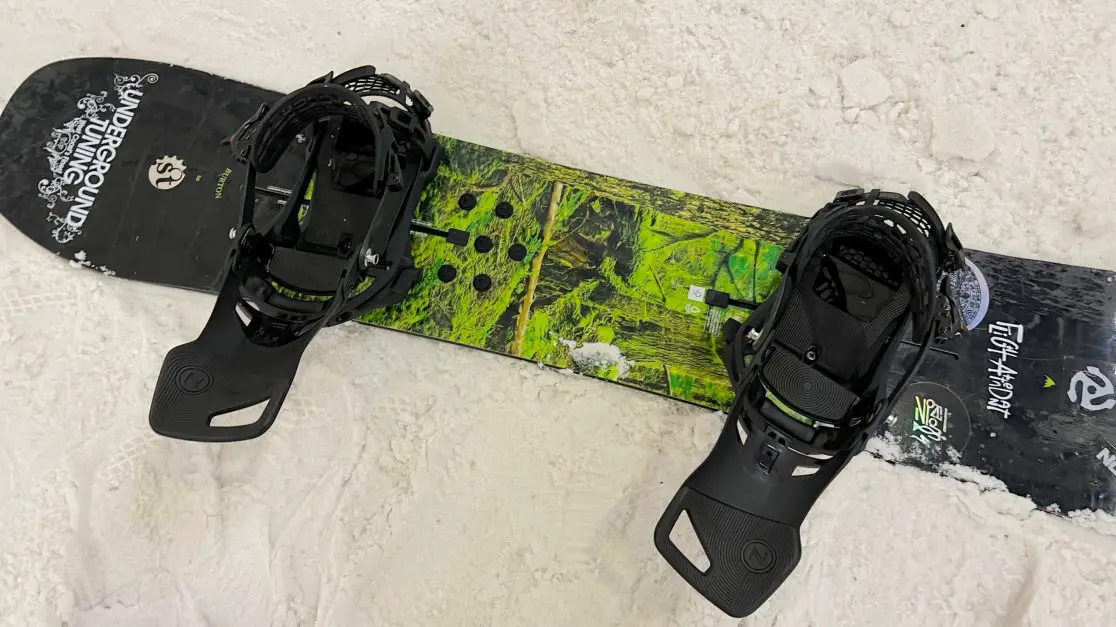
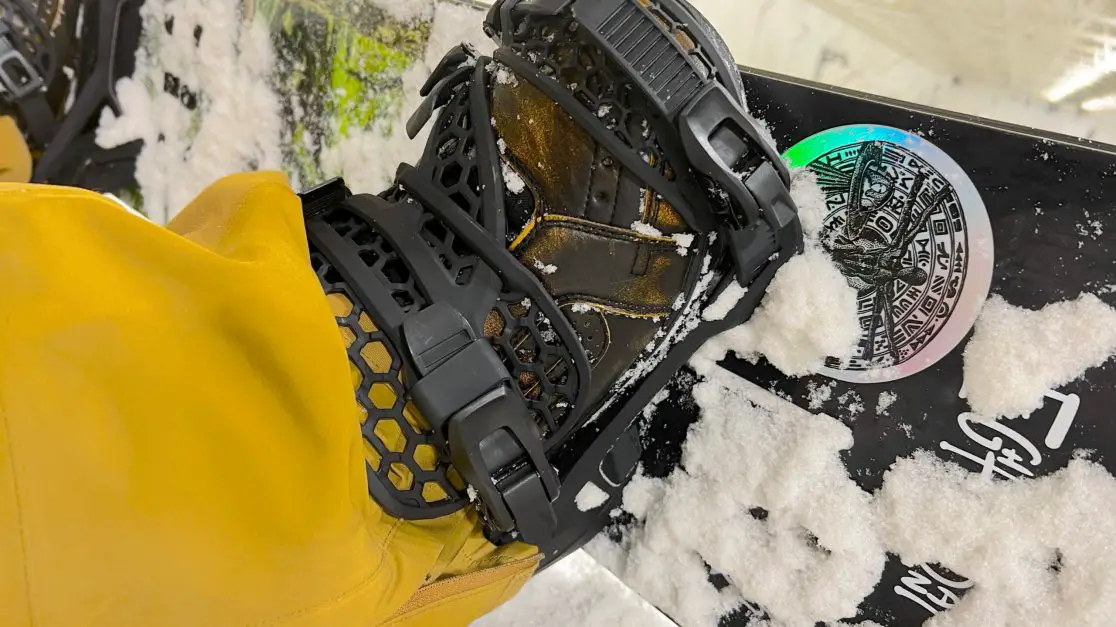
Nidecker Supermatic Bindings
- From: Nidecker.com SQUIRREL_TEXT_13018095
- Price: £365
Join our mailing list to receive Singletrack editorial wisdom directly in your inbox.
Each newsletter is headed up by an exclusive editorial from our team and includes stories and news you don’t want to miss.


