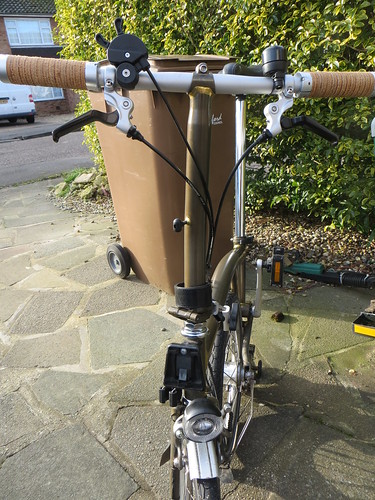
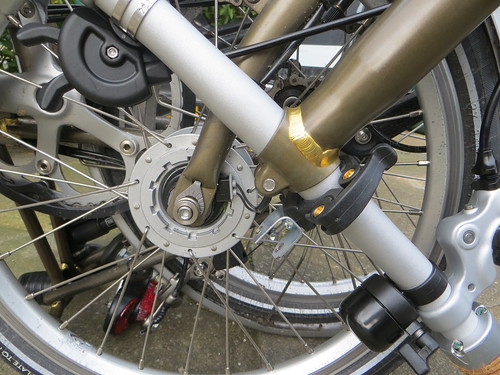
The starting point. Standard Brompton hub dynamo light, mounted in the usual very low position. The objective of today’s bodging is to get the light on the handlebars. Well, actually I’m going to swap the light for one with a stand light. This will be much better for London traffic and pedestrian dodging.
IMG_1989 by -Cheesyfeet-, on Flickr
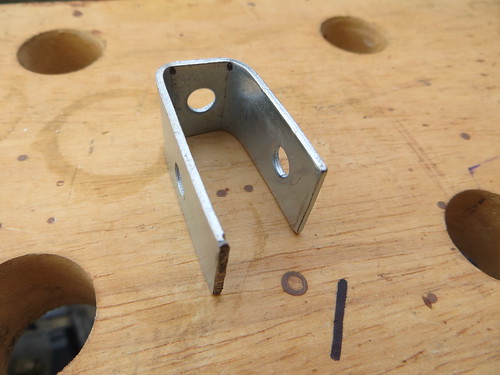
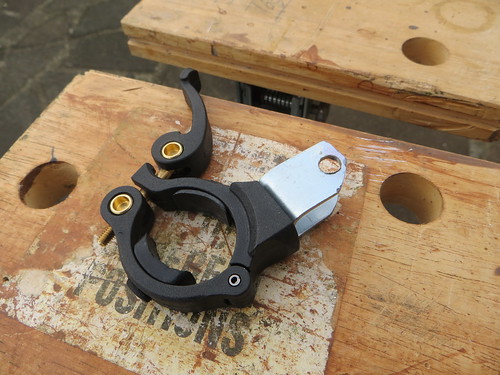
This started off as one of those right angled repair things, which can be picked up in the big DIY sheds. Here it’s been roughly cut and bent to size
IMG_1993 by -Cheesyfeet-, on Flickr
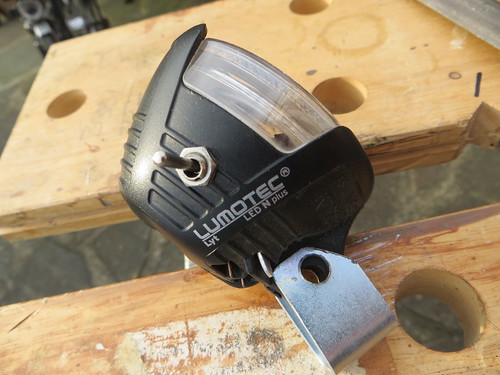
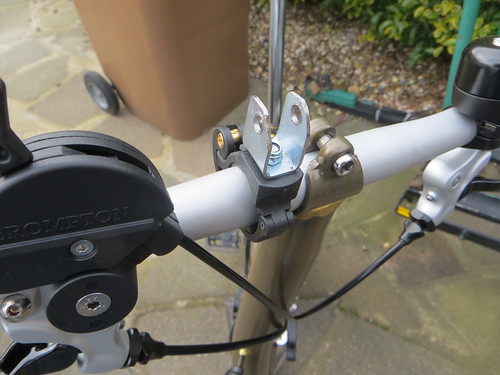
Offering up the light to check I’m roughly right.
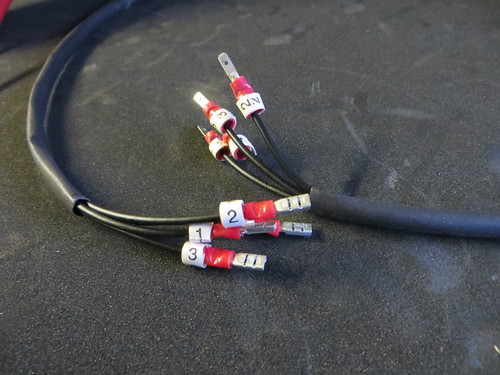
This is the replacement light, a Busch & Muller Lumotec Lyt n plus. It’s the same as the factory fitted light, but the ‘plus’ bit adds a capacitor so that the light stays illuminated for a bit wheel the wheel isn’t moving. This, as you can see, has also been subject to some previous bodging by me. The capacitor isn’t very well mounted in this light, so I sorted that and replaced the poor standard plastic sliding switch with the toggle switch you can see here
IMG_1994 by -Cheesyfeet-, on Flickr
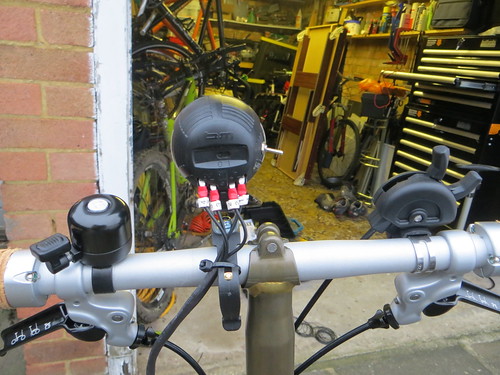
The bodged bracket now attched to a Hope light clamp. Simple bolt and nyloc nut holds this on
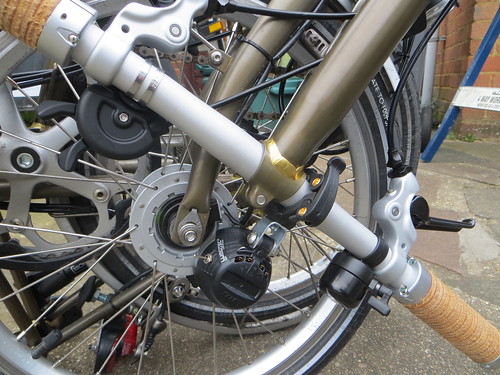
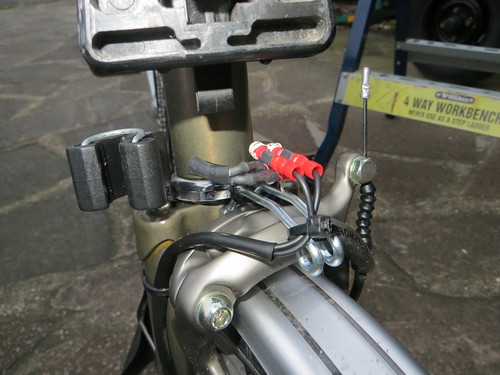
I spent a day last week bodging one of those mending plates to make a new mudguard mount. There just wasn’t enough clearance for it to run under the brake bridge so I cut a section from the middle of the mudguard and created a new bracket which extends over the brake caliper. Very satisfying, if ridiculously time consuming, and it gave me the excuse to buy a riveter which gave a much better looking result than nuts and bolts.
Posted 10 years ago
Viewing 7 posts - 1 through 7 (of 7 total)
The topic ‘This afternoon, I've been bodging….’ is closed to new replies.