- This topic has 12 replies, 6 voices, and was last updated 2 years ago by Poopscoop.
-
Wahoo Kickr Core noise – broken?
-
reluctantjumperFull MemberPosted 2 years ago
After humiliating myself in the STW Autumn Zwift race I noticed that my Kickr Core is making a nasty noise that it didn’t before.
Does that sound like a knackered bearing, presumably in the flywheel going by the frequency? Hope not as I really need to get on the training!
reluctantjumperFull MemberPosted 2 years agoBugger.
Anyone know how to strip it down and replace it?
mashrFull MemberPosted 2 years agoThis is the only shop I’ve seen fixing them, can image postage is gonna hurt if he’s not local!
https://instagram.com/bomberbikeworks?utm_medium=copy_link
but there are also guides such as this floating around
http://www.unsponsored.co.uk/press/wahoo-kickr-and-kickr-core-repair/
reluctantjumperFull MemberPosted 2 years agoWell this morning I decided to take the thing apart and find out what is broken. Actually really easy when you know how, could do it in 5 minutes now.
It is the bearings, more specifically the one on the flywheel side. They’re both metal cage but the noisy one felt slightly rough and dry so I popped the cover off and found it had virtually no grease in there, as in I had to look really hard to find any! It felt rough to turn but a s soon as I packed a bit of grease in it the roughness went and it’s nearly as smooth as the other one. I’ll change then anyway but it’s now back together and a lot quieter than it was before. The bearing is obviously damaged from running dry, presumably it got too hot as I did notice the flywheel getting rather hot to the touch after a solid session back in the spring before I packed it away. That side does get warm from the magnets controlling the resistance anyway. It now runs a lot quieter than before but the noise is still there, no change in resistance though so it’ll suffice for the race on Tuesday and I’ll get some new bearings to fit in the week. The question now is do I go for more metal seal ones or go for rubber ones? All the guides I find online say they should be rubber but some kits show both types. Is there any difference I should be wary of? I’m thinking rubber seals would be better as I can check the grease and add some if needed before installing.
krixmeisterFull MemberPosted 2 years agoCould you do a video of the tear-down? I suspect I’ll be needing to do one too. My Core was making some noise, although it went away after a few minutes use.
mashrFull MemberPosted 2 years agoGood info thanks. Might just do my current one at some point anyway just to make sure there’s grease in there. Hope they like Silkolene RG2 as that’s what they’re gettin’…..
reluctantjumperFull MemberPosted 2 years agoHappy to do a Haynes-style step-by-step if that would help? I don’t really do videos!
unsponsoredFree MemberPosted 2 years agoCheck out my guide.
Done a few Kickrs now.
http://www.unsponsored.co.uk/press/wahoo-kickr-and-kickr-core-repair/
reluctantjumperFull MemberPosted 2 years agoAll fixed now ready for the double Crit tonight!
As requested by @krixmeister here’s how it’s done:
Tools required:
A small phillips screwdriver.
2.5 and 3mm allen keys.
10mm and 14mm socket with ratchet handle.
A method for pressing the bearings in (BB press pictured) and tools to work it.
A square taper crankset puller.
A drift to knock the old bearings out (threaded bar and nuts pictured).
A metal hammer.
A rubber hammer.Step 1: Remove the covers.
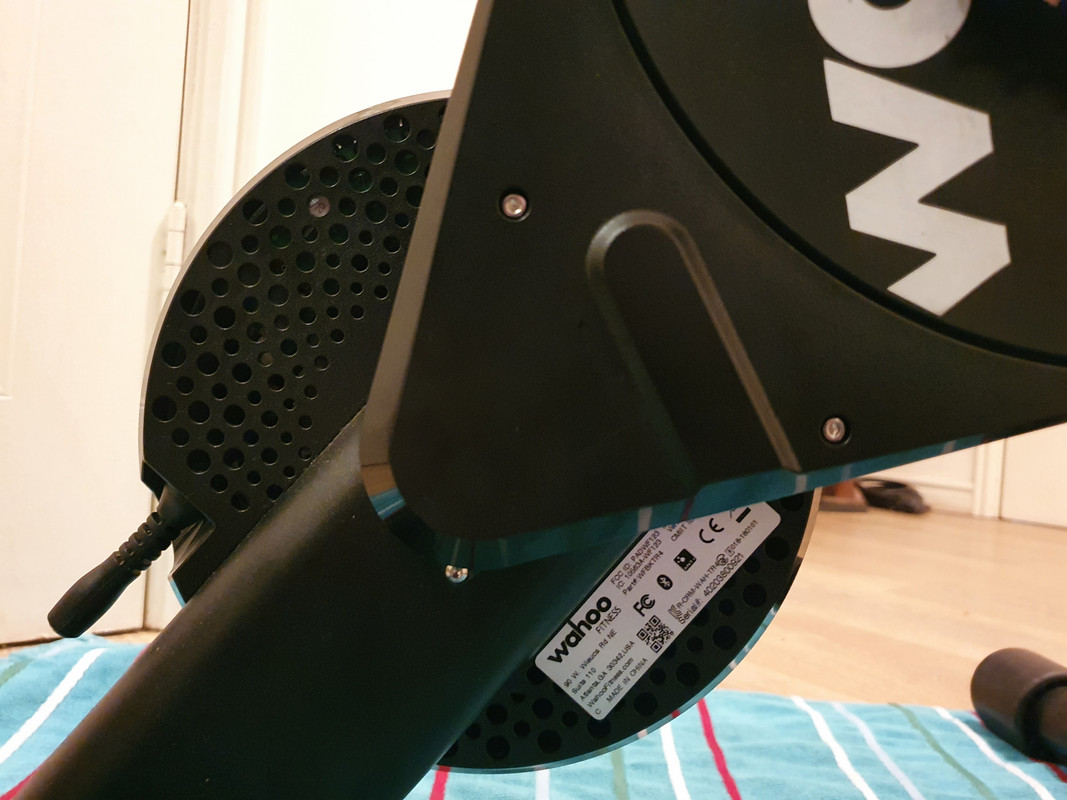
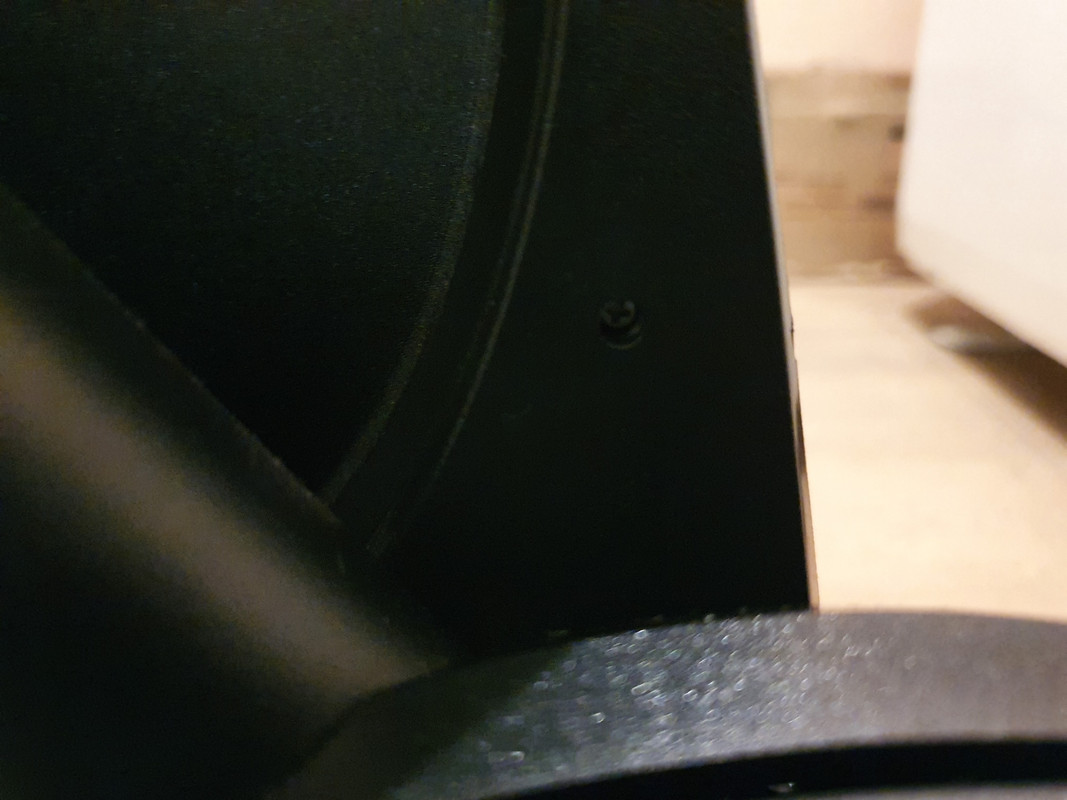
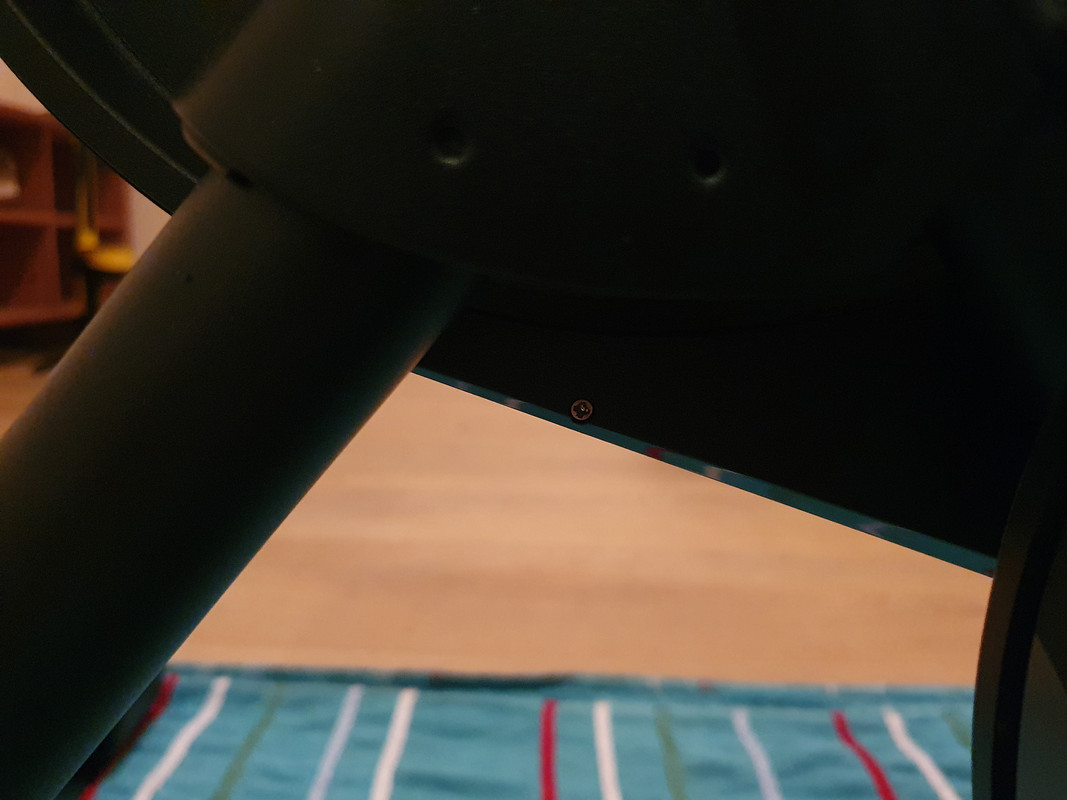
There are 3 allen key bolts holding the front cover on to the frame at the front, remove using the 3mm allen key for the top two with the lower one being 2.5mm.
There is also two small phillips screws holding the two halves together at the back.
[url=https://postimages.org/]image posting sites[/url]
Once all of these are removed you can remove the cover.
Step 2: Remove the belt.
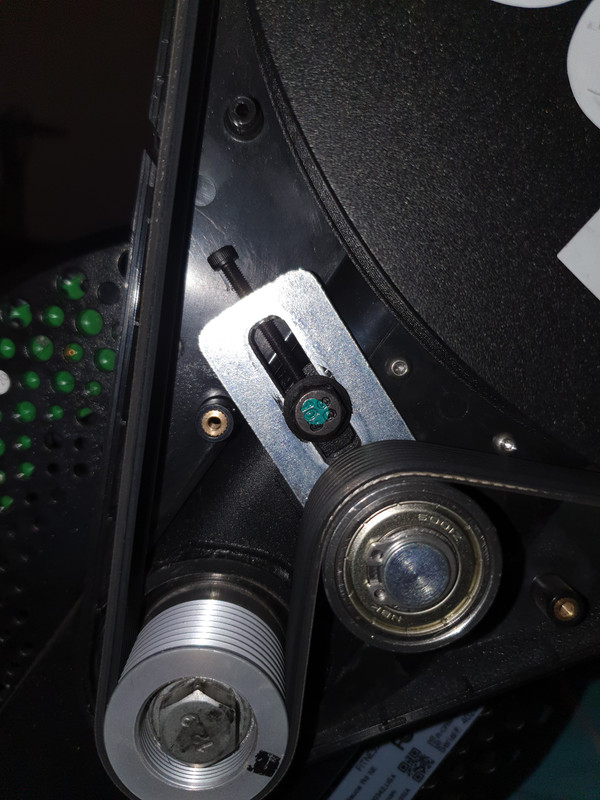
You will then have access to the belt tensioner assembly. Loosen the bolt just above the belt with the 10mm socket half a turn then use the 3mm allen key to loosen the tensioning bolt making sure to count the number of turns and making a note of the number, 15 turns should be plenty to allow the belt to be loose. You should then be able to remove the belt. Replace if it is damaged or shows signs of cracking or splitting.
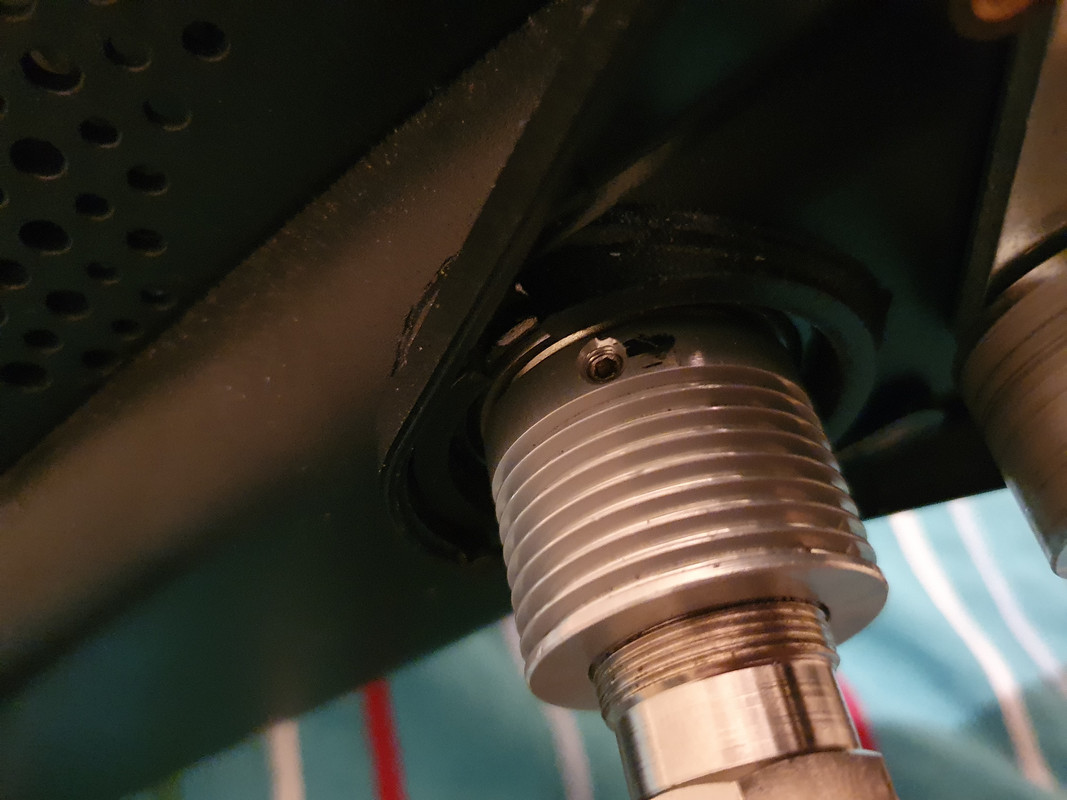
Step 3: Removing the flywheel pulley.
Undo the pulley bolt using the 14mm socket. This is difficult to do so having someone grip the flywheel may be helpful. You will then have access to the internal threads on the pulley and see the metal key that connects the pulley to the axle.
[url=https://postimages.org/]img upload and share[/url]
There is also a 2.5mm grub screw on the outside of the pulley directly above the key, loosen this a few turns.
You can now screw in the crank puller, making sure the threads are fully engaged otherwise you risk stripping the threads. Then wind the pulley off the axle.
Step 4: Removing the flywheel.
You will now have access to the key.
Note which way it is installed and where the witness mark from the grub screw is, you will need to install it back in the same orientation later. It should be a tight fit, if it is not then it needs to be replaced. Drift out the key upwards away from the axle until it falls out. Then use the drift to push the axle out of the bearings. You will now have access to the bearings.
(No more pictures from now on, too hard to photograph)
Step 5: Replacing the bearings.
There is a bearing on each side with a metal sleeve in between. Use the drift to lever this to the left or the right and then gently tap the bearings out evenly so as not to damage the bores. Clean the bores with a cloth then using your preferred method install the new bearings, making sure to not load the inner race and cause internal damage and to put the inner sleeve between them! The sleeve should not be loose between the bearings when they are fully home.
Step 6: Reassembly.
In classic Haynes style assembly is the reverse of removal but noting the following:
Use the rubber mallet to tap the flywheel and axle fully home with gentle hits on the centre of the flywheel only.
When tapping the key back in make sure it is fully inwards and that the witness mark from the grub screw is at the back. The key should be a slight interference fit so if it is loose or falls out easily it should be replaced, using a glue or threadlock is not best practice and can lead to damage later on.
Tap the flywheel pulley at least halfway back on (fully home is preferable) using the rubber mallet before tightening the pulley bolt otherwise you will not have sufficient threads engaged and risk stripping the threads. This can require a few decent hits so bracing the flywheel on something flat is helpful.
The flywheel pulley bolt needs only to be snug, the newer design no longer has a crush washer so a torque of 10-15Nm is sufficient. Don’t forget to tighten the grub screw AFTER the bolt is tight!
When reinstalling the belt clean it of any fluff or dirt to avoid slippage or damage. You can ‘walk’ the belt on to the grooves by turning the larger flywheel if that is easier.
Make sure to turn the tensioning bolt the same amount of turns you undid it in Step 2. This is not super-critical as tension can be adjusted without removing the cover but it’s good practice. Also remember to tighten the tensioner bolt.Once everything is reassembled check it all spins smoothly by hand before mounting the bike back on. You will also need to do a calibration test, preferably a second one after an hour too as the new bearings will loosen up as they settle in.
The topic ‘Wahoo Kickr Core noise – broken?’ is closed to new replies.

