- This topic has 4,417 replies, 728 voices, and was last updated 1 week ago by WorldClassAccident.
-
What is the last thing you made? (pics pls)
-
stumpy01Full MemberPosted 4 years ago
Wow! Blacklabbikes – that is amazing!
What do you mean by bi-laminate? Presumably another tube will go up the inside of that one?
How are they then bonded together? Welding/brazing?
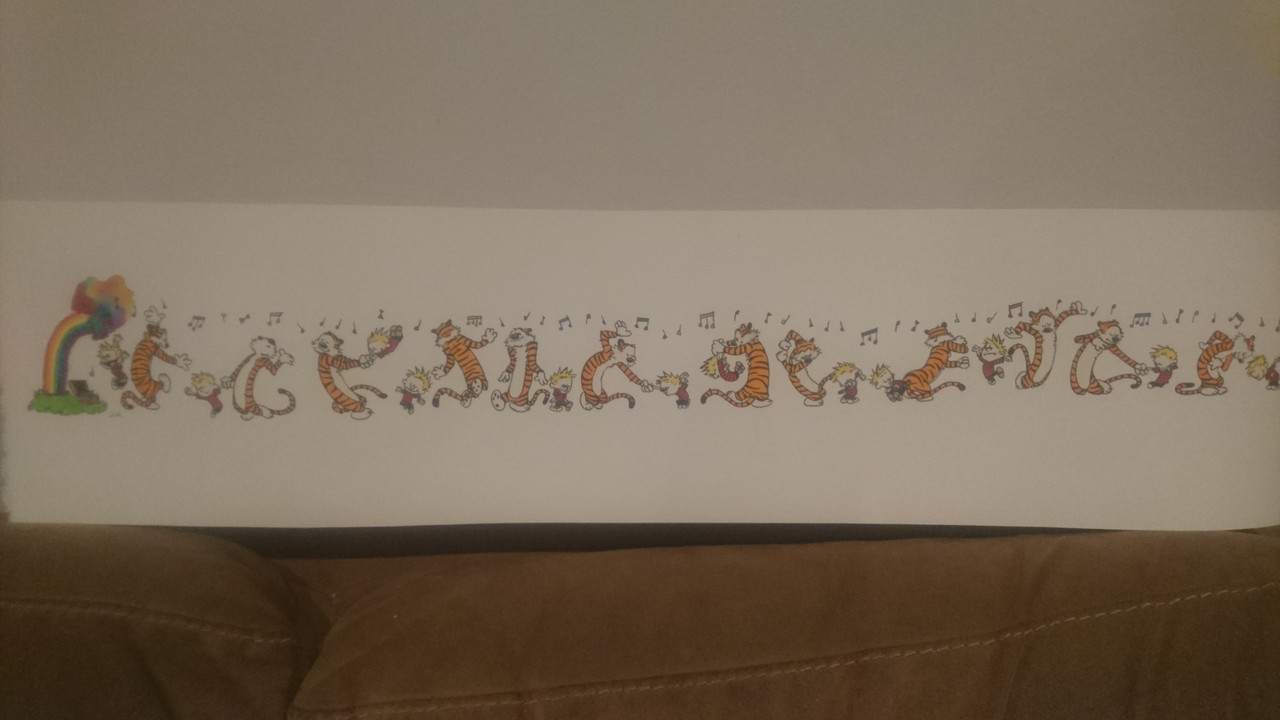
Would it be sacrilege to suggest that a carbon fibre tube bonded up the middle of that would look great; intricate traditional craftsmanship coupled with some high tech materials?jonm81Full MemberPosted 4 years agoJust finished painting this as a leaving present for my daughters nursery. It’s 30″ long and the figures are about 3″ high. Just need to get it framed now.
 BigJohnFull MemberPosted 4 years ago
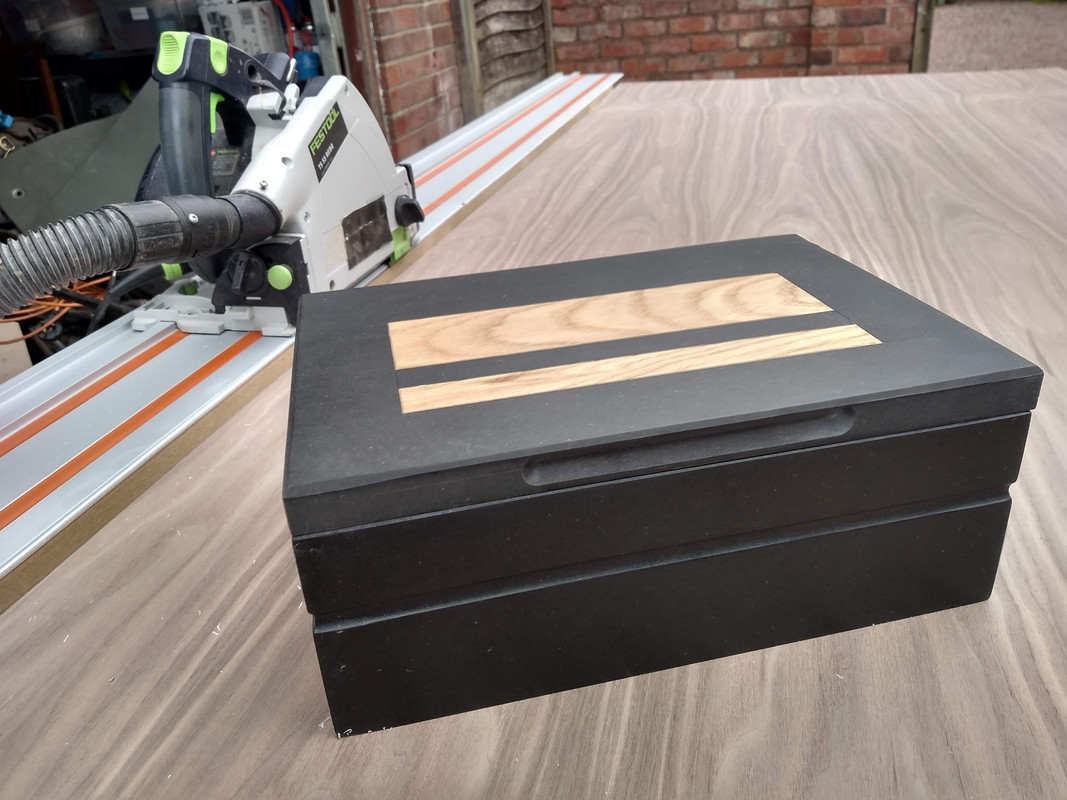
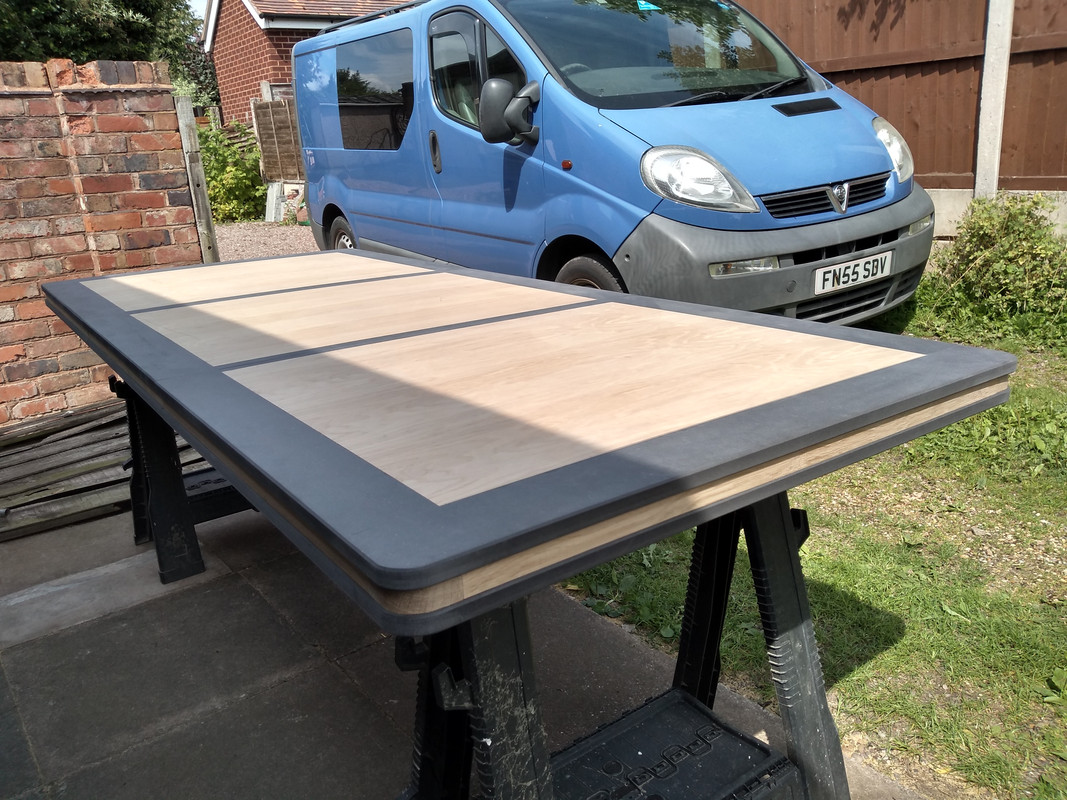
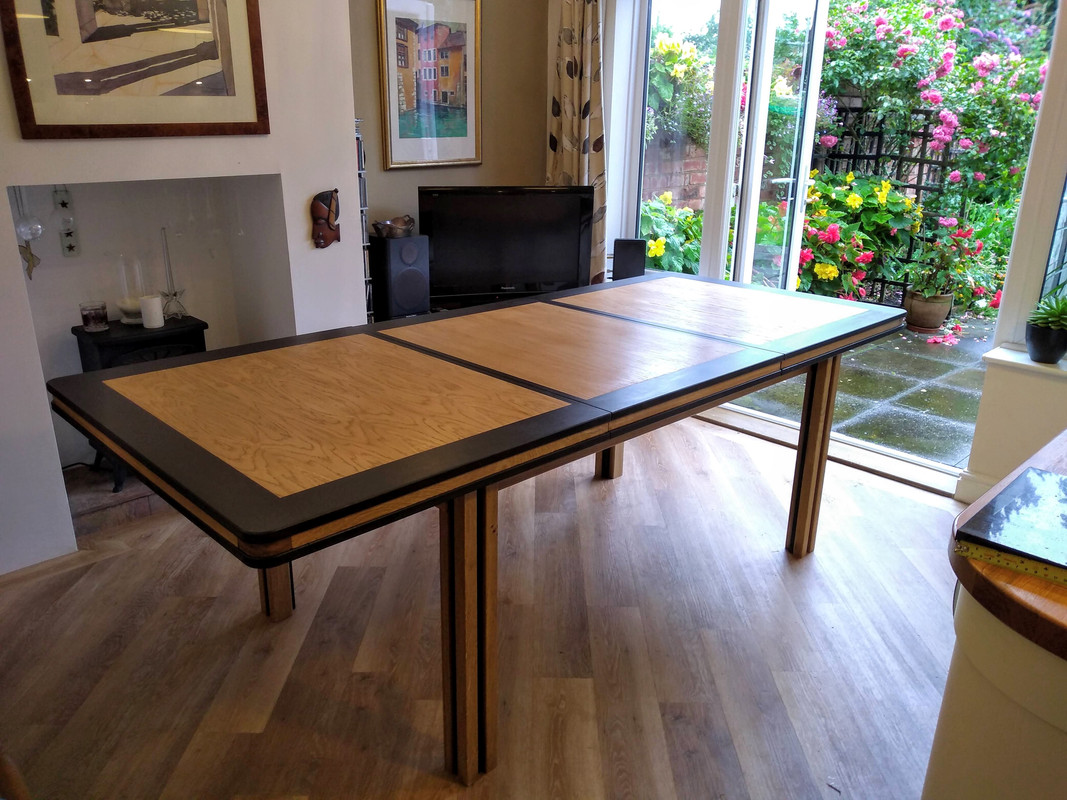
I’d been thinking of working with Valchromat for a while so I bought a little sample and made a box with it, inset with oak. People were so impressed that I decided to have a go at an extending dining table. That’s the top ready for finishing. Just need to figure out how to make the legs and frame now.
kayak23Full MemberPosted 4 years agoNice Bigjohn 👍
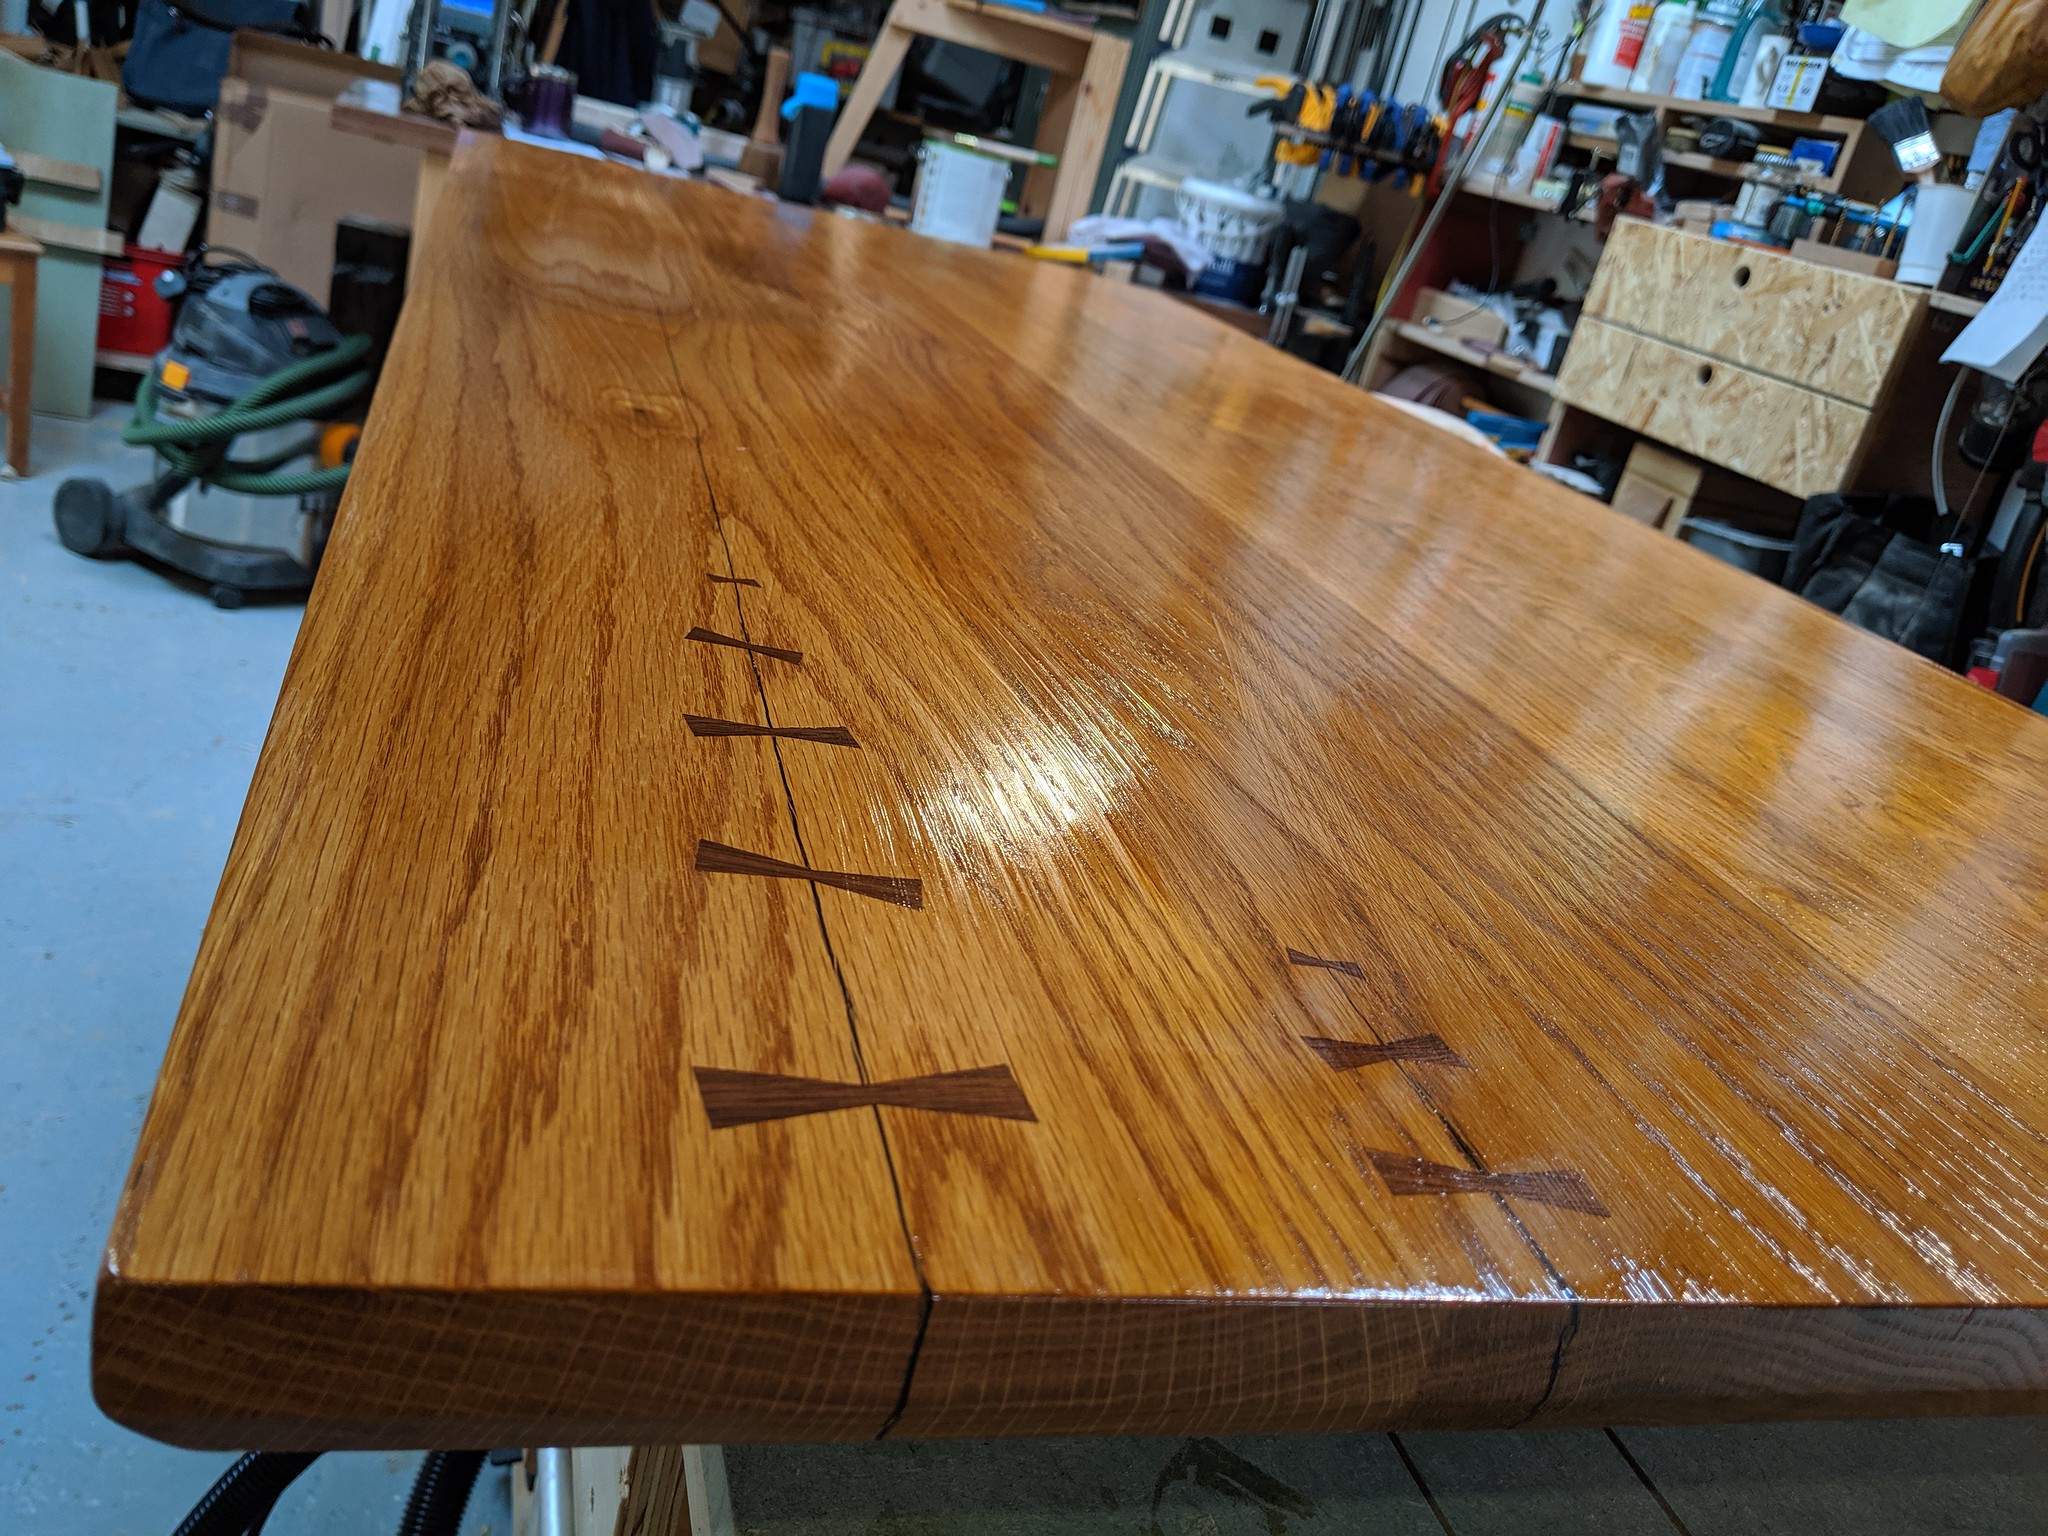
Just finished a gimungous conference table, 3.6 x 1.6 metres.
It’s made in Oak, and has end-grain inlay detail along the edges of the meeting quarters that leads to a central end-grain cable routing thingymebob.
I didn’t get very good shots of it installed, but am going to get some better ones when I find my camera charger! 😊
https://www.instagram.com/p/B01PVYagNBQ/?igshid=1dyal2h4tuj44
[url=https://flic.kr/p/2gRZcB1]Untitled[/url] by blackteaonesugar, on Flickr[url=https://flic.kr/p/2gMAAiy]Untitled[/url] by blackteaonesugar, on Flickr[url=https://flic.kr/p/2gLLvRV]Untitled[/url] by blackteaonesugar, on Flickr[url=https://flic.kr/p/2gDjBYT]Untitled[/url] by blackteaonesugar, on Flickr[url=https://flic.kr/p/2gRZYGT]Untitled[/url] by blackteaonesugar, on Flickr[url=https://flic.kr/p/2gMtAzK]Untitled[/url] by blackteaonesugar, on Flickr[url=https://flic.kr/p/2gS17bR]Untitled[/url] by blackteaonesugar, on FlickrbforbertieFull MemberPosted 4 years agoThat table is beautiful Kayak, how did you do the endgrain along the length? I presume that’s the inlay giving a nice illusion of full thickness, especially with it spanning the thickness at the central hole? Very clever and unique, beautifully done!! I presume end grain all the way along the long edge would create movement problems? ALso did you get the legs fabricated especially?
kayak23Full MemberPosted 4 years agoYeah the end grain is full thickness, about 34mm, but it’s relatively thin so I don’t expect to have too many issues with movement. I’ve done it before on several things and usually gotten away with it 😊
The legs are big chunky metal trapezoids, fabricated by a company Devon way. The table itself was relatively straightforward, but the scale of the sections, working on my own made it bloody hard work!
[url=https://flic.kr/p/2gS75mm]Untitled[/url] by blackteaonesugar, on Flickr[url=https://flic.kr/p/2gRZYrn]Untitled[/url] by blackteaonesugar, on FlickrblacklabbikesFree MemberPosted 4 years agosorry for the delay in replying @stumpy01 – been off the radar.
Bi-laminate is a common term for the combination of lug and fillet that I did here. There is now another steel tube silvered into the head-tube. There’s not really a good reason to do it these days except for the aesthetic but once upon a time it was a way of building a bike outside of the constraints of a lug-set.Would it be sacrilege to suggest that a carbon fibre tube bonded up the middle of that would look great; intricate traditional craftsmanship coupled with some high tech materials?
not at all in my view. I plan to do something similar in the future with carbon headtube insert and carbon seat-tube.
bforbertieFull MemberPosted 4 years agoThanks kayak, ’tis a work of art, as is so much of yours and others’ on this amazing thread.
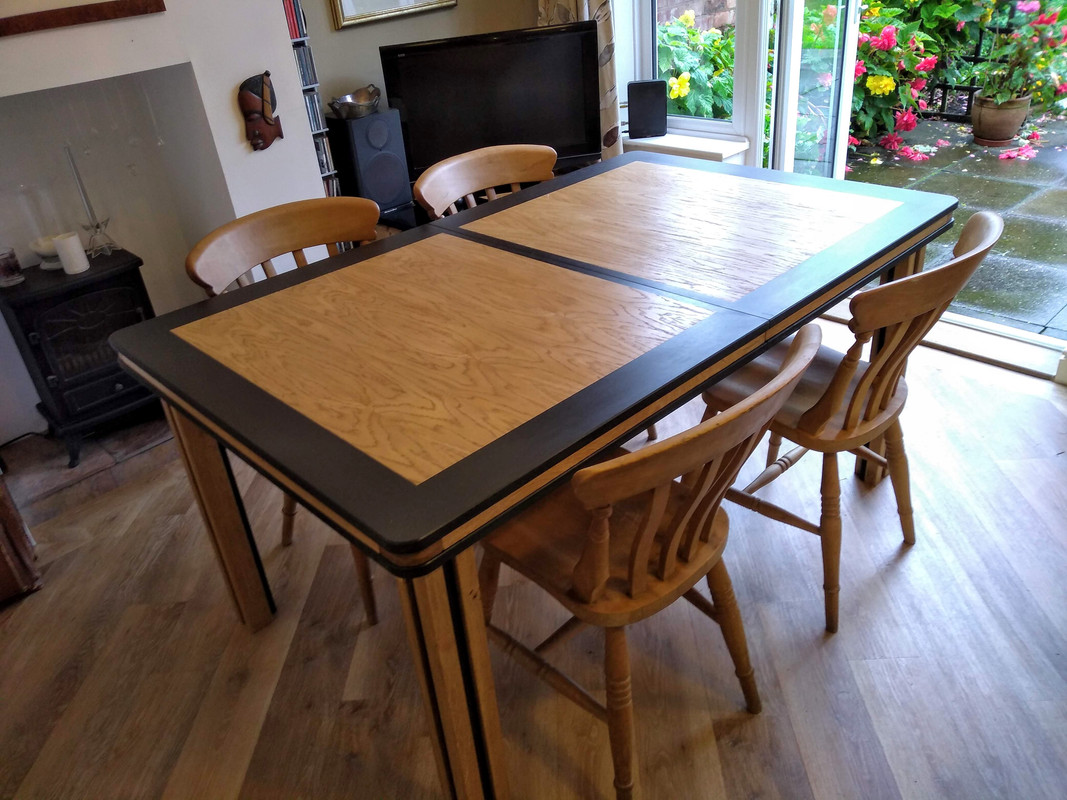
BigJohnFull MemberPosted 4 years agoI’ve finished my dining table
It was a bit harder than making my usual wardrobes etc. as I was making it up as I went along. But I think I’ll be adding stand alone furniture to my repertoire from now on.
Shame the rainy day didn’t bring the best out of the garden…BigJohnFull MemberPosted 4 years agoWith the offcuts I’ll make a matching drawer unit to sit in the corner and put the TV & amp on. That will be more black than oak and is a lot closer to what I usually make so shouldn’t take as long.
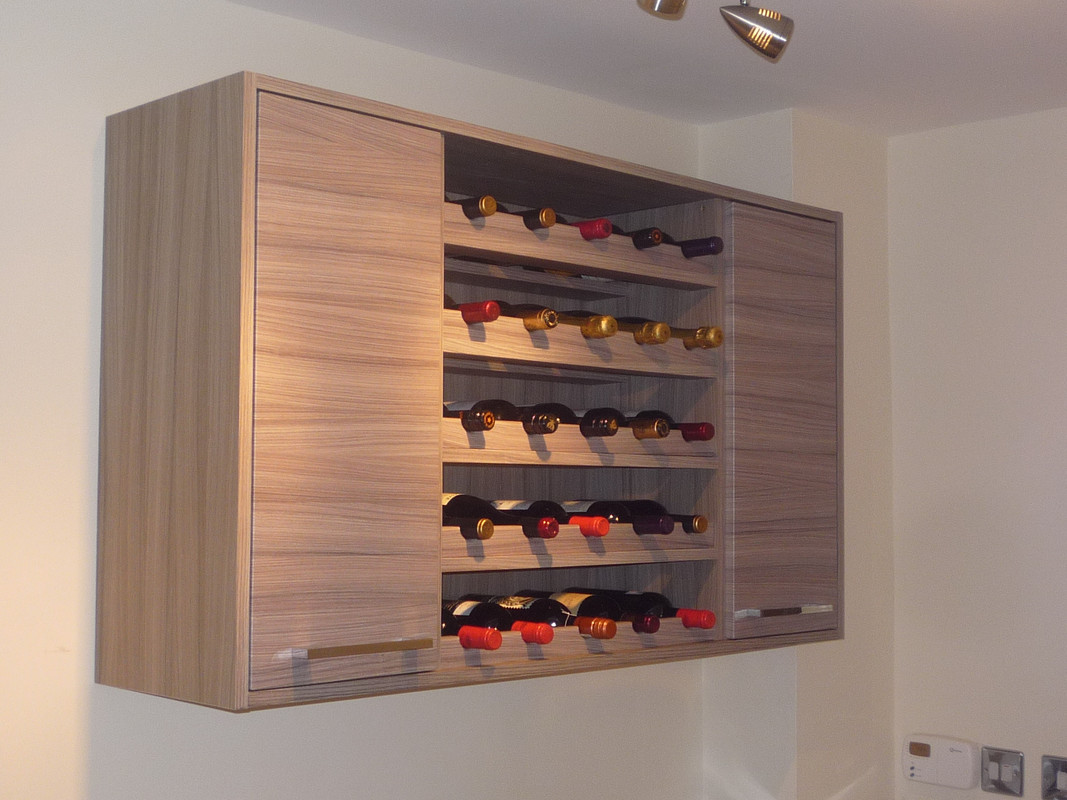
joshvegasFree MemberPosted 4 years agoWho has 25 bottles of wine just sitting there.
Buy wind drink wine.
scc999Full MemberPosted 4 years agoBigjohn, that table is stunning!
Other half now wants one.
Thankfully she doesn’t expect me to make one.stu170Free MemberPosted 4 years agoGot some of the latest things I’ve knocked up all in one snap here, the hanging basket brackets and bird feeder stand are forged. But the butterflies are welded up.
View this post on InstagramA post shared by stuart blackbourn (@stublackbourn) on
itstigFull MemberPosted 4 years agoI don’t suffer with ocd but the disorder of the fence overpowers all your good welding handiwork.
stu170Free MemberPosted 4 years agoAnd mine, sadly that long fence has 4 separate houses behind it, and they’re all their fences. I see them as character now.
kenneththecurtainFree MemberPosted 4 years agoWe’ve got a few landroverists on here, right?
Yesterday I was mostly making a gearbox cover for a 1970 series 2a:
Edit: by the by, how do you go about embedding an instagram post on here?
spursn17Free MemberPosted 4 years ago[url=https://postimages.org/]upload album online[/url]I made this case for our WWI squaddie, feels like we’ve given him a home now.
It’s one of the 888,246 that were in the Tower of London ‘Blood Swept Lands And Seas Of Red’ installation, I used to pass it on my way to work and it always made my eyes moist!
mrmonkfingerFree MemberPosted 4 years agoI don’t suffer with ocd but the disorder of the fence overpowers all your good welding handiwork.
Argh.
Now I cannot unsee it.
stu170Free MemberPosted 4 years agoView this post on InstagramPretty happy with that #blacksmithing #decor #bedroom #design #madebystu
A post shared by stuart blackbourn (@stublackbourn) on
And it’s bike related, made up some fancy hooks to finish off the bedroom decorating
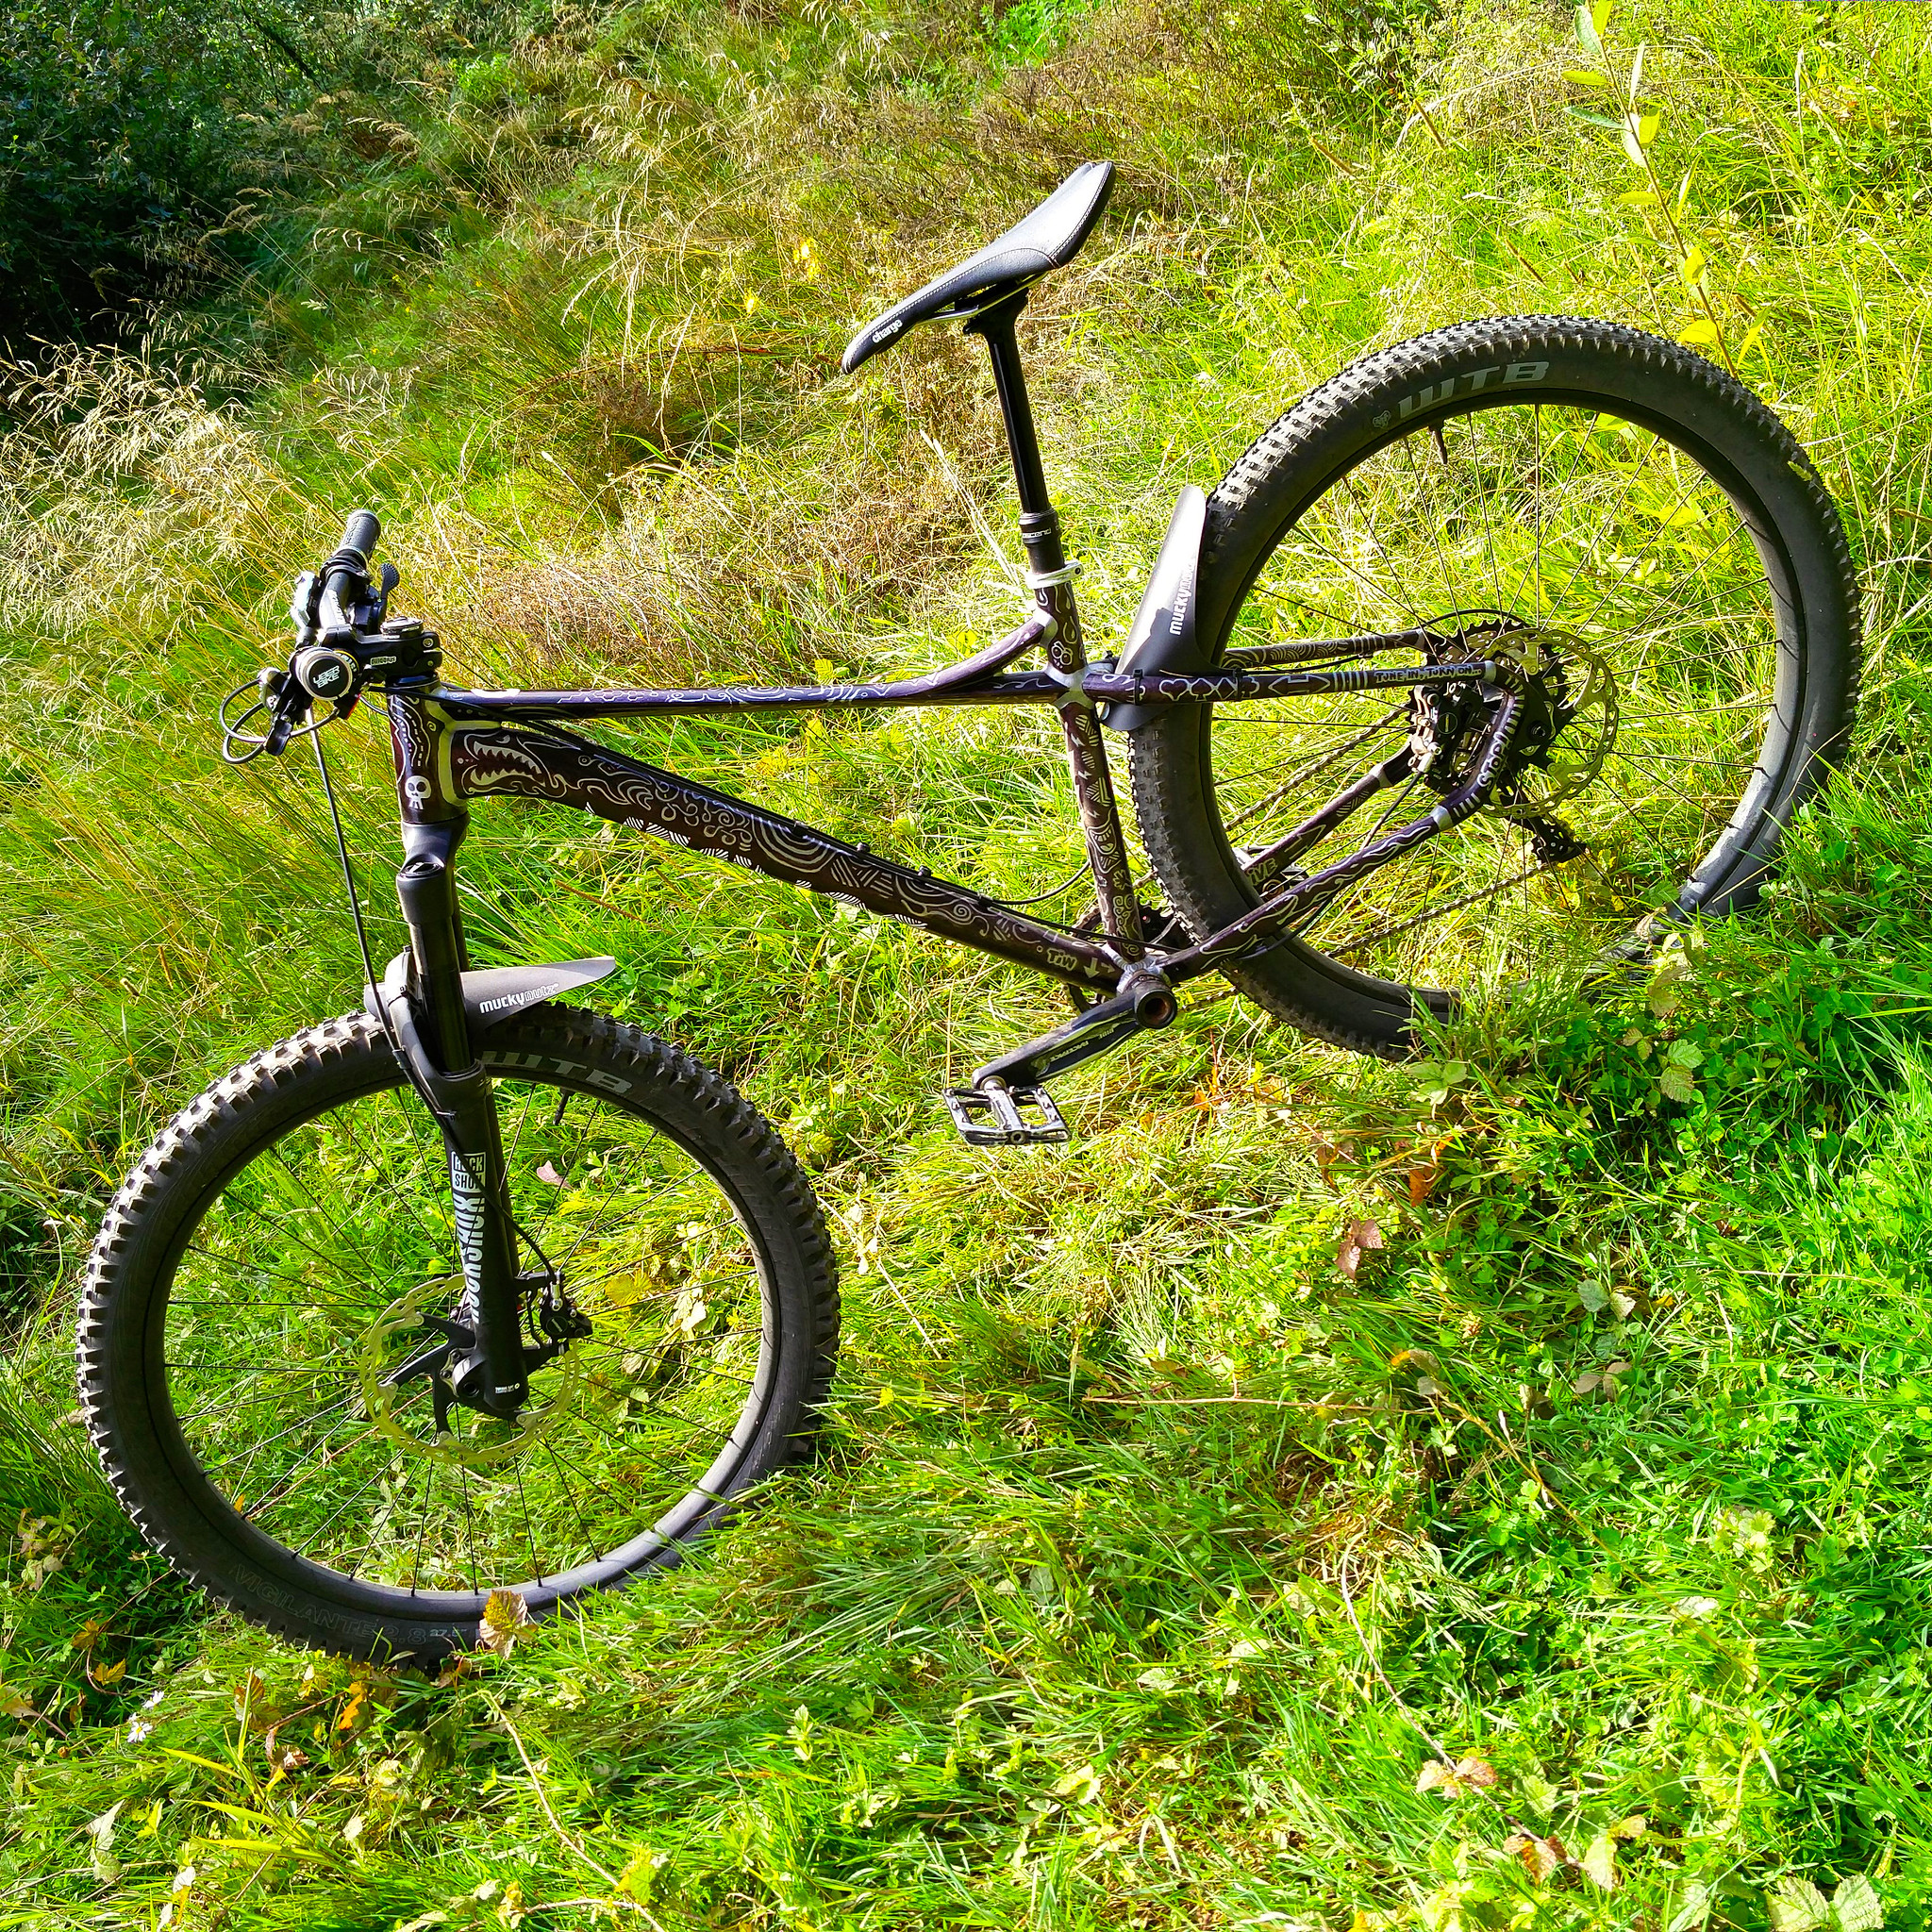
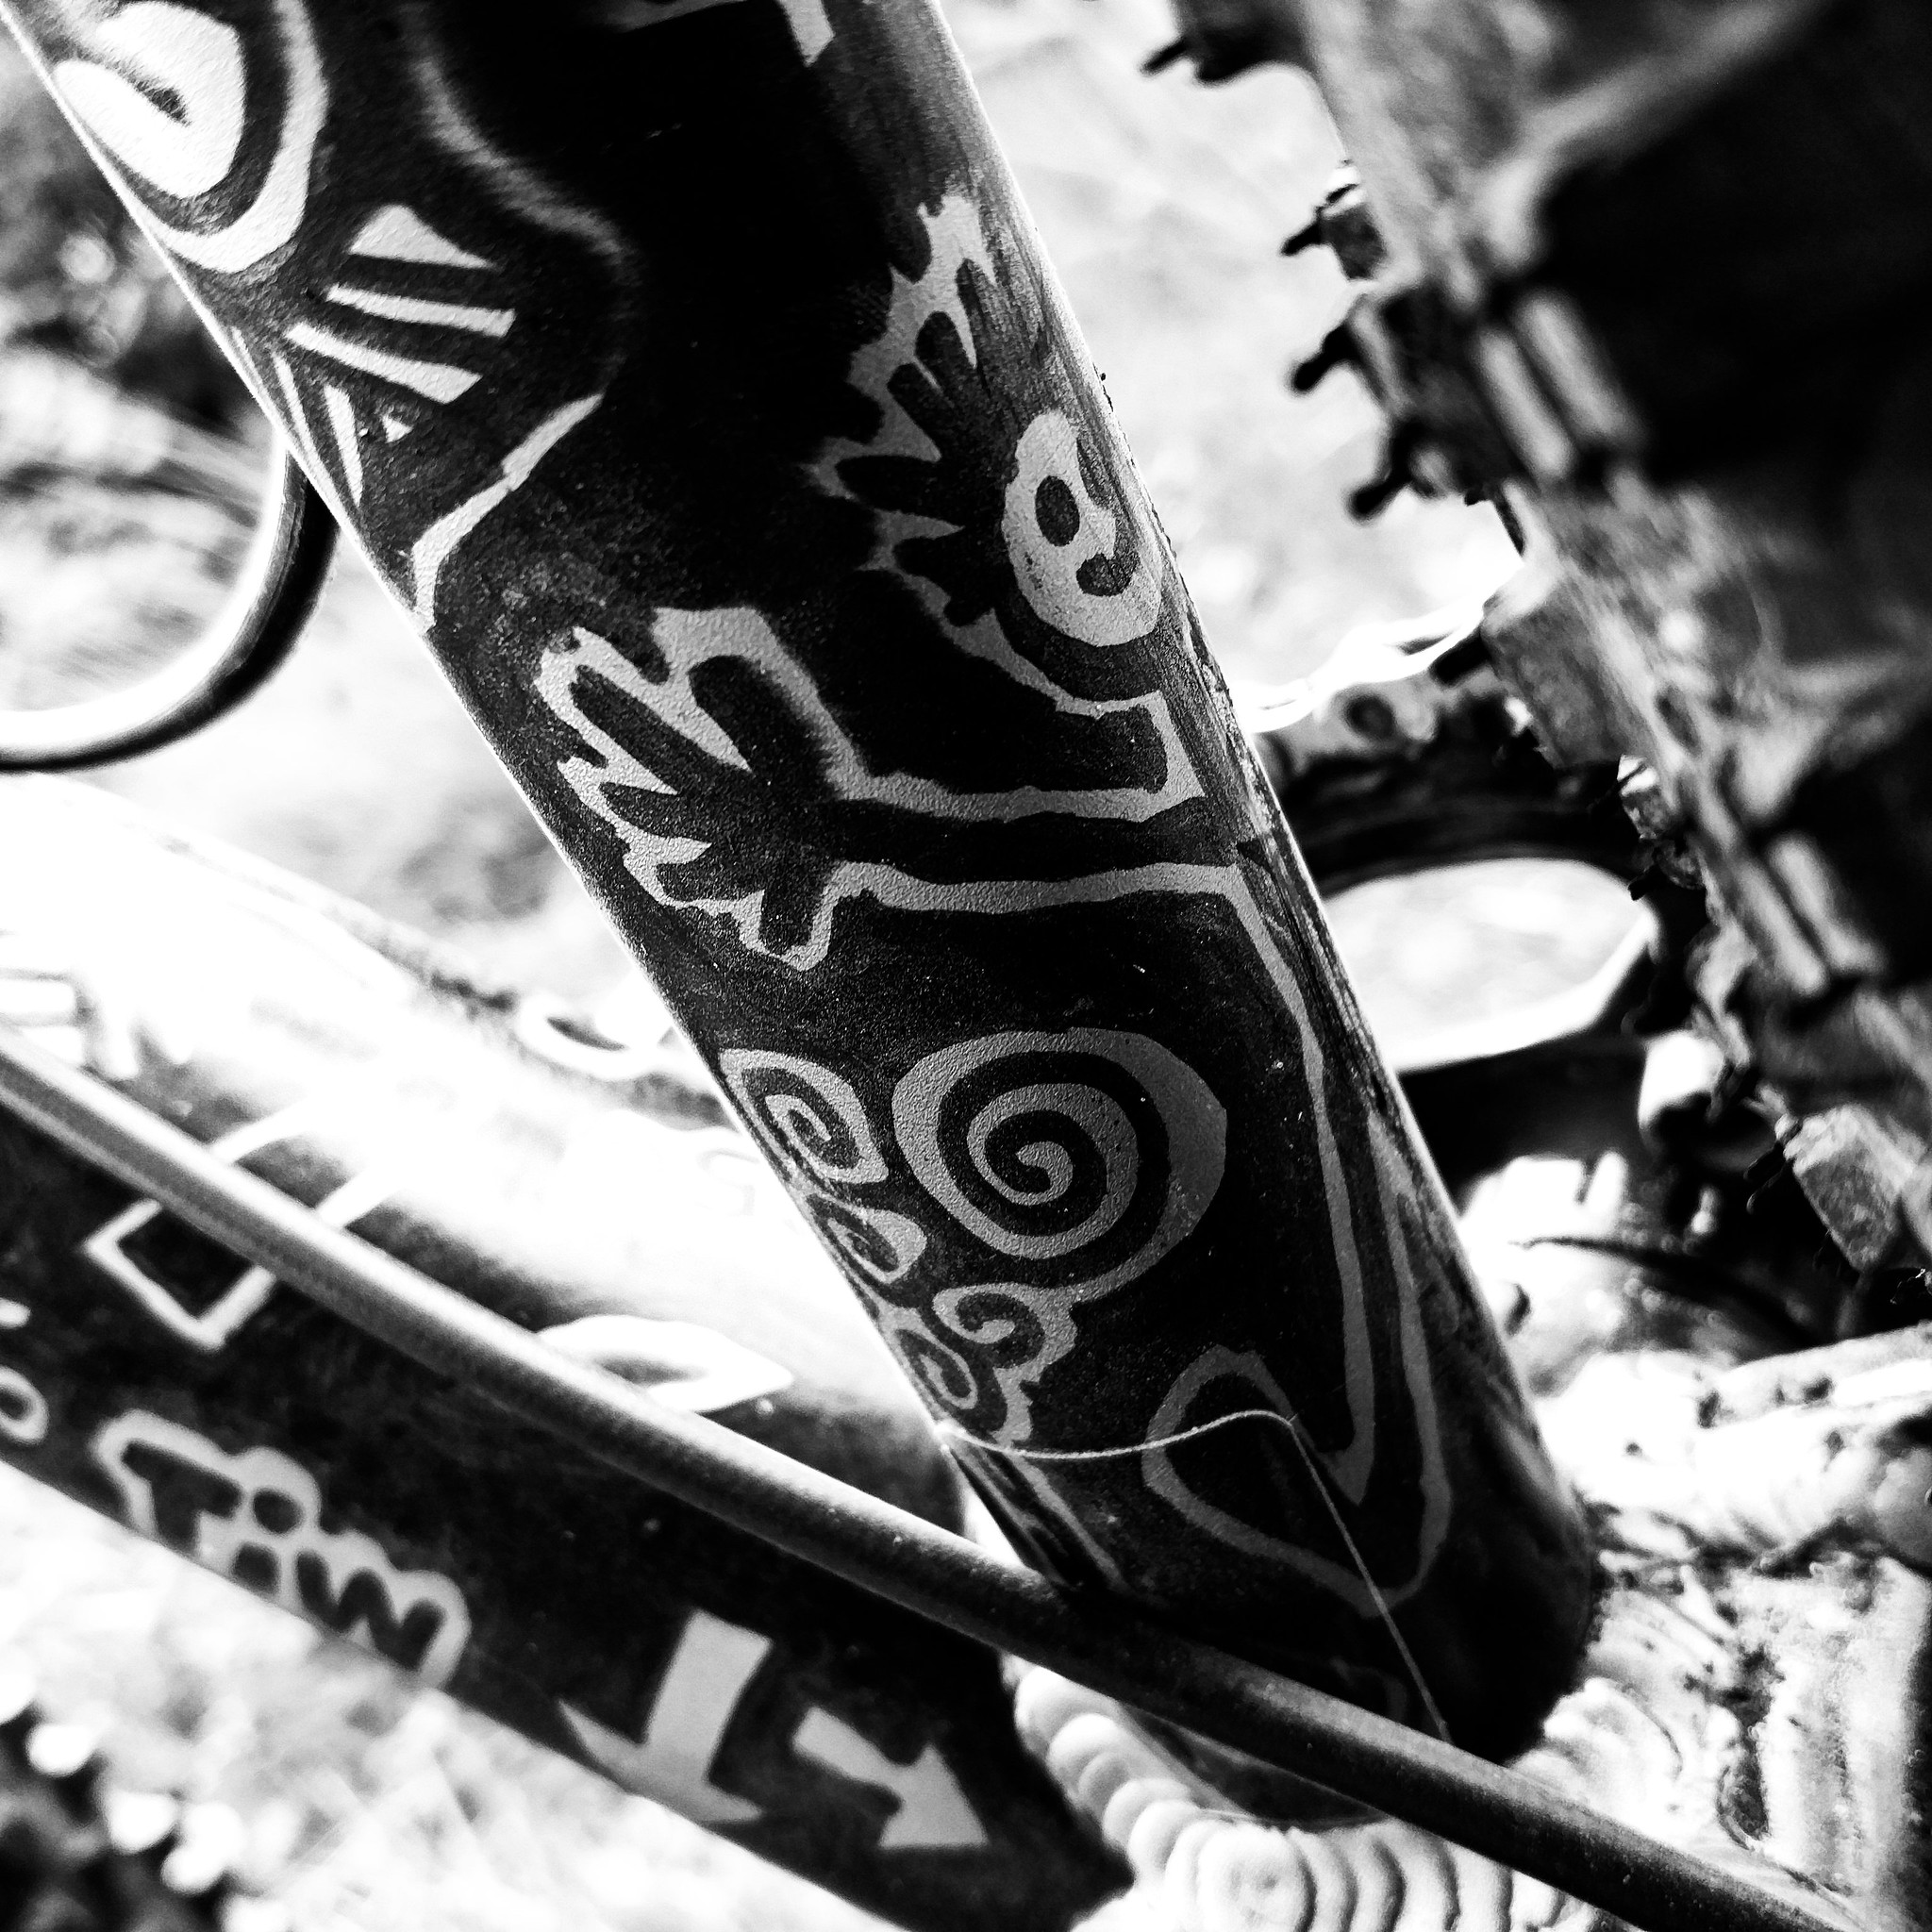
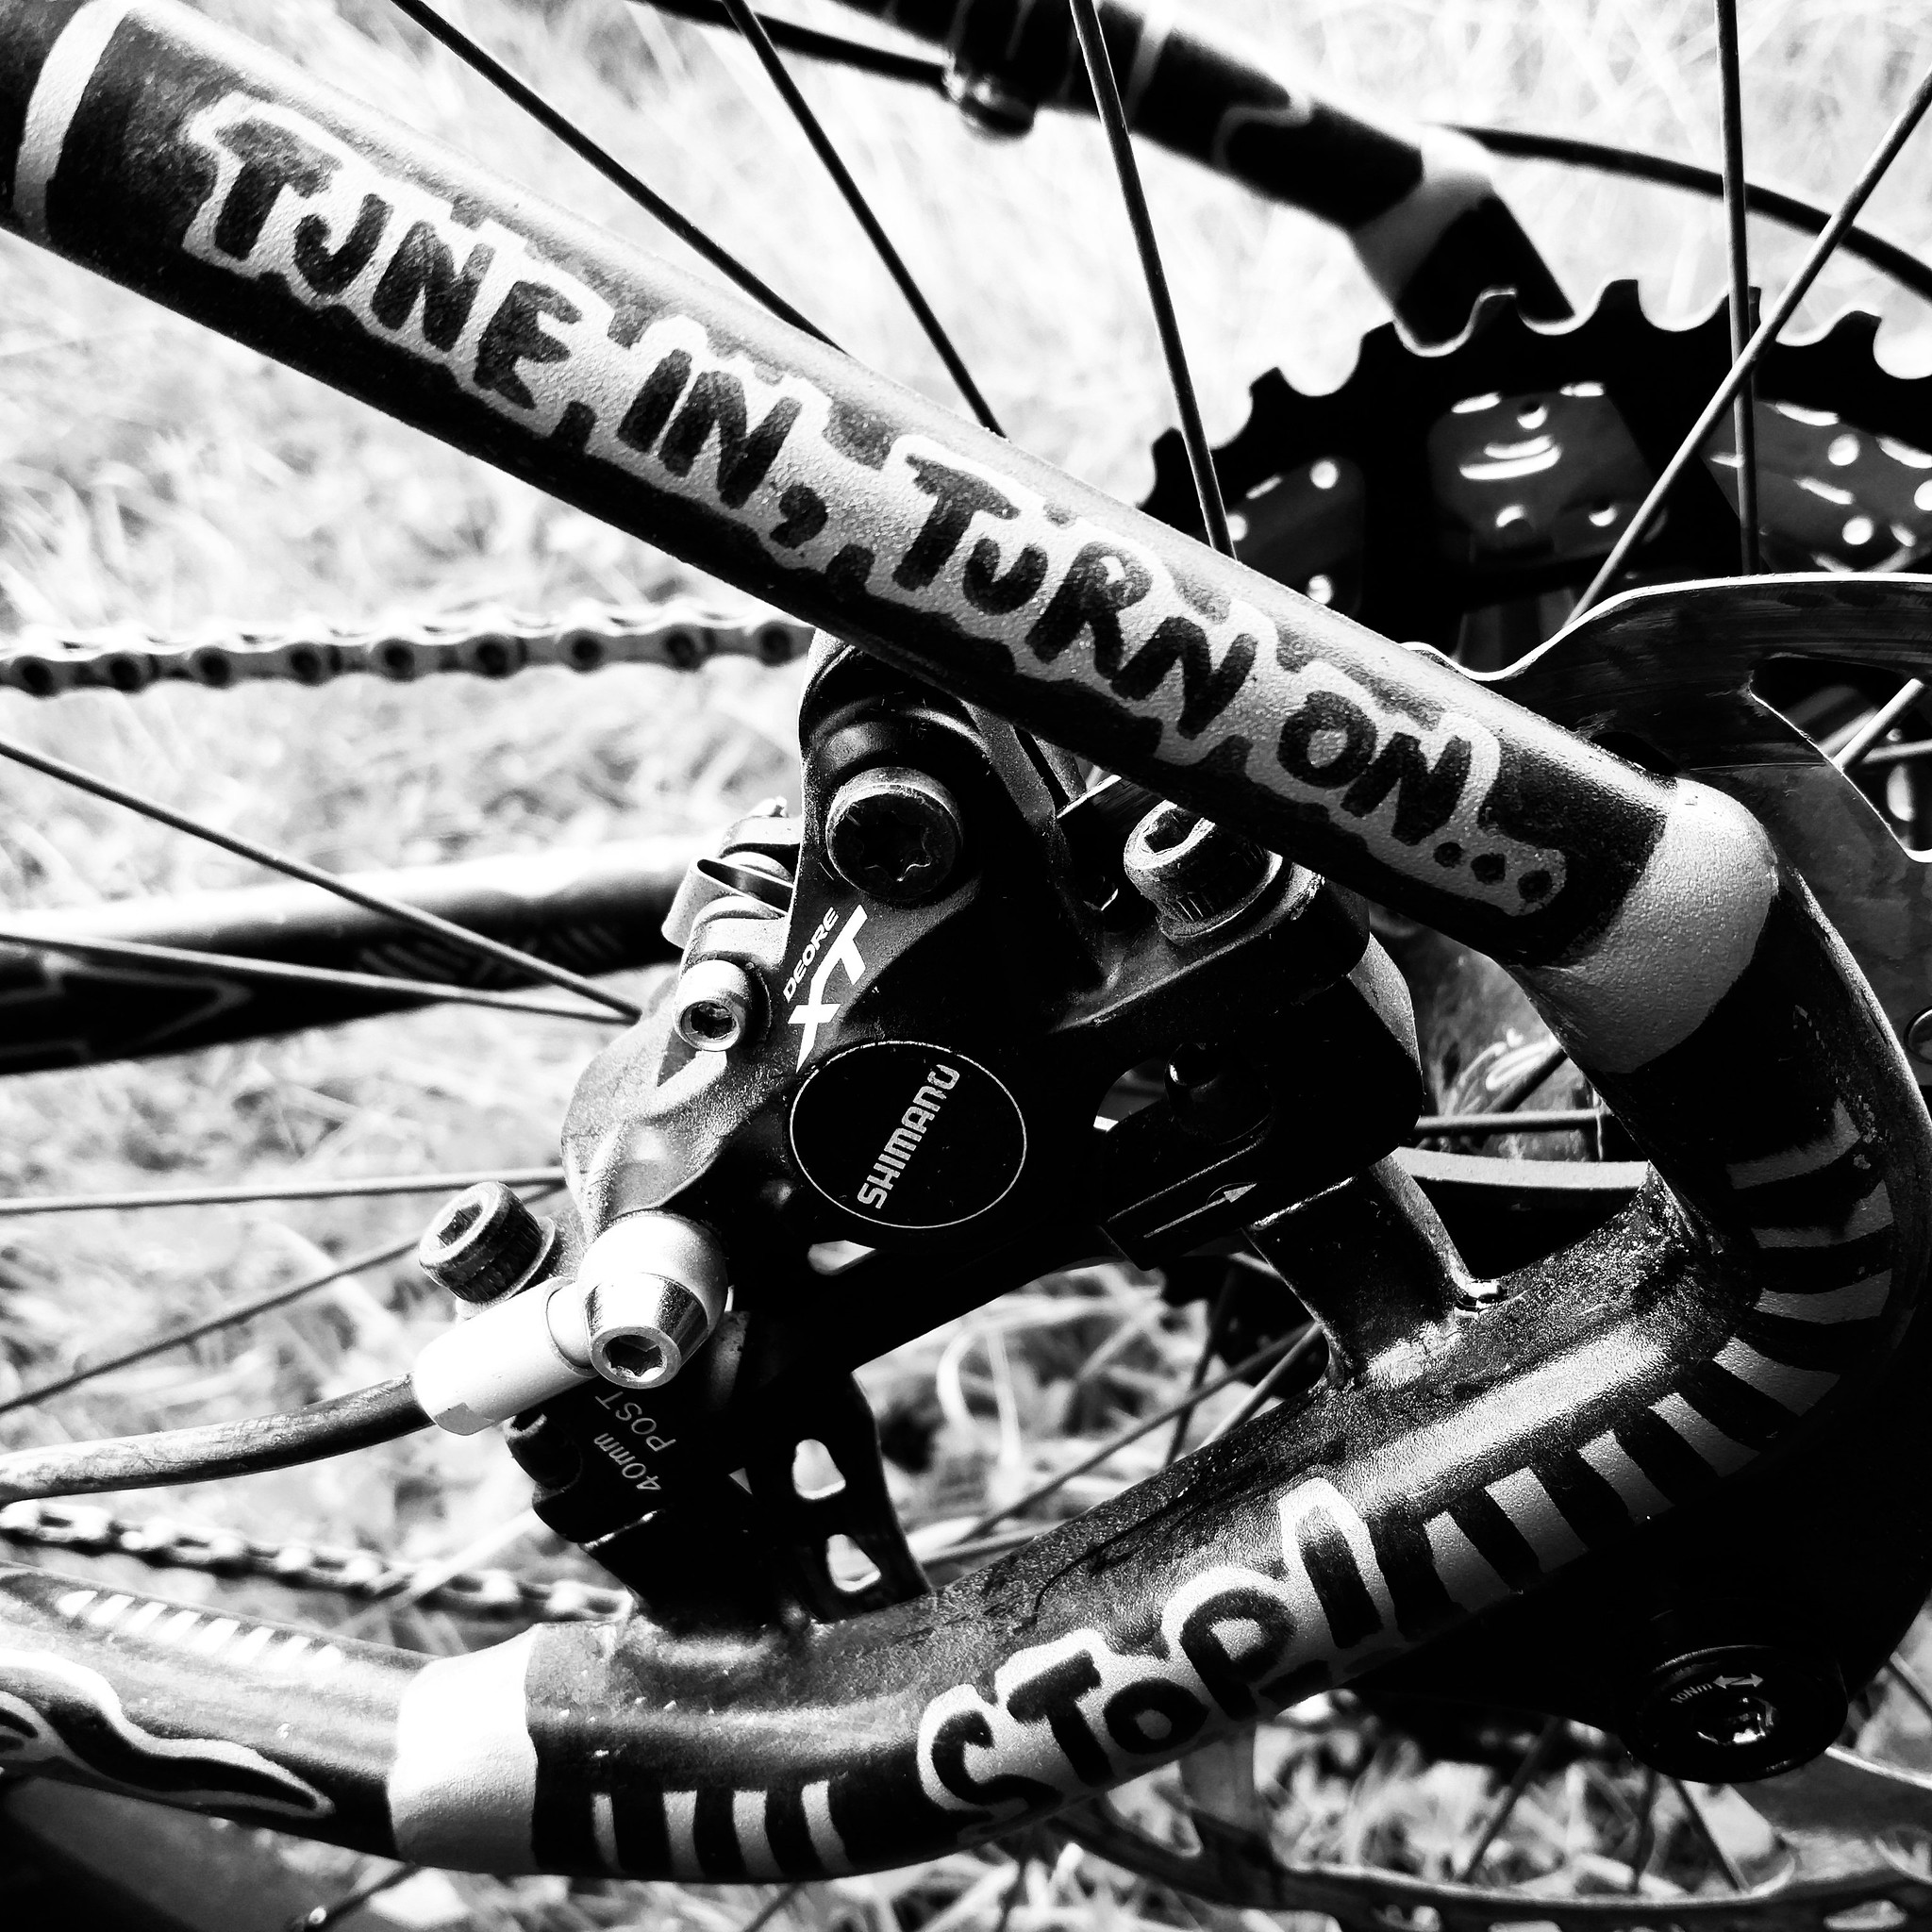
colournoiseFull MemberPosted 4 years agoDidn’t really make this, but I have made it more personal.
A while back I grabbed one of those mk1 Transmitter frames that Sonder were selling off. They only had anodised silver in my size (I wanted black) so I got the Sharpies and clear coat out. No real scheme or theme to this, just a visual stream of consciousness.
Things I’ve learned…
1 Even for someone with an art background, drawing on a three dimensional surface can be bloody awkward!
2 Sharpie on an anodised surface is not as flat or black as Sharpie on a painted surface.
3 Whatever Sonder used for their red branding on this frame is a pig to cover.
4 I want to do more of these (might have to spray the frame ,matt white / white primer first though).
5 Spraying your clear coat too close to the Sharpie surface might make the solvent in the paint cause the Sharpie to run a bit…Overall, I’m chuffed with the result for a first go. A few areas need retouching/redoing thanks to the rattle can solvent issue but that can wait for a while.
twowheelsFree MemberPosted 4 years agoGood stuff guys!
Here’s a minimalist temporary RockShox fork-top lockout for my remote lockout Reba’s (sprung return), as I destroyed my lever crashing last month. From East London my standard winter ride is 25km locked out to Epping and then I don’t bother locking/unlocking so a simple fork-top knob is OK till I build a proper carbon bar lever 🙂
The design is for a spring to be placed between the bolt (+washer) and rotating adjustment knob but I didn’t have a suitable spring handy. Moreover, straight off the 3D printer it’s a little tight and I need to use a small nail file or similar to take a smidgen off. So fork is unlocked for now.
Design:
Reality (raw PLA, prior to enamel black paint):
twowheelsFree MemberPosted 4 years agoIt’s supposed to be like below with the spring (spring itself will be attempted on 3d printer as an experiment but probably PLA is too brittle)
kayak23Full MemberPosted 4 years agoI got myself my first Canadian canoe. It’s a beauty, so I thought I’d better make myself a stick to make it go.
https://www.instagram.com/p/B2lZDJJAgig/?igshid=8ha9xnawqgwc
View this post on InstagramA post shared by black tea one sugar (@blackteaonesugar) on
It’s made from reclaimed Iroko, from science lab benches and it paddles really well as it goes 😊
ts4or5Free MemberPosted 4 years agoNot me, my wife… Now that the academic year is in full swing she has created a series of video explainers to help kids (and parents?) with tricky aspects of grammar. More on her school YouTube site…
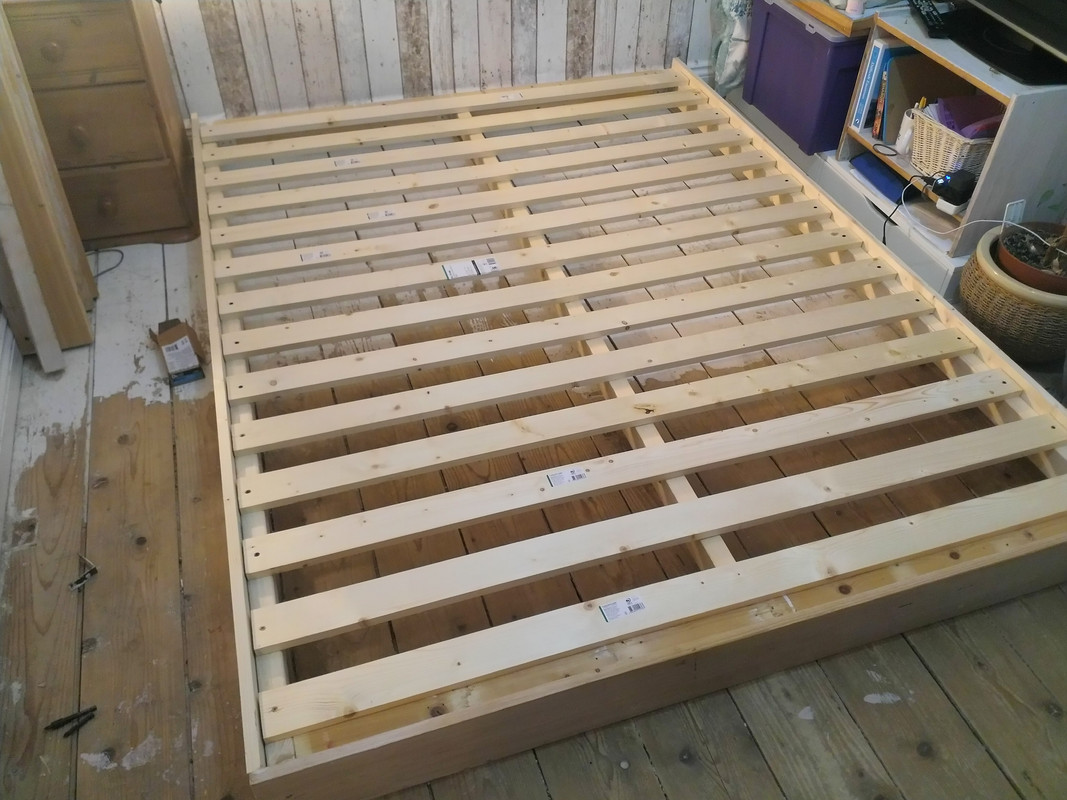
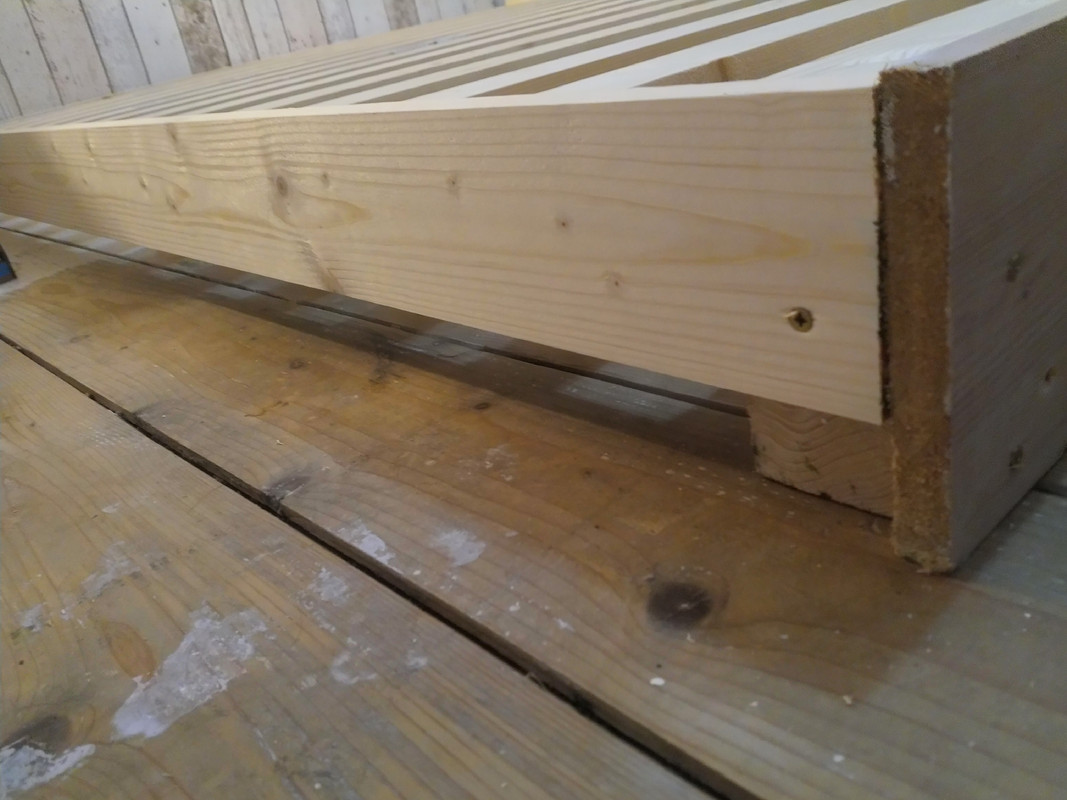
lovewookieFull MemberPosted 4 years agogoing to properly lower the standard….
I made a bed frame.Not the first one I’ve done, but the easiest. it’s functional. I can’t see the point in spending loads on something flimsy.
excuse the room. it’s a work in progress…
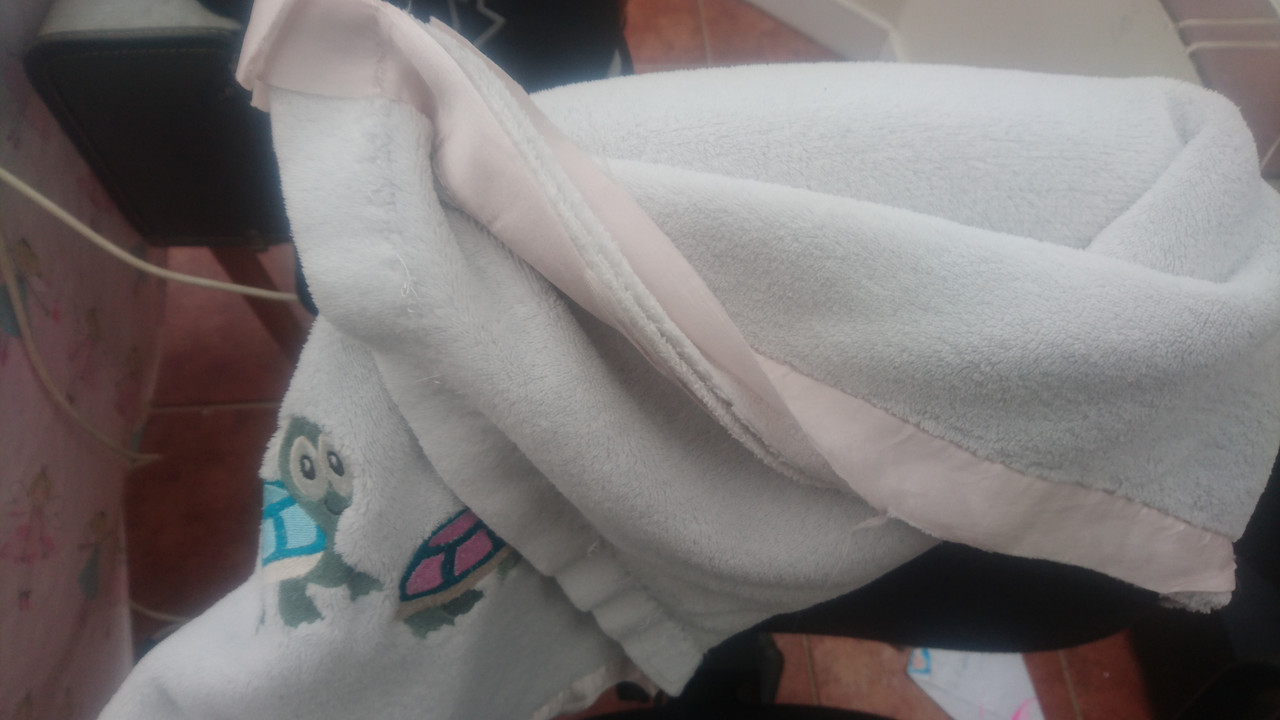
jonm81Full MemberPosted 4 years agoNot made but repaired
Our eldest has a blanket made by her great aunt in Australia when she was born. For the last 5 years “Cozy Blanket” has gone most places and is the go to thing when she is tired or goes to bed. As such it is a bit tired and the blanket binding had worn through and split causing much complaining. So today I thought I’d replace the binding as a surprise while she was at the cinema with mummy.
Before:
After:
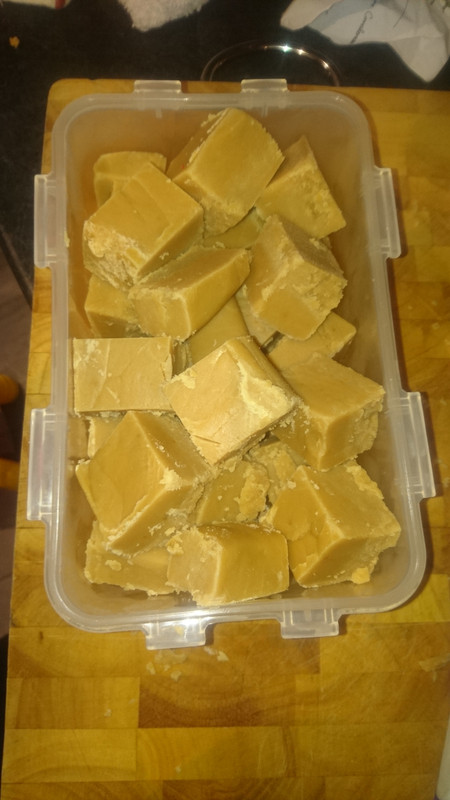
Also made some vanilla fudge
dmortsFull MemberPosted 4 years agoA shoe rack
Made on an evening course at a local high school. Mortises done with a morticer, but tenons were done on a wibbley wobbly bandsaw… it’s square-ish overall. Learnt a lot doing it.
Top is oak with Osmo and base is pine with a matt/satin varnish. It’s “clear pine” ie very few knots
AlexSimonFull MemberPosted 4 years agoLooks good dmorts! I bet an evening course would prevent me from making loads of common mistakes – the danger of being self-taught.
kayak23Full MemberPosted 4 years agoHey Dmorts. Nice rack 👍
Some delightful little tykes smashed the shit out of my shed and destroyed the door. Rather than replace the whole thing,I used a load of perspex offcuts I’d nabbed from a laser cutting project and made a holey door panel.
View this post on InstagramA post shared by black tea one sugar (@blackteaonesugar) on
benvFree MemberPosted 4 years agoI caught the cheeky wee scamps red-handed but that’s another story.
Wheelbarrow used for moving the bodies?
squirrelkingFree MemberPosted 4 years agoWheelbarrow used for moving the bodies?
Probably some new raised beds nearby that would negate the wheelbarrow.
tinribzFree MemberPosted 4 years agoWoodworking skills don’t extend beyond a hand saw and drill, but quite pleased with this tidierupper for under a pony. Even used some glue.
kayak23Full MemberPosted 4 years agoThat’s cool tinribz. Must have to be strong!
Can’t help thinking it looks too tall to fit under a pony though.


You must be logged in to reply to this topic.