- This topic has 5 replies, 5 voices, and was last updated 10 years ago by spangelsaregreat.
-
PSA – TRP Spyre rebuild guide
-
spangelsaregreatFree MemberPosted 10 years ago
Hi,
Whilst a good brake in general, it is my experience that the Spyre is susceptible to water ingress that causes friction in the operation of the brake over time. This is due to the ball races becoming corroded. I use my bike both off road and on road all year round so salt and mud is an issue. I think most cable disc callipers suffer the same. Certainly had more than one BB7 seize on me due to lack of maintenance.
I was probably the first to experience the issue with the ball bearings coming out of their cams due to excessive pad wear that led to the recall. At that time I contacted TRP for a guide for stripping the calliper but was informed there was not one. They gave me some guidance and I was able to strip them down (their advice was to spray GT85 in to clean them out and then spray in a liquid lube whilst activating the brake, which was of limited effect to be honest).
I had both the callipers replaced under warranty but after a few months use the back was starting to show signs of the actuating arm not fully returning. I again contacted TRP to see if they now had a full strip down guide but they don’t as they don’t want customers tinkering in case they don’t put them back together correctly.
Fair enough but I stripped mine down and both had the beginnings of rust on the cams and ball bearings. The main issue seems to be other than the ball bearings in the cams they are pretty much put together dry. I think a smear of grease would protect them from this issue.
So I have put mine back together fully greased and they are working like new again. I have a spare calliper which I have also stripped (totally dry inside other than a very light bit of grease on the ball bearings) down and took some pics to show you how to do it.
Obviously you need to only use a very light greasing so that you don’t get it spewing out over the pads and discs, but I think it will make your callipers last longer and work better. TRP do not advise stripping them so you have been warned.
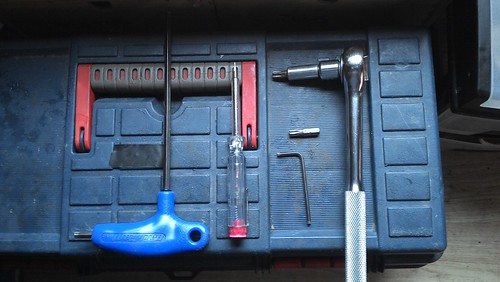
Tools
You will need:-
Small flat head screwdriver
3mm allen key
5mm allen key
T40 and T30 torq[url=https://flic.kr/p/naxL5J]IMG_20140416_101031_298[/url] by spangel great, on Flickr
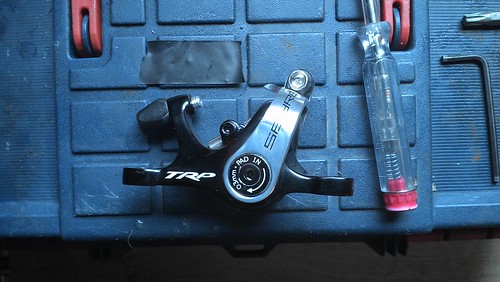
1. Remove pad spring clip, pad bolt and pads
[url=https://flic.kr/p/navZfz]IMG_20140416_101137_448[/url] by spangel great, on Flickr
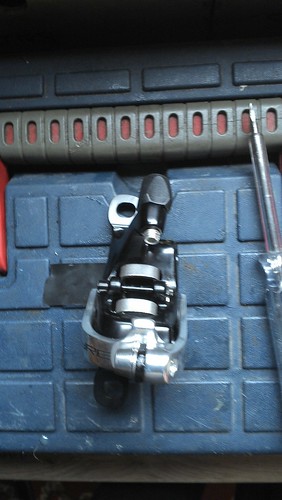
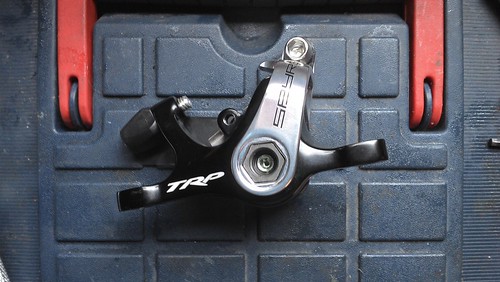
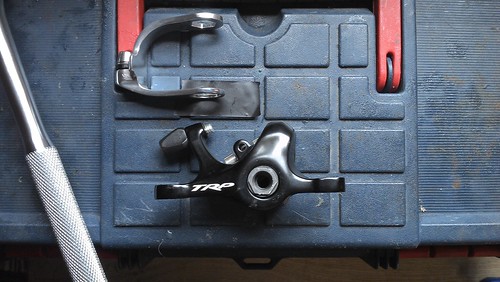
2. Pop off the actuator arm torq bolt covers
[url=https://flic.kr/p/naw1vF]IMG_20140416_101106_862[/url] by spangel great, on Flickr
[url=https://flic.kr/p/naxHHu]IMG_20140416_101423_254[/url] by spangel great, on Flickr
3. Undo the actuator torq bolts with the t40.
[url=https://flic.kr/p/navzJt]IMG_20140416_101553_928[/url] by spangel great, on Flickr
4. Remove the internal pad adjusters using a 3mm allen key.
[url=https://flic.kr/p/naxHi1]IMG_20140416_101654_603[/url] by spangel great, on Flickr
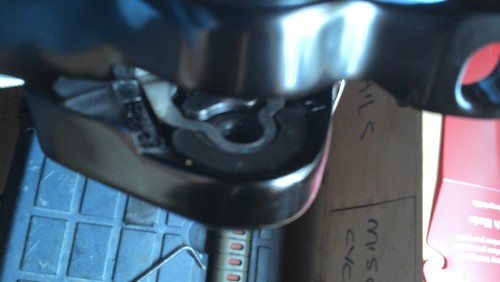
5. Use the small flat blade screw driver to gently prise the actuator arm off the calliper.
[url=https://flic.kr/p/navYQ6]IMG_20140416_101837_277[/url] by spangel great, on Flickr
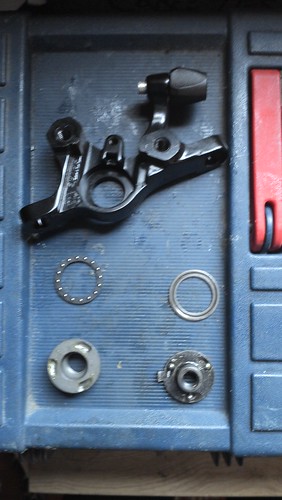
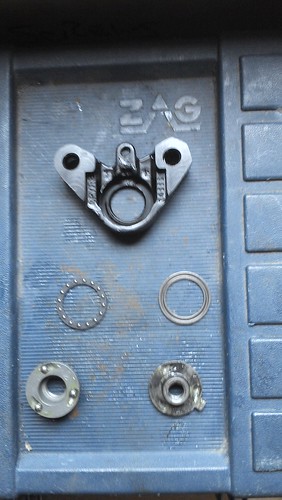
6. Use the t30 to remove the calliper torq bolts and the calliper should come apart. Be careful when removing the pistons as they have the ball bearings in them. The callipers stripped down should look like these.
[url=https://flic.kr/p/navVMH]IMG_20140416_102143_784[/url] by spangel great, on Flickr
[url=https://flic.kr/p/naxFi9]IMG_20140416_102148_071[/url] by spangel great, on Flickr
You can see it consists of the ball bearings in the cams and a small bearing race. The bearing race is very bad for rusting up. So the next step is to lightly grease all the moving parts.
Once that is done assembly is as follows.
1. Rebuild the cam assemblies, remember to alight the cams and ballbearings.
2. Place the spring on the cams and press the calliper halves together and tighten the torq bolts.
3. Push the actuator arm back on (make sure you get it aligned correctly.
4. Screw in the internal pad adjusters.
5. Replace the actuator torq bolts and covers.
6. Activate the brake to make sure it is working smoothly. Wipe off any excess grease.
7. Refit the pads, bolt and spring clip.
8. Refit brake to bike.
It is only about a twenty minute job and probably worthwhile doing every 6 months or so. This simple maintenance job should keep the callipers running fine.
Regards
cpFull MemberPosted 10 years agoVery interesting.
How do you find the brakes? I’m very tempted by some.
karnaliFree MemberPosted 10 years agoYes I can’t decide between these and Byrd’s or looking about for a2nd had hope converter.
happybikerFree MemberPosted 10 years agoThanks for the guide. These are the first cable discs I’ve owned and they are great on my cx bike. Power and modulation are spot on with SRAM levers.
spangelsaregreatFree MemberPosted 10 years agoCP
They are good, slightly better overall than BB7s. They are not any more powerful, just easier to set up and maintain.
The stock pads are okay but I find fully sintered pads give bit more bite.
Regards
The topic ‘PSA – TRP Spyre rebuild guide’ is closed to new replies.
