@Harry They’re not all as difficult as each other.
Some kits come with what they call “link and length” tracks, where the long straight bits at top & bottom are moulded as one piece each, so you only need to build the bits where the track goes round the drive sprocket and idler wheel.
Some of the older Tamiya and Airfix kits come with tracks moulded out of one long length of rubber which you need to join with a hot screwdriver.
And of course, some AFVs come with wheels/tyres
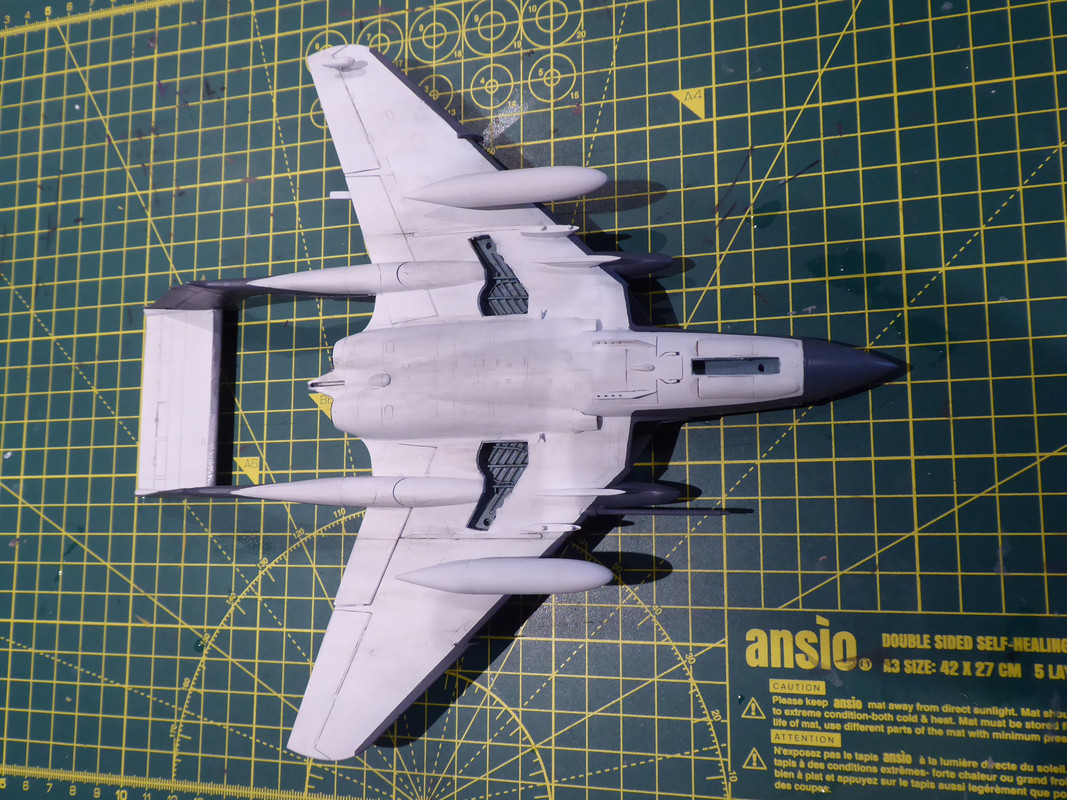
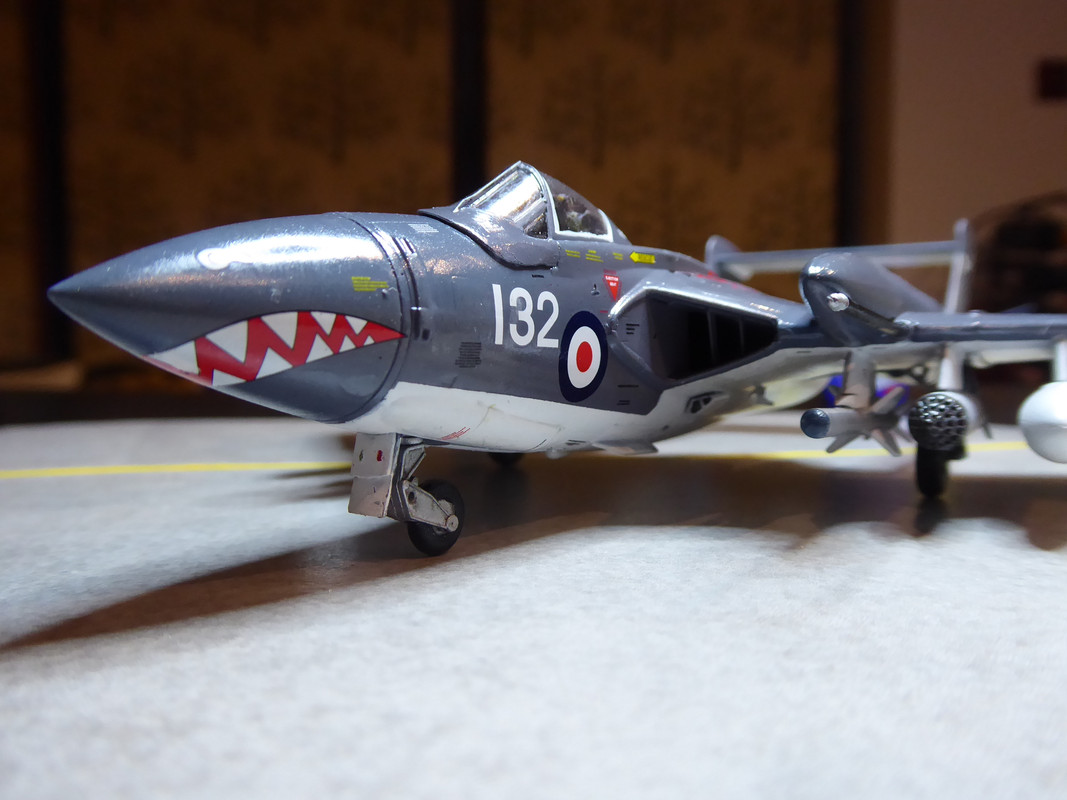
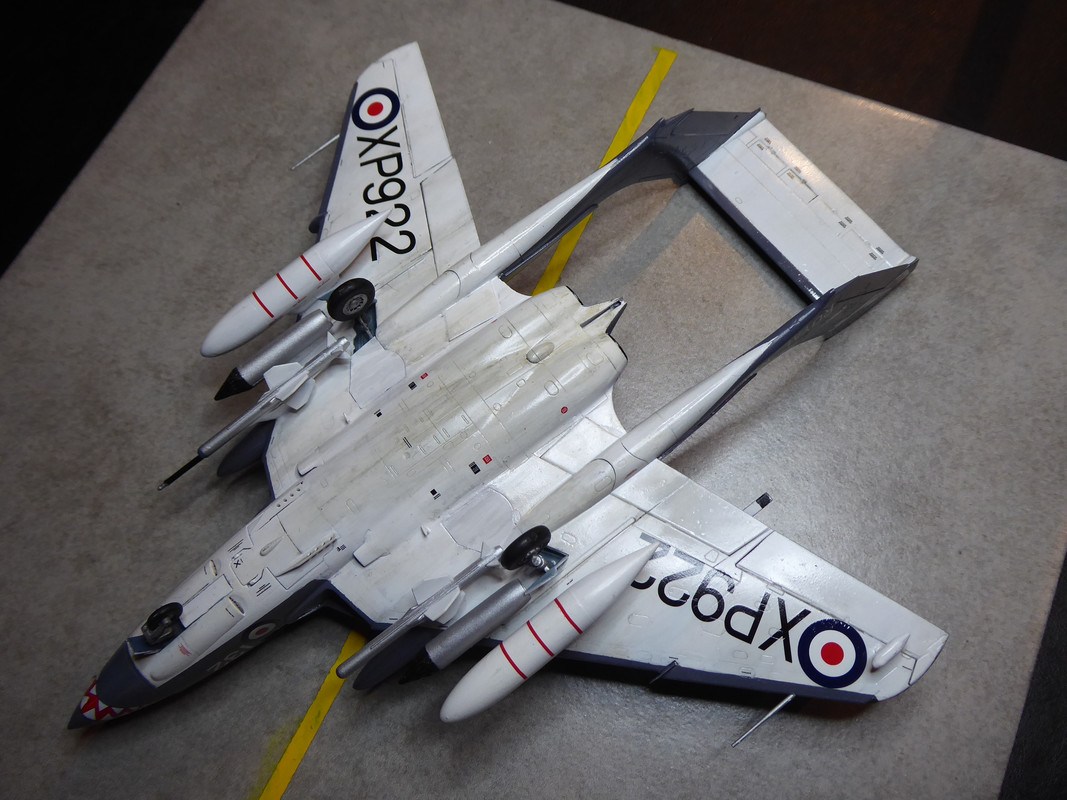
@freester, re the Sea Vixen, you might also want to do any of the decals underneath the wing before adding the weapons pylons. Actually this applies to many modern jets, especially British ones where the registration code goes across both wing undersides
Freester that’s bad luck, but I guess makes sense that if one bit is short shot, another might be too. Hope you get it sorted.
John D - love the ZSU, a formidable bit of kit, and it’s been around since the late ‘50’s! Saw one last year as a gate guard at the Muckleburgh Collection. I guess it’s either tracks or canopies as your poison 😀
Some slow progress being made on the Thunderbolt. Almost ready to start masking for a coat of primer…
I've been having a 'mare with my Airfix P-51D, this is now the fourth that I've attempted and it all went pears with the port side gun insert. The upshot is that it needs rescribing and my scribing skills aren't up to much.
To that end, an Eduard Weekend P51D turned up and is slowing being put together. The level of detail on the kit is sublime, I just hope that I don't bollix it.
Hmm, I might have to have one of those Eduard 1/48 P51s
…Once I’ve finished what’s already on the workbench in various states of completion:
1/35 ZSU-23-4
1/35 M3 Lee
1/35 Husky TSV and associated squaddies
1/48 Me262
1/35 M48A3 Patton
The Eduard kits are joyous to put together.
They are, I’ve recently done one of their Fw190 models, and I have a Hawker Tempest MkII in the stash
Yeah did their Mk12 Spitfire and late 109G6 and both went together beautifully, the level of detail is tremendous. The only thing that lets them down are the decals which have a pretty heavy gloss (but I’m being super picky)
I almost bought an Eduard BF109 - the weekend edition one.
They look like good kits.
Maybe I'll get one after I have completed the Tamiya Sea Harrier that I recently bought.
Not got round to make a start on it yet...
The Eduard kits are joyous to put together.
Joyous isn't the term I'd use - "fiddly" and "hard work but rewarding" is nearer my mark. If we're talking about the old (pre-2018) FW-190A then the term is probably "a complete bastard".
It hasn't put me off though, my Eduard stash comprises:
2x Spitfire XVI (dual combo)
2x Spitfire I/Ia (dual combo)
1x Me110C
1x Tempest V
1x Me 190G
1x Fw-190A
1x Mig 19
1x Yak 3
1x P39 Airacobra
Oh, and I've a P51K arriving tomorrow!
Masking Marathon.
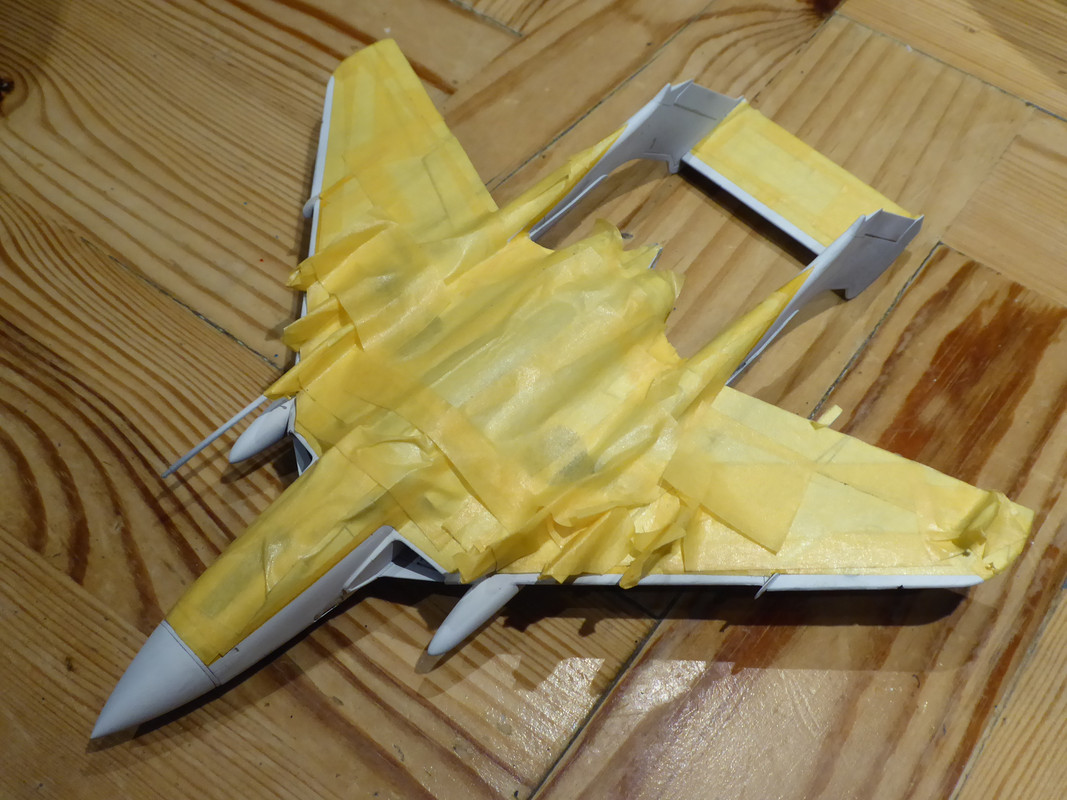
Holy Tamiya tape Harry! You might have been better reversing the painting process, and masking the unmasked bits! 😂
The pilot's seat in the Eduard P51d consists of nine parts, including two very fiddly armrests/supports that are an absolute paint to fix to the seat assembly. So far, the left armrest has been dropped three times on the floor.
Airfix's solution is much less detailed, but only consists of four parts!
I've some spare photo-etch belts somewhere for a P-80 Shooting Star, so once the seat is painted, chipped and coated with satin varnish I'll be having a crack at photo-etch for the very first time...
Also - Harry, what scale is that Sea Vixen? I don't envy that masking job if it's 1/48!
1/72, but it is still a big old unit.
Could have done a better job in a third the time if I'd left the pylons off.
Hmmm I have probably a dozen of the old style Eduard FW190a’s to make at some point. I’ve done one so far, many years back and remember the engine assembly being a major ball ache!
I wonder if anyone does a resin or 3d print one piece part to replace the whole dam thing 😀
Finished !
First model kit in decades.
Airfix Mark 1 male tank.
Funny build. Quite basic for the most parts but then with a ridiculous degree of fiddle for the trailing wheels.
Colours aren't quite right as I tried to colour match to Citadel paints, but then no one is really sure what the correct colours are anyway. Paint is flaking off the rubber tracks: heyho.
I've also decided that 1:72 is too fiddly for me.
Next a 1:35 Tamiya Cromwell.
@stirlingcrispin nice job there! Like you I had decided 1/72 is too fiddly. 1/48 seems to be the sweet spot between model and size and ease of working on it!!!
Agreed! Certainly for aircraft - provided they’re not big things like bombers 😆
Can you imagine the size of a B-52 in 1/48?
@Freester
Thanks.
I am tempted to have another go - the kits cost £6 - and learn from my mistakes.
Paint and assemble the steering wheel hinge unit before attaching to the main body, and outline the campouflage pattern before painting.
Welcome back to the world of the Afflicted SC! Highly recommend having another go. £6 is barely the cost of a pint these days, and these are better for you. Get a few more simple kits under your belt before tackling the Cromwell. You’ll be amazed how quickly you progress. Also literally thousands of really good YouTube channels out there with hints and tips.
Yep, get yourself down to Aldi or have a look what Jadlam have for offer at the cheaper end.
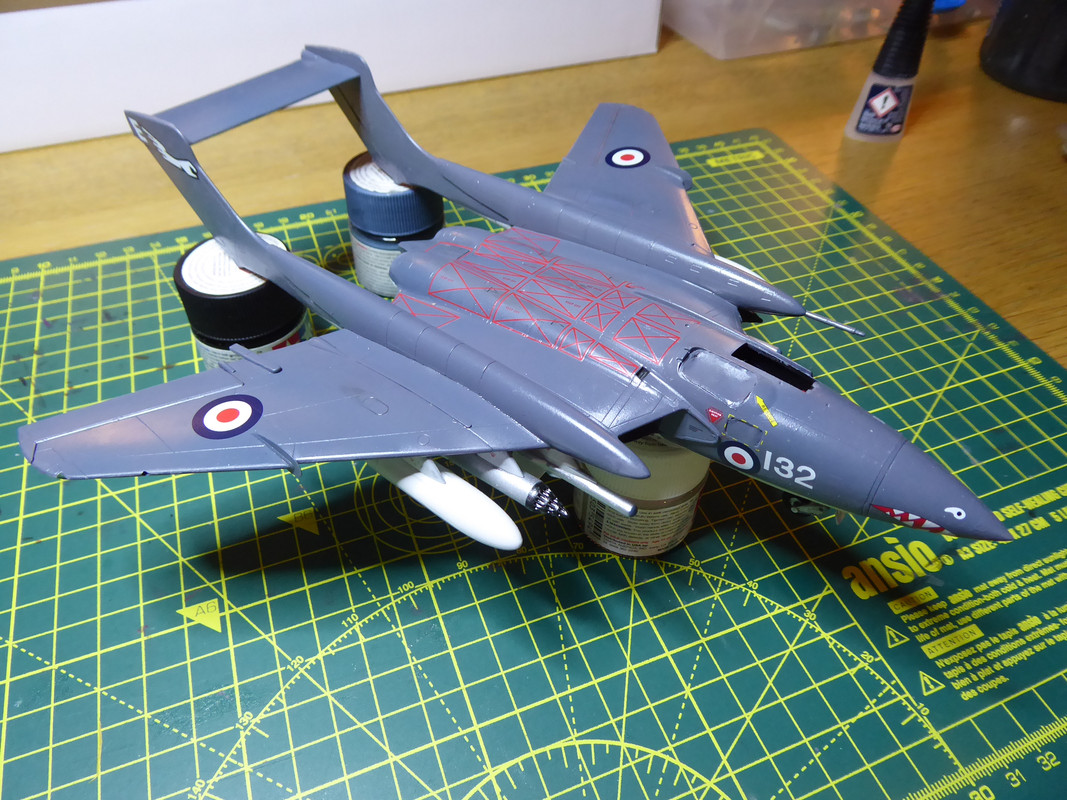
Got some paint on the Sea Vixen.
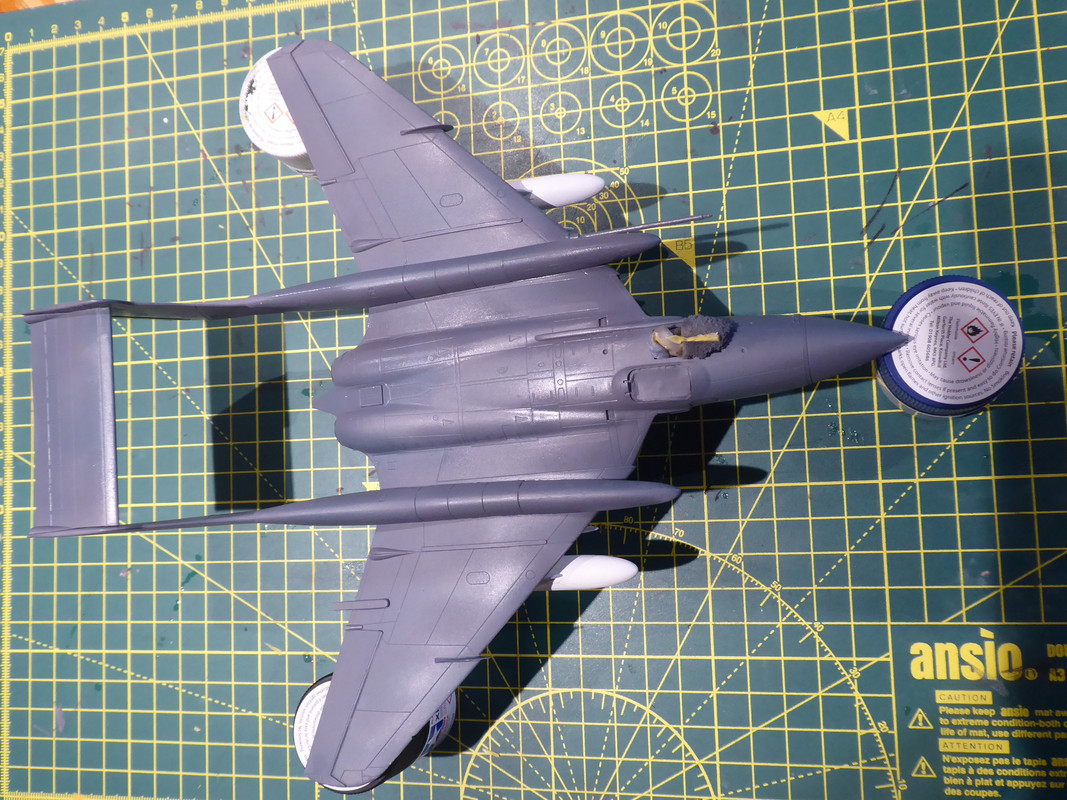
Glossed it too. Will leave it over night to harden off then start on the decals.
What are you using for gloss Harry? I’ve got half a litre of Klear floor polish from maybe 10 years ago. Works well but can be a little tricky to spray. I’ve used maybe 100ml! Although to be fair I have had some long lay offs in that time too…
Alclad.
Sprays well and they do an airbrush cleaner too.
Cyber Hobby provide a lot of decals! Managed to get the top half done without disaster, so I'm calling it a day.
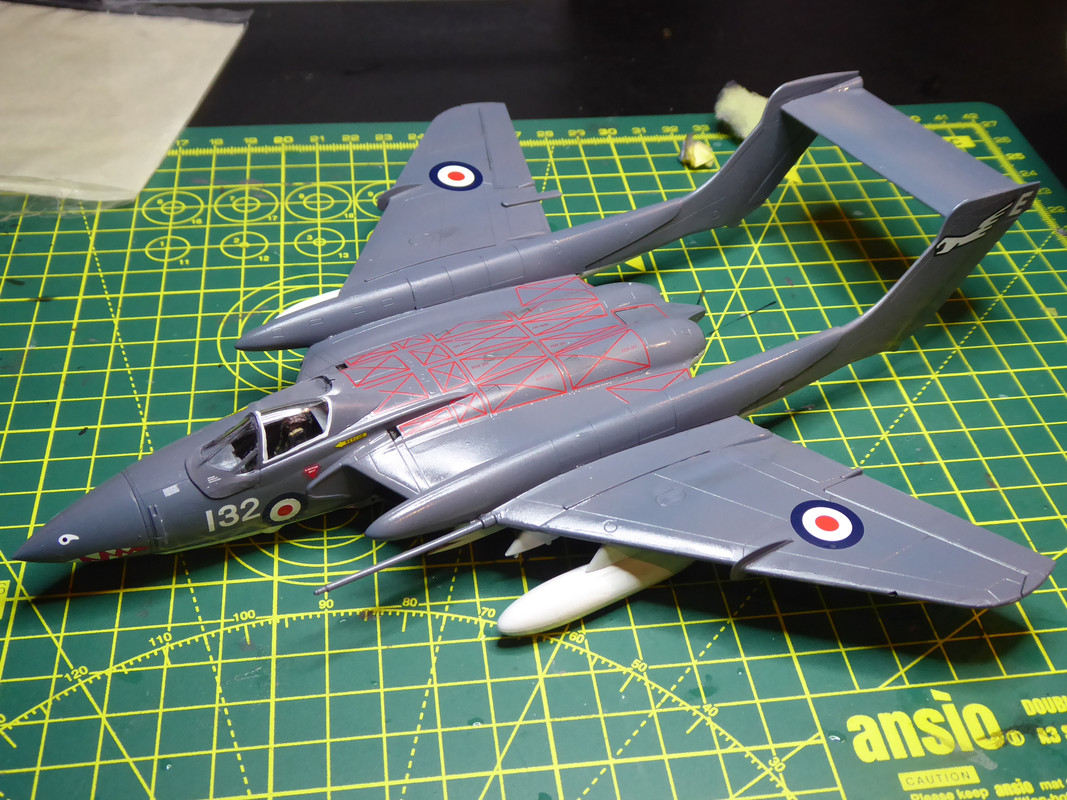
No evidence of the dreaded "Silvering" and I'm hoping that once they have had a final covering of semi-gloss they will look spot on.
Very smart indeed Harry!
A couple more hours on the underside.
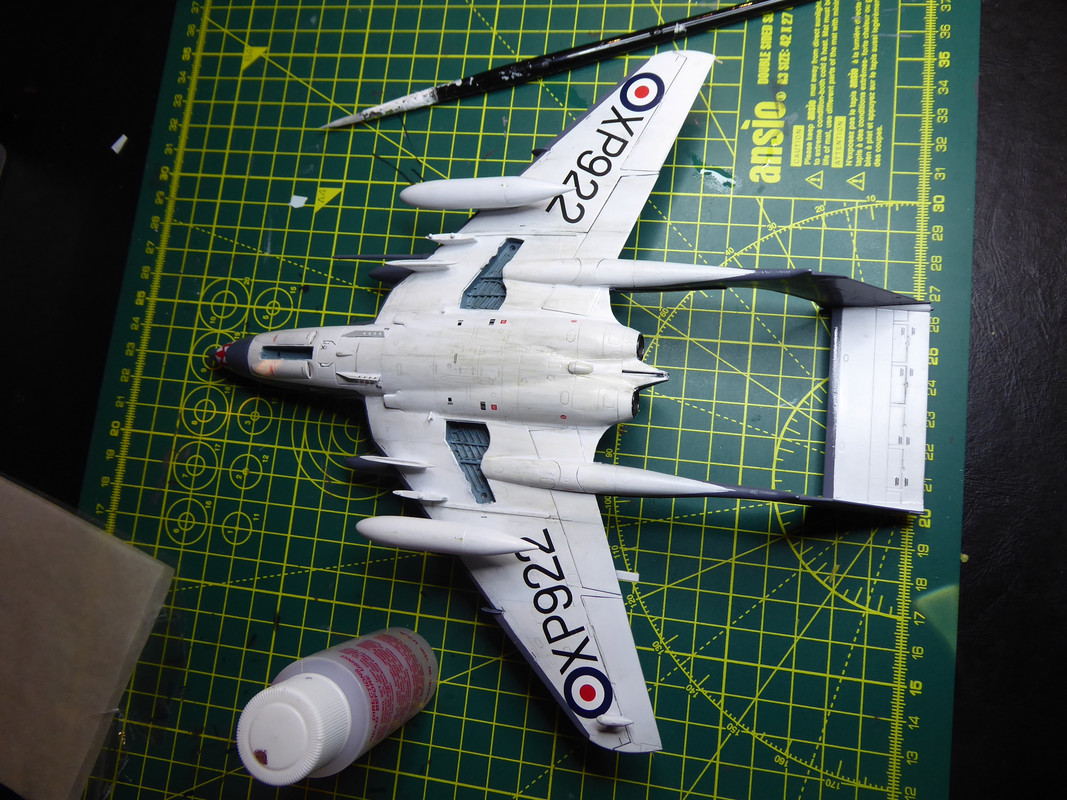
There are a lot of stencils!
For those of you that haven't tried is I would thoroughly recommend Micro Sol decal setting solution (the white and red bottle in the image). The serial numbers especially look they have been sprayed on.
Getting closer!
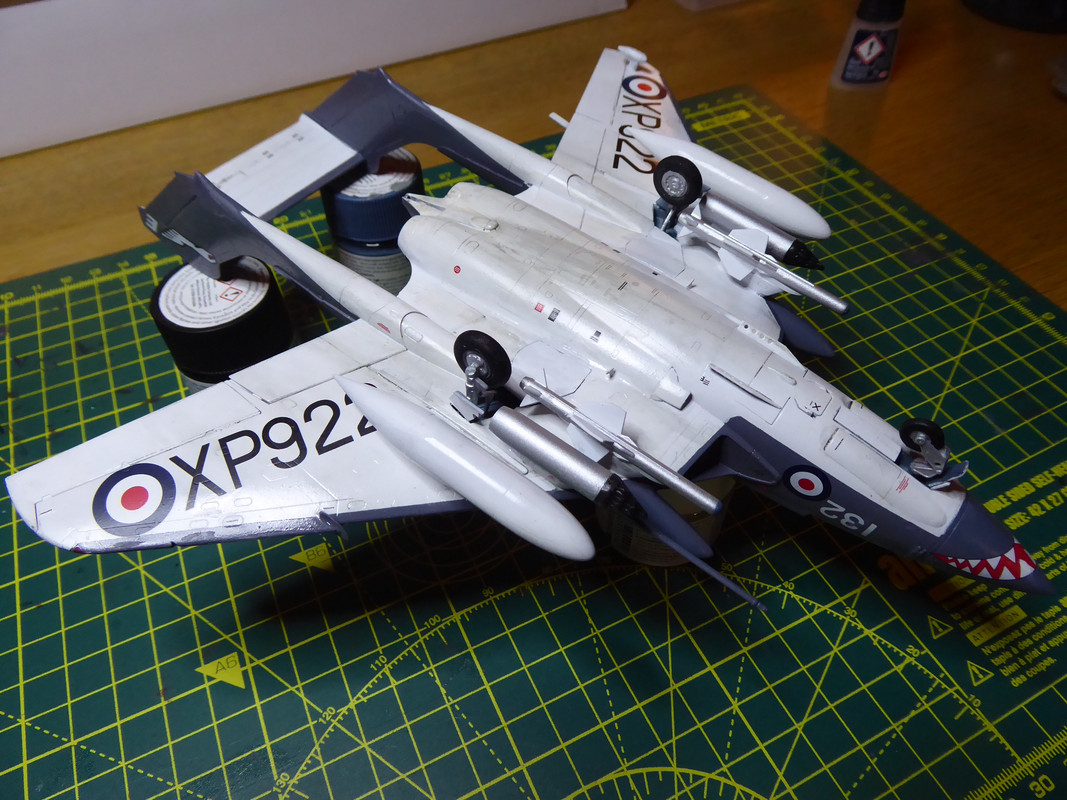
Still got a few more decals to apply on the fuel tanks, booms and around the nose, then a final semi gloss coat, ejector seat, canopies and pitots before I can relax!
Well your progress has inspired me to get a bit more done on the Big Jug Harry. Main build now complete, but loads of bits and pieces still to do. Laid down coat of primer, but it will now be paused for a week as we’re off on hols..
The best thing about using black primer is it makes your plane look seriously bad-ass! 😀
[url= https://i.postimg.cc/fL4WxTLg/A85-CD31-D-8625-463-D-92-C0-74-EA2-F98-DB0-D.jp g" target="_blank">https://i.postimg.cc/fL4WxTLg/A85-CD31-D-8625-463-D-92-C0-74-EA2-F98-DB0-D.jp g"/> [/img][/url]
[url= https://i.postimg.cc/vmxHg6QV/DD199267-A0-A5-4-A87-A718-366-DF3202051.jp g" target="_blank">https://i.postimg.cc/vmxHg6QV/DD199267-A0-A5-4-A87-A718-366-DF3202051.jp g"/> [/img][/url]
That looks like a right monster! How big is it?
It’s a big old beast for sure. About 15 inch wingspan, huge even by 1/32 standards. Below is a 1/72 me262 night fighter for comparison. I’ve got a few FW190s in 1/32 and it dwarfs them too.
[url= https://i.postimg.cc/8CxbvCYY/DD19701-F-4-B95-43-C1-A101-1606-CD591-B32.jp g" target="_blank">https://i.postimg.cc/8CxbvCYY/DD19701-F-4-B95-43-C1-A101-1606-CD591-B32.jp g"/> [/img][/url]
Just found this excellent reference video.
It looks like it was shot quite recently. Is Foxy Lady making a return to flight?
I thought they'd abandoned the idea but are maintaining the aircraft as though it might happen one day.
Maybe. It looks mint in the video.
Great video. I do love these Cold War jets, but I wonder if maintaining them in a flightworthy, rather than flying, condition isn’t better. The immense stresses on decades old airframes doesn’t bear thinking about!
I was on holiday in Dorest a few years back and somebody was chucking that Sea Vixen about in the sky. It wasn't some gentle Sunday morning hop.
Just found this nice guide for the aspiring novice builder looking from how to progress. Some nice tips on getting by without an airbrush.
Got a link?
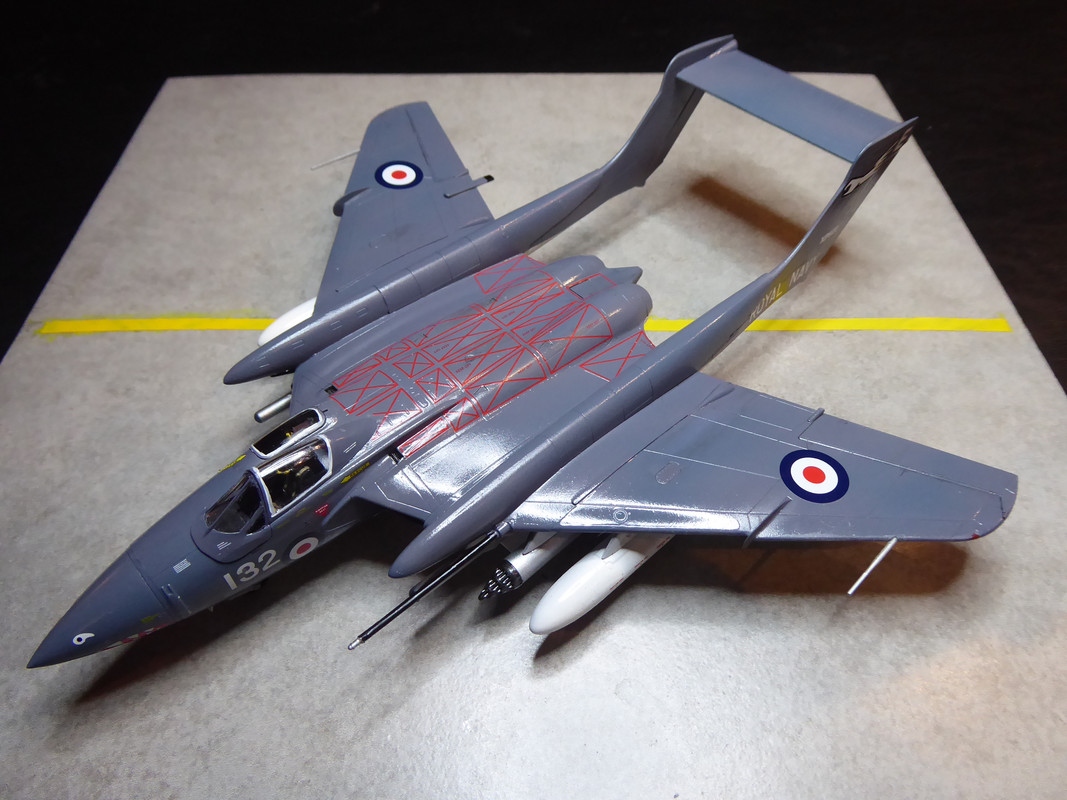
Sea Vixen done.
What a good kit!
Fit and decals were superb, instructions less so, but I'm sure that the Revell re-box will be better.
Cyber Hobby rather fabulously included duplicates for many of the really fiddly decais, so on the occasion that one or two went on wrong there was a spare. Really impressed with that.
On;y issue was with the seats which were way too small. £4 got me a pair of Pavla resin ones which look great. Swapped out the nose too, but the one supplied with the kit wasn't that different.
Sorry, thought I'd posted it. Just done an epic commute homewith a decent tailwind on the singlespeed and was in the pub with a well earned pint watching a band set up.
Braindead but really glowing with endorphins and lager. Averaged 18mph on an urban commute from Farnham to Ash. We'll happy.
That Vixen's great looking. Nice one
Thanks eddiebaby. That looks like it's worth a watch.
Nice Sea Vixen, HtS.
Straight on with the next one.
Phantom FG.1 in FAA colours to go with the Sea Vixen.
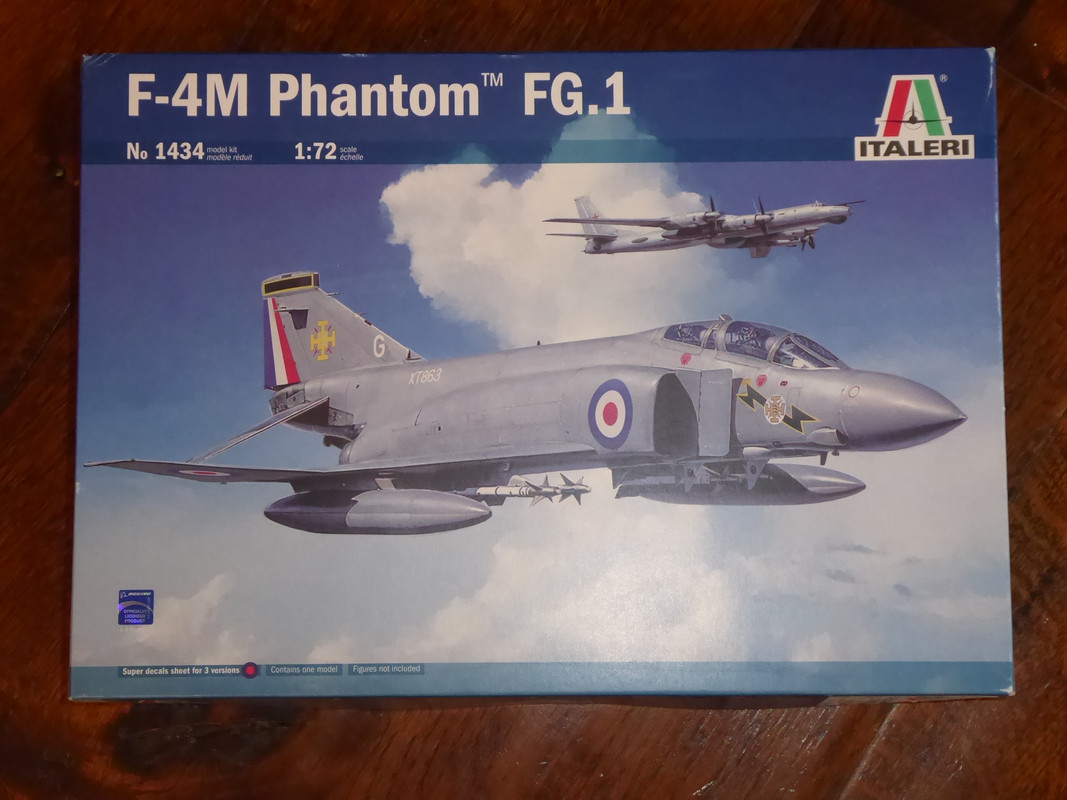
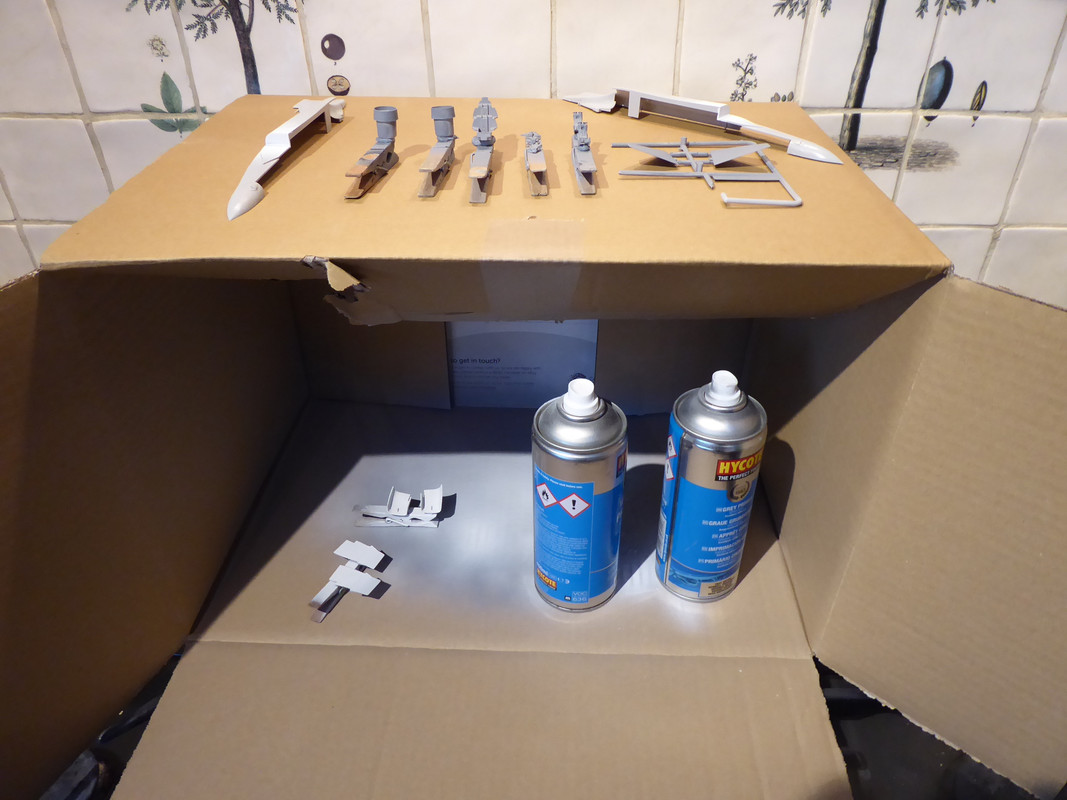
Kitchen Spray Booth as I won't be doing it outside today!
I've finished building and painting another miniature gaming model that's possibly interesting enough to share with you here:

More photos at: https://www.flickr.com/photos/thinkingengine/albums/72177720297025852
Stunning painting there!
