I have a few kits on the go at the same time, means they often get finished around the same time.
The A-7D I’ve been working on is now almost complete. Undercarriage & gear doors on. No ordnance in the kit other than a pair of Sidewinders, so I bought some aftermarket. Only trouble is, 12x Mk82 bombs means 12 lots of decals. And the rest...
Next up, this: https://www.modelhobbies.co.uk/meng-models-135-russian-k-4386-typhoon-vdv-armored-vehicle--vs-014-276658-p.asp
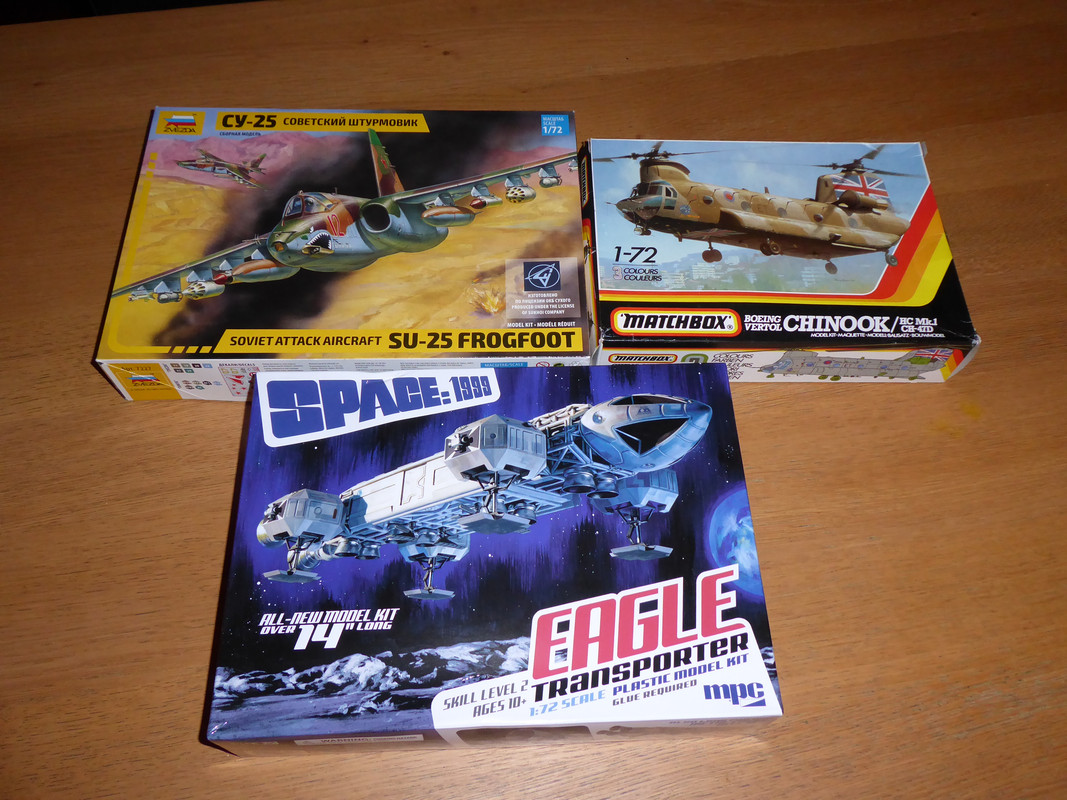
Christmas Stash.
Looking forward to having the time to getting back to building in the New Year.
I’ve the Special Hobby spit mk12 coming. In a few days hopefully
I sometimes wonder how accurate the sizing / scaling is, anyone any ideas? For example the Bell Huey UH1 is smaller than I would expect against say a WW1 or WW2 fighter.
I guess must be on scale within sensibly tight limits/constraints of moulding. When you look at the geekery around some of the builds on places like britmodeller people are looking at which air intake inlet the model kit had and therefore which 'batch' the plane came from. Level of knowledge very scary!
What always gets me (as an interested in planes generally person) is how small a Spitfire or an early post war jet looks against (say) an F-16.
I always think about the American hall at Duxford and you've got an F-15 strung up on the ceiling and compare that to some of the bombers below it on size. It's pretty eye opening.
Has anyone got any experience with Tamiya Silver Leaf spray paint? I'm building a kit at the moment and I've never known a paint to orange peel like it when sprayed lightly from a long way away.
Also, the kit has a car body shell with strengthening ribs inside. When sprayed there's a distinct line on the outside of the body where these are, anyone any idea how to get rid of them?
When sprayed there’s a distinct line on the outside of the body where these are, anyone any idea how to get rid of them?
A high build primer and sand back.
Plasmo ups the ante by not just doing great builds but by 3D printing the kit first...
Has anyone got any experience with Tamiya Silver Leaf spray paint? I’m building a kit at the moment and I’ve never known a paint to orange peel like it when sprayed lightly from a long way away.
It could be that you're simply too far away from the object that you're spraying and that the paint droplets are already dry by the time they hit the plastic. TBH, I really dislike using aerosol cans, you can't regulate the spray and it's too easy to get it wrong. I've used that Tamiya paint myself and it goes on commendably well considering that it's both an aerosol can and a metal finish, but if it were me I'd be decanting the paint into an airbrush and doing it that way.
If you do decide to try airbrushing then I highly recommend Vallejo's water based metal colours. The results I've had are simply astounding, you can even spray directly onto unprimed plastic and the stuff stays there.
Ahhh forggggit, I'll do it later when I can be arsed to upload a picture to this site....
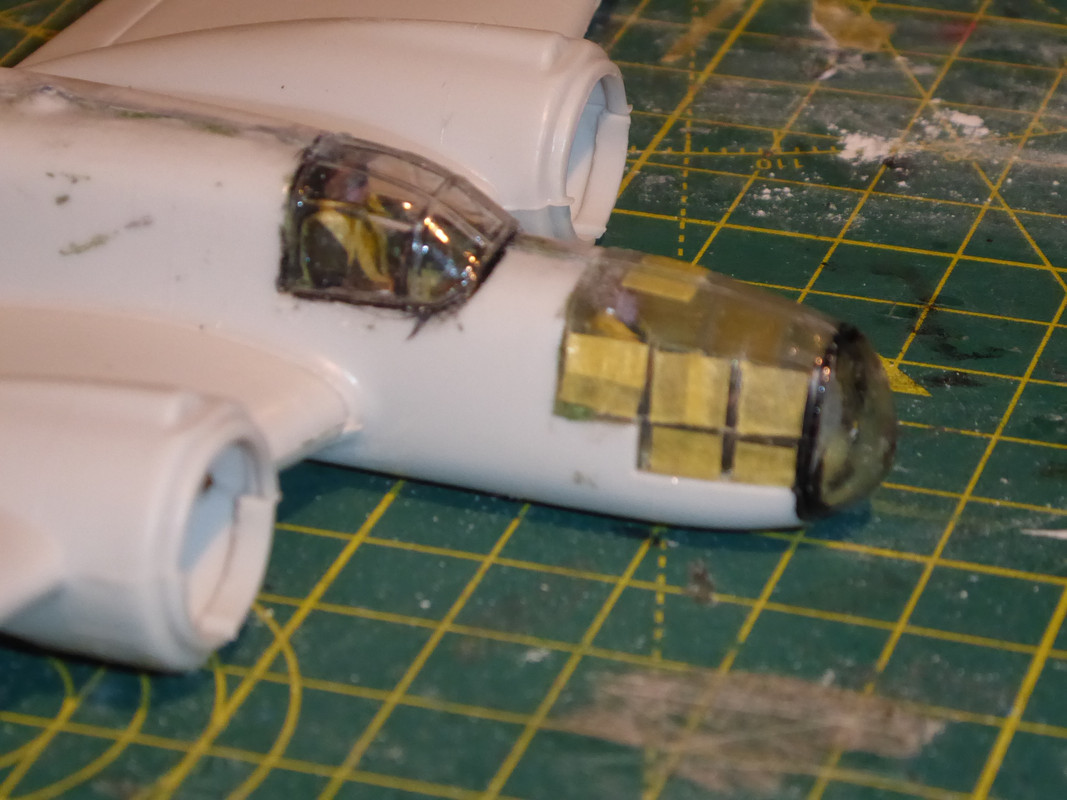
I'm building an Eastern Express re-box of an ancient FROG Martin Maryland.
I managed to drop the box inside my chaotic under stairs cupboard and spilled the contents evenly between an open tool box, my "bike crap" bucket and the floor, resulting in the loss of the front section of nose glazing. After an amount of fruitless searching and industrial strength bad language I raided the spares box and butchered the front off a spare canopy from a Mitchell. It fits, but the shape is a bit off.
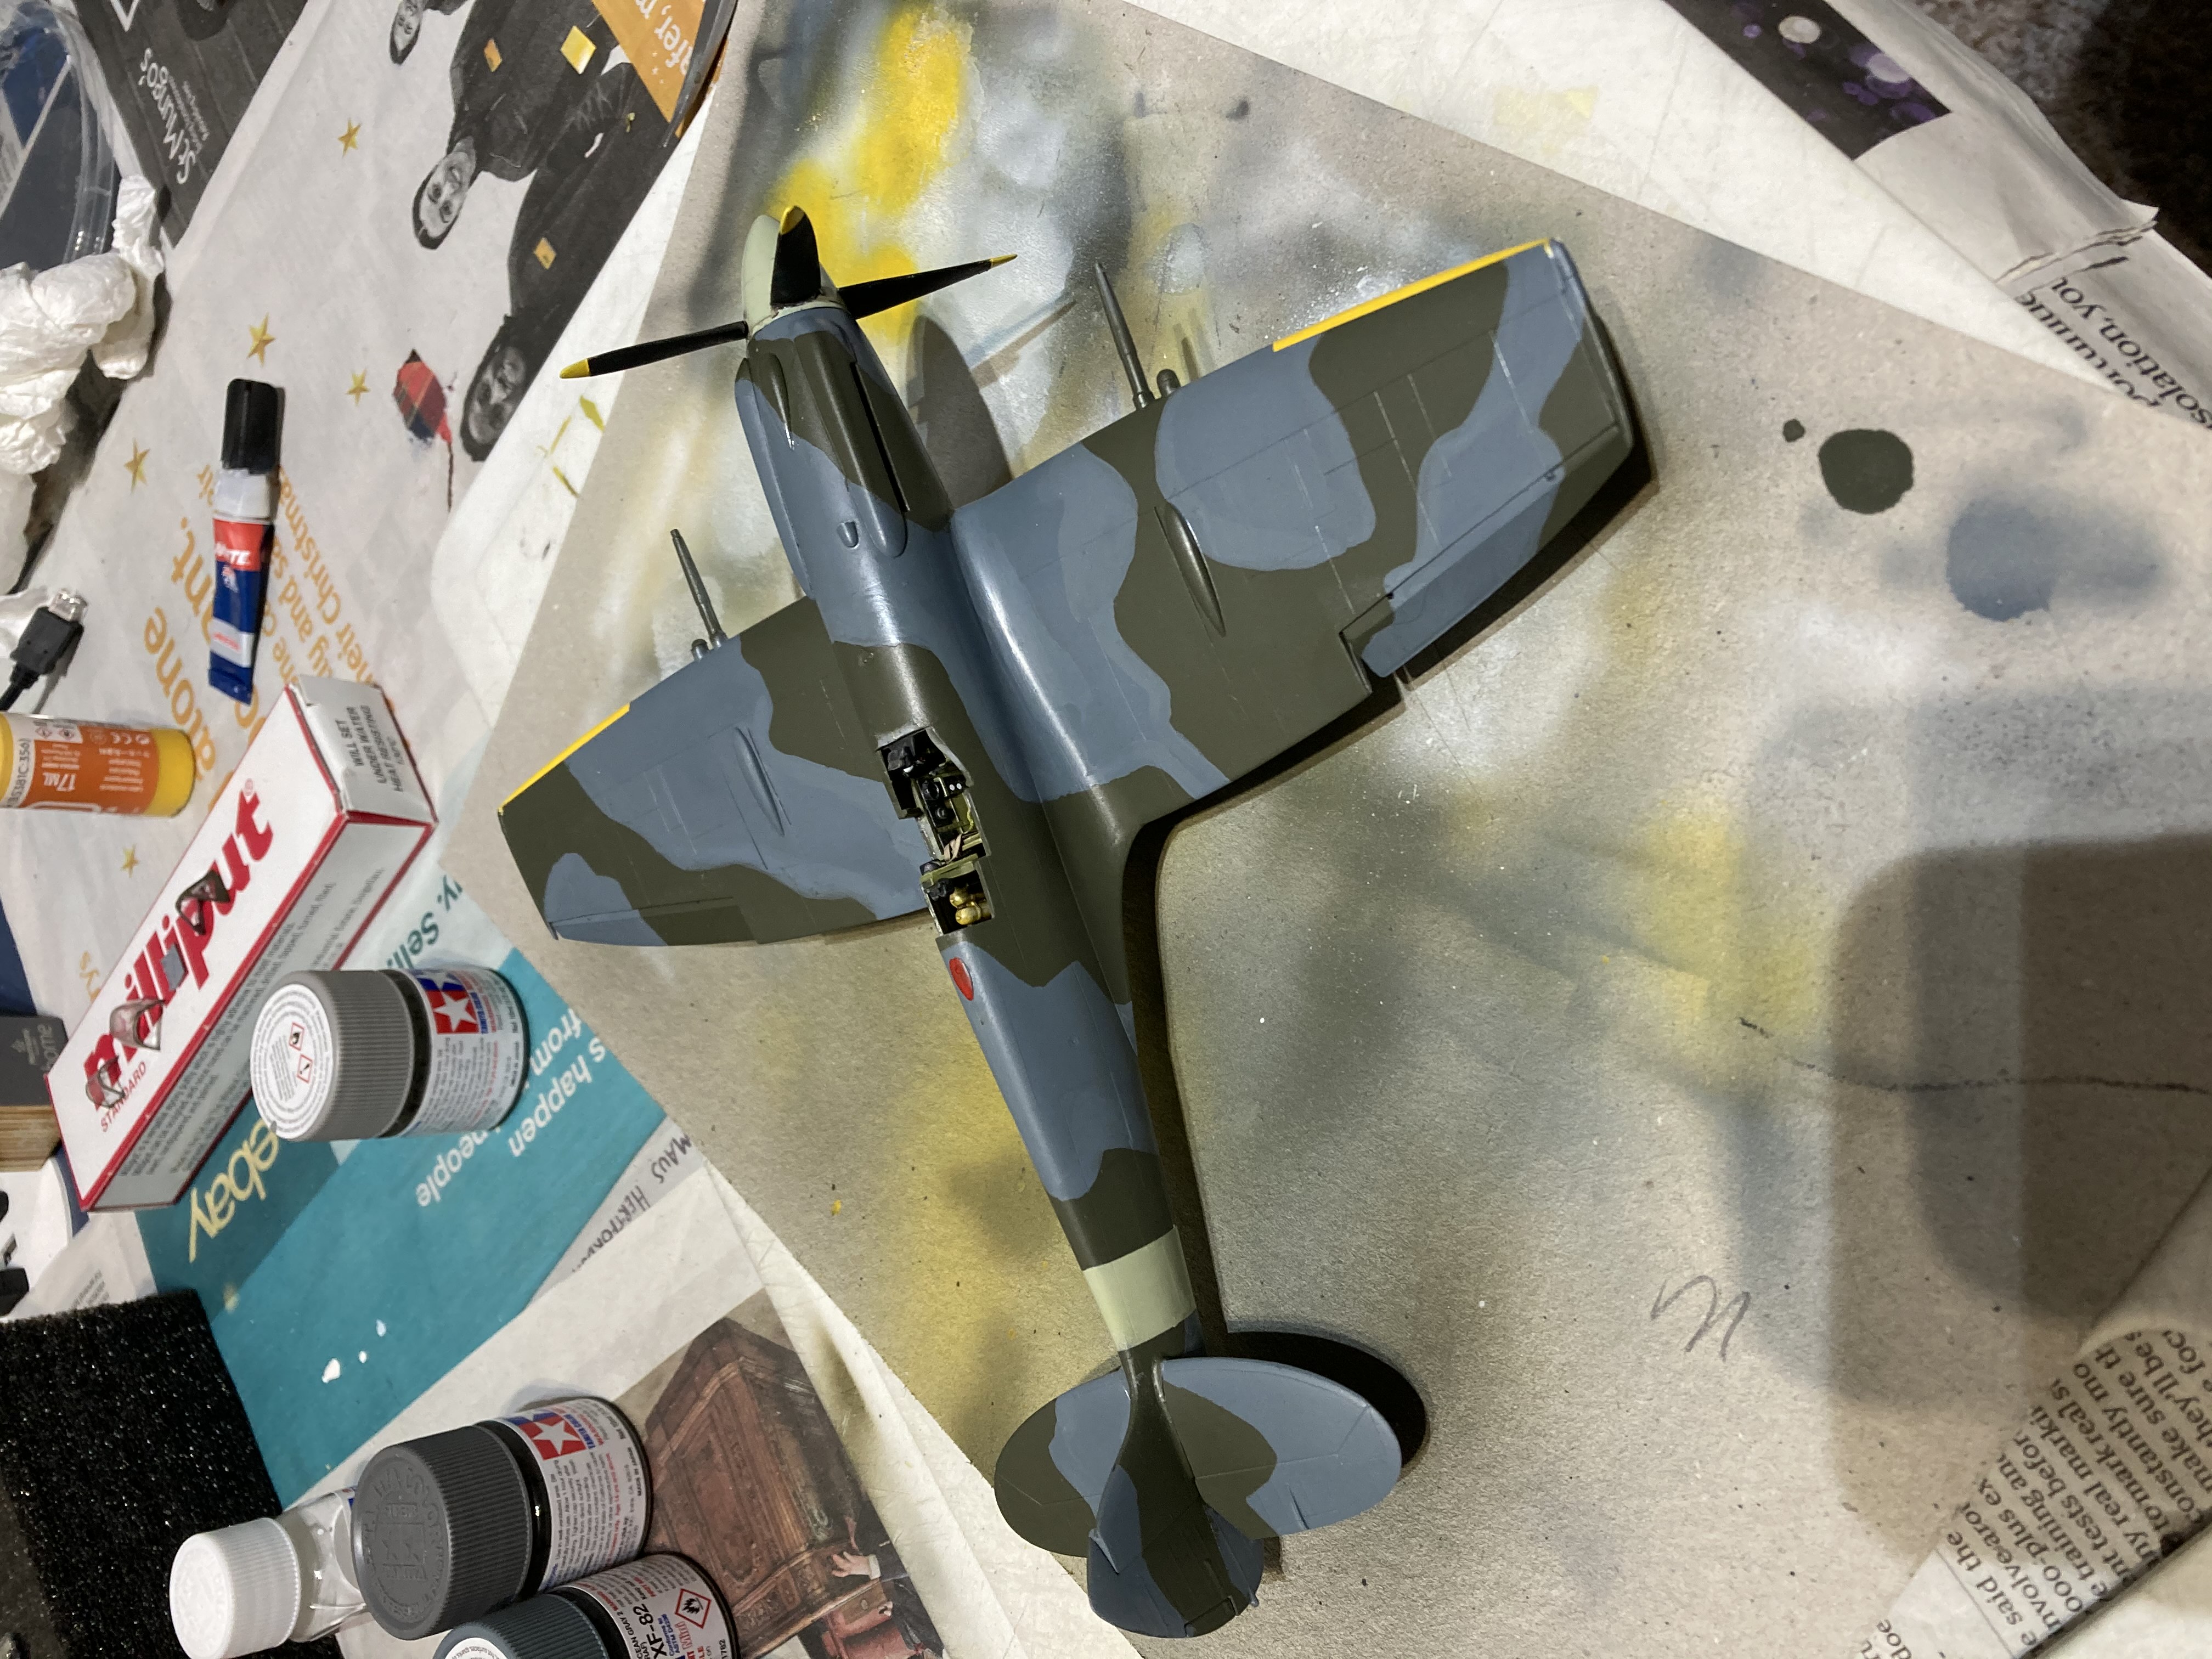
Oh wow, that's a Mk XII, I think? Very nicely done.
Finished the MkXII. Originally called the MkIV (and, oddly the MkXX), was an early development using the MkV (or here; the MkVIII) plagued with difficulty getting the single stage Griffon to work well. 4 bladed prop rather than the more usual 5 blades of the MkXIV. only a hundred or so built, and only used by 91 and 41 sqn for less than a year, phased out by Sept '44. Only ever used in a low level role, one pilot said of it "It was a brute of an airplane, all the finese of the Merlin engines had gone, there was so much torque from the engine, even with full right rudder (the prop rotated anti-clockwise, another oddity of the Griffon) I don't think I ever got it to take off in a straight line". it was widely recognised as one of the fastest Spitfires ever made, even left the P51 for dust low level...

That Spitfire looks great. I'm assuming 1/48 or similar and not "braille".
We are in the process of refitting our main shed to have a hobby bench in it as our stuff (3 of us bodgers aged 8-40 something) is progressing really slowly as the dining table is the only place we can work currently.
I'm really hoping to get an airbrush setup once the bench is in but the enormity of getting started with enough colour options from scratch is frightening me a bit. It's not so much the cost as what I need to get to do a fair to middling job to begin with and then progress to a half decent job. It doesn't help we don't really buy a particular era or style of stuff. A mix of cold war jets, a Russian helicopter and WWII fighters and bombers in the heap. This isn't going to be cheap is it?
I have a shedload of colours by various different manufacturers, but it’s taken a while to build up this collection.
I tend to look at what colours I need for a particular model that I’m working on & compare with what I already have, then add only what I need.
Can’t go wrong with Tamiya acrylics for starters...
An airbrush and compressor are an expense and my experience has been buy cheap buy twice, however I’ve seen reports of many people happy with the AS186 set (just over £100 on Amazon), which includes 2 airbrushes. If you’re painting in a garage, you’ll need a moisture trap and at this time of year you’ll need two, one on the compressor and one on the brush.
As to paints, just get them as and when. My preference is gunze or tamiya thinned with gunze levelling thinner. Whatever kit you are doing you’ll always need a new colour.
Basic airbrushing is fairly straight forward, so you should get a better result than brushing with your first attempt. More subtle techniques will come with practice.
Very nice looking Spitfire. Both ailerons down though?
Both ailerons down though?
Artistic licence
I’m on my third, maybe fourth airbrush.
I started with a cheap Revell spray gun - can’t really call it an airbrush - with canned air. Cost about £20 but the canned air gets expensive after a while.
I’ve also had a Badger airbrush & I’m now on a Neo by Iwata. Compressor was about £100 but it’s lasted a lot longer than £100 worth of canned air
It could be that you’re simply too far away from the object that you’re spraying and that the paint droplets are already dry by the time they hit the plastic.
I'm pretty sure this is what the cause was. My last couple of coats up close were much better.
As a very occasional modeller I can't justify an airbrush set up. I built 2 kits last year even with lockdown and most of my kits this year are likely to be buildings from printed kits.
What’s everyone’s go to for reproducing RLM paint on Luftwaffe..? Seems like none of the usual suspects do a good match
if you think ebike vs normal bike arguments are bad, don’t go anywhere near the modeller forums when they get going on RLM02 as a camouflage colour...😂
What’s everyone’s go to for reproducing RLM paint on Luftwaffe..? Seems like none of the usual suspects do a good match
I like Vallejo for Luftwaffe colours, their RLM02 is quite good.
What’s everyone’s go to for reproducing RLM paint on Luftwaffe..? Seems like none of the usual suspects do a good match
If you think that's contentious, you should try attempting to find a good match for RAF Azure Blue!
RLM colours, particularly during the latter part of the war are open to interpretation. Often, paints were mixed from existing stocks so wasn't unusual to see FW-190ds wearing distinctly sky coloured lower panels for example.
PMJ, yeah I think they were pretty much using whatever tins they had laying about! Also add to that colourised photos... the whole thing is open to interpretation...
ive gone for Extracolour acrylics, never tried them before but I don’t get on well with Vallejo for some reason, although I know others love them
If you are airbrushing and have good ventilation then these paints get good reviews from those that use them. Caveat, I've not used them yet, but I plan to test out their WW1 colours soon.
Lifecolor RLM paints are my absolute fave - spray superbly as well!!
Gotta love a late model Spit I must say. Finally made some modest progress on my Ta154. In my defence I have been building a mountain bike from spares 😀. Didn’t spend too long on the cockpit. If you’ve never used it I highly recommend the Mr Hobby thin cement - you just touch the brush to the join and it runs all the way round. The annular radiators were done with Alclad and an oil wash to bring out the detail.
[url= https://i.postimg.cc/MT0BTSJm/2-CE510-F1-A341-4-B5-D-96-EF-F82-CAF65-FF66.jp g" target="_blank">https://i.postimg.cc/MT0BTSJm/2-CE510-F1-A341-4-B5-D-96-EF-F82-CAF65-FF66.jp g"/> [/img][/url]
[url= https://i.postimg.cc/KjZM3HZS/902-E9-EC3-9202-4-CC3-8-FF5-5015-ABB460-E9.jp g" target="_blank">https://i.postimg.cc/KjZM3HZS/902-E9-EC3-9202-4-CC3-8-FF5-5015-ABB460-E9.jp g"/> [/img][/url]
[url= https://i.postimg.cc/2y2BQ76q/9063-A1-DF-B48-C-4-E0-C-BE73-C41348-BD2031.jp g" target="_blank">https://i.postimg.cc/2y2BQ76q/9063-A1-DF-B48-C-4-E0-C-BE73-C41348-BD2031.jp g"/> [/img][/url]
[url= https://i.postimg.cc/J4zX1v6j/BACE4104-B8-D5-4-B6-A-AD21-D75-D08-A4-DACD.jp g" target="_blank">https://i.postimg.cc/J4zX1v6j/BACE4104-B8-D5-4-B6-A-AD21-D75-D08-A4-DACD.jp g"/> [/img][/url]
[url= https://i.postimg.cc/xjRHVnR0/FF747597-F5-BB-478-C-BD48-32-D26-C7-F892-E.jp g" target="_blank">https://i.postimg.cc/xjRHVnR0/FF747597-F5-BB-478-C-BD48-32-D26-C7-F892-E.jp g"/> [/img][/url]
So Im definitely rusty but over the last 2 lockdowns Ive panted these game figures for the D & D Wrath of Ashardalon game , figures werent great quality tbh, but good to get some practice back in
first game with the kids this weekend!!
been so much fun, saved the dragon for last...


If you’ve never used it I highly recommend the Mr Hobby thin cement – you just touch the brush to the join and it runs all the way round.
I have some Tamiya stuff that's similar. Found it's really good on wing and body joints if you just gently brush it along the outside of the join for eliminating that tiny gap you'd otherwise get.
I finally braved assembly of the main fuselage, cockpit and wings of my Airfix 1/72 Blenheim MK1. A kit that has been soundly criticised for its fit issues in this thread and on Britmodeller. Oh my word, worst fitting kit I can ever remember building - so much trimming and filler! I will finish the blighter and the Defiant soon and get some pics up for Mick taking and feedback.
Kimbers those figures look amazing! I have tried one or two Luftwaffe ground crew set pieces, but figures really do continue to elude me.
Amazing painting, nice one!
Fantastic figures there! Especially the dragon
Off the subject of figures, does anyone else have problems spraying Vallejo acrylics on top of AK Interactive acrylics?
I’ve done / am doing a few modern Russian military vehicles with three-tone camouflage scheme. I’ve used AK4144 Pale Tan as the base colour, masked off & then used Vallejo Model Air Russian Green 4BO as the next coat. Which does not stick well.
First time I thought it was because of the Camouflage masking putty that I’d used, but thinking on, the Vallejo paint ran & puddled where I hadn’t used the putty.
Second time, I used Tamiya masking tape and again it ran & puddled where I hadn’t masked.
So I then tried another AK acrylic over the Vallejo, it’s gone down better but lumpy where the Vallejo had stuck. Time to clean up & start again
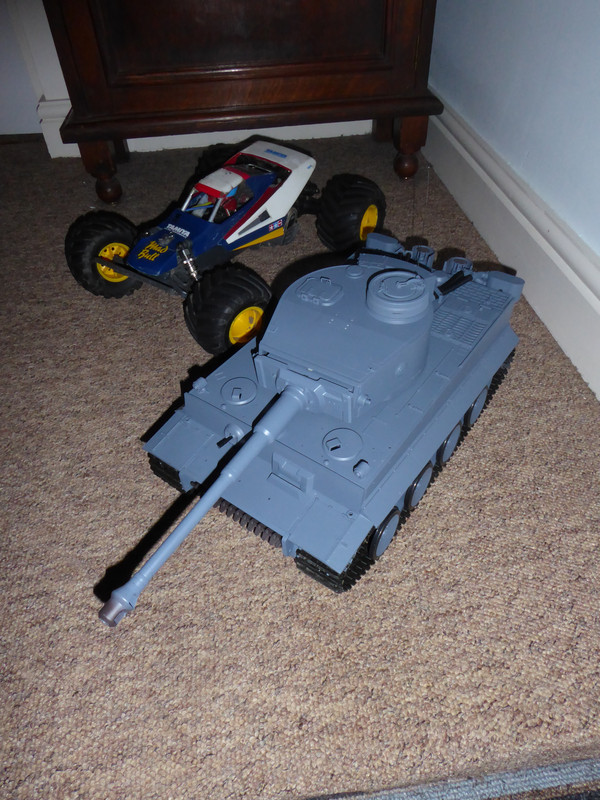
Heng Long Tiger 1.
1/16 scale RC Tank.

Is that an A3 cutting mat?
Yep 😁
That’s a whopper! Great build, lovely subtle weathering.
It comes ready built and painted flat grey. All I did was weather it and clip all of the fittings on. The weathering has made a huge difference.
This is what it looked like without.
This is the point where the Airfix and the Tamiya thread briefly converge!
Argh just binned the FW190. Airbrush/paint/ compressor issues...not sure yet but hugely frustrating.
So after last night debacle...what’s everyone’s opinion on Hataka and Xtracolour paint? It’s supposed to be “spray ready” straight from the pot, but it was a nightmare!
First time that I’ve used anything but good ole Humbrol for enamels and Tamiya for spraying acrylic. Let’s just say the experience was not one I’m likely to be in a rush to repeat, I’m not sure that my airbrush isn’t permanently borked (the Fw190 I was building certainly is) got either too thick straight from the bottle or with small amounts of water or acrylic thinners waay to thin!
Airbrush should be cleanable. First of all make sure you give it a soak in warm soapy water, if you can break it down safely without losing any parts then do so
Then give it a clean using any good airbrush cleaner & kitchen tissue.
The model should be salvageable too, try cleaning the existing paint off with “CLEAN SLATE rmvr 2.0” by Vantage Modelling Solutions.
I’ve recently added Vallejo, AK Interactive & Ammo by MIG paints to my Tamiya & Revell acrylics; I think there’s one Hataka too but I think I’ve only used it with a hairy stick.
If these seem too thick to spray, I’ll decant a bit into a clean, empty Tamiya paint jar & add Tamiya X20A thinners a little bit it a time. Aim for the consistency of semi-skimmed milk.
BTW Humbrol acrylics don’t like Tamiya thinners, they go all lumpy. Use Humbrol acrylic thinners instead.
Revell AquaColour acrylics are happy with either Tamiya thinners or good old fashioned water
I’m working on a Meng 1/35 AFV at the moment, sprayed with AK Interactive paints. I tried Revell’s gloss varnish but it all just beaded up, so I washed the model with soapy water & tried Tamiya X22 Clear straight from the jar. Job done. Now for panel line washes & the decals, then a coat of Matt varnish & onto the weathering
I’ve never used xtracolor but I was surprised it’s classed as airbrush ready unless they’ve changed their formula in the last few years. I’ve used xtracrylix and that needs thinning.
Was it thin in consistency straight from the tin. Not familiar with the other brand at all.
Airbrush should be fine. A good strip down and thorough clean (cellulose thinners should sort it out)
Yeah airbrush will probably be OK, but the paint itself is well weird, the Hataka stuff goes stringy (hard to describe really) with both acrylic thinners and water, and with its own thinners becomes rapidly to thin to paint successfully with. Certainly the normal starting point of “milk” was waaaay too thin for it ...the Xtracolour stuff is their acrylic paint which again is picky with consistency, never experienced anything like it before. Normally with tamiya you don’t really need to be ‘that’ conscientious with the consistency, just bung it in the pot and go...
This makes me think that I should stick with Tamiya, not that I had considered a switch.
xtracolor = enamel
xtracrylix = acrylic
I've used the acrylic paint and you need to thin it. I used their own thinner and some W&N flow improver, but it is temperamental, I just use it to brush paint small parts these days.
