Daughter just joined a plastic kit building club at school. Is there a good source of discounted kits (high quality not a real issue but they must fit together well) that I can use? Which makes should I avoid?
Last thing I built myself was probably this

Get down to Aldi and hoover up any £5 airfix kits. They will probably include glue and paint too.
The only truely bad cheap kit I've had was a Hawker Hunter from Mister Craft. Absolute garbage.
Jadlam do cheap ones from Airfix, Revell etc with free delivery starting at about a fiver.
The Airfix Spitifire, Hurricane, Warhawk and A6M Zero are really good and cheap.
Oh yes and to be fair Airfix and not sneaking them out - the old kits are coming out in the original boxes and all the more recent ones have the date of the tooling on the side of the box.
Watch out for that metal paint - its looks great but it doesn't like being handled much so I'd spray it with Klear or similar before you do much else to the model. It doesn't like masking tape either, even the low tac stuff.
The Works have half-a-dozen 1:48 Revell kits on sale at the moment- every couple of days they seem to have a code for an additional 20% off (it was there for a few days last week, and back yesterday but gone now).
Thanks Vinnyeh, got The Works Revell F-16 Air Team and MIG-21 PF bundle** for £17 plus three quids worth of glue sticks and scissors (not for model making) to get free postage. Two 1:48's seems great value as presumably they're actually easier/less fiddly than a lot of 1:72 counterparts.
** Now to build a Tension in Kashmir diorama....
Watch out for that metal paint – its looks great but it doesn’t like being handled much so I’d spray it with Klear or similar before you do much else to the model. It doesn’t like masking tape either, even the low tac stuff.
It handled being smothered in Blutack ok, I did let it dry for a couple of days in a warm room first though. Need to mask a couple of bits later to correct some errors. I'll report back.
Happy to report back that masking with Tamiya tape hasn't pulled any paint off (yet), I'll do more tomorrow.
Cool! Its impressive stuff that Alcald Metal paint. Stinks though. I set up a fan to keep the fumes away from me then managed to knock my bottle of thinners over! Being heavy they collected downstairs in the kitchen and lounge so I had to ventilate the whole house!
🤣🤣🤣
I was using Vallejo Metal Colour, it's acrylic so it doesn't stink.
So it doesn't stink and it doesn't peel off?
I've got a Lightning in the stash that needs a bare metal finish.
Try the Alclad metal lacquers, they look just like real metal. I've just finished a Lightning that I did in polished aluminium i think it was. It was a learning curve as it was my first go spraying large areas with lacquer but i'm very impressed with it.
photo?
Not at the moment, I'll try and get one tonight.
Can you still get 'Klear' floor polish? Never seen it for years.
I've found an equivalent alternative though, acrylic floor polish 'aquired' from the prison service. It looks like milk but dries clear & quickly, needs 2 coats to put a glossy enough finish for decals.
Sainsbury’s sell it 😀 It’s now called Pledge Multi Surface Polish.
Liking that Lightning a lot.
Sainsbury’s sell it 😀 It’s now called Pledge Multi Surface Polish.
It's not the same stuff, they changed the formula and it's not as good.
The floor polish from Lakeland (green label I think?) is supposed to be nearer the original Klear.
The floor polish from Lakeland (green label I think?) is supposed to be nearer the original Klear.
Ok ta, I'll stick to the free stuff!
Cheers Harry.
Pledge Revive It is said by some to be the same as the original recipe Klear. I haven't tried it but if I ever find any of the mythical Aldi Airfix kits I may have a need, or if I ever buy that WnW Lancaster with its multiple canopies.
I’ve bought some of the Lakekand stuff to give it a try, I’ll report in! I was happy with the one from Sainsbury’s to be honest.
Do you use it on canopies?
If the canopies are scratched or not very good plastic it can make them clear and shiny again, so for a cack-handed person like me it can help the recovery process if you’ve had to scrape off excess paint, for example. Some people seem to use it regardless. Britmodeller has several threads on this, plus the quest for alternatives now that Klear is no more!
Britmodeller has several threads on this
Like a tyre debate on here!
What floor cleaner for a 1:72 scale canopy...
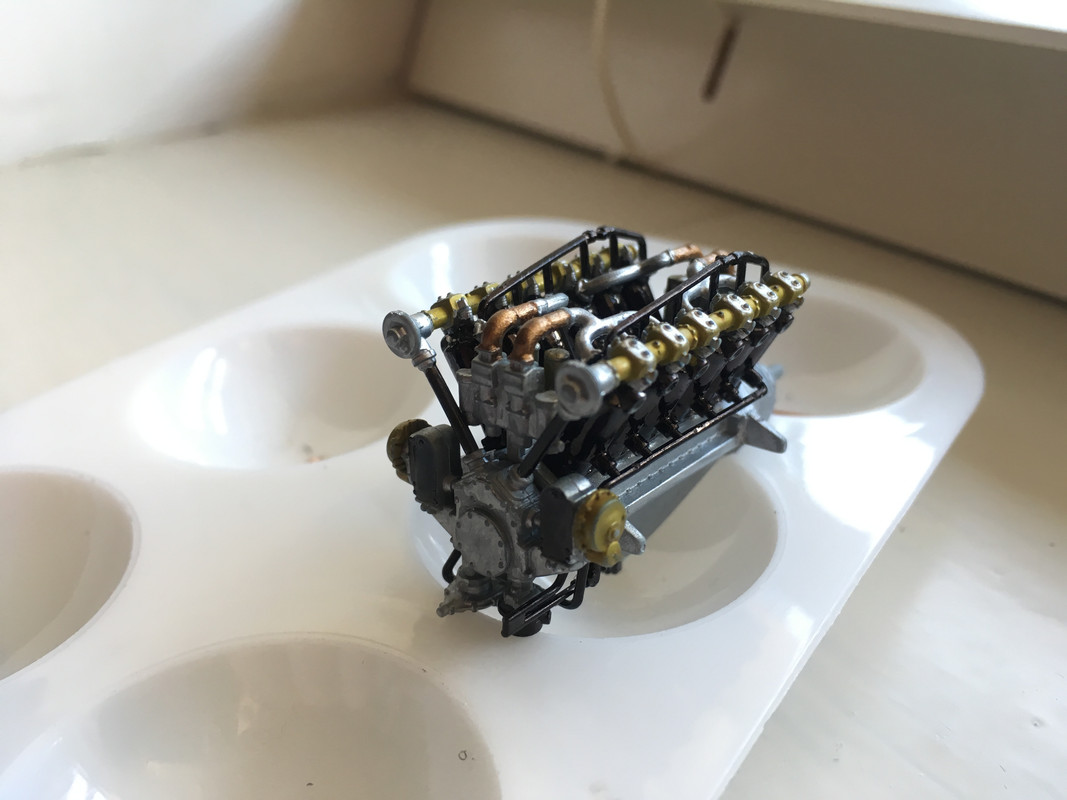
My current dilemma: what wire for the spark plug leads on a 1:32 Rolls Royce Falcon engine on a Brisfit, and will anyone be able to see them if I bother?
@Harry_the_Spider - I’ve got some photos that might be of interest, they’re of a Victor that’s parked up at Bruntingthorpe, and I had an opportunity to wander round the aircraft parked there one afternoon.

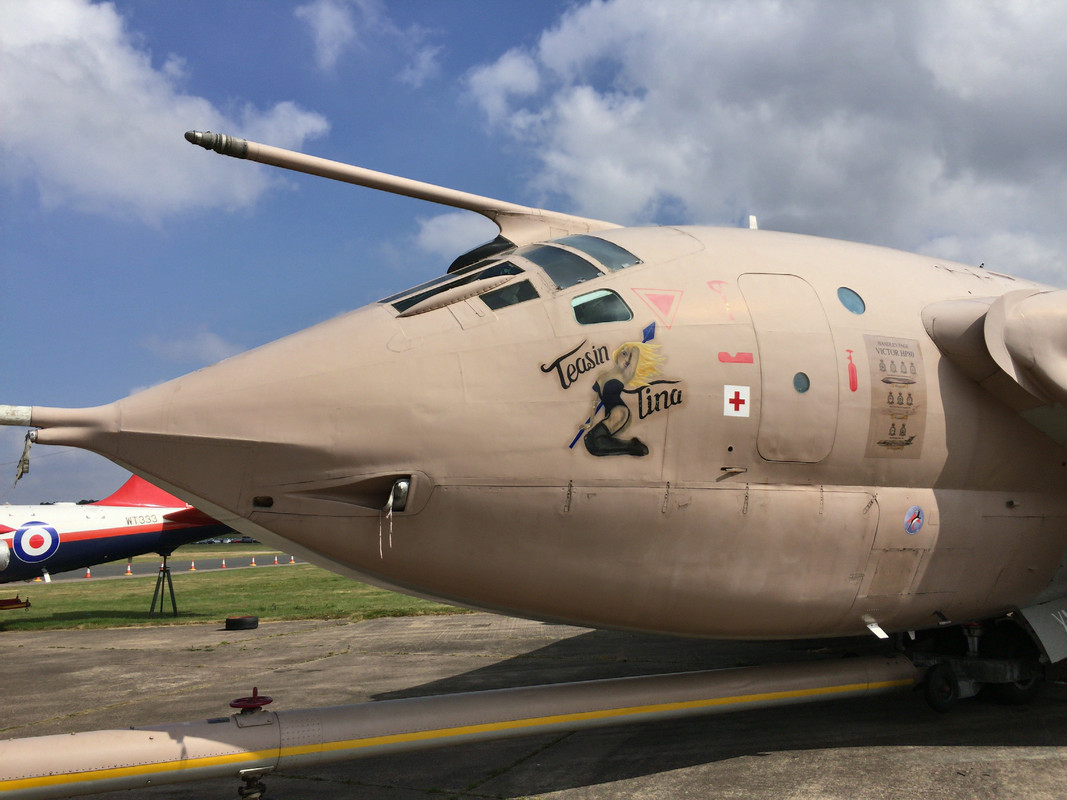

Thanks. Magnificent isn't it?
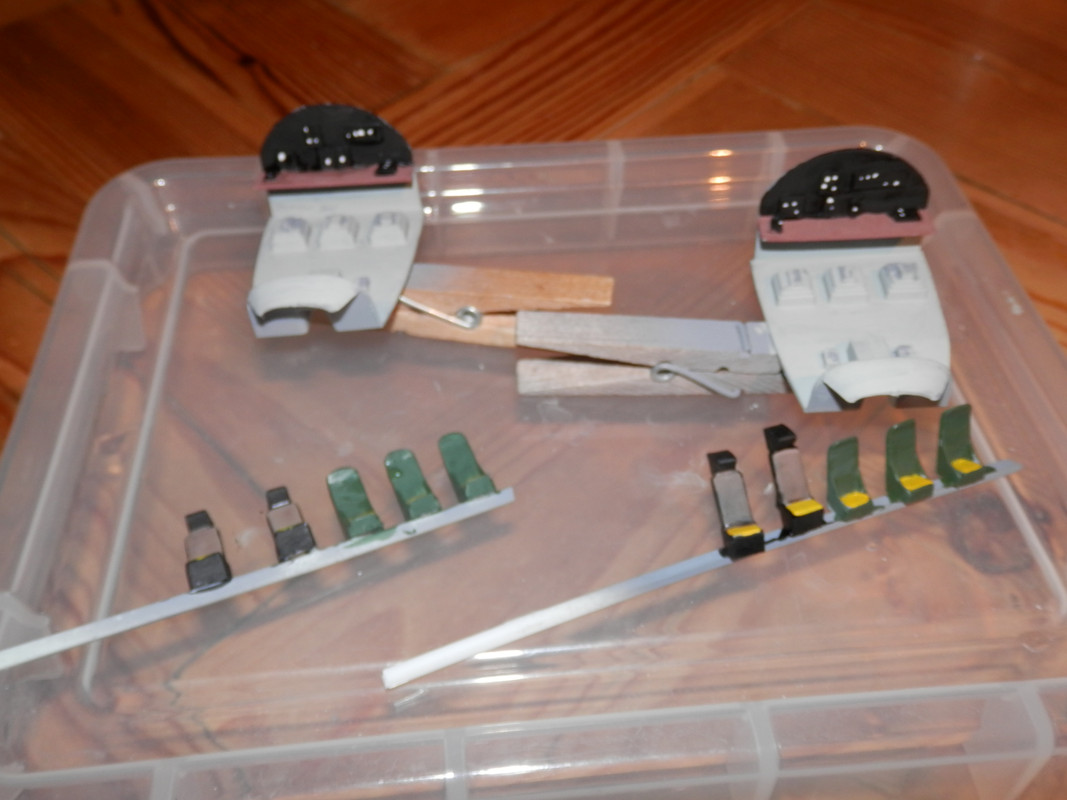
I've spent the afternoon making all sorts of plasti-card "greeblies" and a desk for the rear crew. None of which you will be able to see once the fuselage is buttoned up.
None of which you will be able to see once the fuselage is buttoned up.
Ahh but you know It's there Harry!
Ahh but we all know now!
Didn't go mad on the seats because a) they are rear facing, b) I'm going to sit crew on them and c) you can't see them anyway.
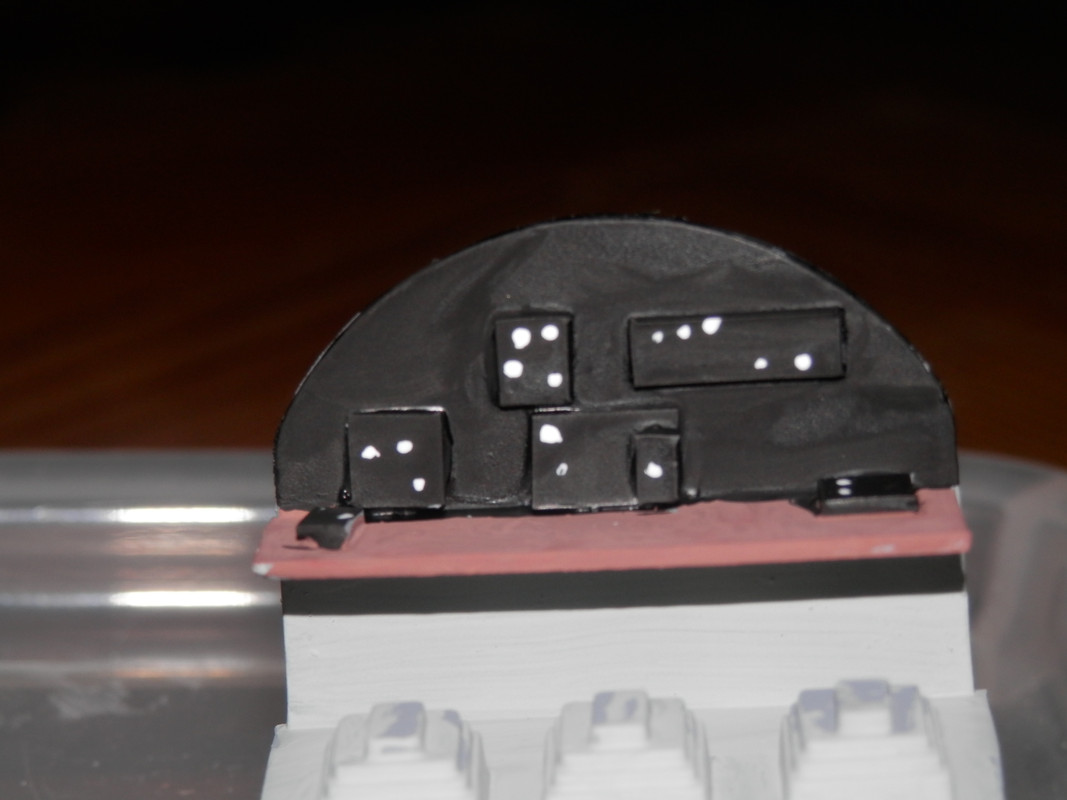
The rear bulkhead was plain so I thought I'd give Nav Radar and his mates something to look at.
Looks rubbish when blown up in hear, but see points a, b & c above.
No point going to extremes unless it's on show Harry, done the same myself.
I got the Victor after you mentioned it but I'll just clag it together!
(I'm busy making another Pigs Ear Mk1H, which should be finished soon but I wouldn't dare show anyone) 😉
I got the Victor after you mentioned it but I’ll just clag it together!
When filling the MASSIVE GAPS in the wings remind yourself that it is £30 cheaper than the Airfix one.
Also remind yourself that some dickhead on STW is building two of them.
Rio, that engine looks incredible! Electrical solder would be good for wiring, easy to bend and available in very thing gauges.
This is the last of my Aldi Xmas ones.
And a nice little JP I finished on Saturday.
I’m afraid this is getting a bit out of hand now! I’m runnng out of space to display them and I’ve got five more in my stash and two on the bench being built.
Rockhopper, that JP looks lovely.8. Nice preshading and the gloss finish looks just right.
@Rockhopper - some stunning painting there. Interesting idea on the solder - I hadn't thought of that, will see if I've got any thin enough once I've sorted out the spark plugs which WnW have got in the wrong place. I made 12 new ones out of brass tubing late last night, just 12 more needed for the other cylinder bank...
For the Victor builders - here's what one looks like naked (Duxford October last year). In real life those air intakes look like someone bashed them out with a hammer!
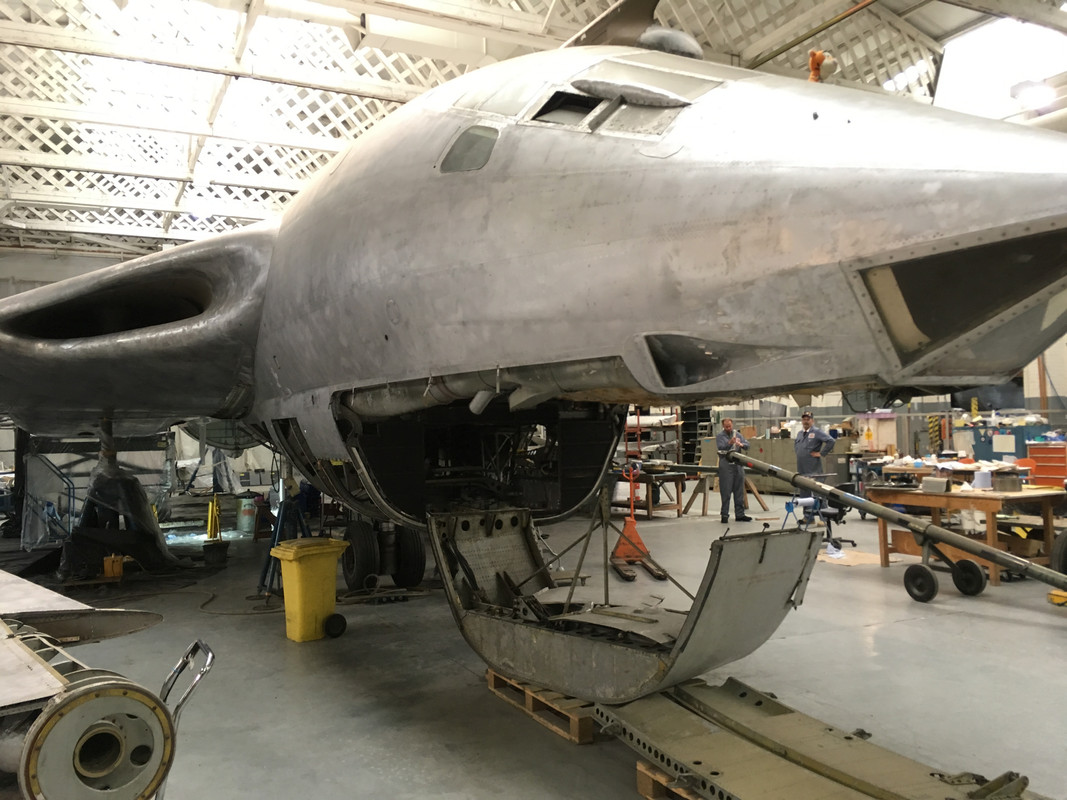
That’s the Mk. 1 with the smaller engines.
In real life those air intakes look like someone bashed them out with a hammer!
In real life someone probably did! The V-bombers were all hand built with minor (and sometimes quite major) differences between each airframe.
Thanks for the kind comments guys!
The JP was a nightmare! I wanted to do it in the early training scheme which is light aircraft grey overall with loads of florescent orange decals. Firstly one one company still makes light aircraft grey then secondly the airfix decals are dreadful. They are very thick and brittle. One of them is supposed to fold over the leading edge but even with loads of Markfit strong on its just shattered when i tried to bend it, even the ones on mostly flat panels just wouldn't go down flat then bits came off when you try and move them. The only other scheme using light aircraft grey base was the Mcaws display team from the 1960 so thats what I ended up doing.
Rio is right about the V bomber force, even inspection panels from one aircraft might not fit another due to the hand built nature of the whole thing.
I’m running out of space to display them
Aren't you allowed to hang them from the roof anymore? That was the only place to put them in the 80's
I’m running out of space to display them
Me too. I build them then I put them in a box. No idea what I'm going to do with the Victors.
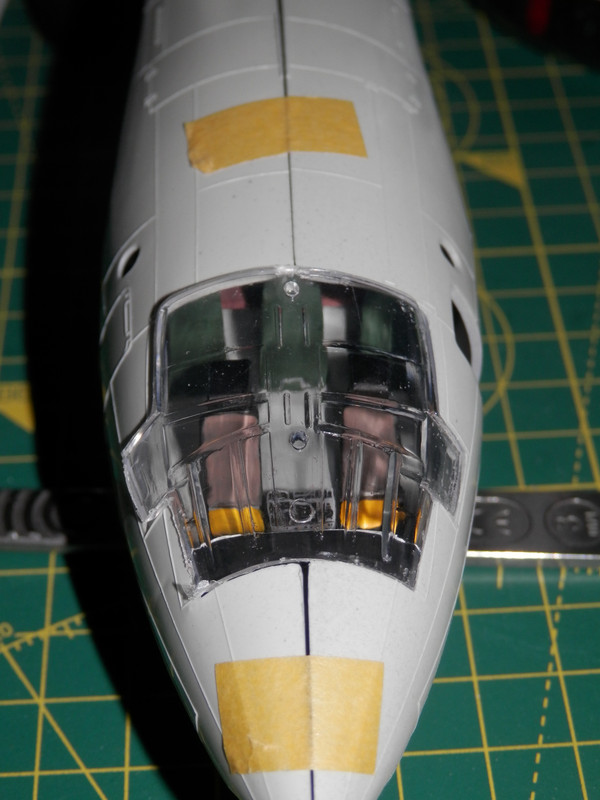
I was so appalled with my previous efforts at enhancing the cockpit that I did it again.
I photocopied the instrument panel from the decal sheet, chopped it up and glued it on with a Pritt Stick.
Much happier.
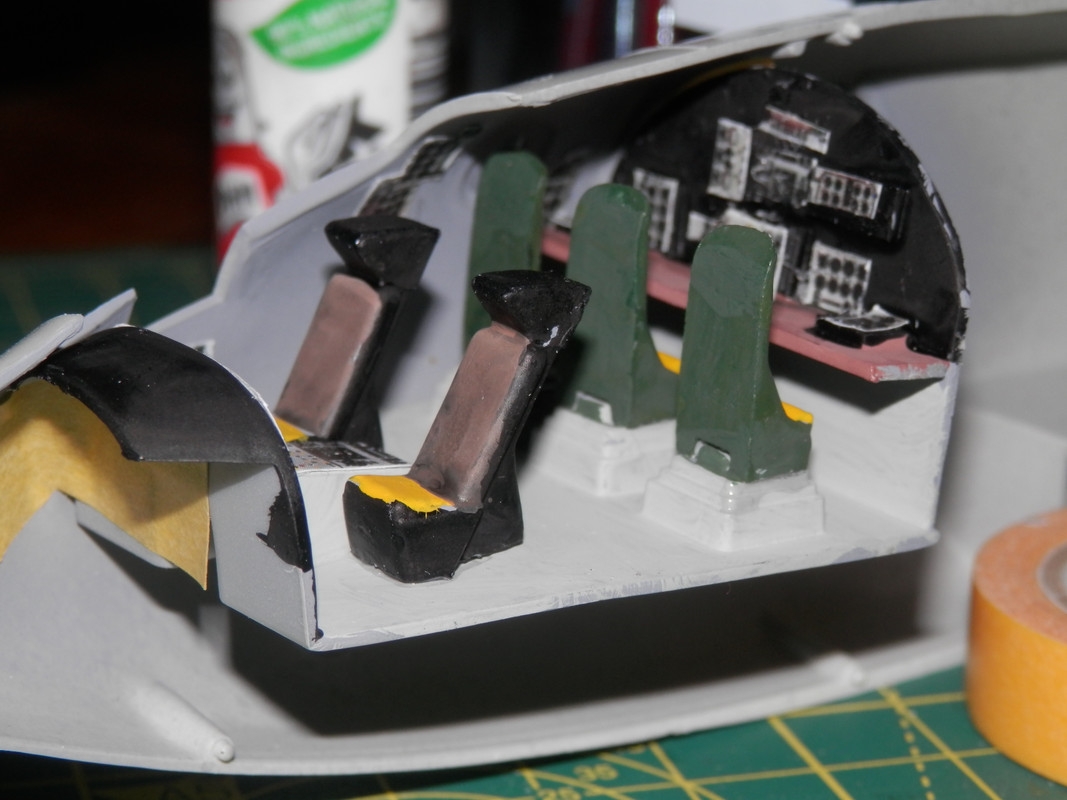

It makes all the difference don't you think?
Nice work on the cockpit, I've never thought of copying the decals before.
Looks like you may be needing a bit of filler on that one!😂
The panel lines are very pronounced on that kit, looking at the Duxford restoration pic above you can hardly see them.
Fuselage fit is fine actually, that is just some quick taping for the photo. The wings on the otherhand are like trip hazards.
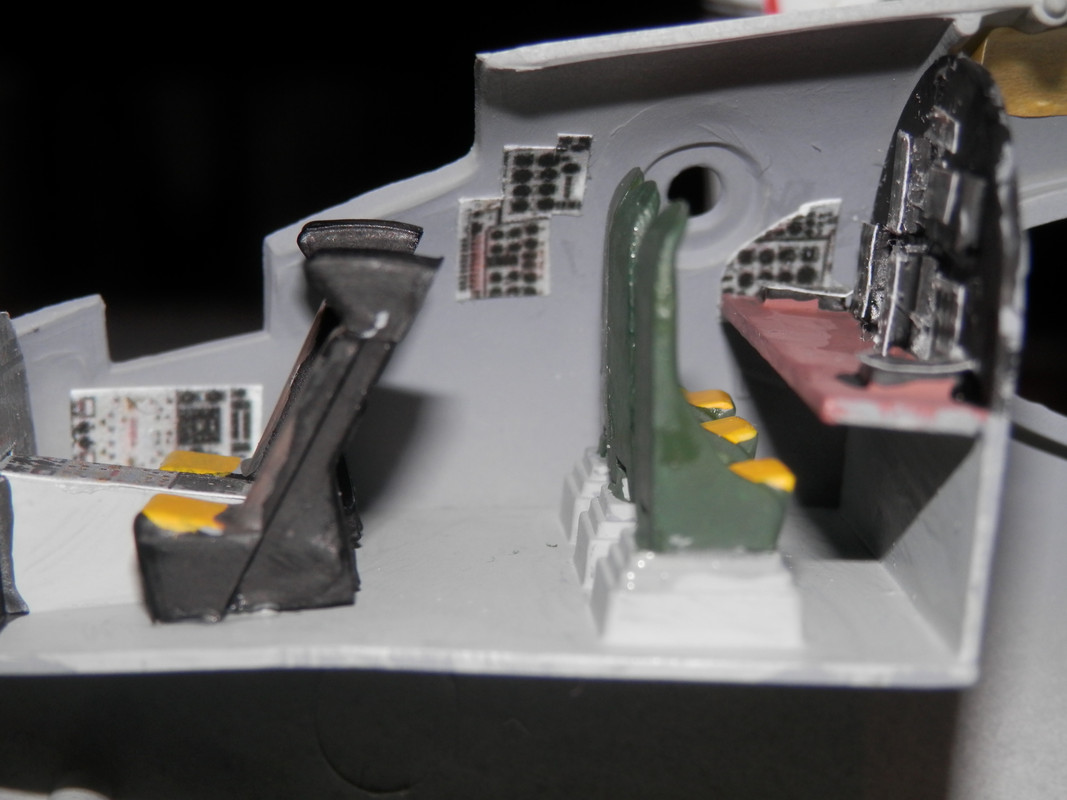
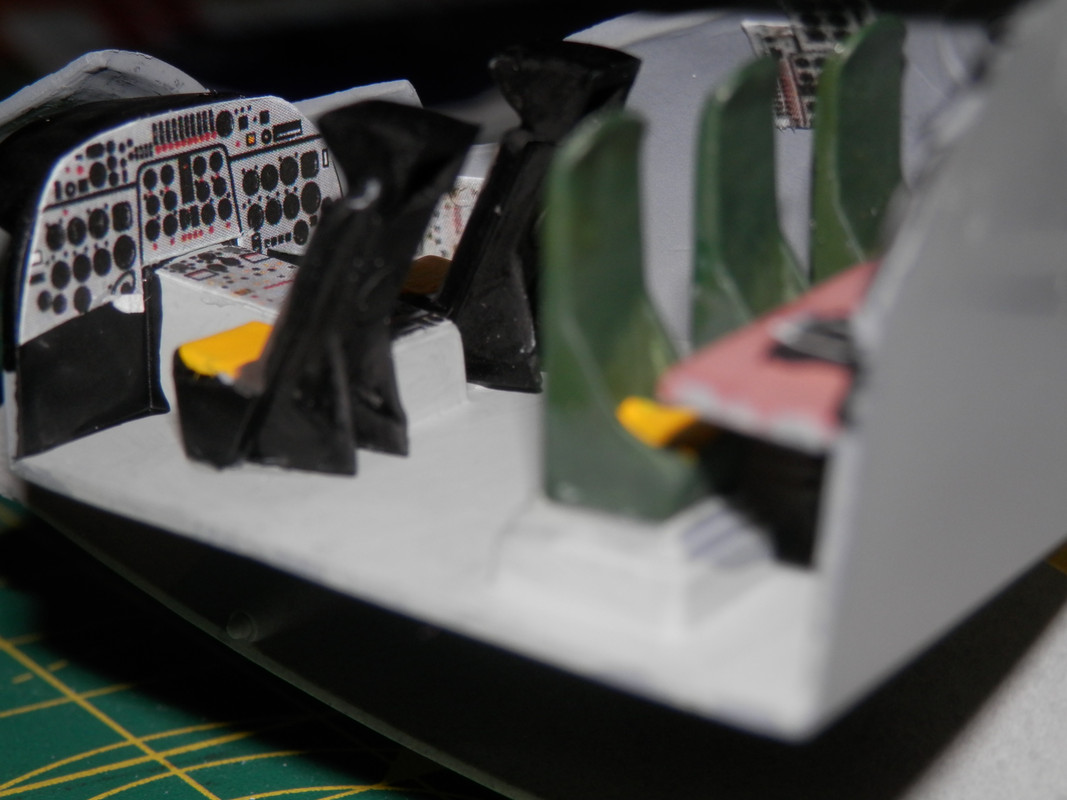
The Matchbox decal sheet has no instruments, but the Revell does, so i just photocopied it. Then I ran off 6 more copies to get a load of dials to chop up and stick on. I need to add a "box" on the wall behind the copilot's seat and maybe scuff up the floor a bit. There's also some ducting, so I may stick a few bits of plastic runner on the walls.
I'm going to put the crew in too, but will repostion a couple of heads and sand off their arses so they are not all the same height when sat down.
Inspired by this I've just photocopied my decal sheet. Looks good, was going to suggest adding some seatbelts to make it look busier but if you're putting the crew in that's maybe not necessary.
