UPDATE: Reviews section refreshed, redesigned, searchable: Go take a look
I got an item 3d printed from a local printer from an STL file I found on t'internet.
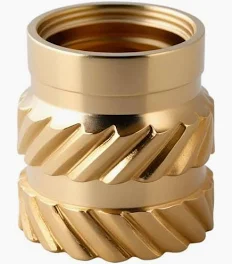
It was printed in PA12 but I had to insert a 3mm brass nut into it myself (I used a solder iron to melt/insert the nut)
All was well for about six months but I've noticed that the nut has now come loose - in fact, it's fell out.
What's the best was to fix this?
It looks like the insert hole is now too big for the nut so I was thinking I could either (a) use a little bit if Sugru to hold the nut in place or (b) glue the brass nut in place.
Alternatively, as the nut is there to accept a screwed in second piece of plastic, I could just glue the two parts together...
So, which is better: Sugru or glue for PA12 & brass? If glue, what type?
Or if I just bypass the nut/screw and just glue both parts together, which glue type works with PA12 and an unknown plastic type.
(These parts aren't subject to loading bearing - well, only about 90 grams - but are subject to vibration and dust/water/sun etc)
THANK YOU FOR YOUR ATTENTION IN THIS MATTER!
Depends how reliable it needs to be. Superglue won't cope with the vibration, I'd key the hole and use epoxy to put the insert back in. I'm assuming the brass nut is actually a brass insert.
What's the part and does it really need to be nylon? If not I can reprint it in PETG or ABS.
Yes, brass insert, not nut - my mistake. I'll try the epoxy route to see whether that works.
I can easily get it re-printed. I used a local lab who recommended PA12 for best surface finish but I'm a complete amateur at inserting the insert so I probably made a mess of it 🙄
Thx
Can you size up and put an M4 insert in?
Can you use a longer self tapping screw for plastic, drill deeper at the correct size for? Potentially fill the void with epoxy glue first to add some support. Sounds like it would have been a better design choice anyway to use a self tapper.
What is the component?
Make sure the hole for the insert isn't too big. If you can, get it made much smaller (to indicate where it is) and drill it out to the correct size for the insert. I'd always go a bit smaller. If you need to take it apart, inserts are always the best option.
+1 for a simple screw might have been a better solution if the part is long enough to have a decent depth.
If I was putting nuts/inserts in I'd try and have them on the other side so they're pulling through the part rather than out of it.
The other option is just to print a hole undersize for the machine screw, print it solid, then just drill and tap it. You can even do it without a tap, the heat generated forcing the screw in will melt the plastic and form the threads. If it's a permanent assembly and subject to vibration then that might be the best option.
THANK YOU FOR YOUR ATTENTION IN THIS MATTER!
I only woke up when you started shouting. What's this thread about?
The part might not have been very well printed with a mind to adding an insert.
It depends on the geometry of the part, but generally you will have the outside made of walls (solid surface) & then the infill will be a lattice structure with a minimum density that the manufacturer can get away with so the part still holds it's shape while using the least material & taking the least amount of time.
If you have used the heating technique to push an insert in, the chances are that it will only be supported by the infill, and a thin 'skin' on the surface, hence why it has now come loose.
When printing the part, you would need to know that the intention was to push in an insert & change the print settings so you have enough material in this region to take the insert successfully. It might have also been necessary to model it in a specific way to facilitate this.
Hard to say without knowing the part, but definitely something to bear in mind.
This will also have a bearing on how successful using some kind of adhesive/epoxy would be at retaining the insert &/or whether a long screw could be used instead. If this was not considered at the design/print stage then there might be insufficient material for the screw to bite into.
the chances are that it will only be supported by the infill, and a thin 'skin' on the surface,
I was just about to type something similar. The skin part is probably only 0.8-1.0mm thick so will easily have been melted away by the insert when you put it in.
the chances are that it will only be supported by the infill, and a thin 'skin' on the surface,
I was just about to type something similar. The skin part is probably only 0.8-1.0mm thick so will easily have been melted away by the insert when you put it in.
This ^
When putting in an insert or tapping a thread into a 3D printed object I'd normally design in a hole where the thread or insert is going, and I'd then also beef up the wall thickness so the tapped threads will take better (or the part will hold better if glued).
I've tapped threads in this way into both PLA and ABS printed parts and they've been rock solid.
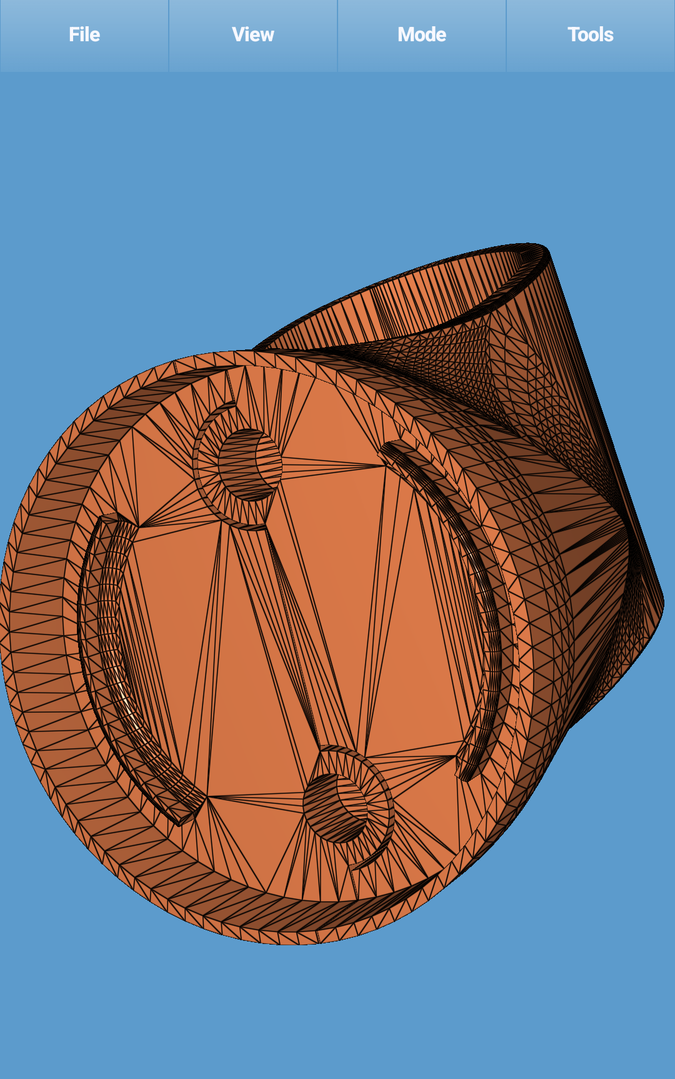
OP here. The object is a seatpost mount and this is a link to the STL file if anyone is interested:
https://makerworld.com/en/models/1918406-bike-radar-mount-for-giant-tcr#profileId-2058242
It has (had) 2 M3 insert to take a plastic Garmin mount. The top one fell out but the bottom one seems solid. I don't think I could use an M4 insert as the Garmin mount would be incompatible (and I don't have any M4 inserts anyway)
the chances are that it will only be supported by the infill, and a thin 'skin' on the surface,
I was just about to type something similar. The skin part is probably only 0.8-1.0mm thick so will easily have been melted away by the insert when you put it in.
This ^
When putting in an insert or tapping a thread into a 3D printed object I'd normally design in a hole where the thread or insert is going, and I'd then also beef up the wall thickness so the tapped threads will take better (or the part will hold better if glued).
I've tapped threads in this way into both PLA and ABS printed parts and they've been rock solid.
The OP mentioned PA12 so that's more likely an SLS or MJF process rather than filament printed. It's likey to be at least 4-5mm thick walls with at worst unsintered powdered PA12 left in the core, or at best solid sintered all the way through.
I would use 2 part epoxy to glue the insert back in, just try not to get any inside the thread. You won't need much to get it to stick back in well.
This depends on the M size of the insert you are using, but some of the smaller M sizes have different options of the diameter heated insert available as well as depth. So you might be able to source a physically larger insert with this same thread size. Might not help in the long run mins - you might just end up in the same situation in a few months time.
No help now, but when I'm designing stuff like this I often try to insert this heated insert from the rear side so the bolt when threaded in is attempting to pull the insert into the part rather than out of it. And if aesthetics matter I recess this insert slightly so once it's put in a little cap over the top can be added. With that method you can replace the heated insert with a standard nut and just incapsulate it.
