First published in Singletrack Magazine issue 96
It must be a dispiriting job being a front derailleur engineer at the moment. It seems that half of the world is chopping their front mechs off and going all one-shifter on the bars. But just lopping off a mech means you’re going to need to butch up when it comes to the hills – or go for an affordable alternative to the top-end expensive cassettes.
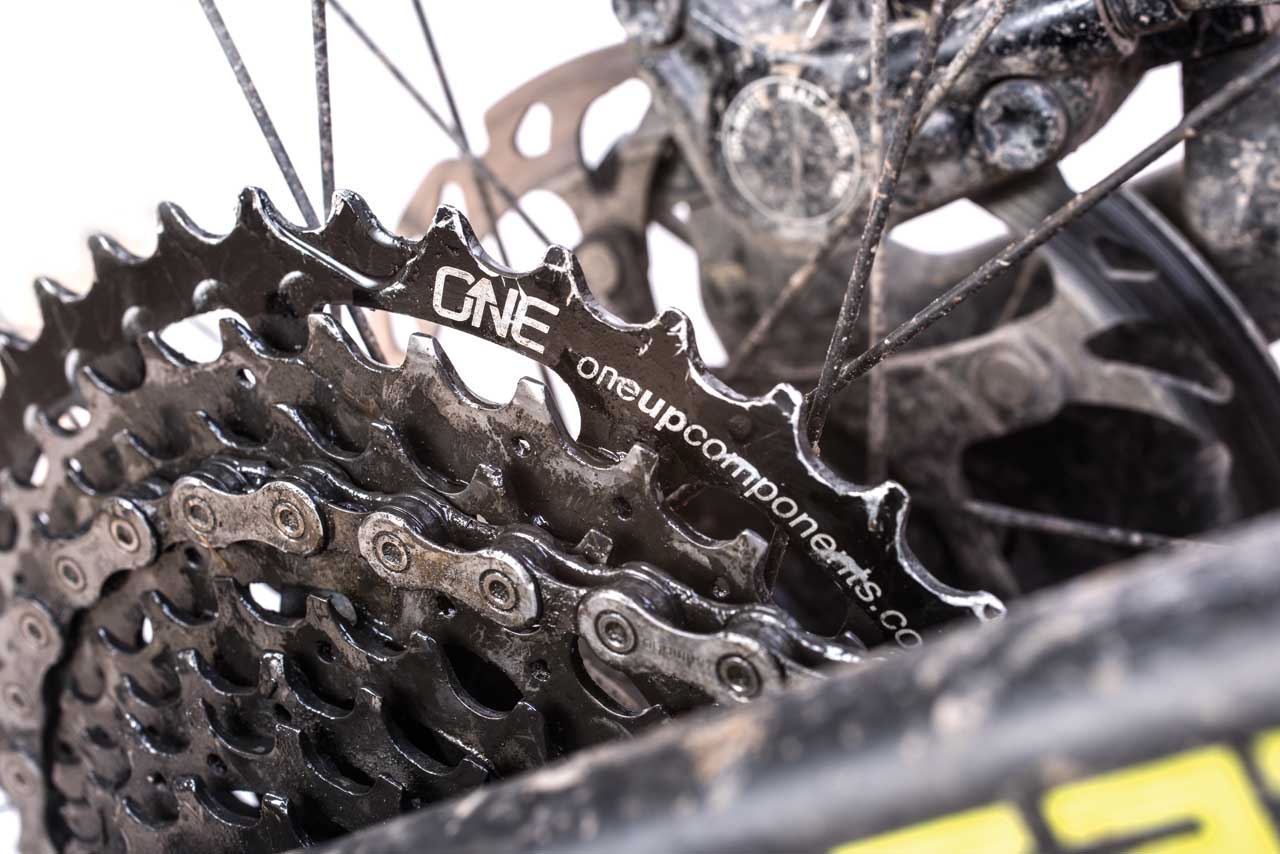
OneUp components has made its 40T and 42T cassettes for a while, but on its own, it’s not a perfect solution. In order to fit the jumbo sprocket, the rider is forced to lose a single sprocket from the middle of the cassette – usually the 15T or 17T, leaving quite a jump in the gear range. In addition, the stock rear mech’s B-tension screw (the one that determines how fore-aft the derailleur body sits) needs to be cranked right in, in order to stop the jockey wheels from running on the biggest sprocket when in that gear.
This leads to a lack of chain wrap in bigger gear ratios, meaning it’s possible to slip gears when jamming along on the flat. As I said, not a perfect solution. However, for some riders the benefits of that jumbo sprocket and low bottom gear are worth the compromise.
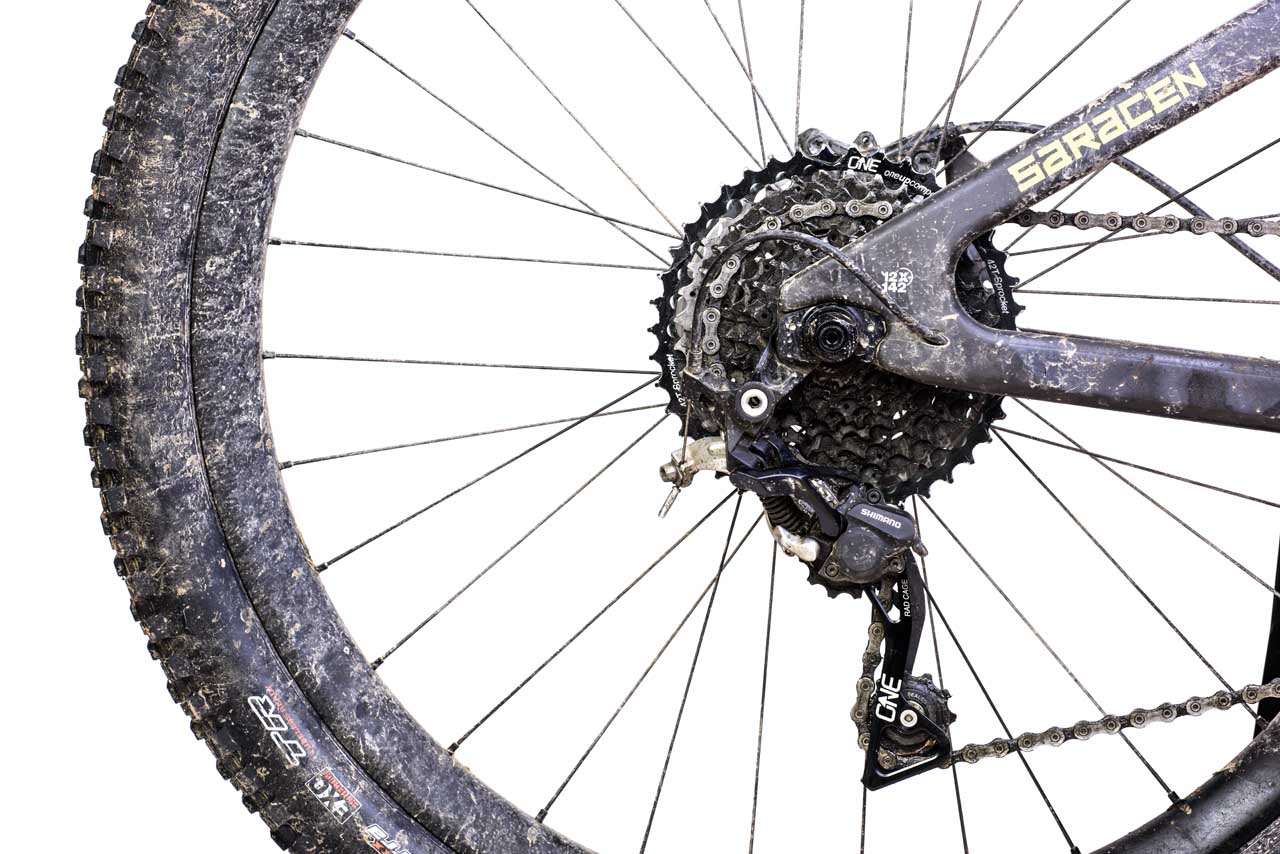
But if you’re not a compromiser, there is a solution in the form of OneUp’s RAD (Radial Appositioned Derailleur) cage. This replaces one side of the jockey wheel cage of your Shimano medium-cage, clutch derailleur, moving the upper jockey wheel and changing the pivot point of the cage so that, as you shift into the bigger sprockets, the top jockey wheel is moved further away from the sprockets, skipping the need for an extra long B-tension screw.
Fitting the extender sprocket is just a case of removing the cassette, installing the giant 40 or 42T sprocket the correct way round and reinstalling the cassette after replacing the 15T and the 17T with OneUp’s supplied 16T one. This evens out the gear shift ratios a little instead of having a hump where the 15 or 17T would have been.

The RAD cage installation is a lot more involved, and although there is a comprehensive instruction video on the OneUp website, it involves a terrifying amount of disassembling of your shiny Shimano derailleur. The cages need to come off and the main cage pivot taken apart (complete with coil spring dangling out) in order for the RAD cage to be bolted on.
It was at this point in the proceedings while I was fitting my own RAD cage that a tiny tinkling noise on the workbench announced that my clutch assembly had somehow fallen apart, necessitating the disassembly of a second derailleur so I could work out how it all went back together. It did all go back together though and I joined the world of the 1×10.
With the RAD cage fitted, the problems caused by winding the B-tension screw right in are eliminated; the top jockey now moves in an arc away from the sprockets as it goes up the block, while still leaving plenty of chain wrap on the smaller sprockets.
The index shifting on the Kili Flyer I’d fitted the set-up to was quick to dial in and has remained spot on (and happily, the clutch still works). Junking a front mech, outer ring and shifter saved weight and let me run my dropper lever under the left grip. The new gear ratios, with the OneUp 16T in place of the old 15T and 17T felt natural, with no giant gaps going up or down the block.
Overall:
There’s not much of a downside here. Assuming you don’t break things when rebuilding your mech, you’re rewarded with a simple, wide-ranging block that shifts well in all gears. Simple, light and, if you choose your chainring wisely, enough gears for 98% of most people’s riding.
Subscribe to Singletrack today from just £1.49
MORE PRODUCTS FROM ONEUP


