UPDATE: Reviews section refreshed, redesigned, searchable: Go take a look
Bigjohn, that table is stunning!
Other half now wants one.
Thankfully she doesn't expect me to make one.
Got some of the latest things I've knocked up all in one snap here, the hanging basket brackets and bird feeder stand are forged. But the butterflies are welded up.
I don't suffer with ocd but the disorder of the fence overpowers all your good welding handiwork.
And mine, sadly that long fence has 4 separate houses behind it, and they're all their fences. I see them as character now.
We've got a few landroverists on here, right?
Yesterday I was mostly making a gearbox cover for a 1970 series 2a:
[img]  [/img]
Edit: by the by, how do you go about embedding an instagram post on here?
[url= https://i.postimg.cc/DwLH96px/IMG-20190820-114806307.jp g" target="_blank">https://i.postimg.cc/DwLH96px/IMG-20190820-114806307.jp g"/> [/img][/url][url= https://postimages.org/ ]upload album online[/url]
I made this case for our WWI squaddie, feels like we've given him a home now.
It's one of the 888,246 that were in the Tower of London 'Blood Swept Lands And Seas Of Red' installation, I used to pass it on my way to work and it always made my eyes moist!
I don’t suffer with ocd but the disorder of the fence overpowers all your good welding handiwork.
Argh.
Now I cannot unsee it.
And it's bike related, made up some fancy hooks to finish off the bedroom decorating
Didn't really make this, but I have made it more personal.
A while back I grabbed one of those mk1 Transmitter frames that Sonder were selling off. They only had anodised silver in my size (I wanted black) so I got the Sharpies and clear coat out. No real scheme or theme to this, just a visual stream of consciousness.
Things I've learned...
1 Even for someone with an art background, drawing on a three dimensional surface can be bloody awkward!
2 Sharpie on an anodised surface is not as flat or black as Sharpie on a painted surface.
3 Whatever Sonder used for their red branding on this frame is a pig to cover.
4 I want to do more of these (might have to spray the frame ,matt white / white primer first though).
5 Spraying your clear coat too close to the Sharpie surface might make the solvent in the paint cause the Sharpie to run a bit...
Overall, I'm chuffed with the result for a first go. A few areas need retouching/redoing thanks to the rattle can solvent issue but that can wait for a while.
[img]  [/img]
[img] 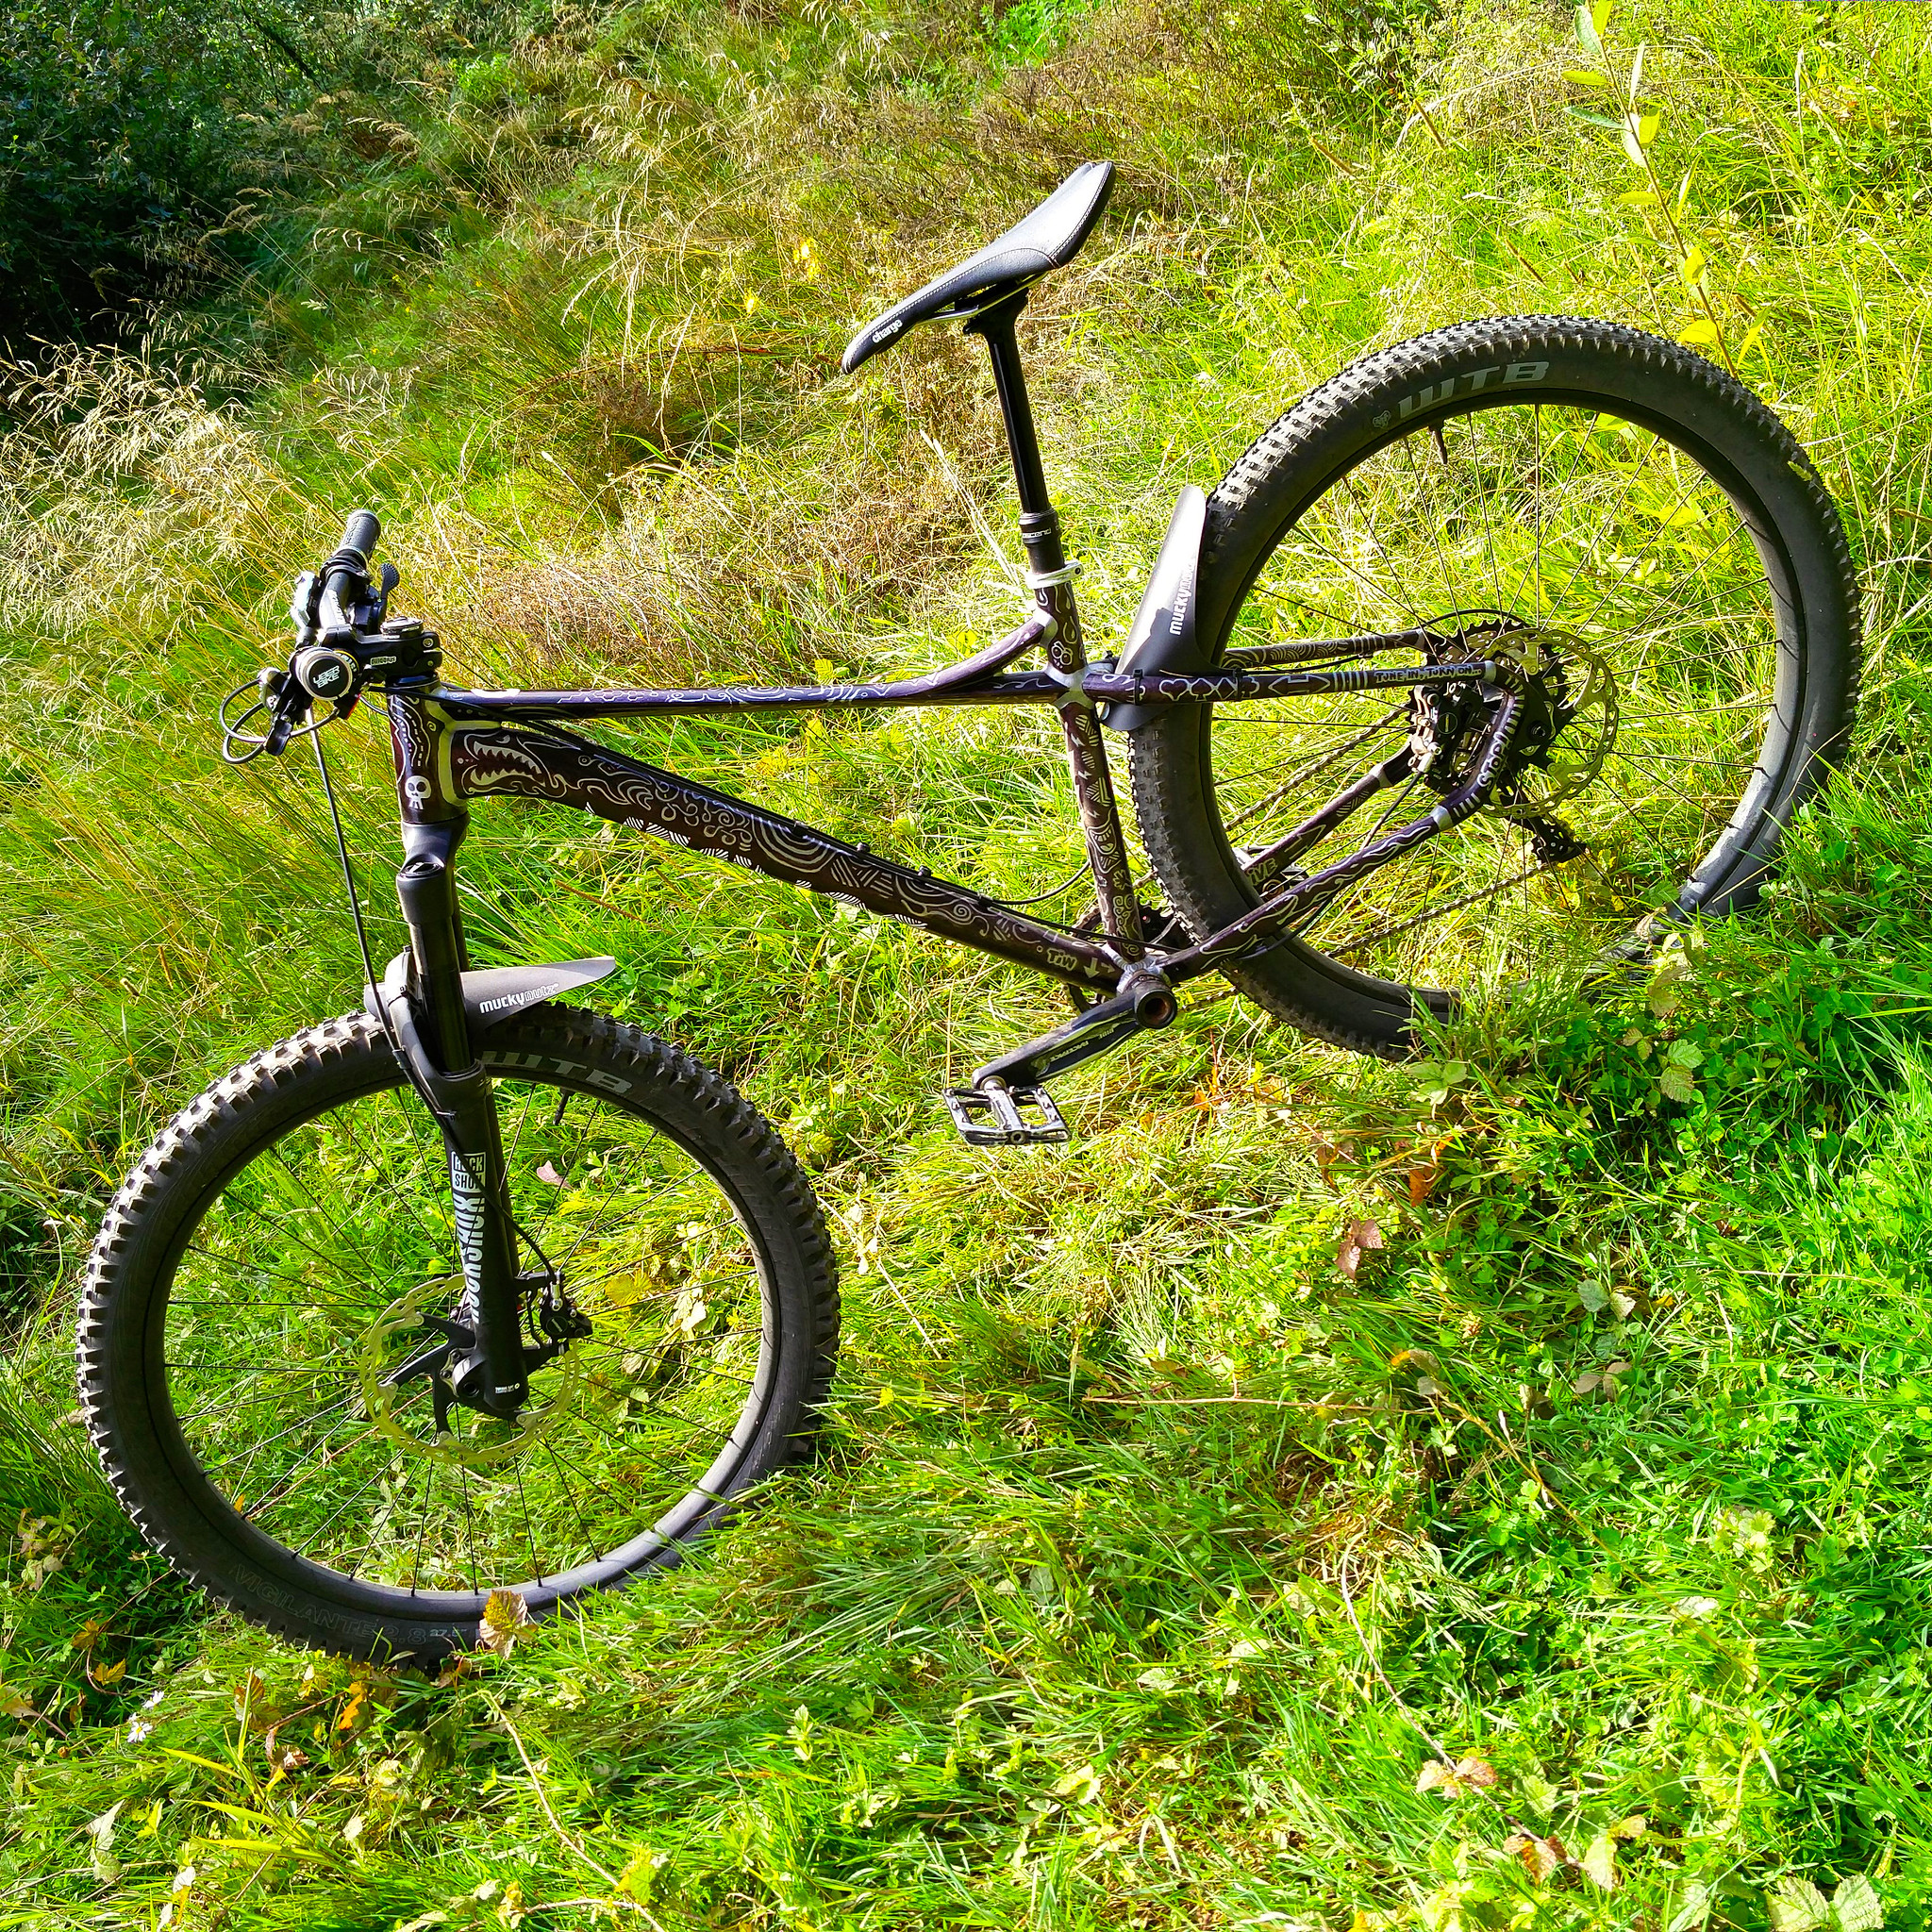 [/img]
[img]  [/img]
[img]  [/img]
[img]  [/img]
[img]  [/img]
[img]  [/img]
[img]  [/img]
[img]  [/img]
[img]  [/img]
Good stuff guys!
Here's a minimalist temporary RockShox fork-top lockout for my remote lockout Reba's (sprung return), as I destroyed my lever crashing last month. From East London my standard winter ride is 25km locked out to Epping and then I don't bother locking/unlocking so a simple fork-top knob is OK till I build a proper carbon bar lever 🙂
The design is for a spring to be placed between the bolt (+washer) and rotating adjustment knob but I didn't have a suitable spring handy. Moreover, straight off the 3D printer it's a little tight and I need to use a small nail file or similar to take a smidgen off. So fork is unlocked for now.
Design:
[url= https://i.ibb.co/ZXb1FfL/image.pn g" target="_blank">https://i.ibb.co/ZXb1FfL/image.pn g"/> [/img][/url]
Reality (raw PLA, prior to enamel black paint):
[url= https://i.ibb.co/L11zp5d/image.pn g" target="_blank">https://i.ibb.co/L11zp5d/image.pn g"/> [/img][/url]
It's supposed to be like below with the spring (spring itself will be attempted on 3d printer as an experiment but probably PLA is too brittle)
[url= https://i.ibb.co/VCmPCrN/image.pn g" target="_blank">https://i.ibb.co/VCmPCrN/image.pn g"/> [/img][/url]
Channel 4, The Dog House.
I got myself my first Canadian canoe. It's a beauty, so I thought I'd better make myself a stick to make it go.
It's made from reclaimed Iroko, from science lab benches and it paddles really well as it goes 😊
Not me, my wife... Now that the academic year is in full swing she has created a series of video explainers to help kids (and parents?) with tricky aspects of grammar. More on her school YouTube site...
going to properly lower the standard....
I made a bed frame.
Not the first one I've done, but the easiest. it's functional. I can't see the point in spending loads on something flimsy.
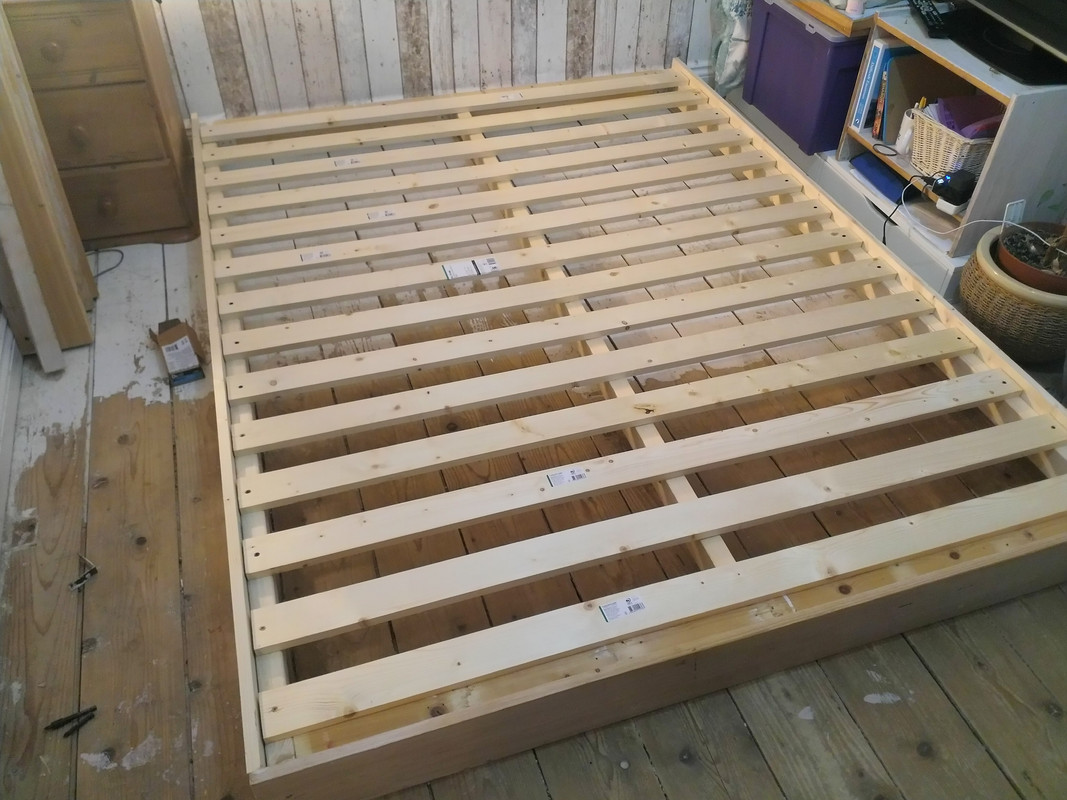
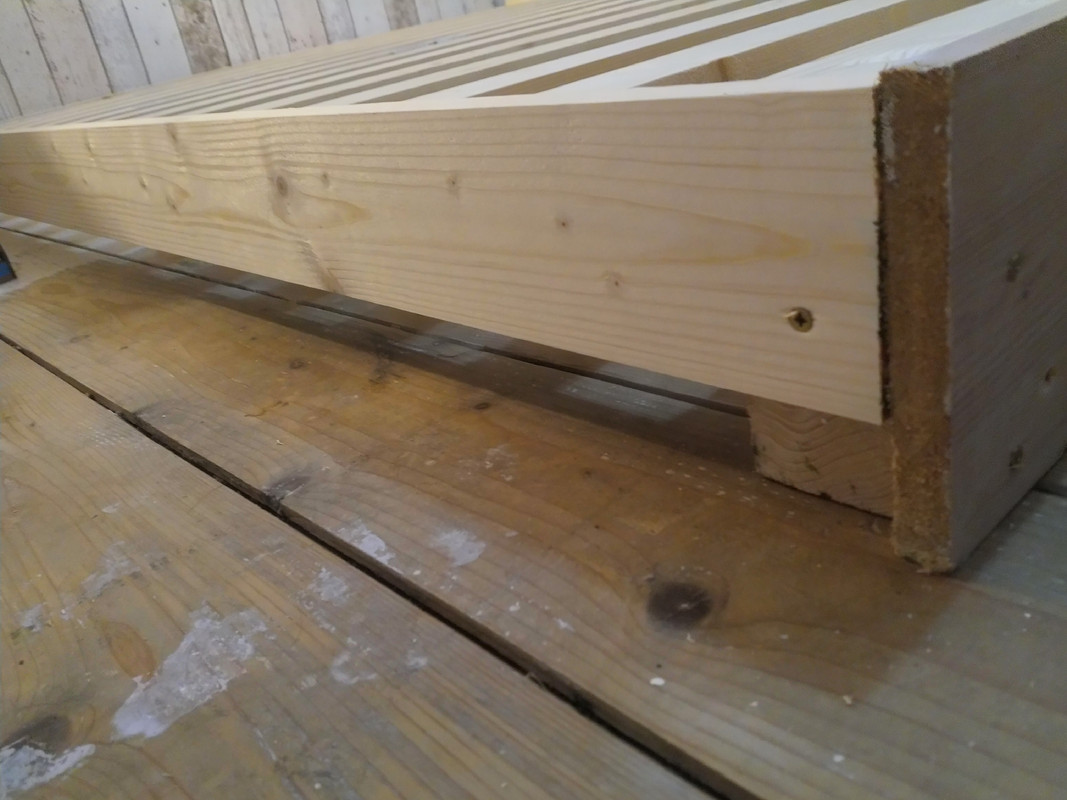
excuse the room. it's a work in progress...
Not made but repaired
Our eldest has a blanket made by her great aunt in Australia when she was born. For the last 5 years "Cozy Blanket" has gone most places and is the go to thing when she is tired or goes to bed. As such it is a bit tired and the blanket binding had worn through and split causing much complaining. So today I thought I'd replace the binding as a surprise while she was at the cinema with mummy.
Before:

After:

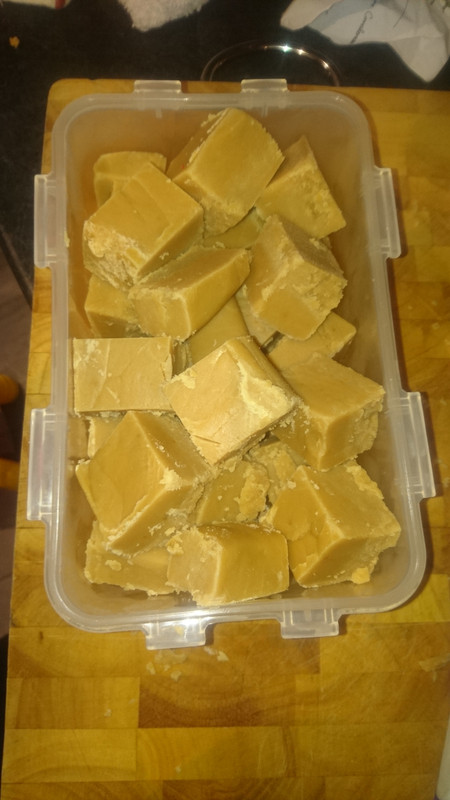
Also made some vanilla fudge
A shoe rack
Made on an evening course at a local high school. Mortises done with a morticer, but tenons were done on a wibbley wobbly bandsaw... it's square-ish overall. Learnt a lot doing it.
Top is oak with Osmo and base is pine with a matt/satin varnish. It's "clear pine" ie very few knots
Looks good dmorts! I bet an evening course would prevent me from making loads of common mistakes - the danger of being self-taught.
Hey Dmorts. Nice rack 👍
Some delightful little tykes smashed the shit out of my shed and destroyed the door. Rather than replace the whole thing,I used a load of perspex offcuts I'd nabbed from a laser cutting project and made a holey door panel.
I caught the cheeky wee scamps red-handed but that's another story.
Wheelbarrow used for moving the bodies?
Wheelbarrow used for moving the bodies?
Probably some new raised beds nearby that would negate the wheelbarrow.
Woodworking skills don't extend beyond a hand saw and drill, but quite pleased with this tidierupper for under a pony. Even used some glue.

That's cool tinribz. Must have to be strong!
Can't help thinking it looks too tall to fit under a pony though.
@kayak23 Really sorry to hear that someone smashed your shed!
Good that you managed to turn it into a project though!

Decided to buy 9 Ikea Ivar cupboards and fill a wall with them. Thought it was a good opportunity to do something creative with my CNC.
Trimmed the height of the top row, trimmed the depth of the middle column to get depths of 50/40/30 so it didn't block the window but maximised storage capacity.
Engraving was done on a 3D printed, diy Root3 CNC. 2mm depth of cut mostly with a 1/8th downcut bit.
Total machine hours: 45
Tree rings drawing by Madeline Miller on Etsy:
https://www.etsy.com/uk/shop/MMillerArtwork
I'll fill in the right-hand section with some shelves at some point.
Cat for scale
[url= https://live.staticflickr.com/65535/49152052696_4cbc08349b_b.jp g" target="_blank">https://live.staticflickr.com/65535/49152052696_4cbc08349b_b.jp g"/> [/img][/url]
-
[url= https://live.staticflickr.com/65535/49152051136_46d747836a_b.jp g" target="_blank">https://live.staticflickr.com/65535/49152051136_46d747836a_b.jp g"/> [/img][/url]
-
[url= https://live.staticflickr.com/65535/49152046696_135518680b_b.jp g" target="_blank">https://live.staticflickr.com/65535/49152046696_135518680b_b.jp g"/> [/img][/url]
-
[url= https://live.staticflickr.com/65535/49152248687_756f0dc282_b.jp g" target="_blank">https://live.staticflickr.com/65535/49152248687_756f0dc282_b.jp g"/> [/img][/url]
That looks very good Alex, like it a lot. I'll bet you could charge a fortune for something like that.
Thanks benv. I would suit a cafe or mill-type place wouldn't it? I bet it wouldn't take that long on a proper industrial CNC. If I were to do it like this one, it would have cost £2800 - not sure people would pay that. Although you could get a similar effect with a much simpler design and cut the machining time to a third (In which case it would be about £1200 (plus cupboards). Which sounds like a bargain 🙂
Love the kitty cave!
That's awesome Alex! 👌👍😊
What cnc you got?
@kayak23 it's a home made 3D printed one (someone else's design):
https://www.thingiverse.com/thing:1750276
It's roughly equal to a Shapeoko, X-carve or Workbee.
Mine has a work area of 720x500mm
Love it to bits!
If I were to do it like this one, it would have cost £2800 – not sure people would pay that.
People have paid more for a lot less!
I would suit a cafe or mill-type place wouldn’t it?
Two things that immediately came to mind were 1. lockers in a fancy gym changing room and 2. with some OS style map contours and features in place of growth rings in a trail centre or hill walking type cafe.
I made this a while back. Whenever we have a birthady bash (pretty much everyone in the family comes round to us for big family parties) the birthday boy/girl sits in this. It's unversally known as the horny chair.
Hope the link works

Looks like link isn't working. What's a decent / free photo hosting site?
Imgur
Thanks.
Try posting the image again.

I’ve just up-cycled the legs of an old stool, some ply offcuts & left over roofing lead into a set of spring-loaded cricket stumps, but no way I’m of the standards on this thread.
Update on my bike handlebar bluetooth remote control project-
I built a prototype with a mini joystick but decided it wouldn't work well with gloves (an important design goal) so I went back to buttons. That one was basically a breadboard with a clone of the Nordic dev board, which I actually zip-tied to my handlebars for testing! After that I went back to proper buttons, which I can 3D print big pressy knobs for.
I did the autumn prototype board by hand-
[url= https://i.ibb.co/wCfcXHT/image.pn g" target="_blank">https://i.ibb.co/wCfcXHT/image.pn g"/> [/img][/url]
It's still bulky and uses 2*AAA batteries but I was happy with the format for a working prototype.
The current board was basically the same but I hired a freelancer for an hour to lay it out nicely in KiCAD (which I'm not too familiar with) so I could get it made by one of the PCB prototyping factories
[url= https://i.ibb.co/JtRcny9/image.pn g" target="_blank">https://i.ibb.co/JtRcny9/image.pn g"/> [/img][/url]
This was quick and disturbingly cheap (made me regret spending £2 on the Sharpie permanent marker I used for etching the previous prototype!!)
I'll test this for a couple of rides zip-tied to my hardtail flat handlebars in a zip-lock bag for waterproofing. If it's all good I'll 3D print an I-spec mount.
[url= https://i.ibb.co/TLKqP4s/image.pn g" target="_blank">https://i.ibb.co/TLKqP4s/image.pn g"/> [/img][/url]
I already identified a couple of flaws though. Also, the goal eventually is to build one small enough to integrate with STI shifter- that means using a smaller LiPo battery (and I want USB charging, i.e. more complicated power control) and a much smaller surface mounted bluetooth module. So I am already working on the next iteration!
@Alex Simon
If you were doing repeat jobs I would use you router to create a jig for the pattern. Although you would be routeing by hand once you have the jig it may well be quicker to clamp the cupboards together lay the jig over the top and hand route rather than line up each door on your CNC machine.
If you were doing repeat jobs I would use you router to create a jig for the pattern. Although you would be routeing by hand once you have the jig it may well be quicker to clamp the cupboards together lay the jig over the top and hand route rather than line up each door on your CNC machine.
Alignment on a CNC router is pretty easy. You can put some blocks on the bed for repeat work to define a zero point. Hand routing may be slightly faster but not by much and the big benefit of CNC is you can go and do something else while it is cutting. I recently had a rush job on, set the CNC router up cutting one part, a bodged Arduino/Stepper running the lathe cutting another, while I did some hand drilling. Three for time of one!
I struggle with leaving the CNC. I know some people have cameras set up to monitor it, but I'm still learning and still prone to making mistakes. I like to hear it at all times.
I know what you mean about hand machining being quicker @TheBrick, but I got it down to a fine art in the end. Not sure it would be possible to make a jig for all the shapes it cut.
Anyway - I have absolutely no plans to repeat it 🙂
Most of the time, I'm much better off putting more hours into my day job than trying to turn my hobby into a profit-making enterprise.
I might change my mind if I get a good idea for something more easily sellable. I think I see a laser cutter in my future 🙂
Groovy chair HughStew. I imagine the birthdayer feels pretty special sat in it. 👍
Thanks fantastic, Alex
Hacked a rival lever (minus broken doubletap mechanism) together with a suntour friction shifter. Lots of epoxy and micro balloons.


I will be reinforcing the cable stop with some carbon but it's working as is so far.
Wow, AlexSimon, that's incredible! I'm currently building some custom built-in wardrobes using some IKEA parts, and was feeling fairly smug about it, but that's a whole other level!
