Forum menu
Stove install started yesterday. Unfortunately I don't have a photo of the bricked up fireplace, but there was nothing to see bar a plastered wall and a vent cover. Half a working day later and a Sprinter van full of rubble (there was lots of poorly laid bricks and supports inside the original fire place, presumable to reduce the size in the past.) it now looks like this.
Work in progress:
[img]  [/img]
And we're left with this:
[img] 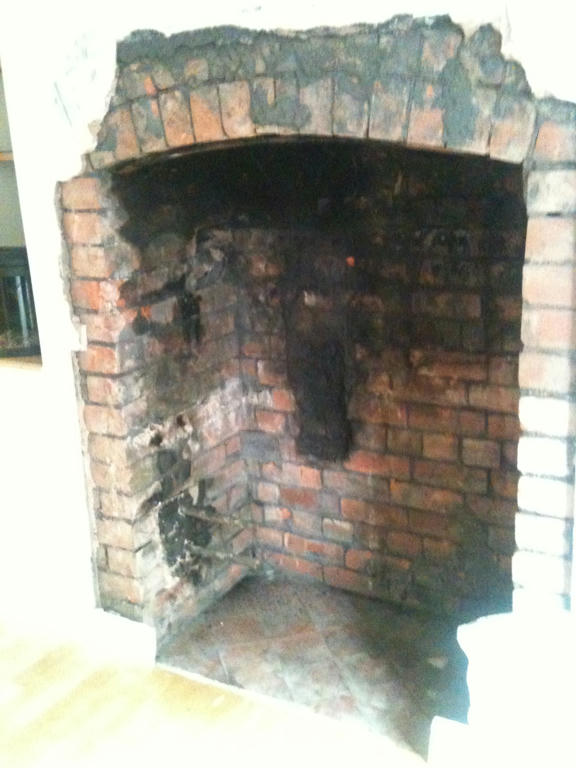 [/img]
Sorry about the sideways photos, taken on and iPhone. 🙄
is your house sideeeways 😀
err is this a spot the difference thing?
aren't the sides supposed to be straight?
I'd check the lintel...
Now edited. Although the house is still on its side!
Got to get that fixed.
ooh tiles. Did you feel like that guy from time team?
looks like itll finish up well - i wanted to leave mine open like that but found a mix and mash of bricks and poorly cut ends so plastered it back up again once the stove was in
soma_rich - Member
ooh tiles. Did you feel like that guy from time team?
I stood back and watched 2 blokes do all of the graft. So yeah, just like that bloke from time team.
There are quarry tiles under the floating wood floor. They're in quite a poor state and very cold, hence the wood floor.
Day 2 should be starting anytime now.
It's being lined with fire board. The bricks are too bad to leave exposed. We're keeping the arch bricks exposed though. More later.
Is that the old lintel in the first pic? Did you have to fit a new one?
ski looks to me like they had what i had - a lintle under a lintle to make the space smaller.
only my second lintel was actually a road kerb :s
I only ask, because I recently had to have my fireplace refitted, after the first [s]builder[/s] cowboy 'forgot' to put a lintel in my build! 😯
Trail_rat is on the money. Although there were bricks below it from the final brick up, prior to that it was floating in thin air. I think it size was reduced and a fire and back boiler were installed. Judging by how badly it was done we can positively say it was J. Wayne & Co that did the work.
Bigblackshed, yours looks exactly like mine used to. Wouldn't bother with the fireboard if I were you, bit of repointing and brick acid should give it that rugged look. Our chimney breast had rounded corners. You can see where the original builders knocked back all the brick edges to allow the plaster to be rounded off. I quite like the effect.
Here is ours finished...(should have used black fire cement, I know!)
[url= http://farm9.staticflickr.com/8321/8026420214_642c2882f0.jp g" target="_blank">
[url= http://www.flickr.com/photos/83391203@N04/8026420214/ ]wood burner[/url] by [url= http://www.flickr.com/people/83391203@N04/ ]DelGriffith[/url], on Flickr
Not going swimmingly here. The installers turned up at 3:30!
Not the installers fault, they were sent on another job.
Hearths in though:
[img] 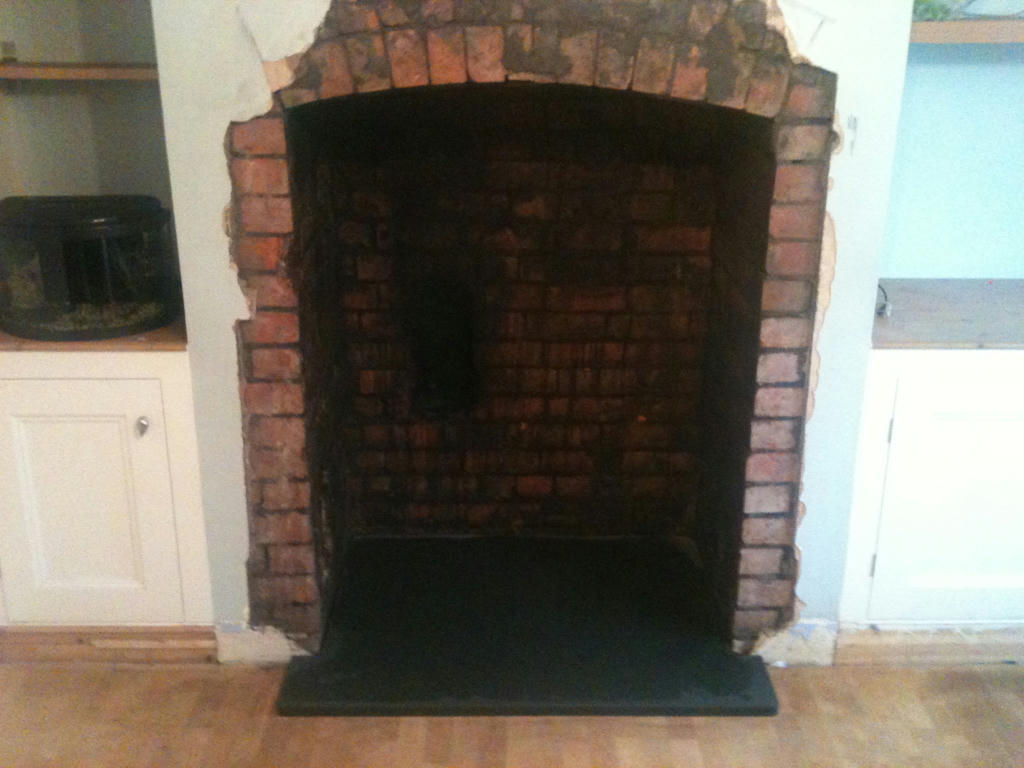 [/img]
Then they told me they wouldn't be back tomorrow. I've had a "conversation with the boss". We shall see!
*** Note house is now back upright.
Is your fire going to be set way back in there ? Hearth looks fairly shallow
I like tht look id be trying to brick acid that
It's quite a deep stove. But the hearth is more than deep enough. The bricks are in a shocking state. To get them reasonable it would be a lot of work. There are a couple of big holes in the left side where pipes went through in to the alcove. Looks like it had a water tank in there originally. Leaving the bricks exposed will look too rustic for us. The rest of the house is decorated very contemporary. Plus the stove is quite modern looking.
All will be revealed in due course. Unless I fall out with the install company.
Slightly stressed today. I was promised that the installers would be here all day today and tomorrow. Turned up at 2:45 and were gone by 3:30. Still, the chimney liner is in but not fixed. So some progress!
Tomorrow is the last day of planned work. So it looks likely to be a long one.
if the liners in, then there isnt really a great deal more to do.. unless they are going to be facing off the brick work and painting.. even then excluding the painting it all be done easy for tomorrow tea
what type of liner have they used?
Fire board lining inside the cavity, more plaster to remove and then render and skim to make good, fix the flexi-flue to the chimney pot and seal, fit cowl on chimney pot, fit stove, pipe and register plate and connect to flue.
All whilst waiting for render and plaster to set.
Maybe do-able in a day, but from their attendance performance so far????????
Not 100% about what type of flue. I'll have a look up the chimney and take a photo.
Do NOT allow the plasterer to patch on the front, knock off all the plaster right to the edges and re-finish the whole front. If you patch, the first time you light the stove cracks will appear all along the joint due to the different rates of expansion of the two plasters. Don't ask me how I know this....
Liner is a double skinned something or other.
[img] 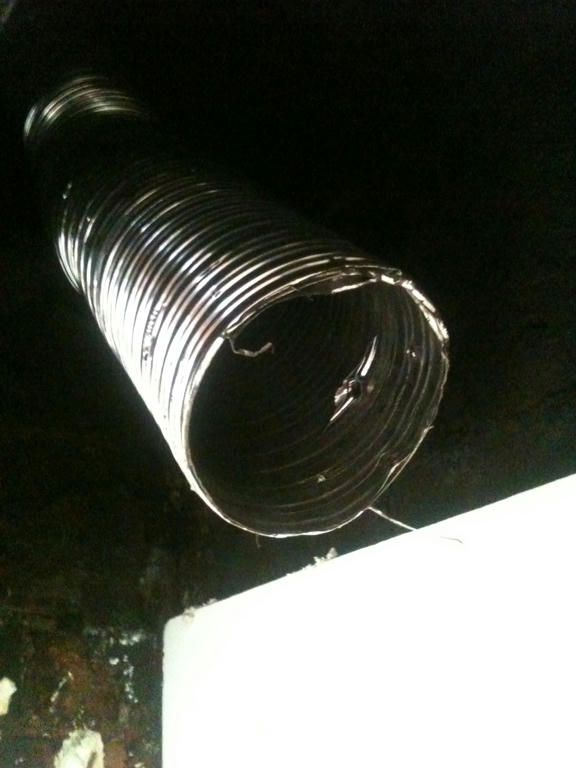 [/img]
The installers turned up at 9 this morning. Only an hour later than they said, so an improvement on previous days.
The fire board is bonded in:
[img] 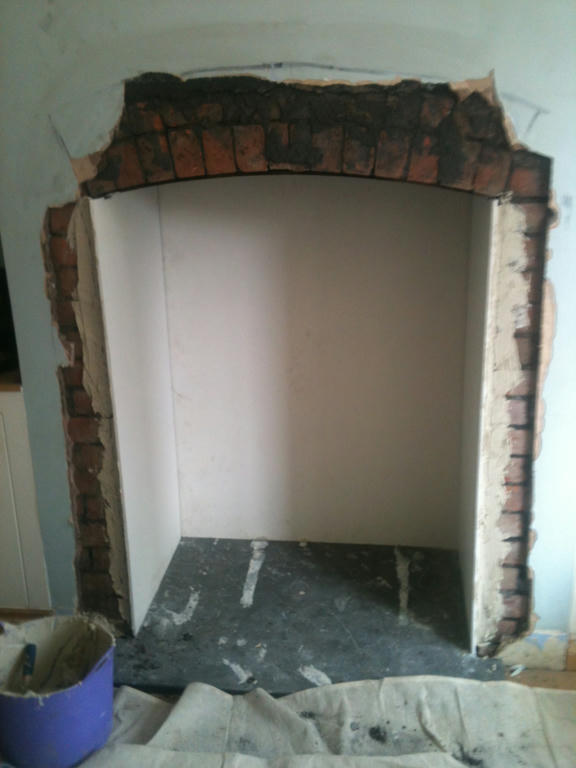 [/img]
Today I have progress. But the house has fallen over again.
no it isnt .... doesnt look like progress to me 😉
it's going to get nice and warm for the fish in a day or two...
I'm having a few problems with mediafire and the edit button.
The fish died last week. So the new fish will be tropical.
One tip bigblackshed, your builder might do this anyway.
Use a plasterboard edging strip on the facing wall of the fireplace, making sure it covers the edge of your fireboard, this will also hide any movement you might get due to the heat off the fire.
Tried to take a pic, but its not that clear.
[img]  [/img]
Lots of progress today. Just the final skim of plaster to do. I've been assured the plaster will not crack. So I'm giving them the benefit. Stove in commissioning burn mode. By Christ it can kick out some heat. And even I managed to light it.
[img] 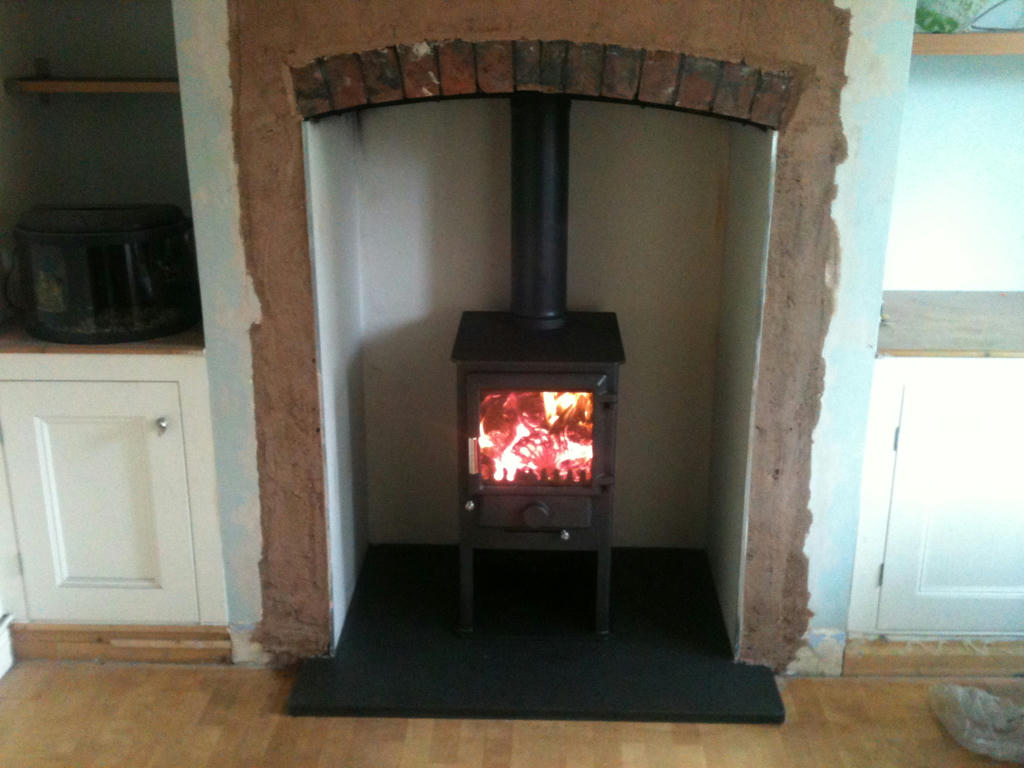 [/img]
I've now got a good excuse to buy a chainsaw!
Errrr dont you need to let the plaster go off first before burning ?
Apparently it's ok, say the installers. Still, I've only paid a £200 deposit so far. So I'll pay the balance when I'm happy with the install.
So is that the fireboard edging I can see level with the plastering?
If so, this is exactly what I was trying to warn against.
I had it done that way, with my first build and it started to get cracking between the plaster and firebords showing after a few months of use.
Errrr dont you need to let the plaster go off first before burning ?
I would have thought so. With ours we waited about a week. Although we have about a foot either side of the fireplace of fresh plaster.
The fire boards are edged with metal capping / wire mesh stuff plasters use to create a sharp edge. (Not sure what it's called, building and products are not my forte)
In fairness the fire boards got barely warm during the burn. The logs have now all but gone, the stove is still warm to the touch, and it has burned for about 4.5 hours. Only used a couple of handfulls of kindling and 1 of those compressed slow burn "logs".
Not really sure what to expect TBH. First ever stove / fire for bothe The Wife and I.
The hitching rail J Wayne and Co left made a nice fire.
preferred the bare brick look as done by OC