How much better is a dedicated re-scribing tool compared to a scalpel blade? Struggling with some panel lines at the moment with the scalpel blade wandering. Can figure out how a scribing tool would prevent this?
My FGR2 is coming along slowly due to work/cycling/drinking/wife commitments, but the kit's engineering is generally very good - aside from the fit around the intakes and the lower fuselage/wing assembly interface that naturally follows a number of compound curves and will be an absolute pain to fill.
The plan is to paint it in XV408 circa 1991 colours - a fetching shade of blue which will be carefully post shaded.
The Phantom's intakes are very complex in shape, which means that masking them is proving to be frustrating - the blue overlaps the inside of the intakes slightly but it's difficult to get a consistent masked edge, plus one needs to be careful with two contrasting colours (dark blue and white on the intakes inside) which could bleed.
The auxiliary air vents on the underside have required some careful sanding to reduce their thickness - because the inside of the vents are a contrasting red against the blue, this will be tricky to get right.
@HTS - am genuinely very impressed by your bravery tackling that Victor (I had that Matchbox kit when I was a child), not to mention the work you've done on the intakes. You absolutely cannot have a Victor tanker without a Lightning nearby, I'm delighted that you've got that covered.
@Nostrils - I bloody hate scribing. It's a PITA and never looks right when I do it! FWIW, I do have a scribing tool which helps, but the best approach is to polish the plastic to a sheen before you rescribe. A rough finish will deflect whatever scribing tool you use resulting in uneven engraved lines.
How much better is a dedicated re-scribing tool compared to a scalpel blade?
If you're using a Swan Morton scalpel you can make a scribing tool. Snap the tip off the blade with a pair of pliers, you only need to take off 1-2mm and it'll leave a tiny sharp square edge. Turn the scalpel upside down and drag the tip backwards along the plastic. I've never tried it but I imagine a photoetch folding tool would be good for snapping the tip?
Just wear some goggles when you're snapping it though, sometimes bits of scalpel blade go flying about!
I've read that you can stick Dymo Tape down and scribe against it to make a straight edge.
Progress on the Victor is slow, but I'm getting there.
I’ve read that you can stick Dymo Tape down and scribe against it to make a straight edge.
I use this, I don't stick it, I just hold it on. You can also use a bit of the frame (sprue?) That photoetch parts come on.
Thanks guys, hadn't considered "masking" either side of the panel line to be scribed. Re the snapped off blade, is a square profile better than a bevelled profile for scribing? I suppose you aren't really cutting the plastic when scribing...
Square is better as it cuts a 'trench' in the plastic, a bevelled blade will score a line but it'll create two minute ridges on either side where the plastic gets pushed over and up.
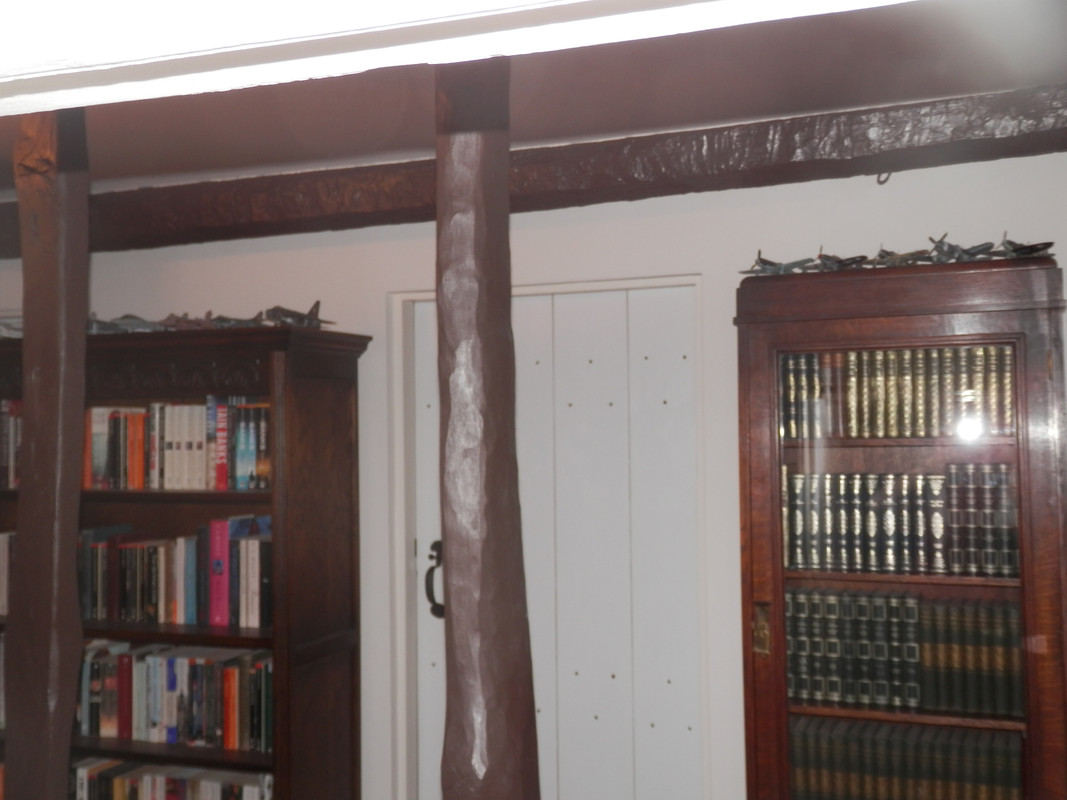
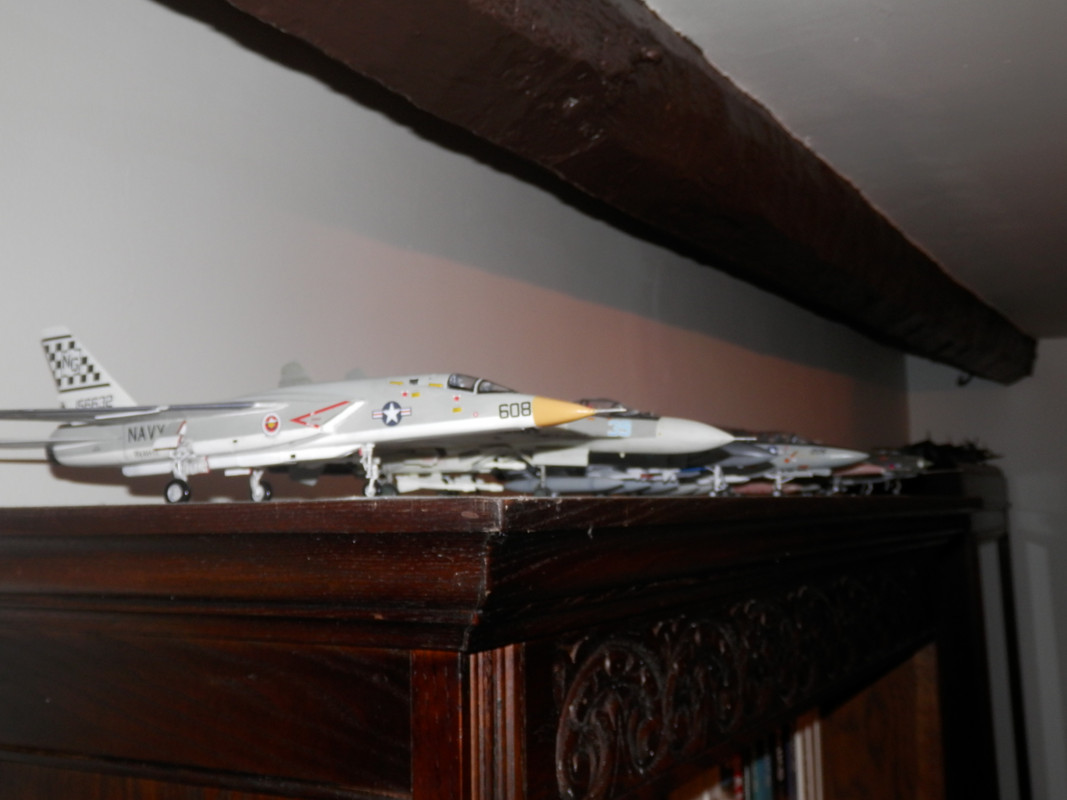
Finally got permission to put some on display. Not ideal, but better than in boxes under the bed.
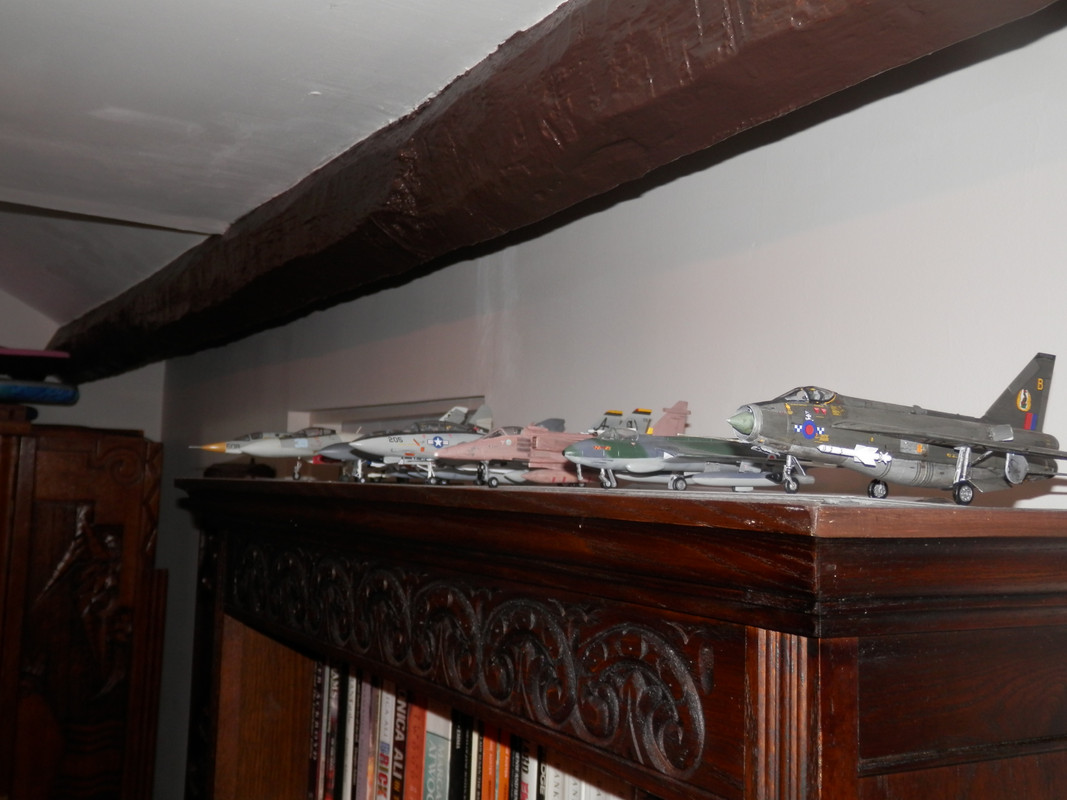

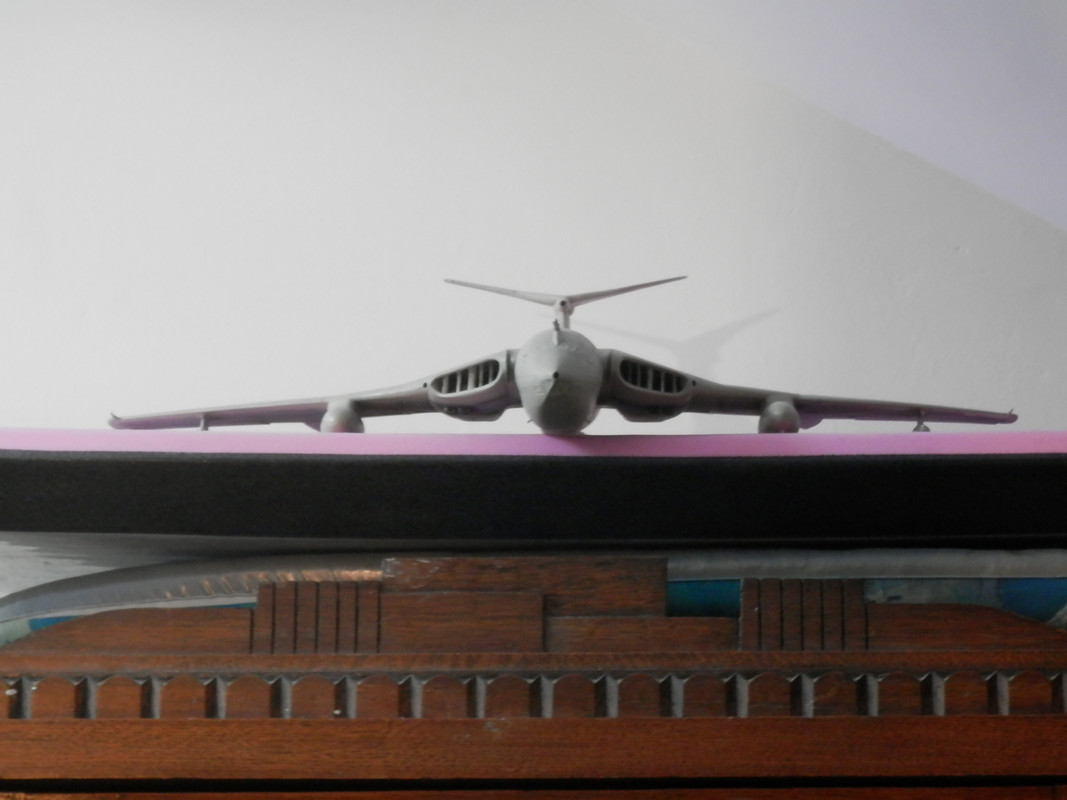
Meanwhile, the work in progress Victor looks on menacingly from its lofty perch.
Nice! Whose kit is that Corsair? Today I managed to snag the Revell 1/72 Corsair from the local stationers for £7. Looks a nice kit.
Any more progress on the Victor?
It is an Italeri. Cost about the same as yours. Got it on line from Jadlam.
Victor is coming on. The hemp is about finished, which is good because it has played havoc with the airbrush. Stuck a load of aerials on it. Done some work on the engine exhausts but they still need more attention. Looking forward to finishing the bugger if I have to be honest.
Don't lose heart, you've got another to build after!
Not just yet. Something out of the box that I can rattle off in a fortnight first.
is a square profile better than a bevelled profile for scribing?
A lot of that will depend upon surface prep. I'm rubbish at rescribing either with a scalpel or with an engraving tool. I've tried the Dymo tape thing, but the stuff I have isn't thick enough to deflect a blade. My technique is clearly wrong. What works best for me is to sand and polish the plastic to a fine sheen and then rescribe. There's fewer flaws in the surface finish to deflect the cutting edge.
Need a break from the Victor as it is all fettling and no actual building, so I've started an Italeri F15E Strike Eagle.
Cockpit had next to no detail so I've jazzed it up a bit with some cut out photo copies of the Victor cockpit decals and added masking tape seat belts.
Will pick up the Victor again when the F15E is at the painting stage and do them in tandem.
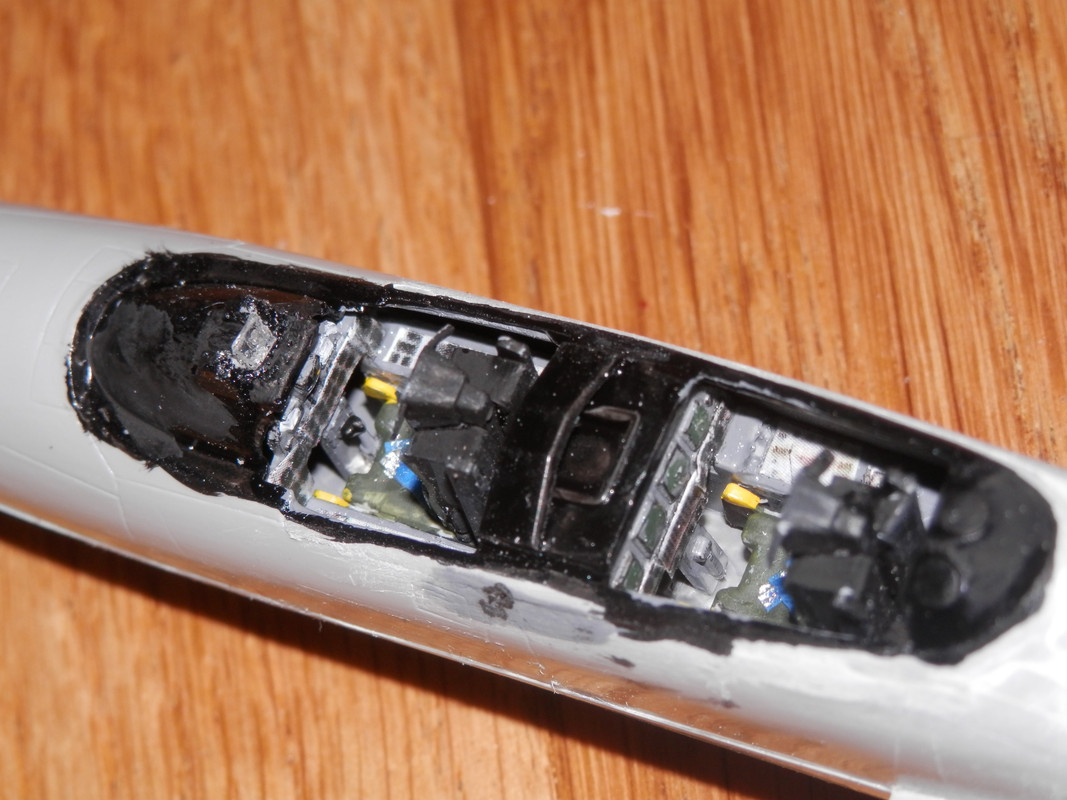
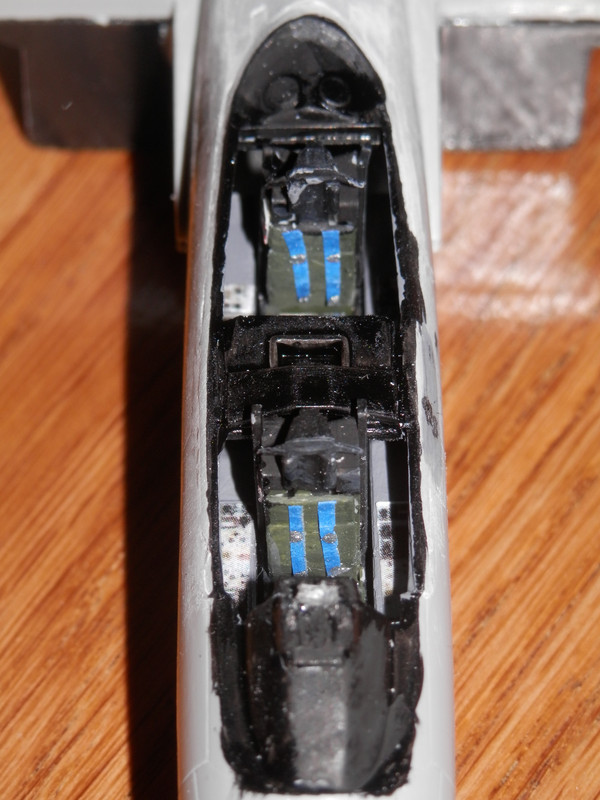
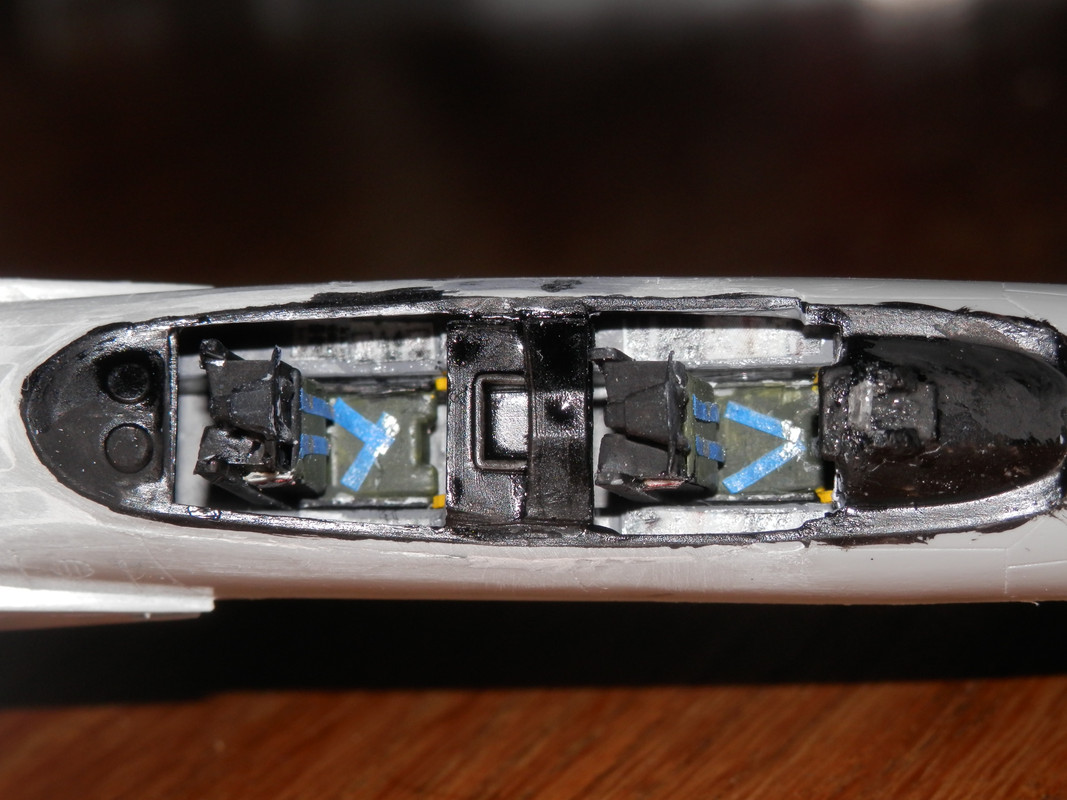
The black paint on the cockpit fairings will get another coat, especially where I've got excess PVA from attaching my home-brew HUD.
Fit is a bit "Italeri", but the kit was only a tenner so I'm not too upset.
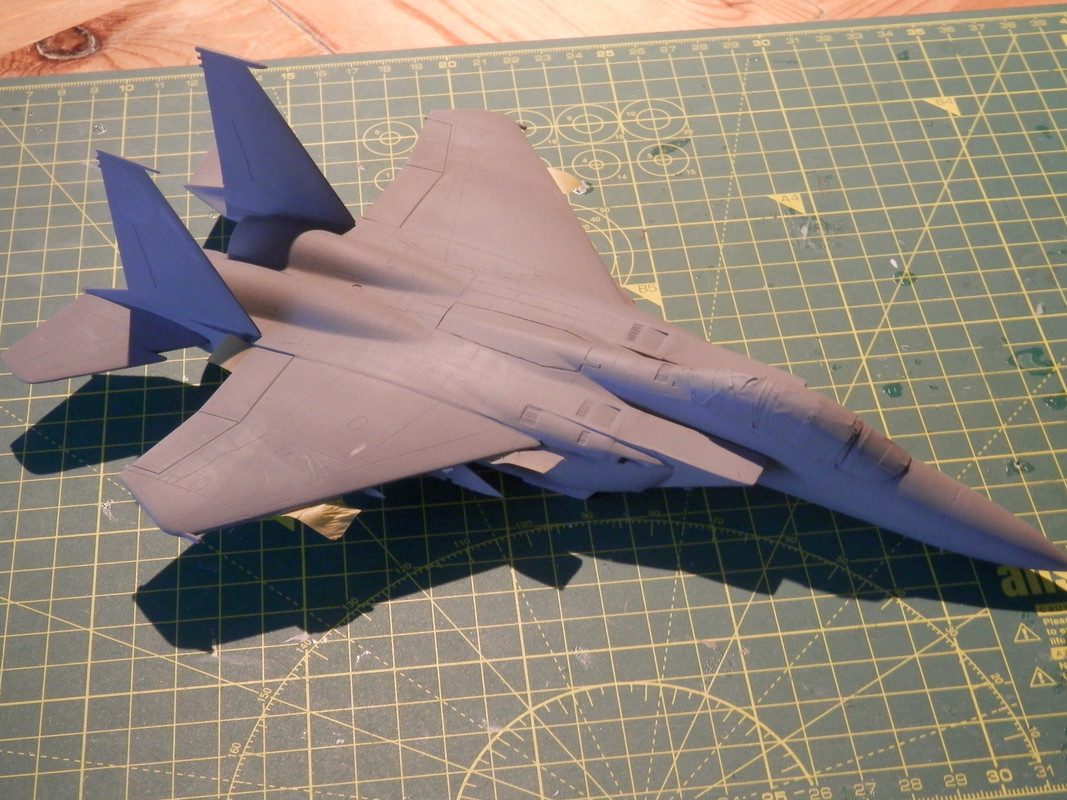
The Strike Eagle is similar to the Victor K2 in that evolved from a sleek and beautiful aircraft into something covered in lumps and bumps. It looks very "business like".
https://en.wikipedia.org/wiki/McDonnell_Douglas_F-15E_Strike_Eagle
I've just found the Titanic!
It was at the back of a cupboard.
Revell 1:400 scale, as far as I can tell it's untouched and looks like it's got all the parts; comes with 4 unopened pots of paint and a pot of glue.
Free to anyone who can pick it up - Stafford or can meet at Cannock Chase, Birches Valley.
PM me.
Free Stuff! Someone needs to jump in and have it.
The Revell Titanic is one big brute of a kit.
Sadly I don't do ships, don't live in Stafford and have too many kits.
I've got a bit further with the P51! I lost interest in it for a while when I messed up the paint, but after being confined to home with two broken ribs all I could manage to do was watch TV and do some modelling. It's almost done now, just needs weathering and some final assembly. I was pleased with the way the guns and drop tank plumbing turned out.
[url= https://i.postimg.cc/RWZxYDK6/IMG-20190702-131318311.jp g" target="_blank">https://i.postimg.cc/RWZxYDK6/IMG-20190702-131318311.jp g"/> [/img][/url]
[url= https://i.postimg.cc/PCVnnQQ6/IMG-20190702-131333363.jp g" target="_blank">https://i.postimg.cc/PCVnnQQ6/IMG-20190702-131333363.jp g"/> [/img][/url]
[url= https://i.postimg.cc/N54wpc9v/IMG-20190702-131343053.jp g" target="_blank">https://i.postimg.cc/N54wpc9v/IMG-20190702-131343053.jp g"/> [/img][/url]
[url= https://i.postimg.cc/G9vRTYb2/IMG-20190702-131359328.jp g" target="_blank">https://i.postimg.cc/G9vRTYb2/IMG-20190702-131359328.jp g"/> [/img][/url]
What scale is it?
My F15-E Filler Ball Strike Eagle is getting there. Slowly.
Hasegawa 1/48 scale
Italeri 1/72
Italeri 1/72
I've not made a 1/72 kit for about 20 years (Airfix WWI Albatross), I've got a couple in the kit stash so I might try one soon if my eyes can take it.
I'd love to go to 1:48 but i haven't got the space.
£15ish delivered from Japan.
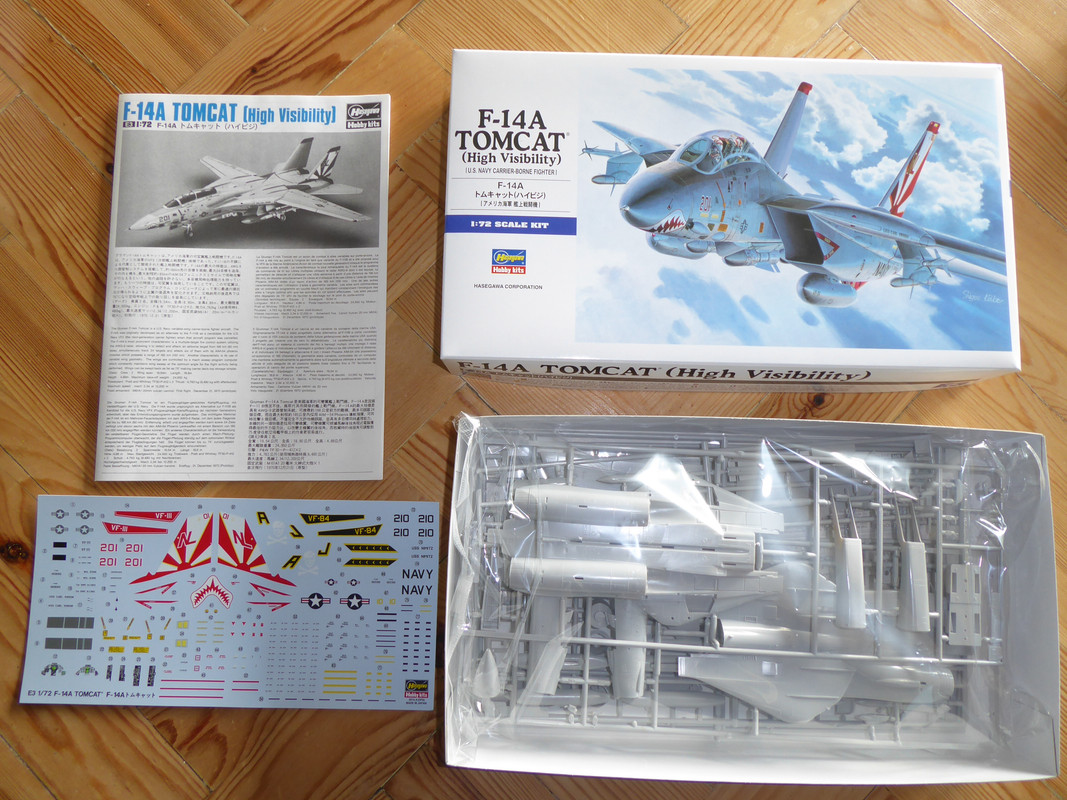
I suspect that I could be spending a fair bit with these guys as kits start at about a fiver and delivery is about £6.
https://www.plazajapan.com/categories/Plastic-Model/Hasegawa/Aircraft/?sort=priceasc&page=2
So here's a couple from me.Taken a while to get here - had major issues with the Martlet when the primer (Stynlrez) absolutely didn't stick to the plastic and had to be peeled off to start again.
The Mustang is from the Aldi special deal, which came with the wrong decals. First attempt at a full NMF finish, and a play with pastels for the weathering.
(also different phothosting, so lets see what happens...!)


so lets see what happens…!
Nothing so far.
Bugger. Shows here fine.
Trying to link from Dropbox as Flickr isn't playing ball any more. Any ideas how...? So far just right clicked on the image, properties, copied the link.
Trying to link from Dropbox as Flickr isn’t playing ball any more. Any ideas how…?
I use Postimage, it's not that great but it is reliable.
Imgur works for me
Finally finished the P51D. It's the first time I've done a mixed camo/natural metal finish and tried a different technique on it as regular washes wouldn't work for both. To break up the flatness of the metal I weathered it with a few different grades of clear coat, it worked really well but doesn't show up in the pics. One pain in the bum was that this aircraft had two rear view mirrors on it, I made these out of bits of clear sprue but it was hard to get them to sit at the same angle. Any criticism or comments are welcome, the next one is always better!
[url= https://i.postimg.cc/BjQm****T/IMG-20190818-225715390.jp g" target="_blank">https://i.postimg.cc/BjQm****T/IMG-20190818-225715390.jp g"/> [/img][/url]
[url= https://i.postimg.cc/bsR6dFCY/IMG-20190818-230011169.jp g" target="_blank">https://i.postimg.cc/bsR6dFCY/IMG-20190818-230011169.jp g"/> [/img][/url]
[url= https://i.postimg.cc/NyZDWhMD/IMG-20190818-230149459.jp g" target="_blank">https://i.postimg.cc/NyZDWhMD/IMG-20190818-230149459.jp g"/> [/img][/url]
[url= https://i.postimg.cc/QBFS4NXV/IMG-20190818-230343103.jp g" target="_blank">https://i.postimg.cc/QBFS4NXV/IMG-20190818-230343103.jp g"/> [/img][/url]
[url= https://i.postimg.cc/DSjBP43t/IMG-20190818-230354898.jp g" target="_blank">https://i.postimg.cc/DSjBP43t/IMG-20190818-230354898.jp g"/> [/img][/url]
[url= https://i.postimg.cc/Js12qWDB/IMG-20190818-230407275.jp g" target="_blank">https://i.postimg.cc/Js12qWDB/IMG-20190818-230407275.jp g"/> [/img][/url]
Well Flickr are still a bunch of pox-ridden appendages, but hopefully I can now do some pics the old way...
Mustang
[url= https://live.staticflickr.com/65535/48578663172_58aa3a9622_b.jp g" target="_blank">https://live.staticflickr.com/65535/48578663172_58aa3a9622_b.jp g"/> [/img][/url]
[url= https://live.staticflickr.com/65535/48578532431_88dc0d9953_b.jpg [/img][/url][url= https://flic.kr/p/2h1Jrff ][img] https://live.staticflickr.com/65535/48578680462_7c753e318e_b.jp g" target="_blank">https://live.staticflickr.com/65535/48578532431_88dc0d9953_b.jpg [/img][/url][url= https://flic.kr/p/2h1Jrff ][img] https://live.staticflickr.com/65535/48578680462_7c753e318e_b.jp g"/> [/img][/url]
[url= https://live.staticflickr.com/65535/48578535566_4870081e5b_b.jp g" target="_blank">https://live.staticflickr.com/65535/48578535566_4870081e5b_b.jp g"/> [/img][/url]
Martlet
[url= https://live.staticflickr.com/65535/48578673557_564e099e13_b.jpg [/img][/url][url= https://flic.kr/p/2h1HDaD ][img] https://live.staticflickr.com/65535/48578525451_f5eab44ae1_b.jp g" target="_blank">https://live.staticflickr.com/65535/48578673557_564e099e13_b.jpg [/img][/url][url= https://flic.kr/p/2h1HDaD ][img] https://live.staticflickr.com/65535/48578525451_f5eab44ae1_b.jp g"/> [/img][/url]
[url= https://live.staticflickr.com/65535/48578668572_4b2a06a647_b.jp g" target="_blank">https://live.staticflickr.com/65535/48578668572_4b2a06a647_b.jp g"/> [/img][/url]
[url= https://live.staticflickr.com/65535/48578670532_5645a9e254_b.jp g" target="_blank">https://live.staticflickr.com/65535/48578670532_5645a9e254_b.jp g"/> [/img][/url]
@JonEdwards - those are two lovely models, great weathering and paint. Well done sir! 👏🏻
^They are very good.
Mint!
@JonEdwards – those are two lovely models, great weathering and paint. Well done sir! 👏🏻
Agreed. Top job on the Martlet, especially the underside, and I wish I'd done a more colourful paint job on my P51 now 😭
Wow good job spursn17 and JonEdwards! Is this thread going to get busier now that the nights are drawing in I wonder?
I think so. I've only completed one kit this year with two WIPs.
I think so. I’ve only completed one kit this year with two WIPs.
The Mustang was the first kit I've started and finished within a year for a long while! Probably going to do a vehicle next, I've got a Bronco Stug III or a Russian SU85 that are contenders for the next build. Or it could be a Tiger, another Tiger, a Panther, a Wespe, a T72, an LRDG Chevy truck, a PzIII, or a Möbelwagon 😂
Jon, please tell us about paint techniques and materials used.
Blimey, errm - thanks for all the compliments! We are not worthy etc…
First thing I’d say is that natural light, a decent camera and a wee bit of knowledge of how to use it, plus a copy of Lightroom can make things look a damn sight better than they are in the plastic!
Paints - Alclad primer and varnishes, Vallejo Model Air and Metal Colour. Wash with Flory Grime and Dark Dirt. The Martlet exhaust and gun stains are oil dot, the stuff on the Mustang an experiment with pastels, which seem a lot more controllable than the oil dot technique.
The Mustang was my first attempt at a naked metal finish and I’m not entirely happy with it as it’s quite orangepeely - think I sprayed at too high a pressure, but it’s all a learning experience, eh…? There’s all some quite shite masking round the tail end of the canopy.
Do you seal the pastel in under a top clear coat?
Keighley Model Show this Sunday.
https://ipmsuk.org/calendar/keighley-plastic-model-club-edition-ii-2019/
Last year was pretty good and there were bargains to be had.
...and another one... Airfix Typhoon 1b 1/72
[url= https://live.staticflickr.com/65535/48918101863_51942818df_b.jp g" target="_blank">https://live.staticflickr.com/65535/48918101863_51942818df_b.jp g"/> [/img][/url]
[url= https://live.staticflickr.com/65535/48918110803_3ce22fa280_b.jp g" target="_blank">https://live.staticflickr.com/65535/48918110803_3ce22fa280_b.jp g"/> [/img][/url]
[url= https://live.staticflickr.com/65535/48918837702_b226590537_b.jp g" target="_blank">https://live.staticflickr.com/65535/48918837702_b226590537_b.jp g"/> [/img][/url]
[url= https://live.staticflickr.com/65535/48918635211_b2673aec04_b.jp g" target="_blank">https://live.staticflickr.com/65535/48918635211_b2673aec04_b.jp g"/> [/img][/url]
[url= https://live.staticflickr.com/65535/48918631466_11b2952610_b.jp g" target="_blank">https://live.staticflickr.com/65535/48918631466_11b2952610_b.jp g"/> [/img][/url]
[url= https://live.staticflickr.com/65535/48918834262_71770ded46_b.jp g" target="_blank">https://live.staticflickr.com/65535/48918834262_71770ded46_b.jp g"/> [/img][/url]
Invasion stripes, wing yellow leading edges and the mint band round the tail are all airbrushed, which I'm pretty chuffed with. Ballsed up the main canopy though - tried dipping it in Future, and it dried with a big sag in it and I struggled to clean it off. Sprayed it with Alclad gloss varnish and its not too bad now, but I might well get a vacform one at some point and redo it.
Some fabulous work here...well done. I have finally finished my 1/32 Heinkel 219 (Revell not ZM!) so will try to get some pics - it’s only taken 4 years!!!
That Typhoon is very nice. I've got a couple of them and a Tempest in the stash. Was going to ask about whether you had painted the stripes (bit you mentioned it) as I did one a few years back and the decals weren't great.
My Airfix Beaufighter. It’s a really nice kit, good fit and no filler needed anywhere.
