This is just to demonstrate that it is possible, and quite easy, as a DIY upgrade. However, given that I got stung for customs with the bits I ordered from cutter, not to mention the hassle factor, I'd probably wait and get Lumi to do the retrofit for you as I believe they will offer it in the next couple of months. Getting lumi to do it would keep your warrant intact too!
If you do go ahead and do it yourself you'll need;
– Tiple Cree XPG R5 LED on PCB from Cutter XPGMR11T I believe they are nill stock until mid December which means you'll probably be waiting until the new year from them to get here.
– Triple optic from cutter Medium or narrow beam (the existing one won't work with the XPG leds)
Tools required are:
– soldering iron
– T7 torx screw driver
– file
– either needle nose pliers or circlip pliers
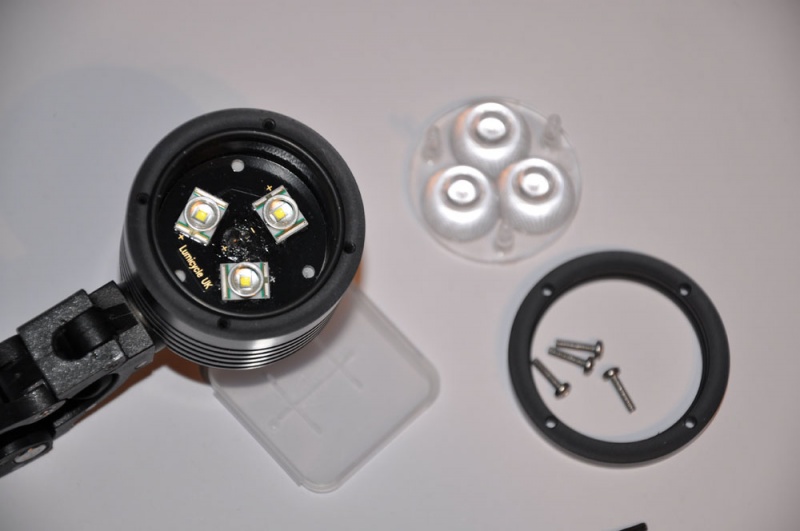
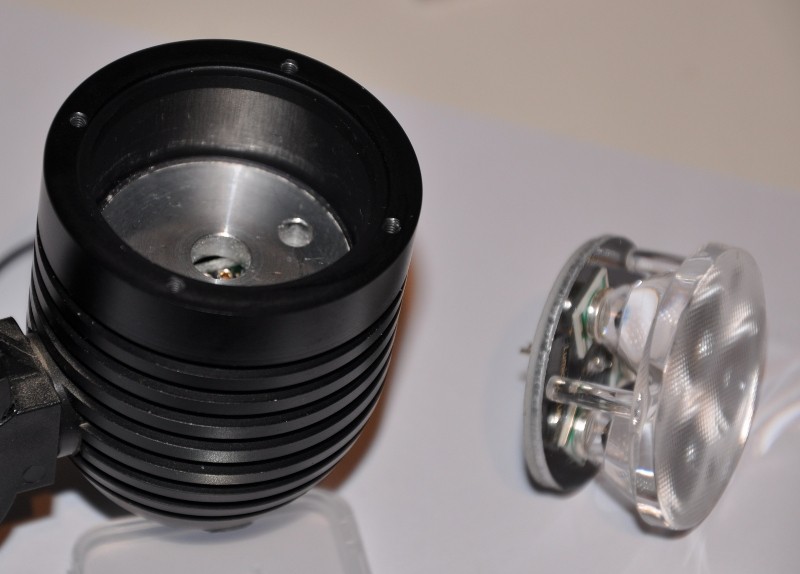
Standard lamp head dismantled
You don't need to remove the mounting plate, I was just curious.
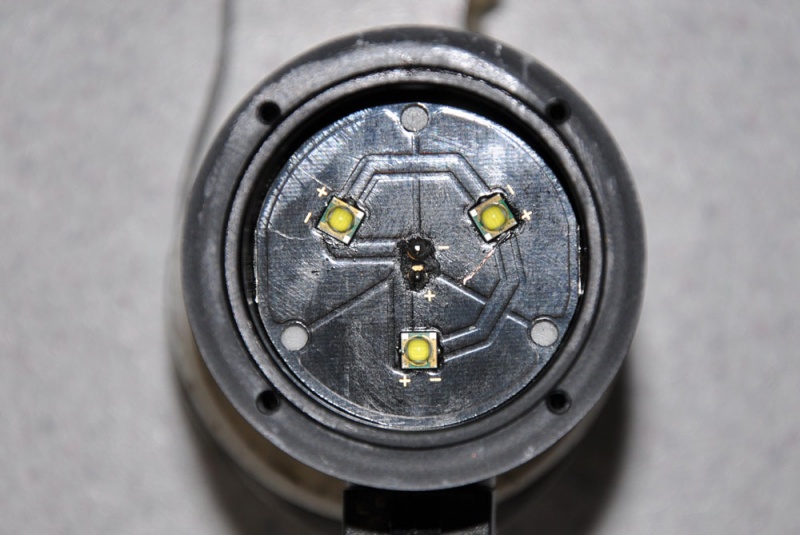
New XP-G R5 LEDs installed. The XP-Gs were bought from cutter. A strip of 2.51mm pins were bought from Maplin for about 75p and 2 soldered onto the PCB and then it is popped straight in. You need to transfer over the heat transfer pad from the back of the old PCB to the new one. The legs on the new optic required shortening by about 1mm with a file.
Yes, new optic, I think it is an XPE/XPG optic (the one on the link)
The parts took about 5weeks to arrive from Cutter. I'm sure alot of that was down to the Royal mail though (I also got stung for customs charge and £8 handling fee from RM). However, Cutter failed to respond to any of the emails I sent trying to find out what had happened to my parts in the 5weeks that I was waiting. For that reason alone I think I'd stop dealing with them.
Posted 14 years ago
Viewing 4 posts - 1 through 4 (of 4 total)
The topic ‘DIY – Lumi LED3 upgraded to XPG R5 leds’ is closed to new replies.