Jigsaw blades are usually "cut up" meaning they leave a ragged cut on the upper face. This is a safety feature: the saw is pulled into the workpiece. A cut down blade, BR101, in the hands of an inexperienced user will bounce off and cause all sorts of damage. You need to apply constant pressure. I used to have some blades that had a cut up section at the very top and the rest was cut down. It left a neat cut both sides but I've never found any since.
Bosch T101 AO cut perfect both sides, good for laminates etc. Excellent for tight radius circles also. They are shorter than usual blades but I have never had a problem with that.
The Bosch T308BF are the blades which cut on the upstroke underneath the wood, and on the downstroke on top of the wood, good for laminate worktops.
Thanks for the find!
Is there a standard way to handle inside corners?
It will depend on what you are making and what finish you want. A sharp corner isn't usually a good idea. If it is just rough I use a pull saw or jigsaw, if it is a finished edge then I usually aim to have a radiused corner. Clamp on a template corner and follow route it. Having a radius makes adding a pencil rad or chamfer much easier too.
Is there a standard way to handle inside corners?
It will depend on what you are making and what finish you want. A sharp corner isn’t usually a good idea
Good point actually.
Always difficult to clean up sharp corners well.
I quite often drill a nice hole with a forstner bit so it spans the corner, then tracksaw up to the apex on each side.
You get a lush corner that way.
You still have to wisp the last bit away with something but it works well.
Like this router jig for a finger pull, but a corner instead of a cut out.

Concealed hing jigs, any in particular worth buying?
Or just buy that Krek one!
Soss hinge or kitchen hinge?
I've never used a jig for kitchen hinges apart from an old tatty bit of mdf withe 3 pilot holes in.
Soss hinge will definitely need a jig
Kitchen hinge, im ham fisted so dome sort of jig will be needed. Even if it needs making.
Just make your own some hinge manufacturers differ by a few mm. Get a cutter with a depth stop built in
Kitchen hinge, im ham fisted so dome sort of jig will be needed.
I've been using one of these:
https://www.amazon.co.uk/gp/product/B07XM1PPZ3/ref=ppx_yo_dt_b_search_asin_image?ie=UTF8&psc=1
and one of these
https://www.amazon.co.uk/Concealed-Hinge-Mounting-Plate-Drilling/dp/B077DWKH6P
More questions…
I’m building a cabinet (actually 2 stacked) the cabinet is going to be heavy when built and used.
The cabinet is going into a corner with a 30cm high skirting board that also protrudes about 3cm (I’m really done with old houses…)
Is there a good way of fitting this close into both walls in the corner? I can’t think of anything that doesn’t compromise the strength of the basic box/exceeds my abilities. I don’t want too many things fixed to the walls.
Or am I better adding a bit more space to the side wall to make a usable space, either that or just scribing a fillet(?) to hide the gap.
And cheers all for the hinge guidance 👍
How about a cabinet from skirting up then a drawer unit besides the skirting? Unless this doesn't go with the current design theme. Whatever gap is left can be filled with a face frame.
I have a similar challenge for my living room cabinets either side of the fireplace. In my case I think I'll keep the cabinet away from the wall to give cable space.
Is that basically using a big plinth as a drawer?
On the non wall side, eventually another cabinet will got in, so that side will need to stay flush.
Yeah big drawer plinth is a better description. You could match the design for the other one if desired.
Same project, these cabinet carcasses are goung to be 1200mm boxes.
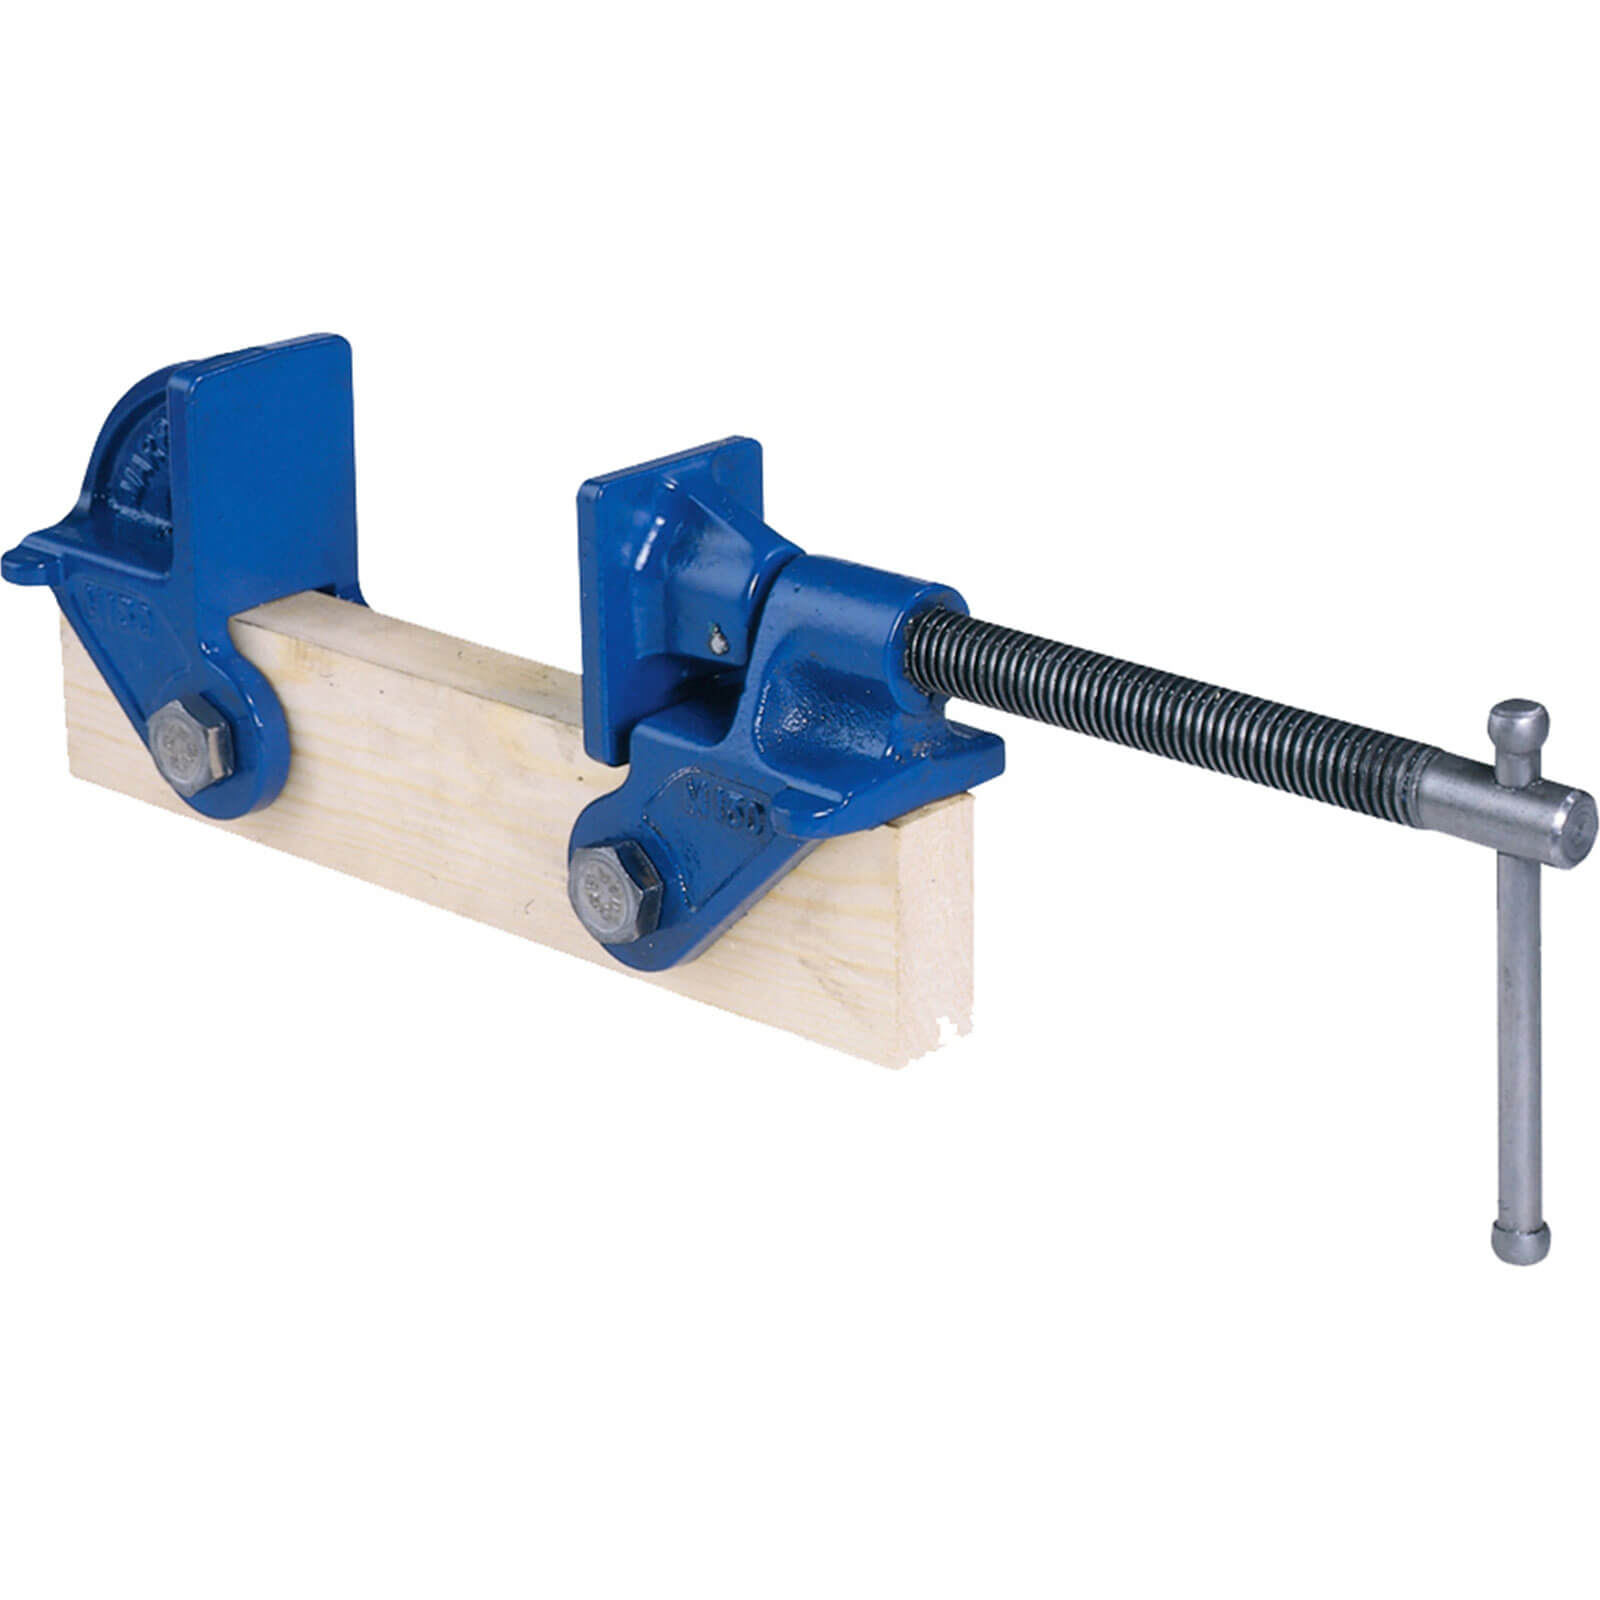
Which I dont have Clamps for that size, what are the best options for this? Parallel Clamps?
Parallel Clamps?
Even the cheaper axminster range you're looking at 70 quid a pop.
Axminster trade sash cramps less than 1/2 that.
https://www.axminstertools.com/axminster-trade-clamps-sash-clamp-1-370mm-505580
And the good thing about bar clamps is unlike the t bar you can easily join them together.
Just found these though. but its a pack of 4 for 160 smackeroos.
If I'm making something big then I screw a couple of bits of 2x3 to the bench (or a sheet of timber) parallel and a bit wider apart than the thing, so around 1250 in your case. Then cut some wedges. Push one side of the job against one batten and use pairs of wedges to fill the gap to the other batten. Hammer or clamp the wedges together to clamp the job. Easy to keep it square and flat.
Same project, these cabinet carcasses are goung to be 1200mm boxes.
Which I dont have Clamps for that size, what are the best options for this? Parallel Clamps?
Are these carcass sides going to be hidden?
If so, screw and glue them together. Don't need clamps then.
Failing that, maybe counterbore and plug the screws.
I've got quite a few of the Rutlands clamps and I'm a fan. Don't have any parallel clamps, just your regular Record pattern sash clamps.
Good value from there.
Another way of clamping big stuff if you've not got clamps is a method using long timber sections and blocks.
You'll have to excuse the terrible fat finger phone sketch but like this.
Use a stout section of timber or ply that spans the width and then some. Screw a block on each side up against the clamping edges using a single, central screw.
Now tap one of the blocks along the edge. This has the effect of shortening the span and clamping together.
I've used this method a few times and it can work well though of course you don't have as much fine direction control as with proper clamps.

What kayak23 says
Or
These carcasses are basically learning projects where quality if finish is secondary to learning how stuff goes together and end use functionality.
The room they are going in, is on the ground floor/basement (house in on a slope). And already resembles a garden shed interior.
The cabinets are intended to replace the current storage stacks of tote boxes 3x3 similar to these.
The corner cabinet is going to be double height, two carcasses stack on top of each other.
The other two cabinets, currently I think are going to be two Tote boxes wide and one box high. Maybe...
Im building the cabinets to fill the same floor space as the Tote Boxes as that is how much room is available.
Are these carcass sides going to be hidden?
If so, screw and glue them together. Don’t need clamps then.
Failing that, maybe counterbore and plug the screws.
Is that basically, getting each corner squared, and work your way around each corner?
Id thought about parallel clamps as i have a project lined up where a reversed clamp might be useful.
I've just built myself a wall cabinet 1200 x 1050 out of 18mm mr mdf (basically a big box with shelves and overlay doors). Didn't use any clamps just assembled carefully and glued and screwed using a square thing and measuring diagonals as kayak suggests. It's square within a mm or 2 which is is Ok for this application as the walls are less flat and square than that.
I used 3.5mm 40mm spaxs screws for the 18mm but drilled pilot holes first otherwise the edges are likely to split. Other issue I've had is you don't want glue that sets quicker than you can build the piece. You want yo be able to assemble, check the whole thing and adjust if needed. Forbthe size you're talking about having 2 people is a big help.
The screw holes are invisible if you fill and sand carefully.
To hell with it, life's too short etc etc.
And theres a 15% off on ebay currently so I pulled the trigger on a Festool TS55FEBQ plunge saw. Came in at £364.
I'd 80 quid sitting in Paypal from a couple of bike bit sales the other day on retrobike. Brought my outlay down to a very acceptable amount.
Just a rail or 2 to get and thats that sorted 😀
Nice
It wont just be a rail or two, youll want a couple of track clamps and no doubt, many other gadgets for it, and there are lots to WANT
Ive actually told my neighbour he might be prising his TS55 out of my cold dead hands.
Hang on, you posted at 1am?
Is that a beer purchase?
Budget'ish end of the scale, what's the go to for a plunge saw?
I'm still kicking myself for not grabbing the ebauer one I saw on Gumtree locally for £35 a couple of months back, the feller had hardly used it, at the time I didn't think I needed one, then two weeks later I needed to cut a load of 25mm ply down to size for a floor...
I've got a cheap S/H circular saw for rough work and a Titan Mitre but one of these would fill a big gap and suit a load of jobs I need to do in the next few months
Hang on, you posted at 1am?
Is that a beer purchase?
No, I bought it earlier, about 8pm.
I added it because theres been a number of interested parties in plunge saws and most were looking at Bosch and makita, which are not far off thanks to the 15% discount being about the same price as a festool. I think most given the choice would spend the little extra.
If you get the TS55 FEBQ-plus you get the saw and rail with the discount for £425. A bosch with 2 rails is £450. Even the fact the bosch has 2 rails is nothing compared to the quality of the festool in comparison.
.
I do have a life you know, other things, other forums. I dont rush in here to blab about what I've done this day moments after doing it 😆
It wont just be a rail or two, youll want a couple of track clamps and no doubt, many other gadgets for it, and there are lots to WANT
Yup 😆
I'll need the Parallel side fence next. at £155 😆
But in all honesty i dont mind adding to things as we go. Its getting the meat of it out the road first then the add on bits arent such a strain on the bank balance. I'll pick up the parallel side fence in a couple of months time.
So, after quite a bit of bodged set ups in this space ive changed what I want to do, and do seem pretty settled hiw I want the item to work so can start drawing up plans (by which i mean badly scrawl freehand)
First of which is basically a chest if drawers measuring 1380w 710d 690h which in which I want 3 vertical dividers, with 3 drawers in each section. One shallow, medium and deep drawer in each section.
Actually at this point I dont know what im doing well enough to know what im asking. 🤣 And theres a fair chance
Is there anything likely to catch me out with this layout?
The top will sit on the ends/dividers, and have a slight overhang to sit on the back so I can use thick ply for the back to help rigidity. The back and dividers will also sit on the bottom sheet of ply. One end wont be visible at all, the other mostly hidden.
Will this want some additional bracing somewhere to keep it rigid?
If you're looking for clamps to square up the corners of units, these are worth a look... Corner Clamps
