Forum menu
We had a bit of an issue on the weekend with a dropped chain on 2 instances.
I think part of this is because the chainline between top idler and the cranks was incorrect.
One the Trek Session document it has a top idler, which has 2 spacers, 1 on the left, 1 on the right of the idler wheel. They're different thicknesses which means you can offset the idler depending on the crankset
The way they show it is Shimano and SRAM. We used to have SRAM X01 cranks but they snapped and we replaced with Shimano cranks. However at the time i didn't swap the spacers. Recently though i did.... and now i look at the chainline vertically i believe it's incorrect
Both cranks are 83mm BB external. But i think they're actually the same chainline.
I've 'eyed' it using the fork leg as a straight and vertical edge, when i've got it set in Shimano, it looks skewed. When it's in SRAM, it seems to follow the fork leg.
The other thing i tried was using the chain and dropping it over the idler and down towards the cranks, which again looks straight.
Lastly i used a metal rule, going upwards from the crank on back of chainring up to the idler and that looks correct.
But all 3 of those methods are slightly guesswork. There's another spacer of 0.5m and again, depending on where you put it, moves the chainline.
I understand how to measure the actual chainline, but not sure on the best way to measure the idler.
I could in theory measure from the center of the frame on seat-tube over to the idler, but i'm not sure how precise it'd be.
I supposed part of the question is, how accurate does it actually need to be. On the GT Fury it was 'eyed' and seemed OK and i'm happy that we're not a million miles out but just would like peace of mind.
I have no idea, but it’s rather intriguing.
Assuming that the issue is between the idler and the chainring, I wouldn’t have thought half a mill would make that much difference as it would to the derailleur where there could be indexing complications.
Was it dropping off the idler or the chainring? If the latter, then the issue might be that there are fewer chain links engaging with fewer teeth with the idler chain routing, so less retention, if that makes sense. But that’s how it’s designed….
Can you fit some sort of chain guide to the chainring, where the chain path from the idler comes in, to help guide it onto the chainring?
Or ditch the idler and get an O chain chainring?
Edit, a DIY type laser level would be spot on. Get the bike vertical then shine the laser across the chainring teeth and see where it aligns with the idler.
Idler is integrated into the chainstay/frame, cannot be removed in any way.
Uusually on high pivots when dropping it's because they're lost off the top of the idler, but we had an aftermarket cover which reduces the clearance and ususally stops this (although that was destroyed in off number 2.
Laser level was my thoughts too, i will have to ask a mate if they have one.
I tried flipping the bike upside down and you can move to about a 40 degangle and see both chainlines/cogs in-line and they do seem very very close... close enough that i certainly don't think it matters.
Straight edge on the outside of the chainring is the generally foolproof way(might need to drop the chain off)
the STW bottle opener worked a charm for that and yeah it's deffo pretty damn close..
Was going to suggest a straight edge of some kind up against the side of the chain ring and see how it falls at the idler - appears you've beat me to it.
Odd it's dropping even if a little out as chains are pretty flexible but then it's quite a short section of chain so if he was pedalling hard it could be an issue.
Maybe it was the disintegrated guide that did it? Maybe it was on it's way out the first time and went unnoticed? Admittedly given your attention to detail this sounds unlikely but you never know. It is only 3D printed and I'd not expect much longevity from something like that. I do have a few parts I've printed on my bike but nothing in a high impact/stress situation like that. Mine are all in compression, just acting as shaped spacers.
Maybe it was the disintegrated guide that did it? Maybe it was on it’s way out the first time and went unnoticed? Admittedly given your attention to detail this sounds unlikely but you never know. It is only 3D printed and I’d not expect much longevity from something like that.
1. Possible...
2. It's hard to say, it was muddy, rainy, wet.
3. spoke to the guy who prints them and he's not had anyone else report a failure. I know of 4 bikes running them and none have had an issue.
We had a chain drop or 2 in Aug and i traced that to a very worn idler teeth. The one i took off on the weekend and replaced really wasn't anywhere near that bad.
He was going silly fast and pedalling through the roots at the time it came off first run of practice,
hitting this gap that is apparently very rare and carries a massive consequence (which he then found out as his chain dropped just as he went to hit it and he stacked it massively).
It's possible that swapping the spacers back and fitting the newer pulley cog will mean the problem is completely resolved (i sure hope so), just trying to cover all the bases to ensure that's correct. We'll find out at the weekend as he's out hitting the tech as always.
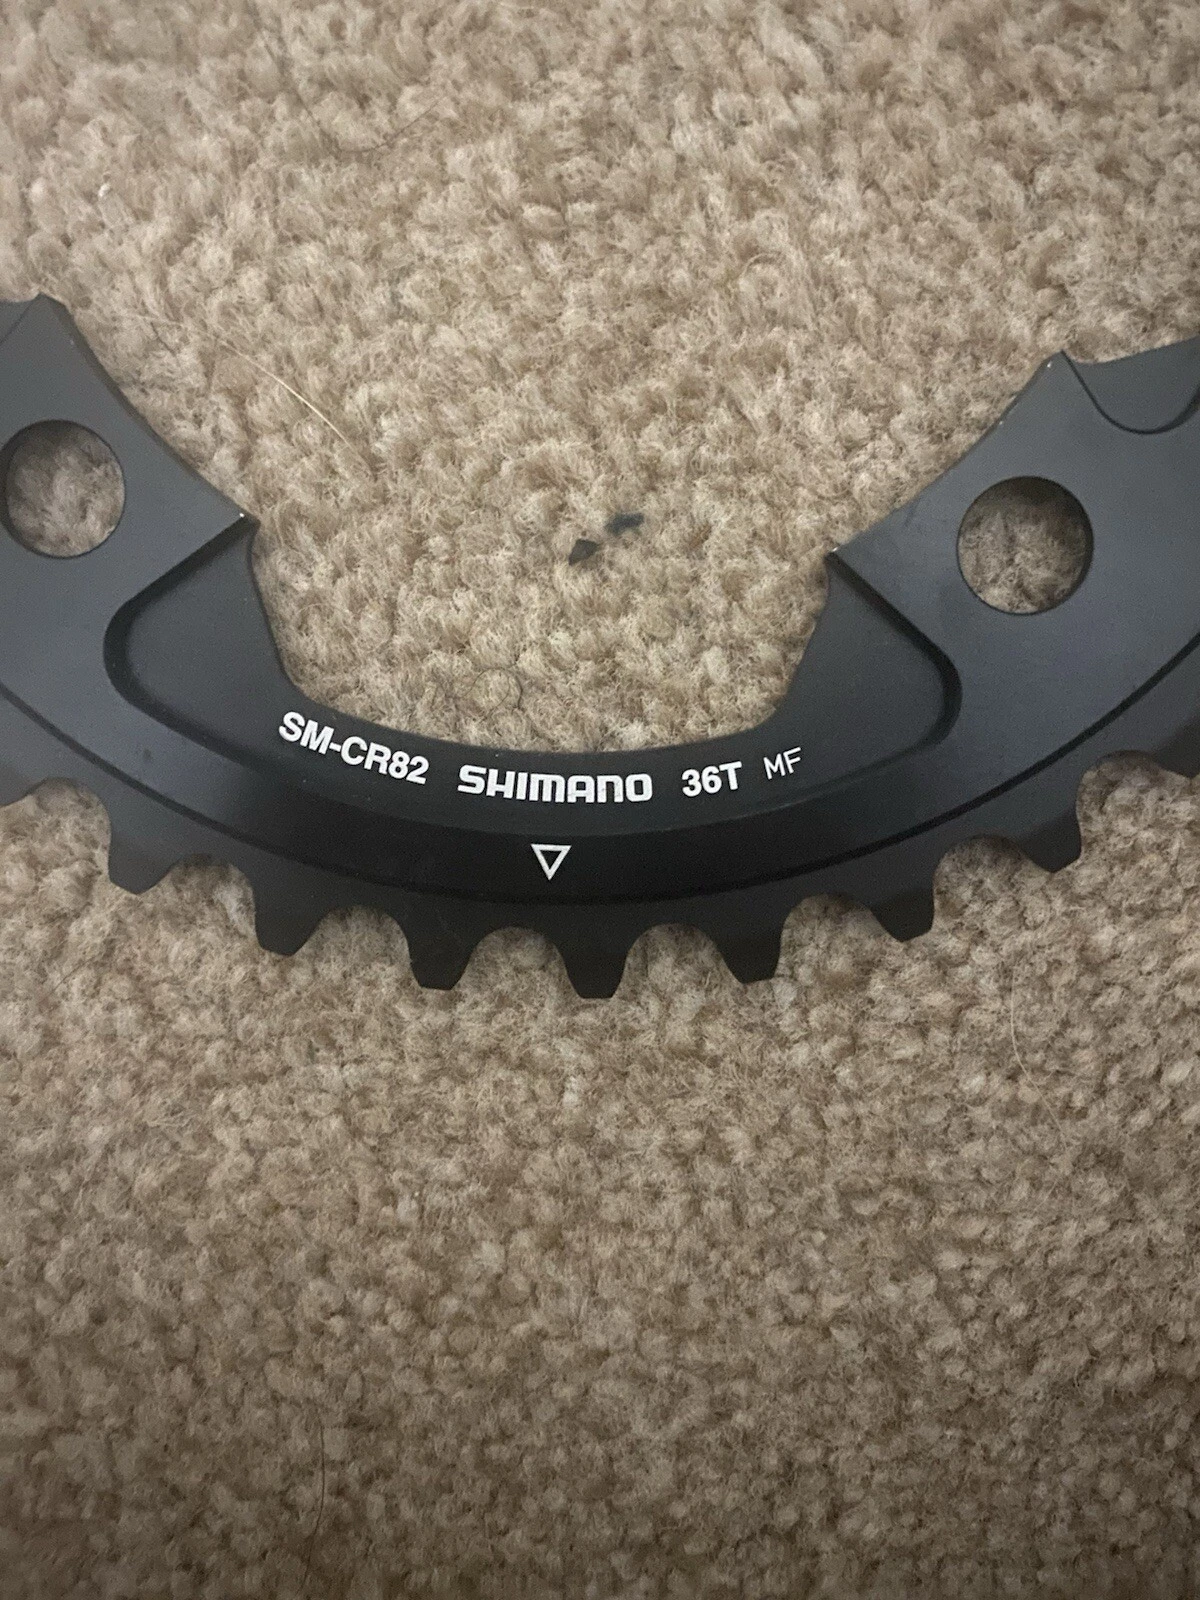
https://www.ebay.co.uk/itm/334508149877?var=543796802913
It's a single ring specific Saint. But doesn't specify if NW, i don't THINK the teeth are different. He's been running it since Aug when he snapped the X01s without any issue.