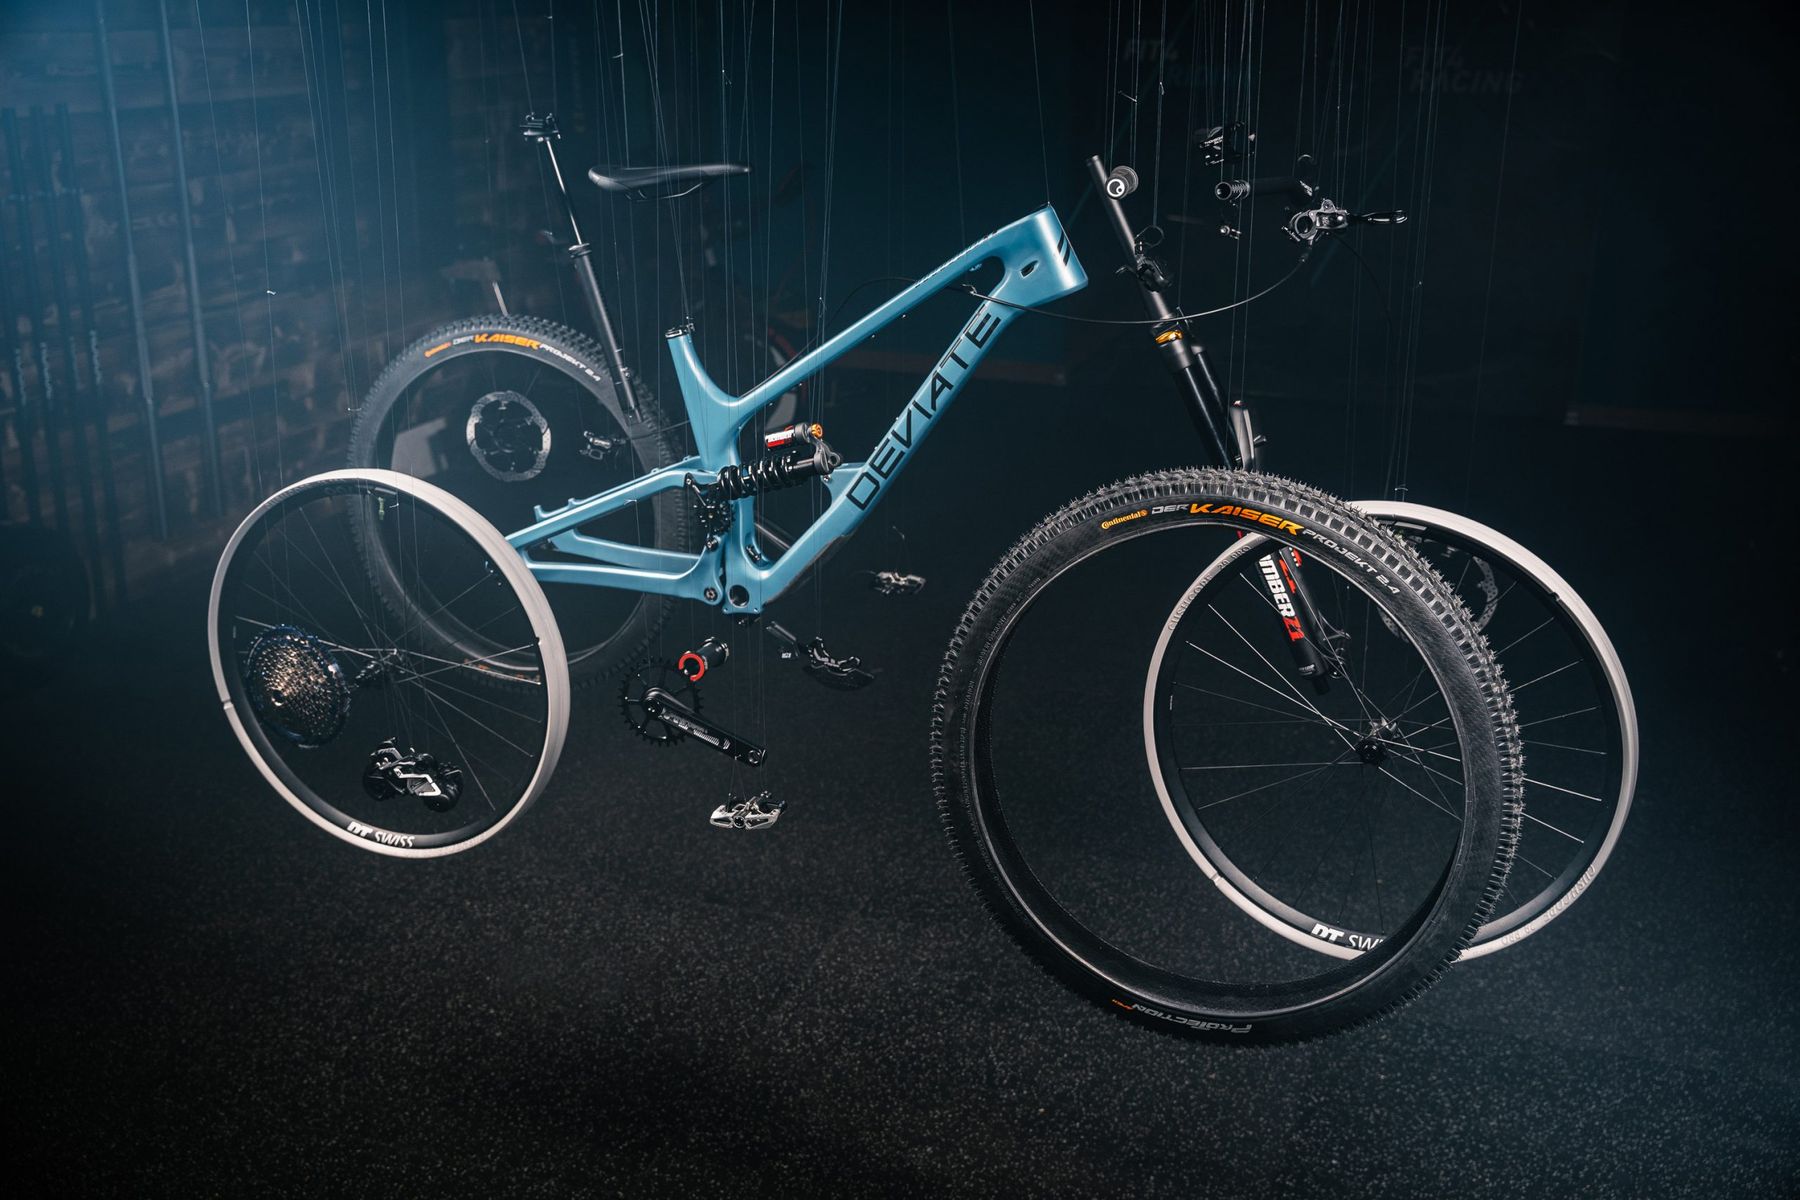
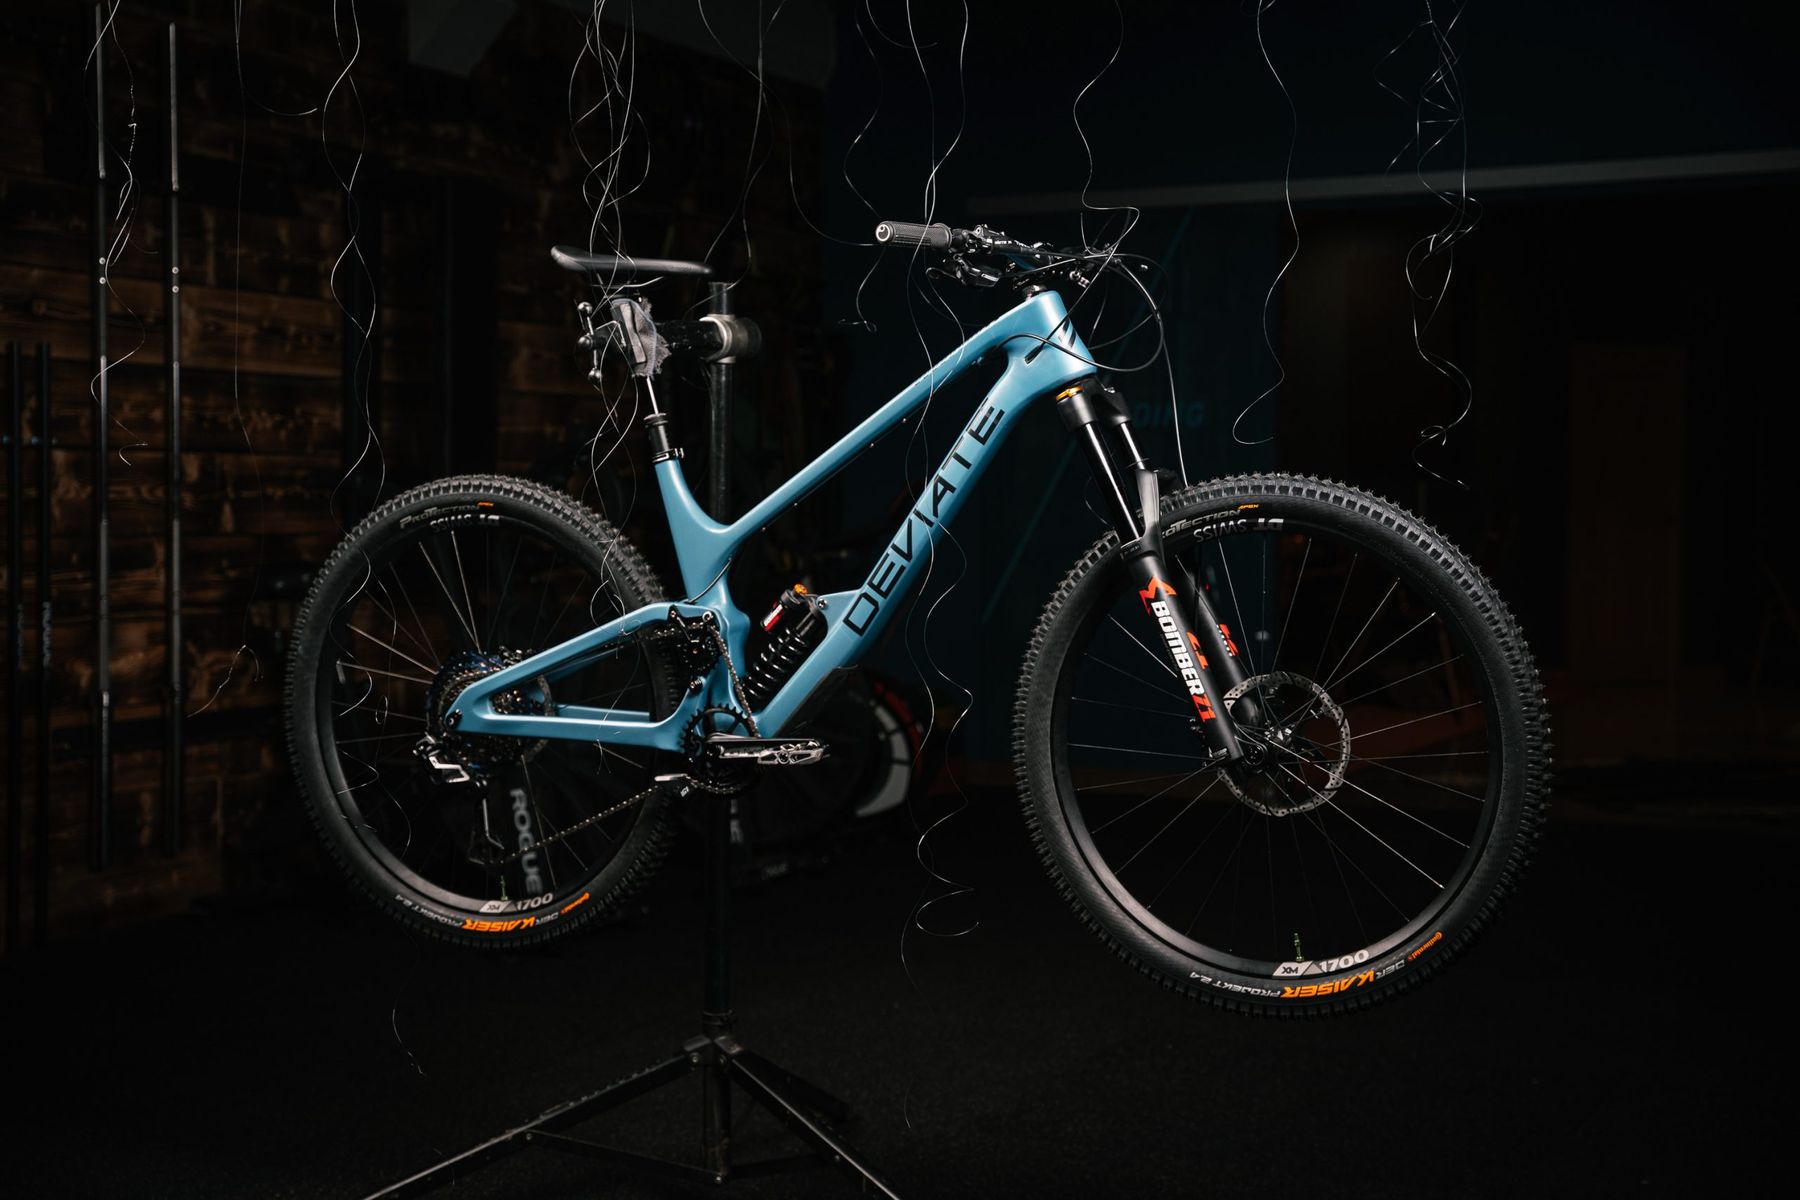
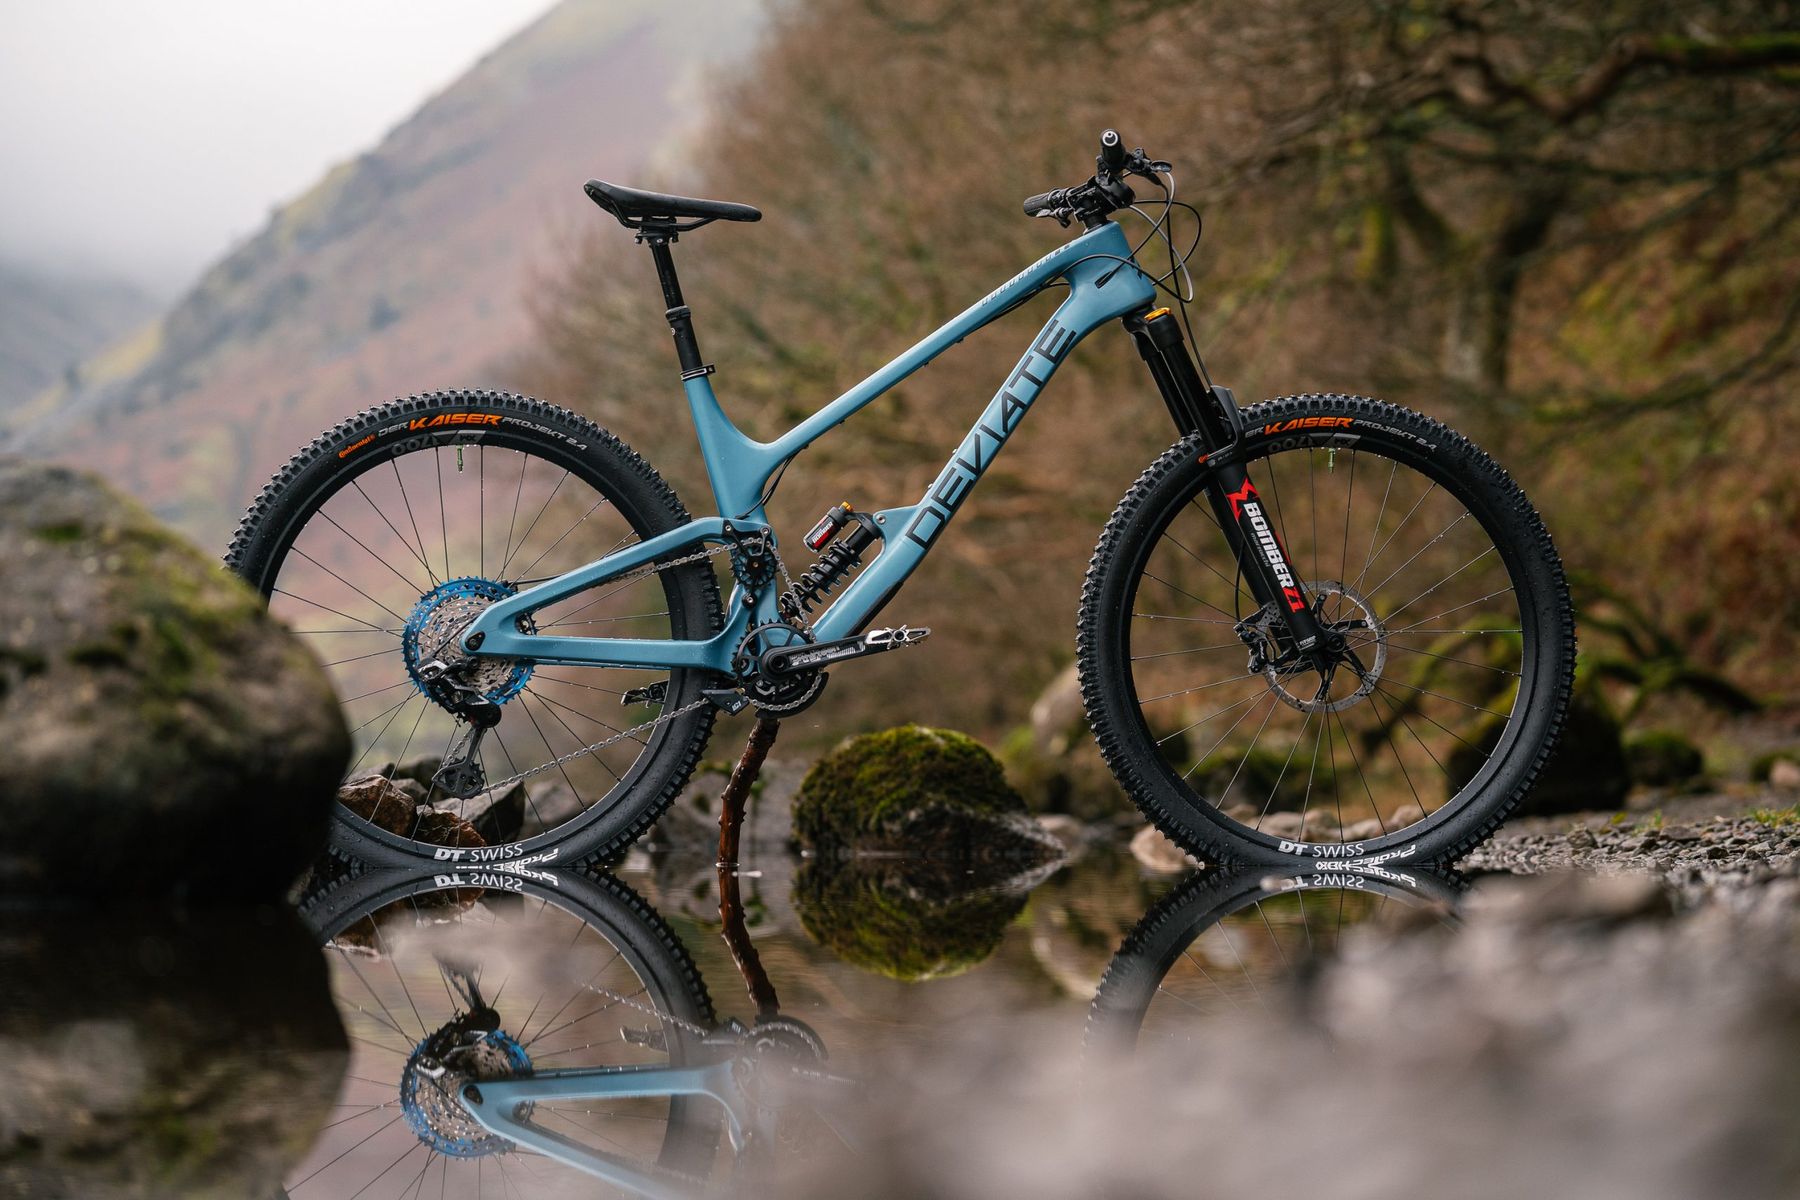
Ladies and gentlemen, please allow myself to introduce… my new Deviate Highlander long term test bike. Or at least it will be once I’ve cut it down from the ceiling and put it all together. For now, let’s just take a moment to appreciate the work that went into the above photo. Seven hours of hanging components on fishing wire for a photo. Sure, I could have done it all in photoshop, but where’s the fun in that?
Before we watch the video of the build, let’s take a closer look at the parts I’ve used.
The Frame
Deviate Highlander
- Price: £2,599 frame only, frame & shock from £2,749
- From: www.deviatecycles.com
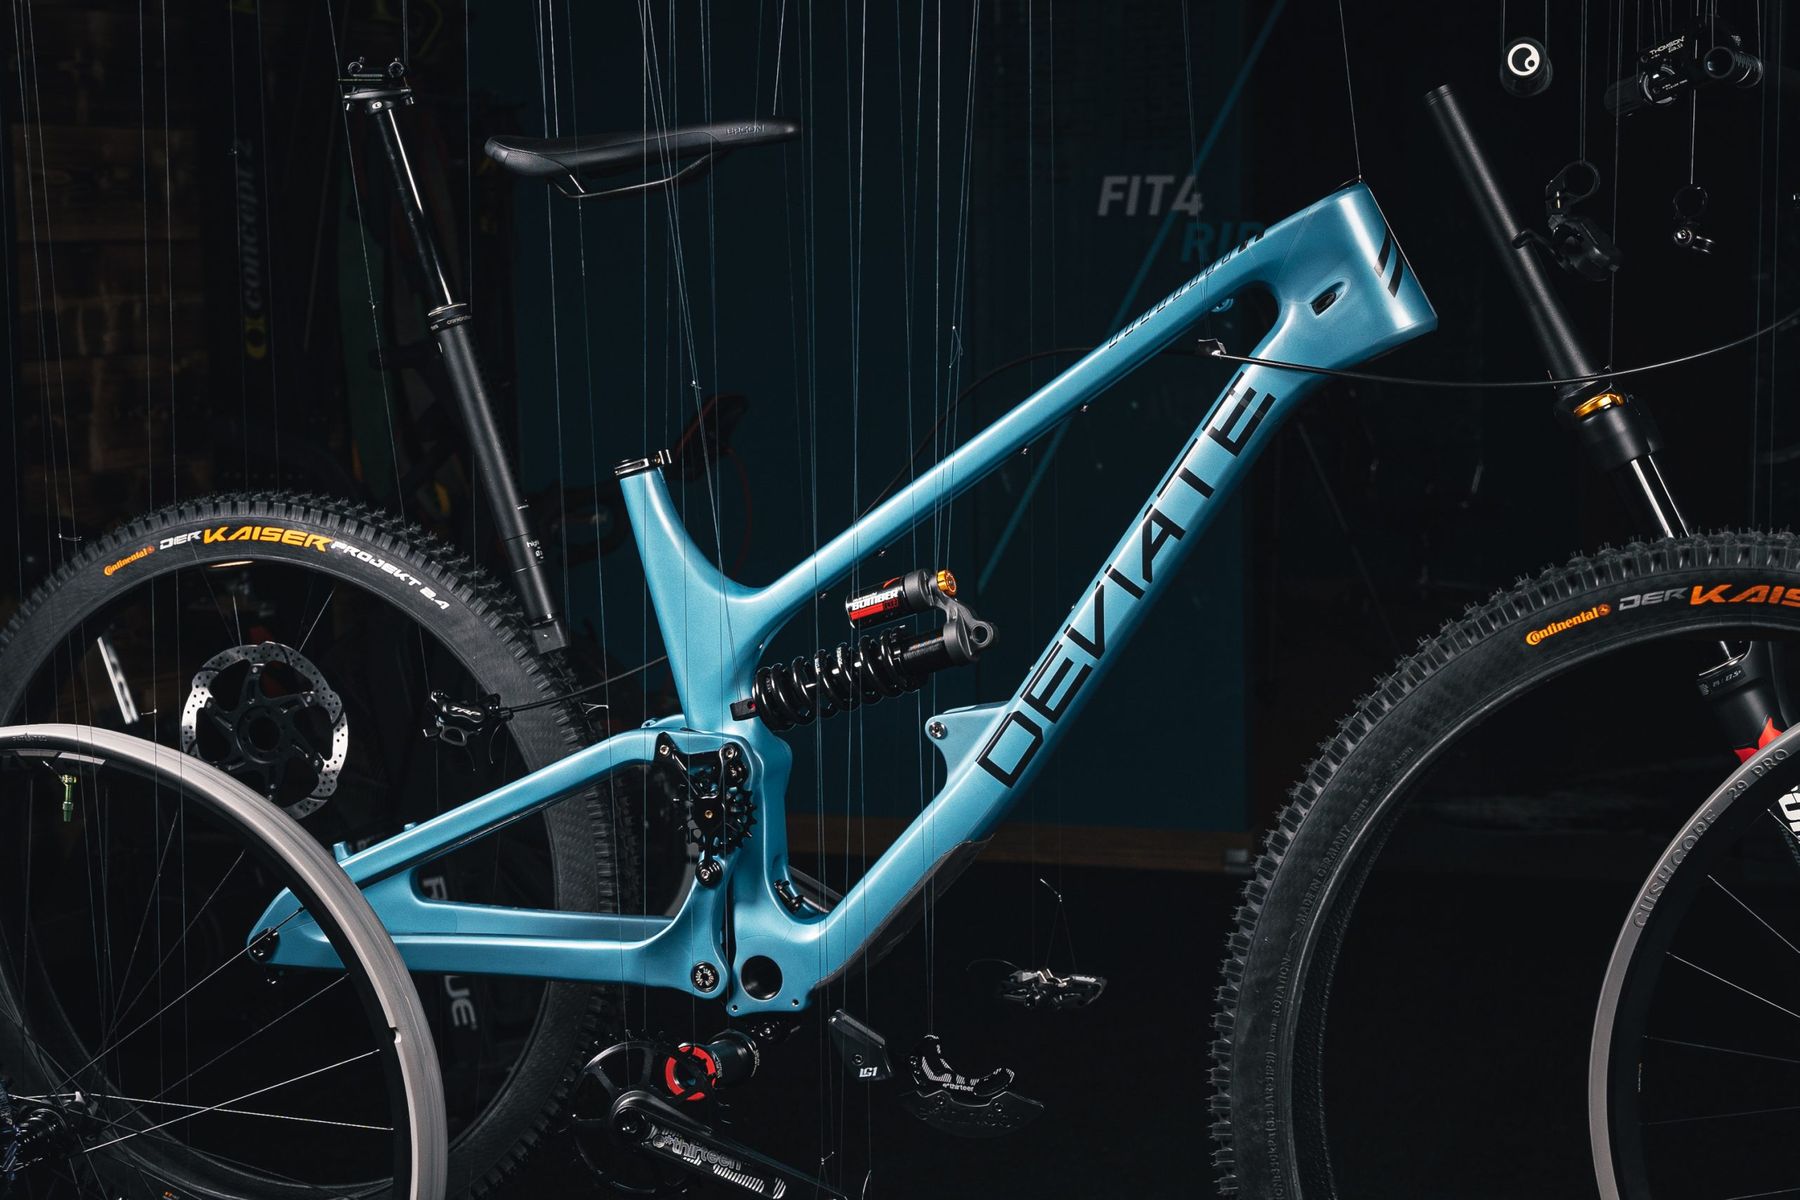
First up, and at the heart of this build, we have a rather gorgeous Deviate Highlander frame. Sanny has already done an in depth first ride review on the Highlander so if you want to find out more about the frame and the story behind it, then click here.
Normally, the carbon fibre Deviate Highlander features 140mm of high pivot suspension travel out back, but this particular frame has been souped up with the new 150mm linkage from Deviate. Why have I done this? Well, aside from 150 being 10 better than 140, riding in the Lake District with its rough terrain, rocks and boulders, I figure the extra travel would be useful, even for something that Deviate are keen to describe as a trail bike. Plus, being more progressive than the standard 140mm linkage means it’ll play nicely with the coil shock we’ve got lined up. As for sizing, at a shade over 6ft, I could comfortably get away with a size large, but my recent test bikes have had similar numbers to the XL so I’ve plumped for the larger frame. Once you throw the longer linkage into the mix, the angles all slacken off by a degree or so and the reach pulls back to about 500mm.
Fork and Shock
Marzocchi Bomber Z1 Coil & Marzocchi Bomber CR
- Price: £789 (forks), £339 (shock), springs (sold separately) £44.95
- From: www.silverfish-uk.com
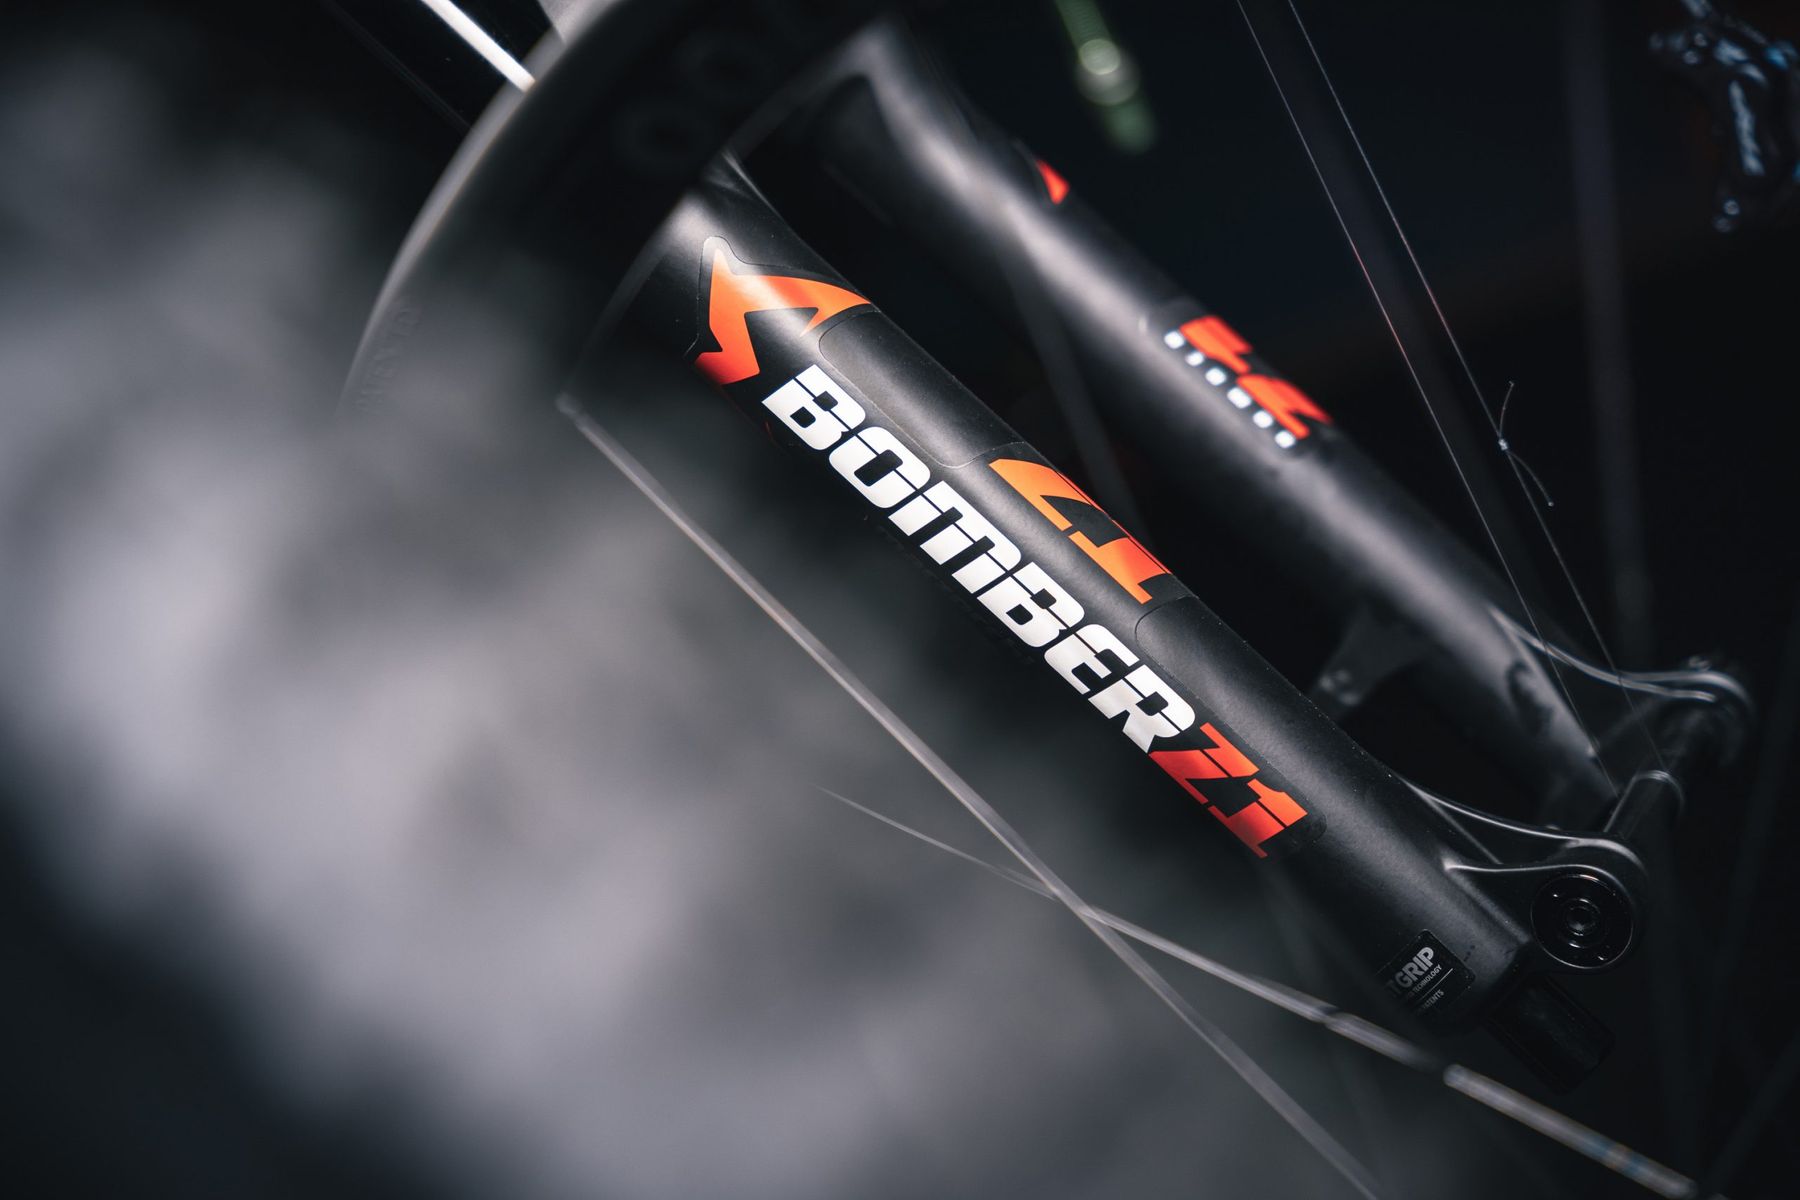

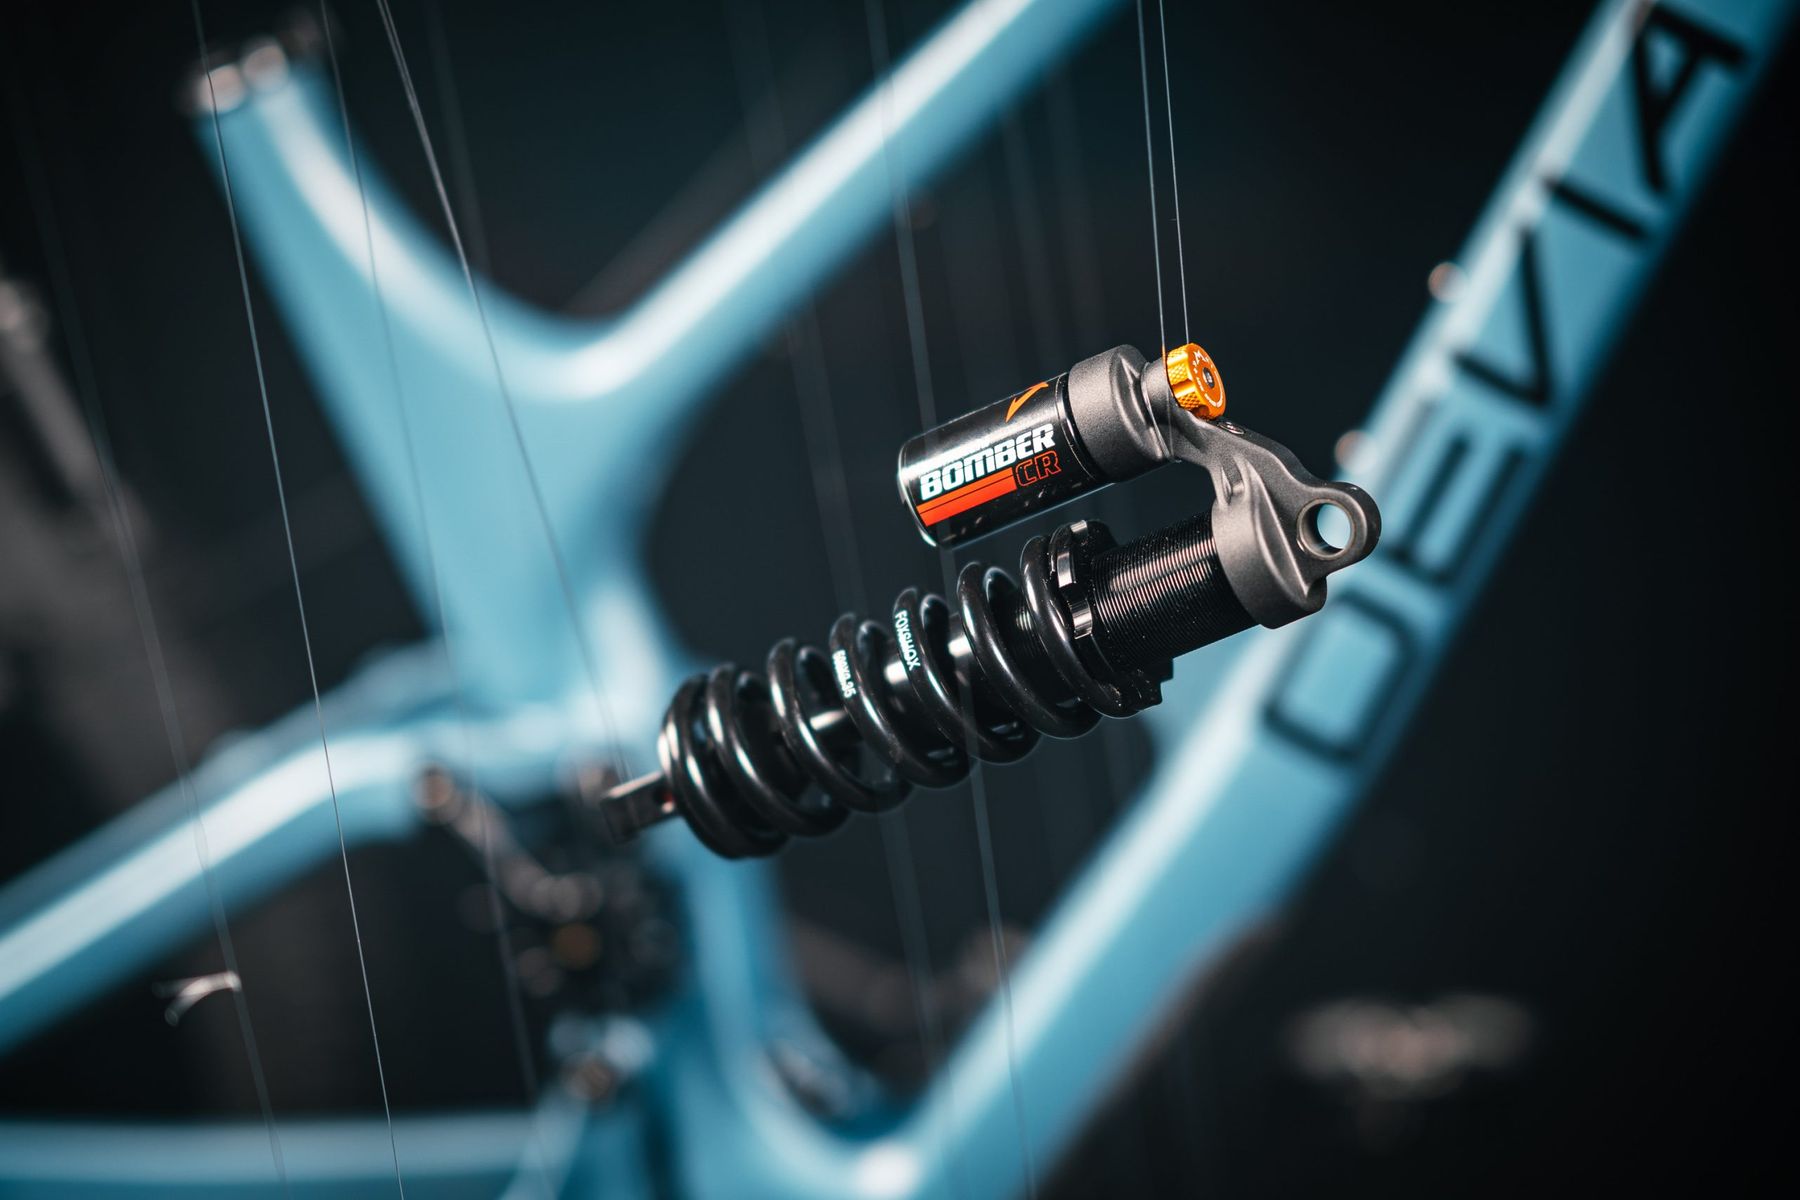
I’ve already mentioned I’ll be running a coil shock on this build, so it seems entirely fitting to pair it with the daddy of all coil forks, the Marzocchi Bomber Z1 Coil. Even though I’ve been riding mountain bikes for 25+ years, this will be my first time on a set of Bombers, and my first time on a proper coil fork and shock! I remember a riding buddy getting a pair back in the day, but I foolishly prioritised weight saving over ride quality and ended up with an AMP F3 fork. These Bombers have been fitted with the firm spring, and I’ve got a choice of either the 500 or 550 spring to run on the Bomber CR Coil shock. Adjustments on both the fork and shock are limited to spring preload, low speed compression and rebound, marking a refreshing change from the somewhat bewildering top of the range units that can offer more adjustment than most riders know what to do with!
Headset
Cane Creek Hellbender 70
- Price: £74.99
- From: www.extrauk.co.uk
All the fancy of the Cane Creek 110 series, at a price that’s closer to the 40 series. This sounds too good to be true, but who knows? I’ve already chopped my crown race up to make it easier to swap between forks so it’ll be interesting to see if this has an impact on the durability of the piece. Watch this space as they say…
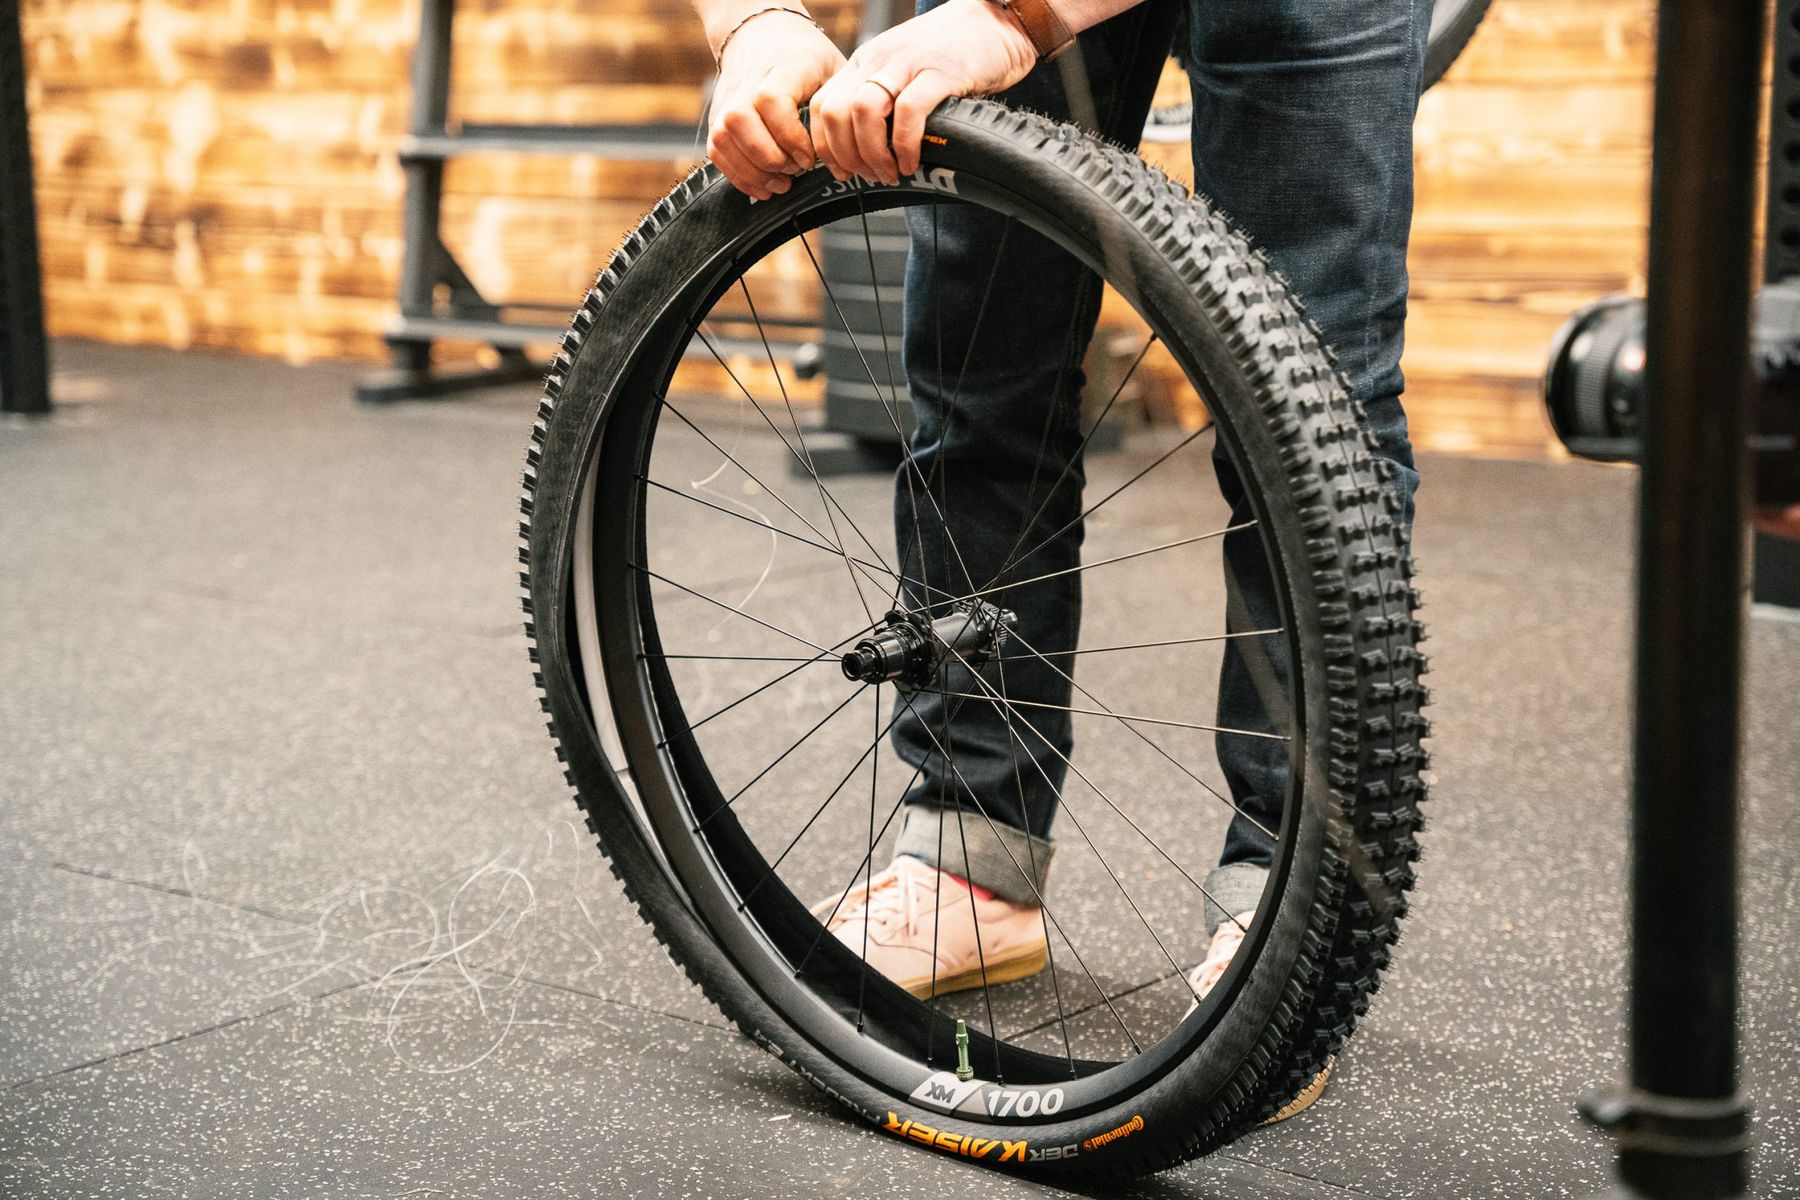
Wheels
DT Swiss XM1700 Spline
- Price: £665/pair
- From: www.freewheel.co.uk

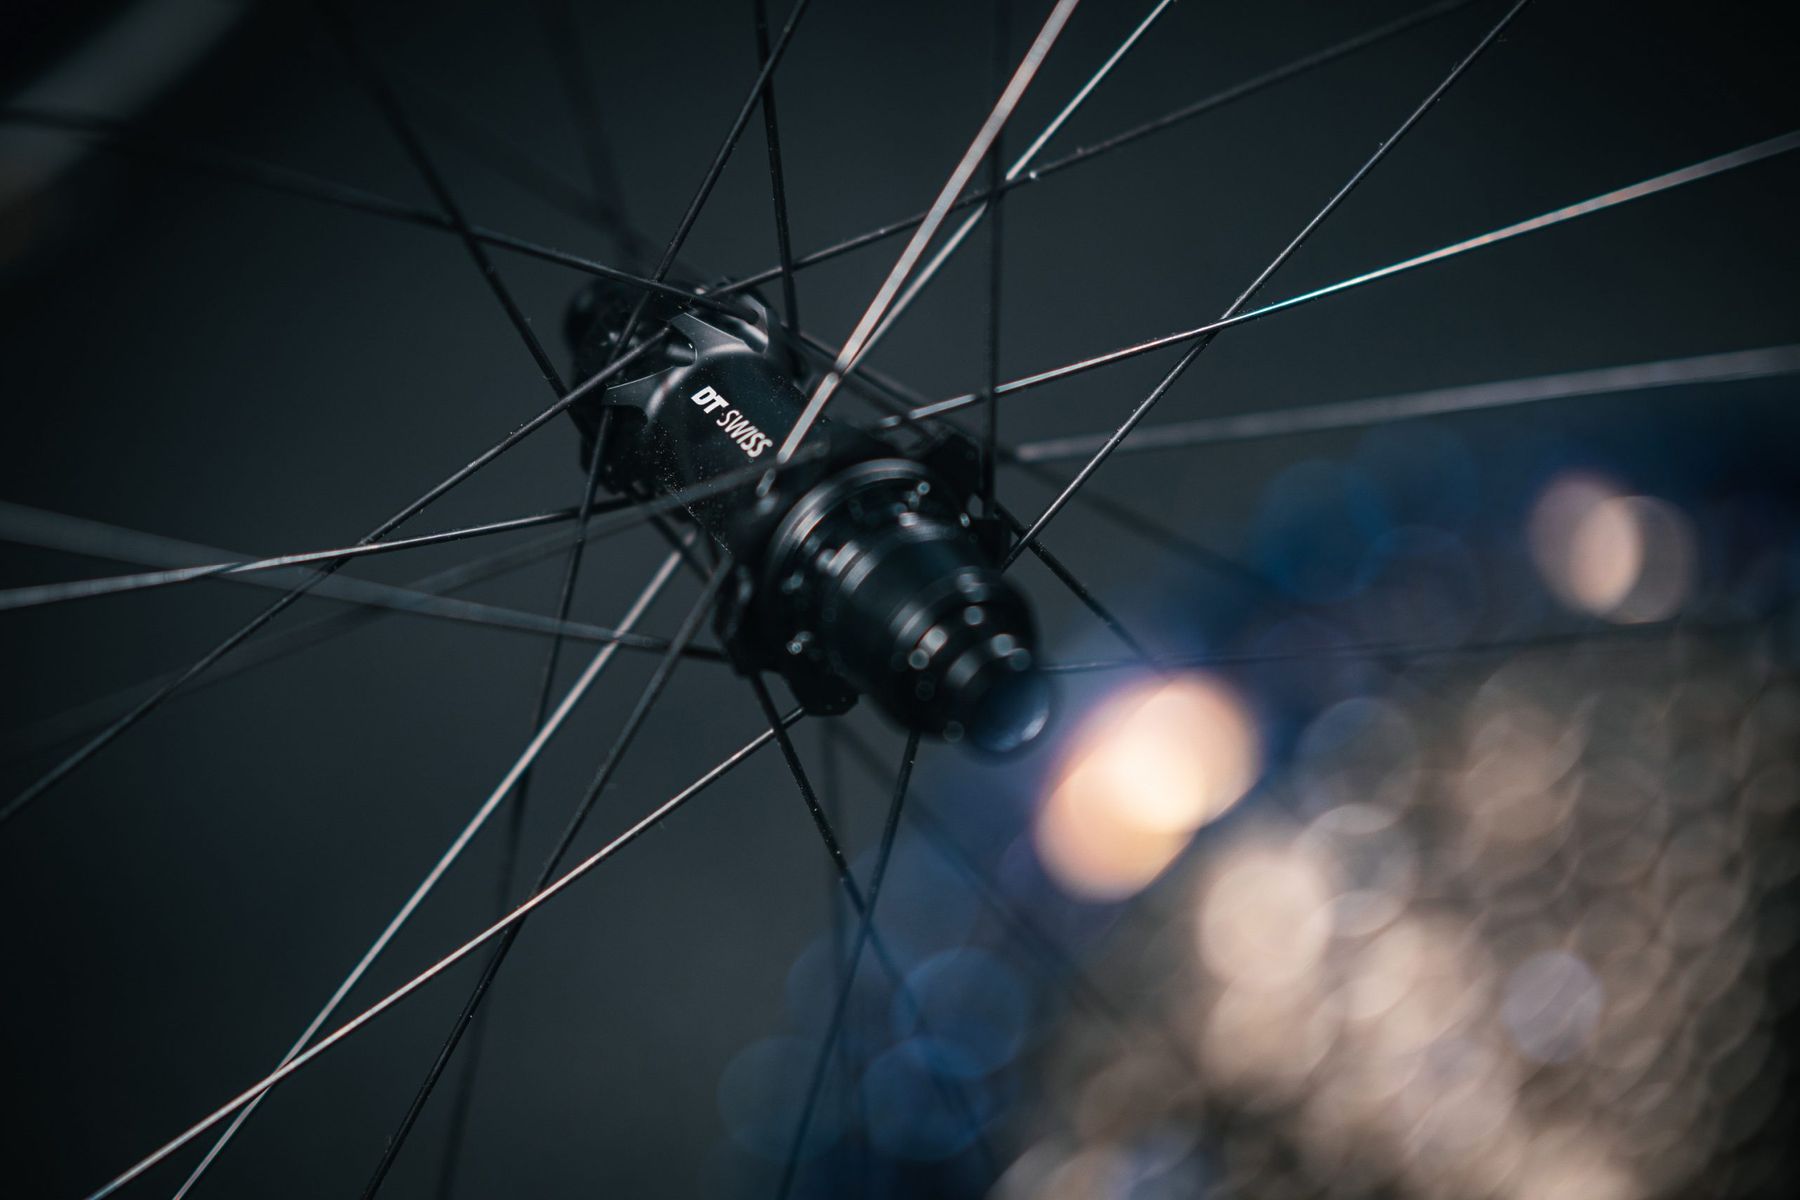
Continuing the theme of firsts, amazingly these are the first set of DT Swiss wheels I’ll have ever ridden. I know. I’m as shocked as you. For those of you who don’t like carbon (on your wheels at least), the XM1700 are DT Swiss’ go to, all mountain wheelset. Hubs are the ever dependable DT 350s with the old twin star ratchet system, while the rims are still as wide as the burlier EX1700 wheelset (30mm internal), but the overall build is slightly lighter. The only thing I need to watch out for is the combined ‘system weight’ (rider and bike) of 120kg. As long as I can keep my camera bag to sub 15kg, I’ll be ok.
Tyres
Continental Der Kaiser Projekt ProTection Apex 29 x 2.4
- Price: £64.95 each
- From: www.conti-tyres.co.uk
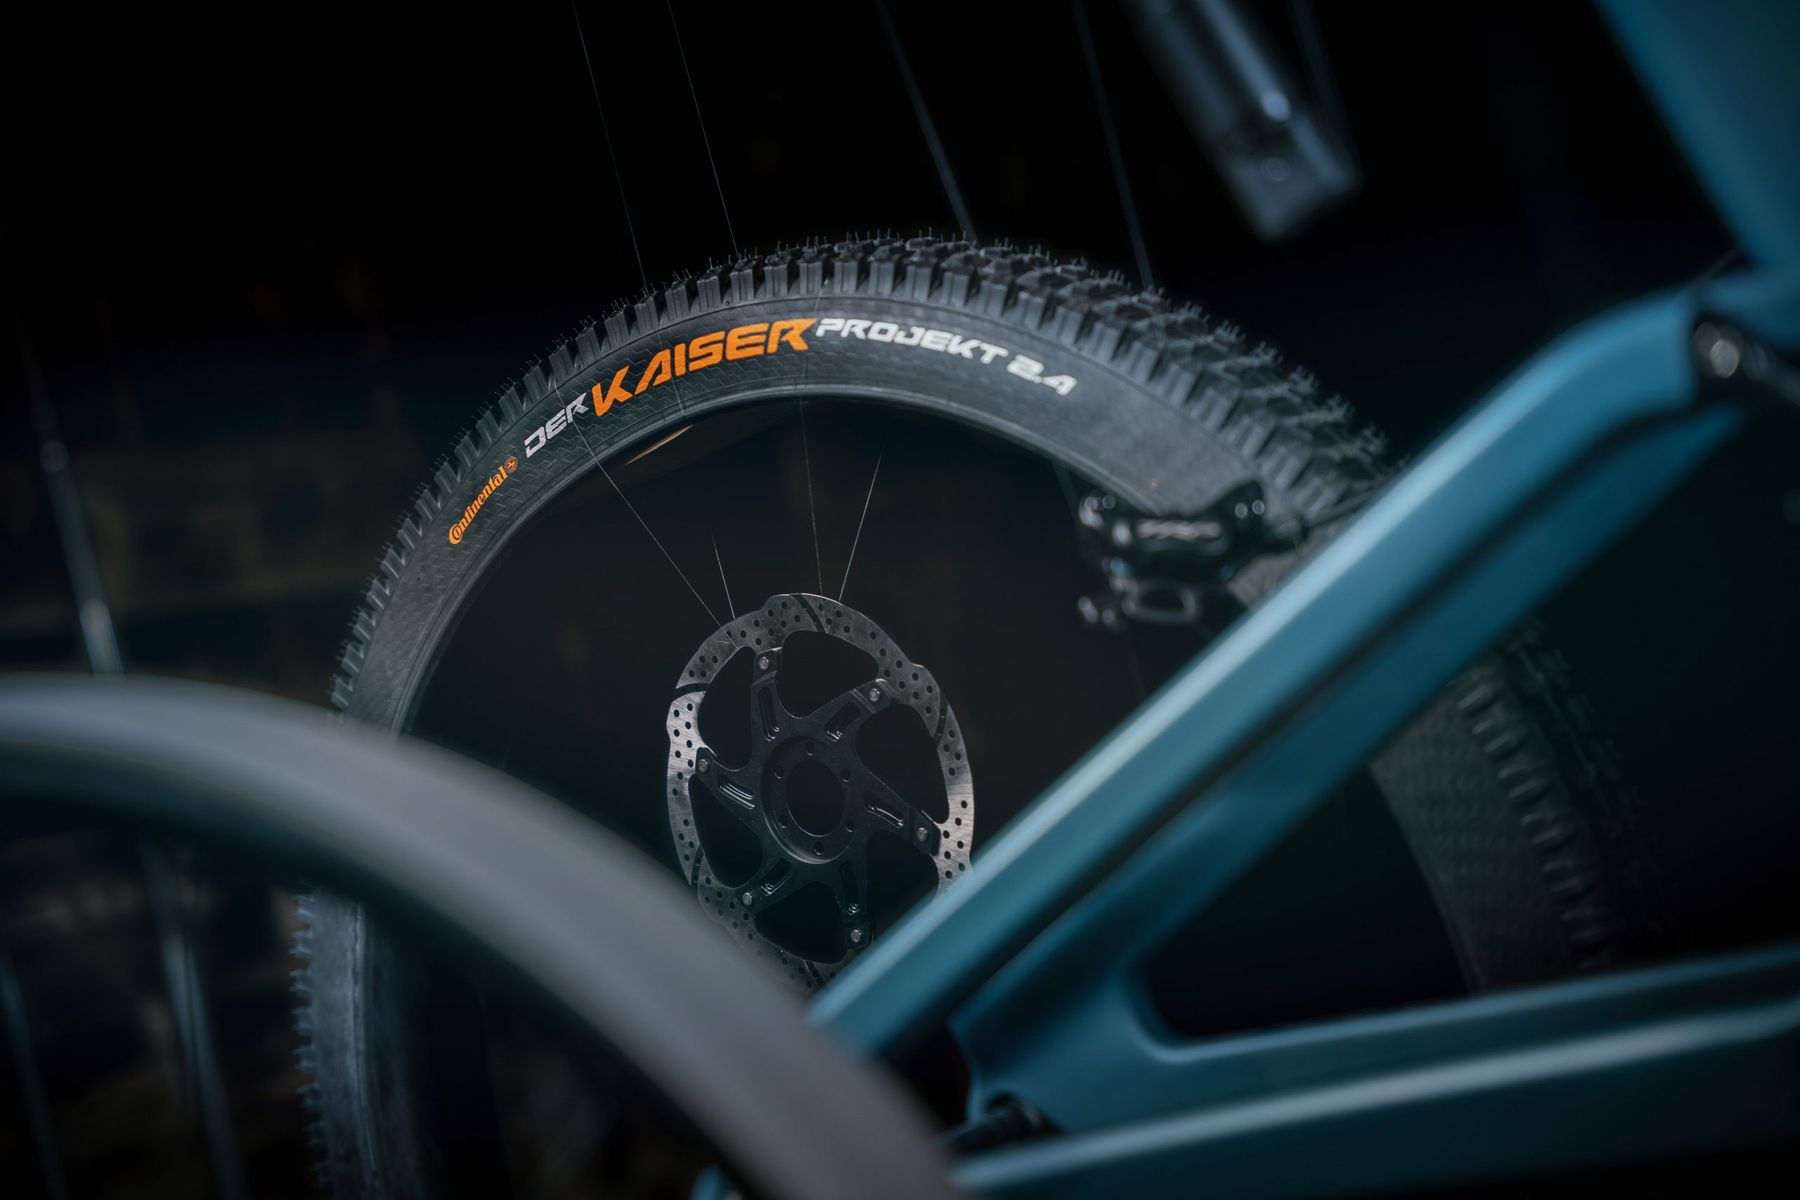
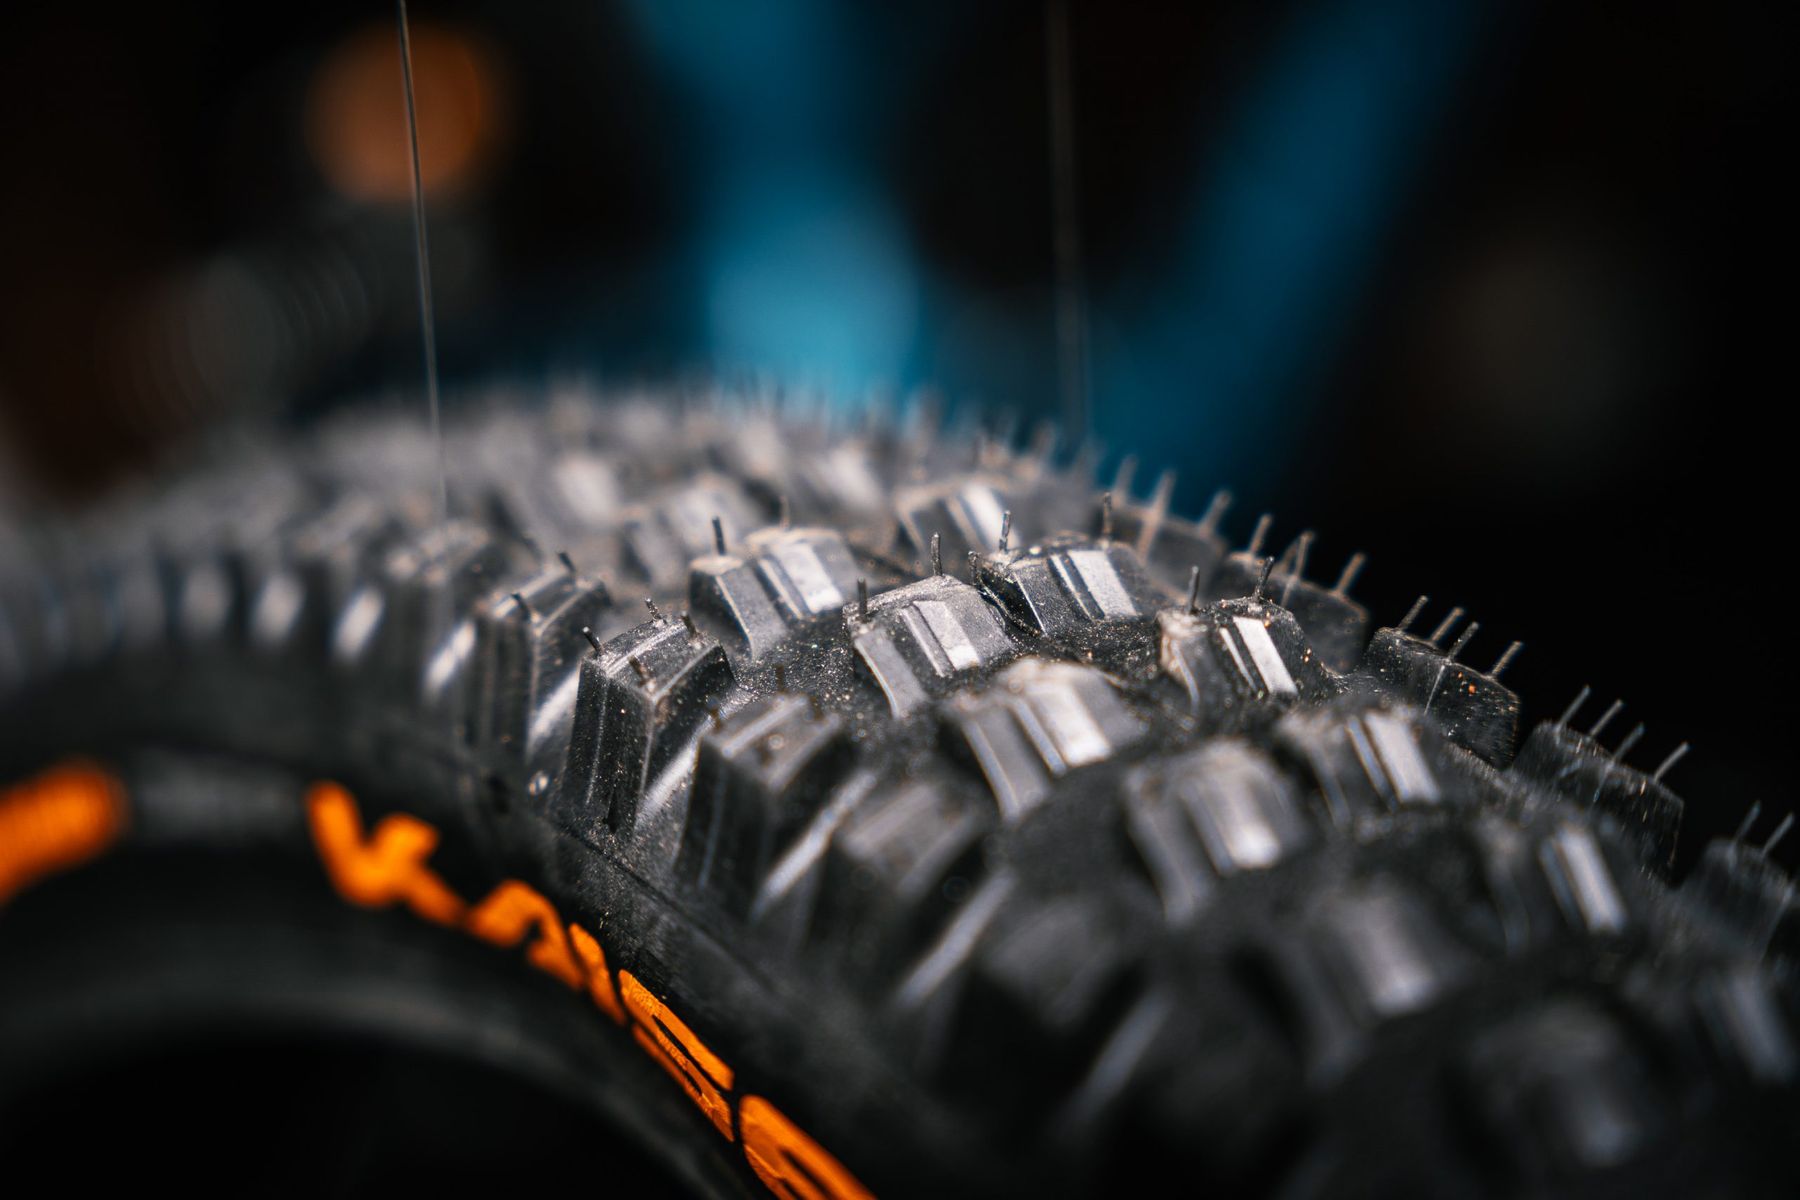
I’ve ridden Continental Kaiser Projekts before (heck, I’ve even visited the factory to see how they’re made), but they’ve since been updated with a more supple casing. They’re still made using Continentals legendary BlackChili compound, and the tread remains the same as before. As we head towards the depths of winter I might appreciate the extra bite of a Baron up front, but thanks to supply issues I’m rolling on Kaisers front and rear for now.
Inserts
Cushcore
- Price: £159.99 (pair)
- From: www.silverfish-uk.com
I’ve got to say that I was hugely sceptical of tyre inserts when they first arrived on the scene. It was only after I’d suffered my millionth flat on yet another rocky trail that Wil Barrett kindly sent me a couple of inserts to try out. I’ve since tried a few out, and while most claim to offer some kind of impact resistance, it’s the additional suspension and tyre support that sets Cushcore apart. I honestly don’t think I’ve had a flat while riding when running a CushCore insert and so it was an absolute no brainer when speccing this build to include them. The cynics amongst you might say I’m only running these because I’ve been given them, but I promise you I’m not. There’s a 260g weight penalty which any sensible person would shy away from, but trust me when I say that you forget all about this on the descents. There really is no price that can be put on riding your bike uninhibited by the worry of getting a flat. You ride better, your bike floats over obstacles and thus you ride better. It’s a self perpetuating cycle of happiness. What’s not to love?
Shifter and rear mech
TRP TR12
- Price: £110 (shifter), £220 (rear derailleur)
- From: www.upgradebikes.co.uk
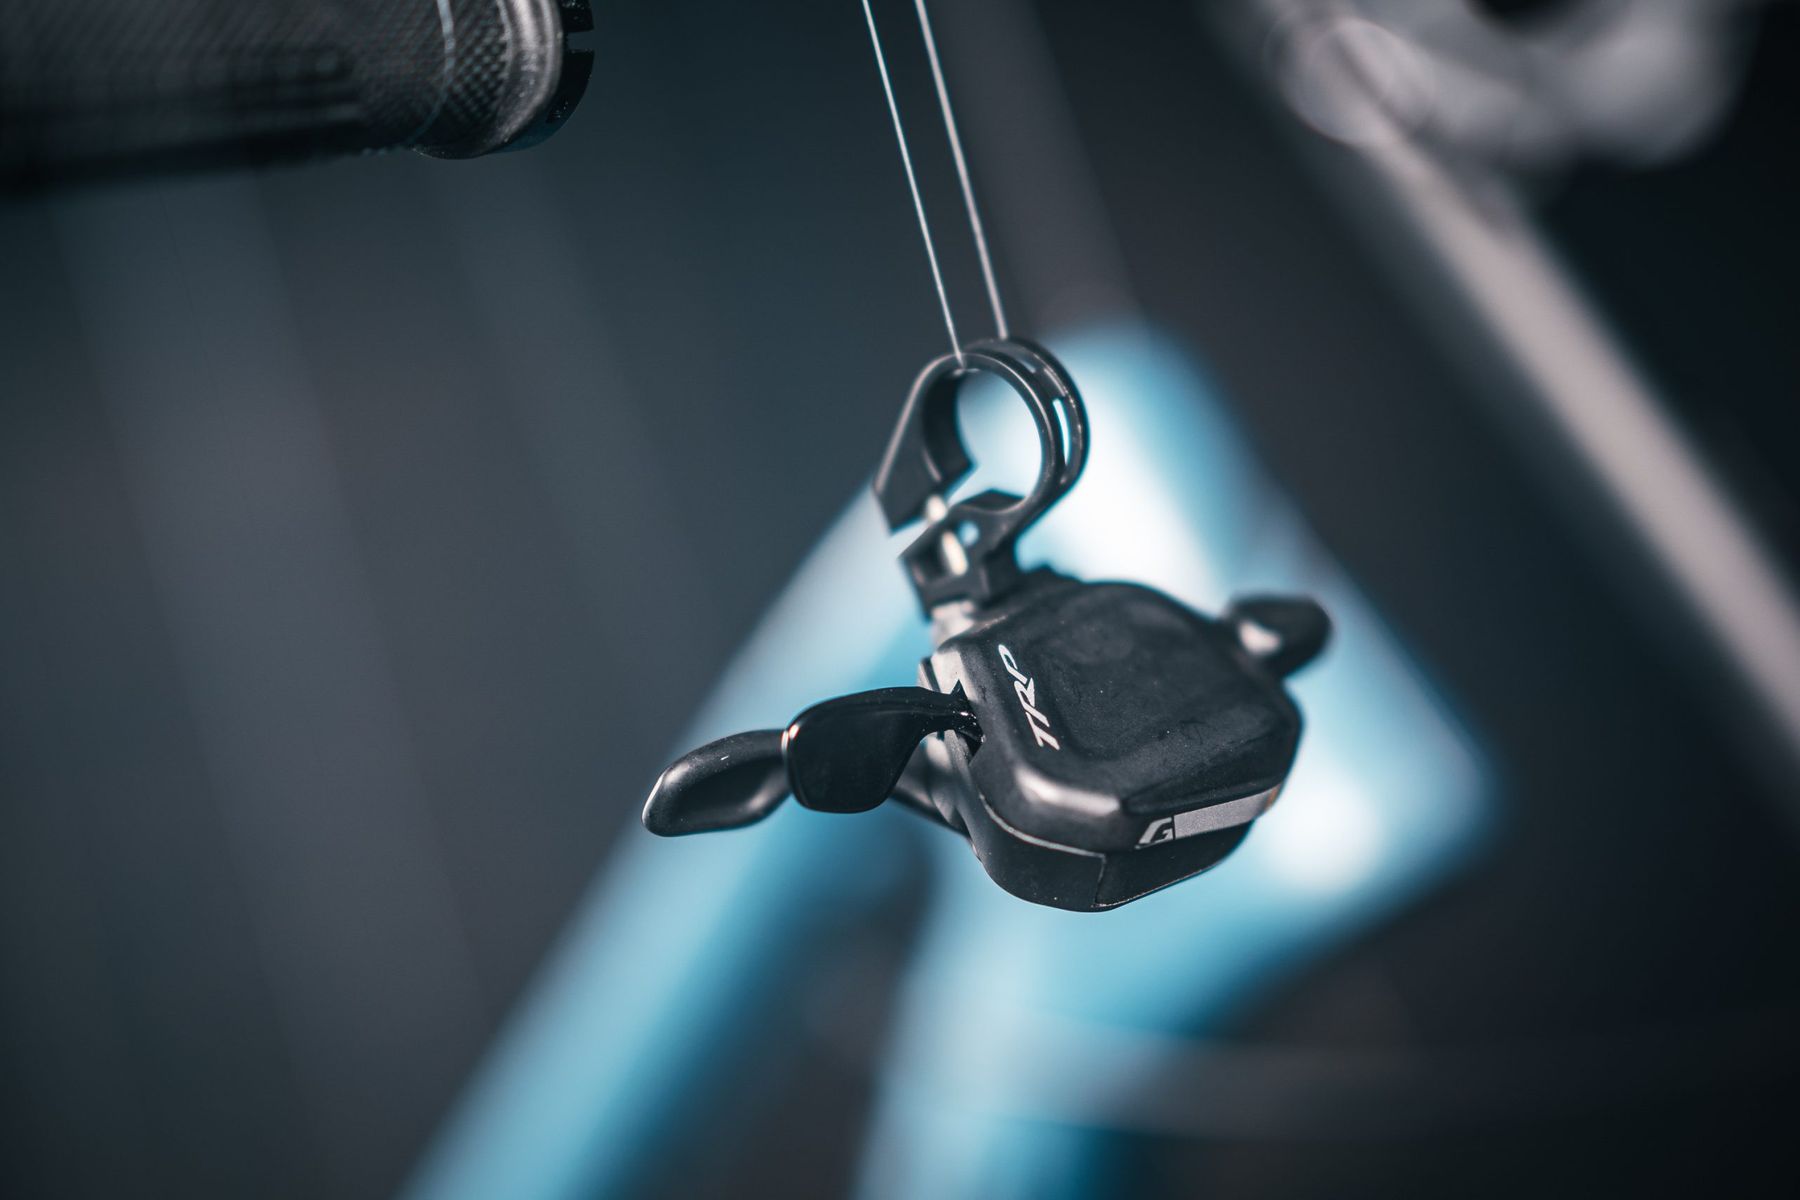
TRP TR12 shifter 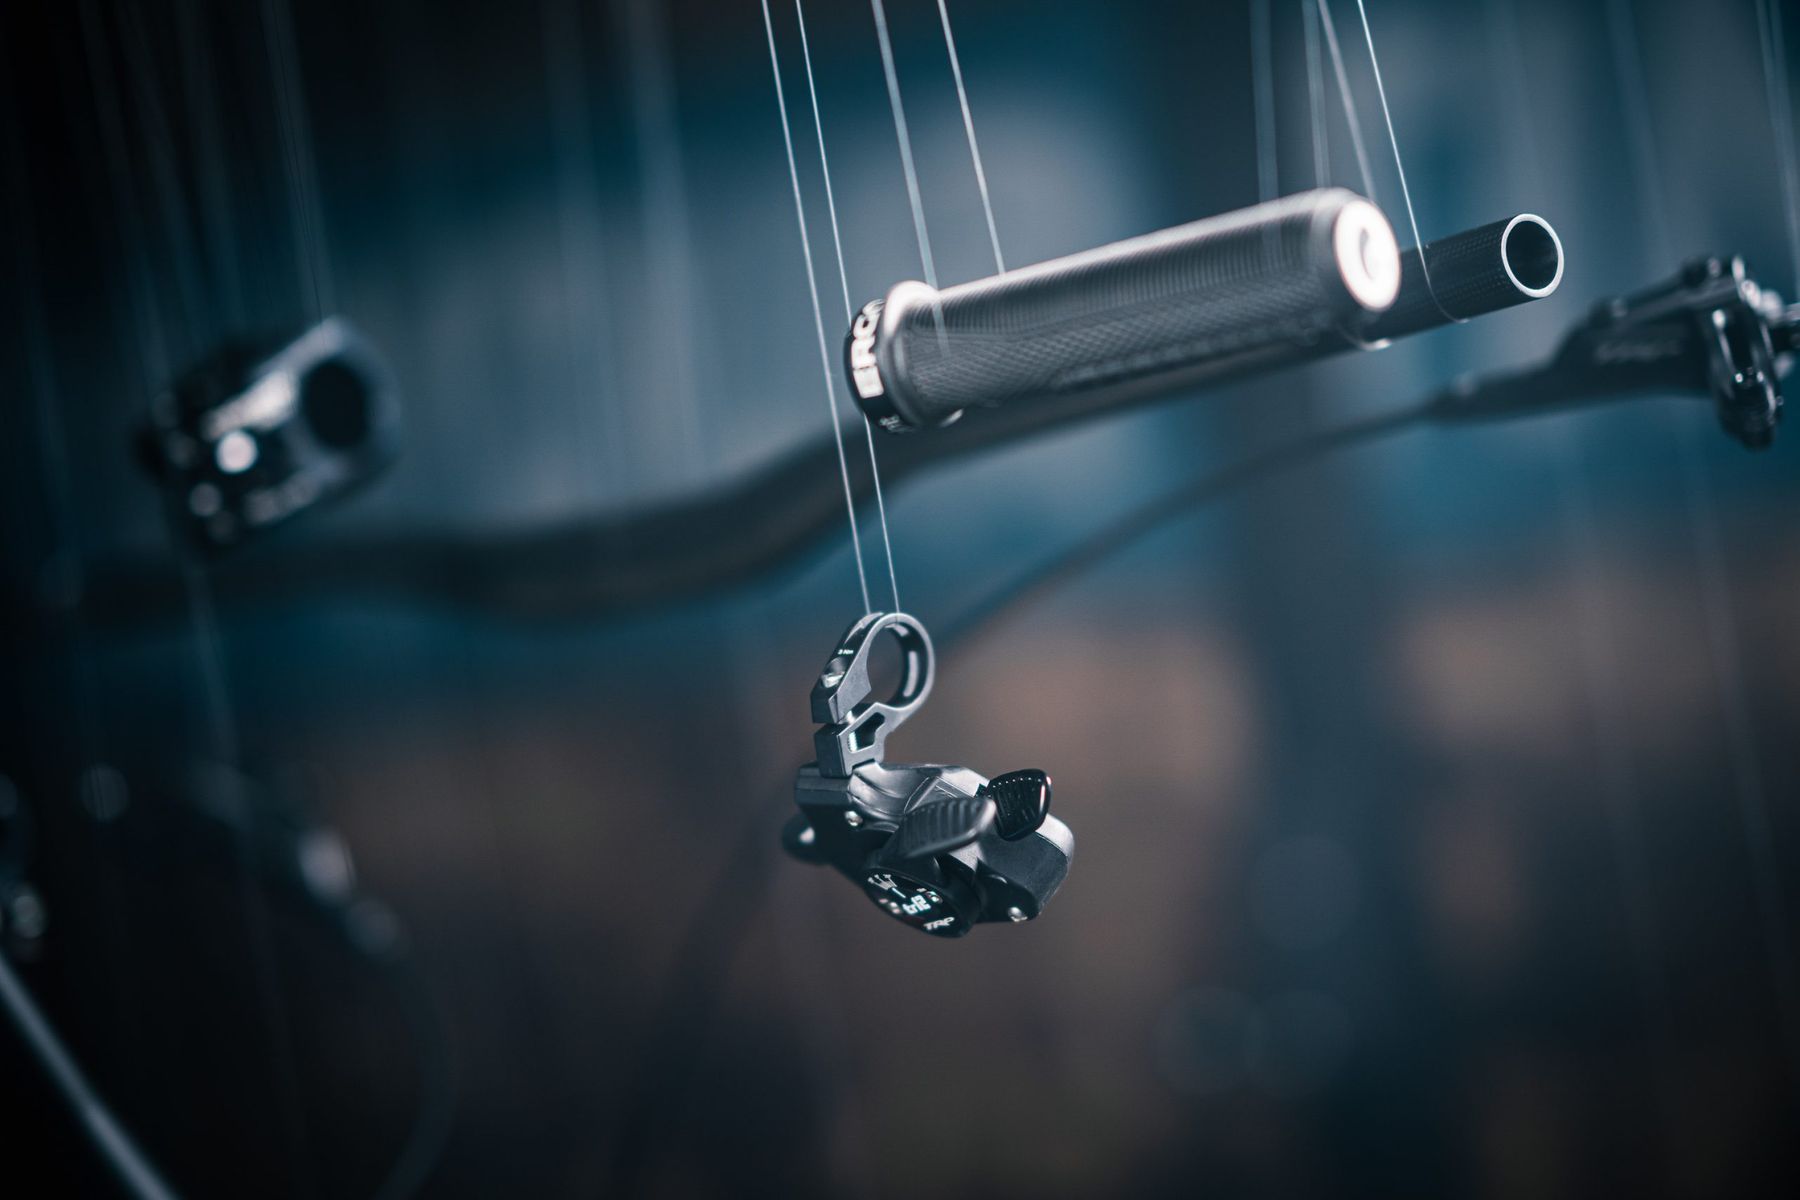
TRP TR12 shifter 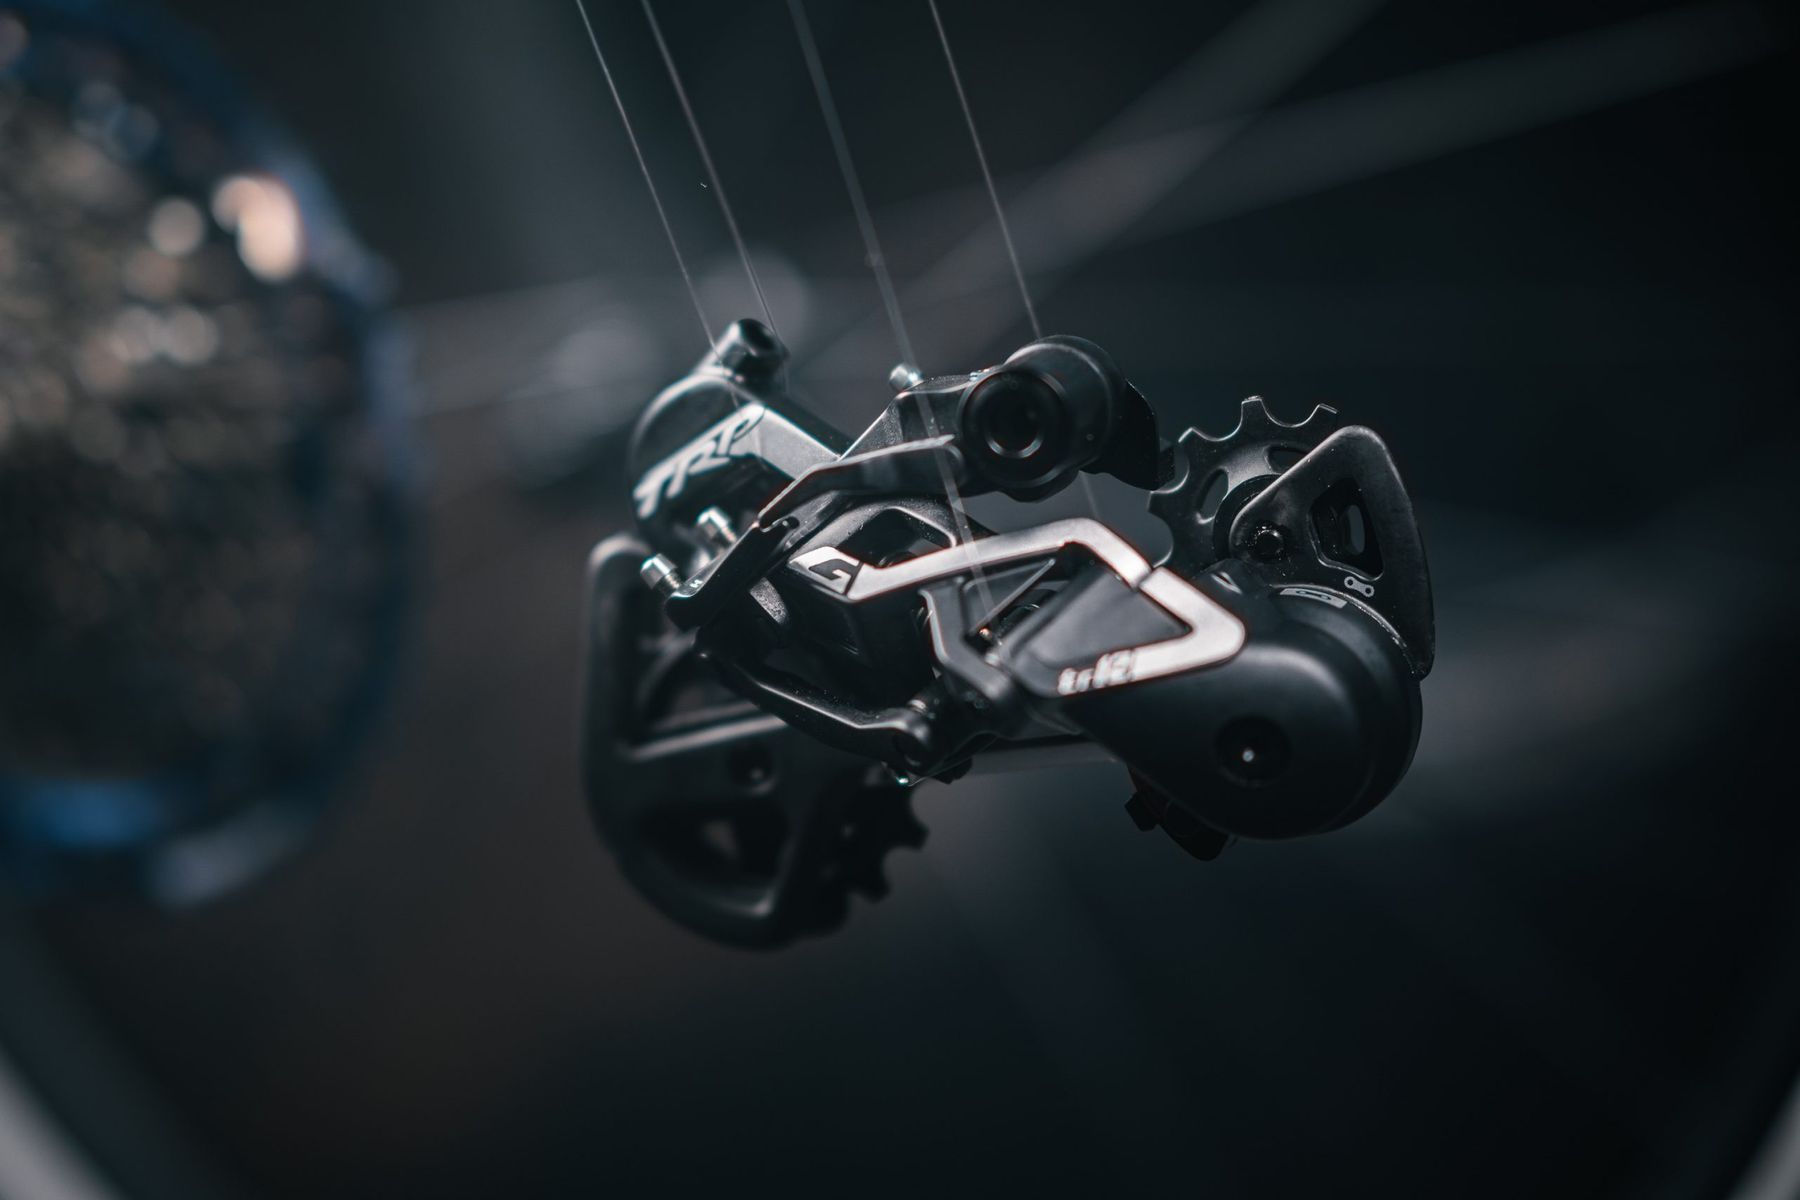
TRP TR12 rear mech
Hailing from TRP, I’ve got the TR12 shifter and mech. Developed in conjunction with Aaron Gwin and his mechanic John Hall, these are laden with unique features designed with only the insight that a pro mechanic and racer can give. There’s the Hall lock that stops the mech rotating round the mech hanger, the neat chain length guide on the lower cage on the mech, and the 40° of adjustment on the shift levers. More than anything else, it’ll be interesting to see if they offer a worthwhile alternative to offerings from SRAM or Shimano.
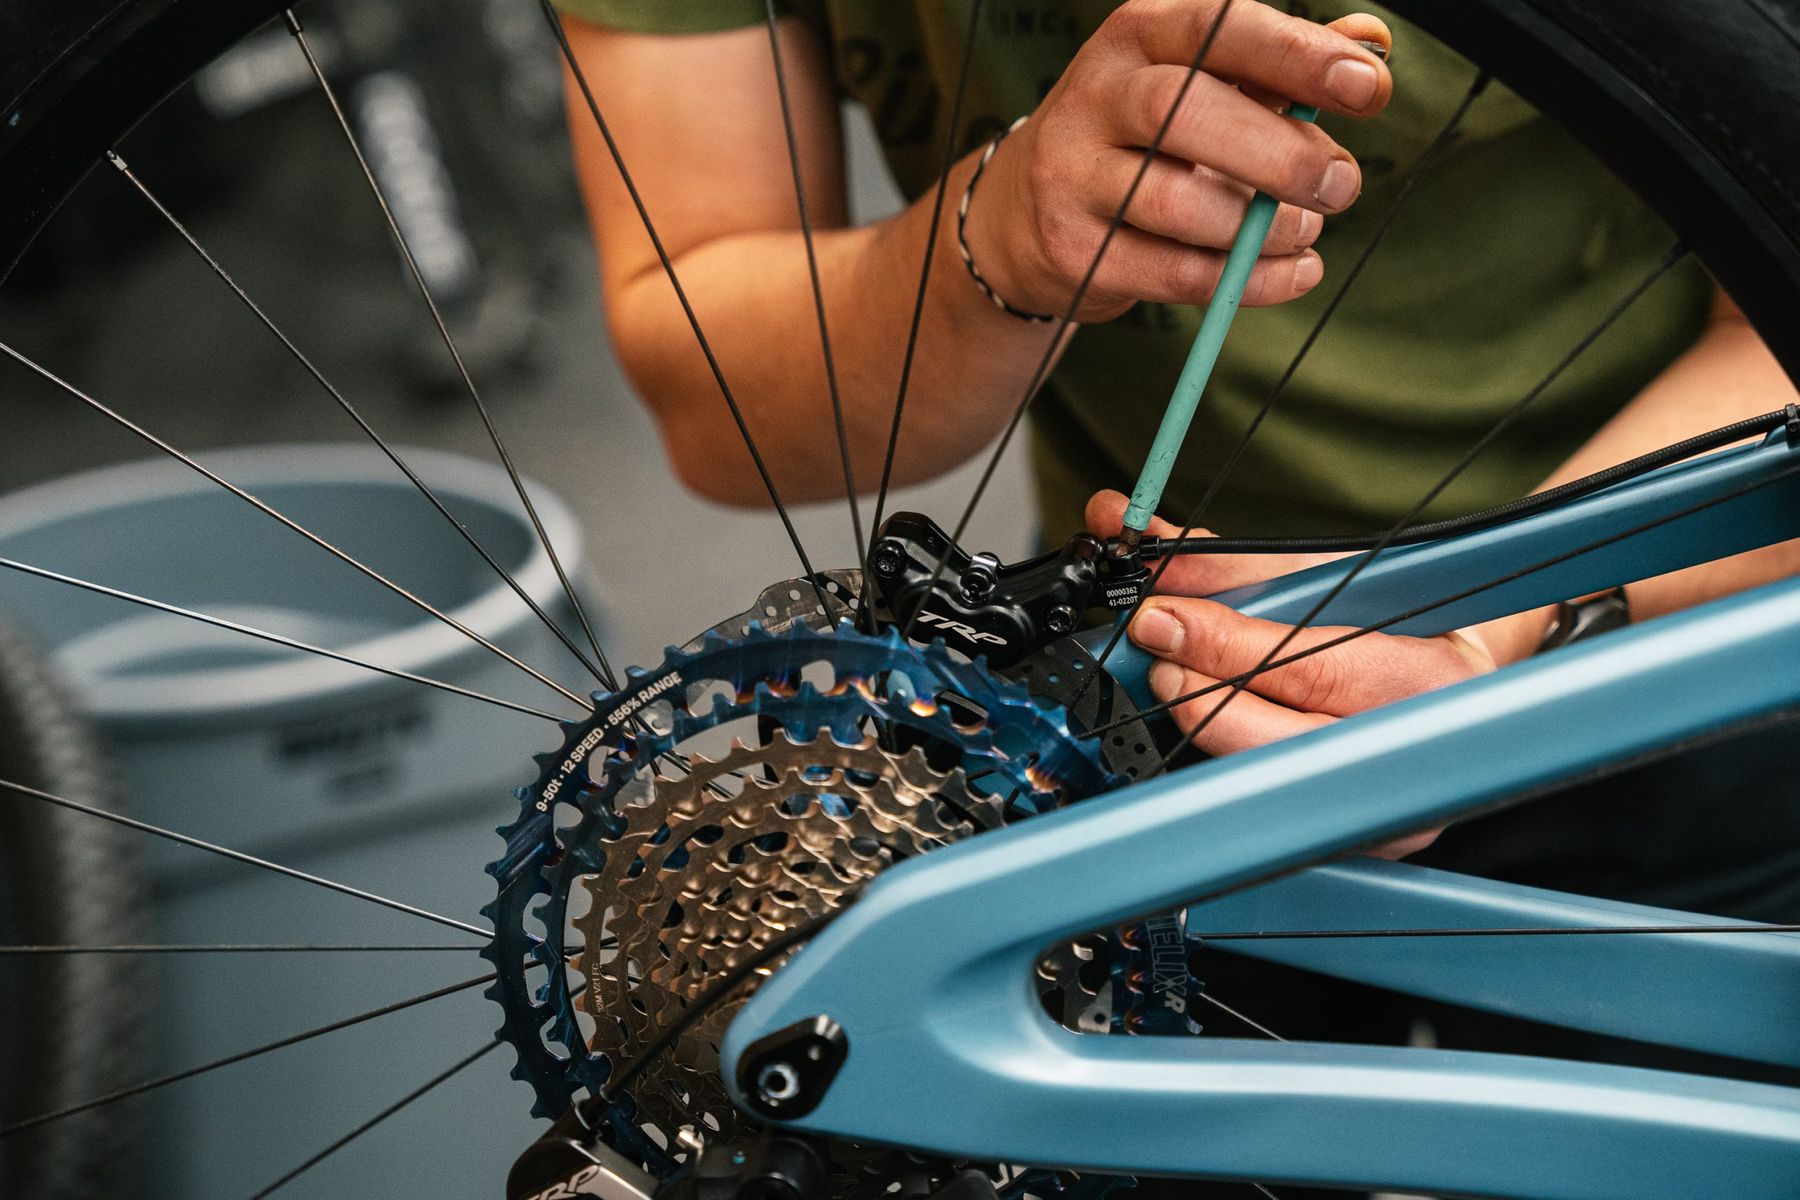
Crankset, bottom bracket, cassette and Chain guide
E*Thirteen TRS+ Crankset, E*Thirteen SL Guidering, E*Thirteen BSA bottom bracket, E*Thirteen Helix R Cassette, E*Thirteen LG1+ Chainguide (lower only)
- Price: £175 (crankset), £50 (chainring), £65 (bottom bracket), £320 (cassette), £60-80 (chainguide)
- From: www.moorelarge.co.uk
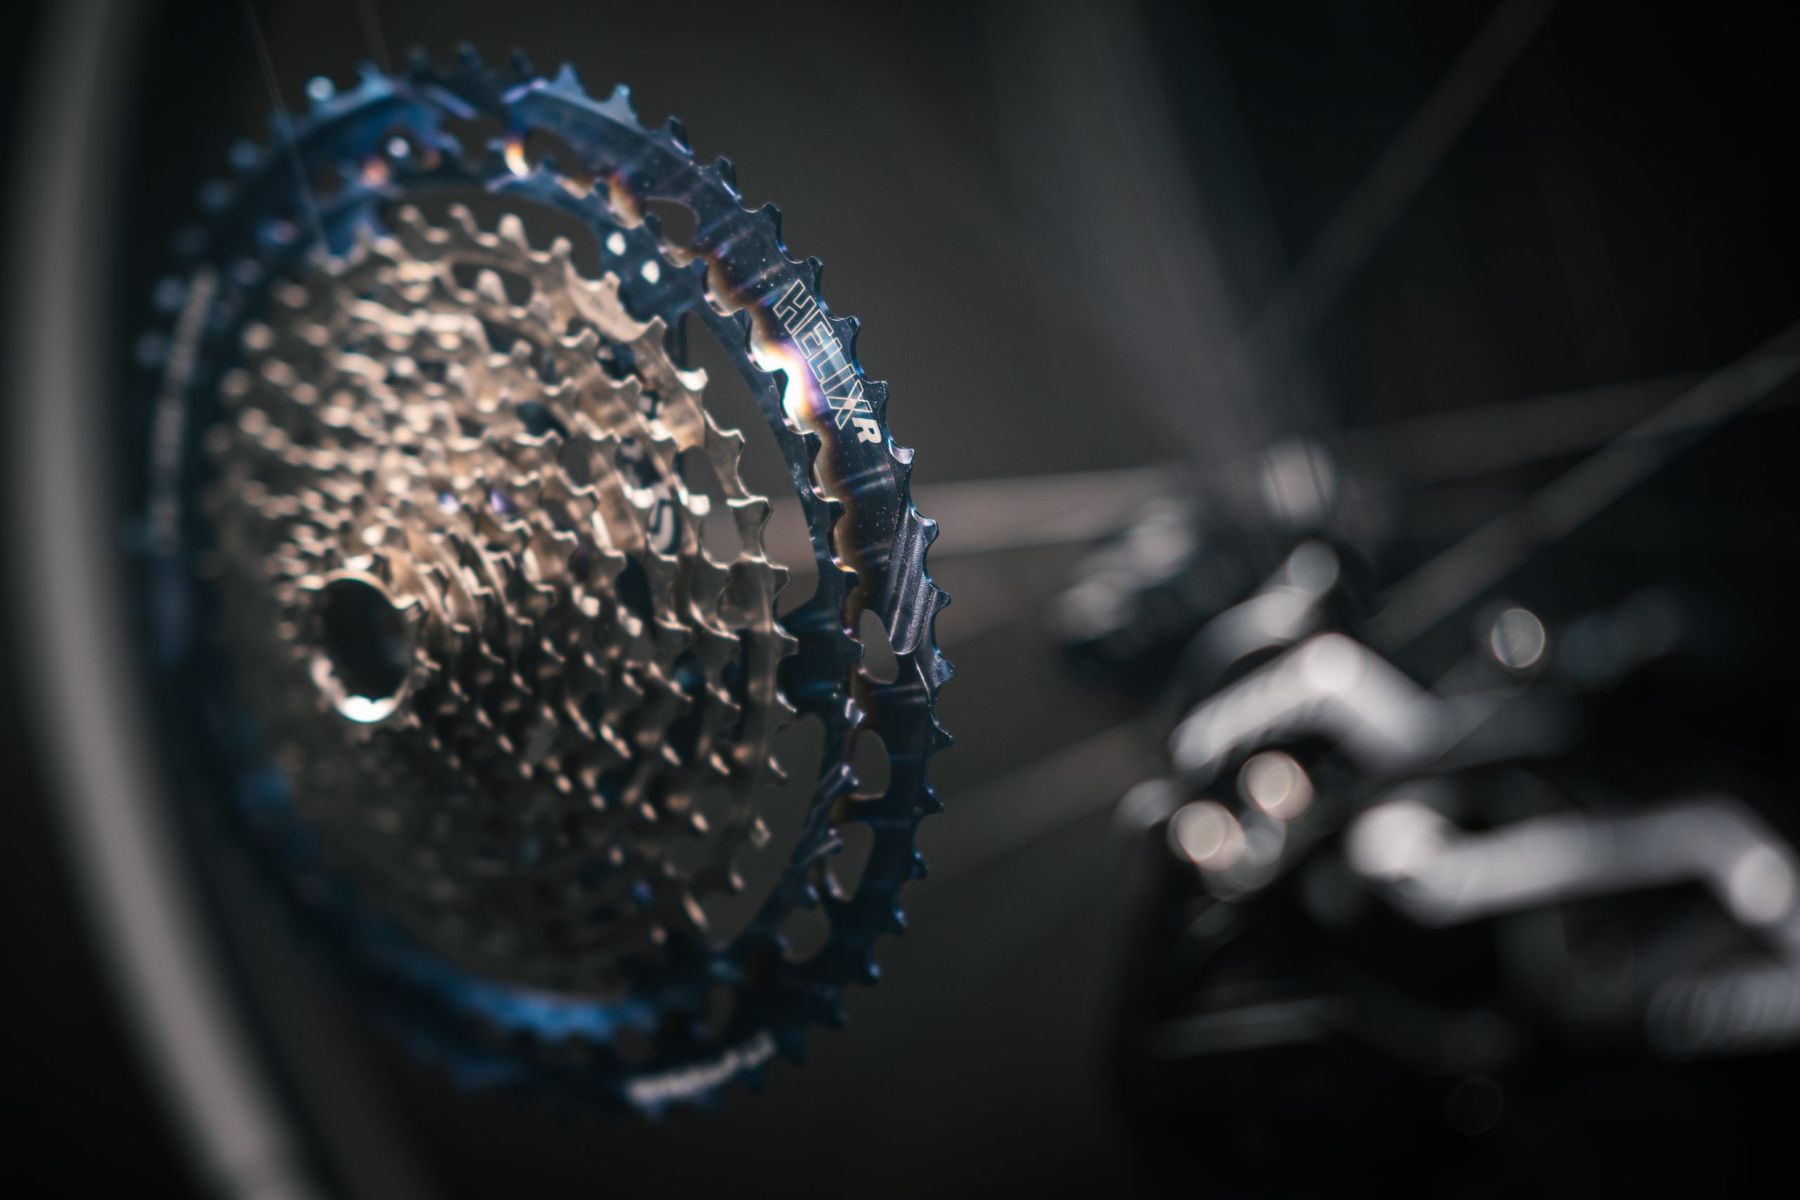
E*Thirteen Helix R 9-50t cassette…
The rest of the drivetrain is supplied by E*thirteen. I’ve got their brand new Helix R cassette, with a 9-50t range and long lasting Intergalactic PVD finish. I’ve ridden the first generation of E*Thirteen cassettes and had great success, and the fitting mechanism/interface seems to be much improved on this version with a small grub screw holding the two parts of the cassette together to eliminate creaking. Whoop whoop.

E*Thirteen TRS+ Crankset 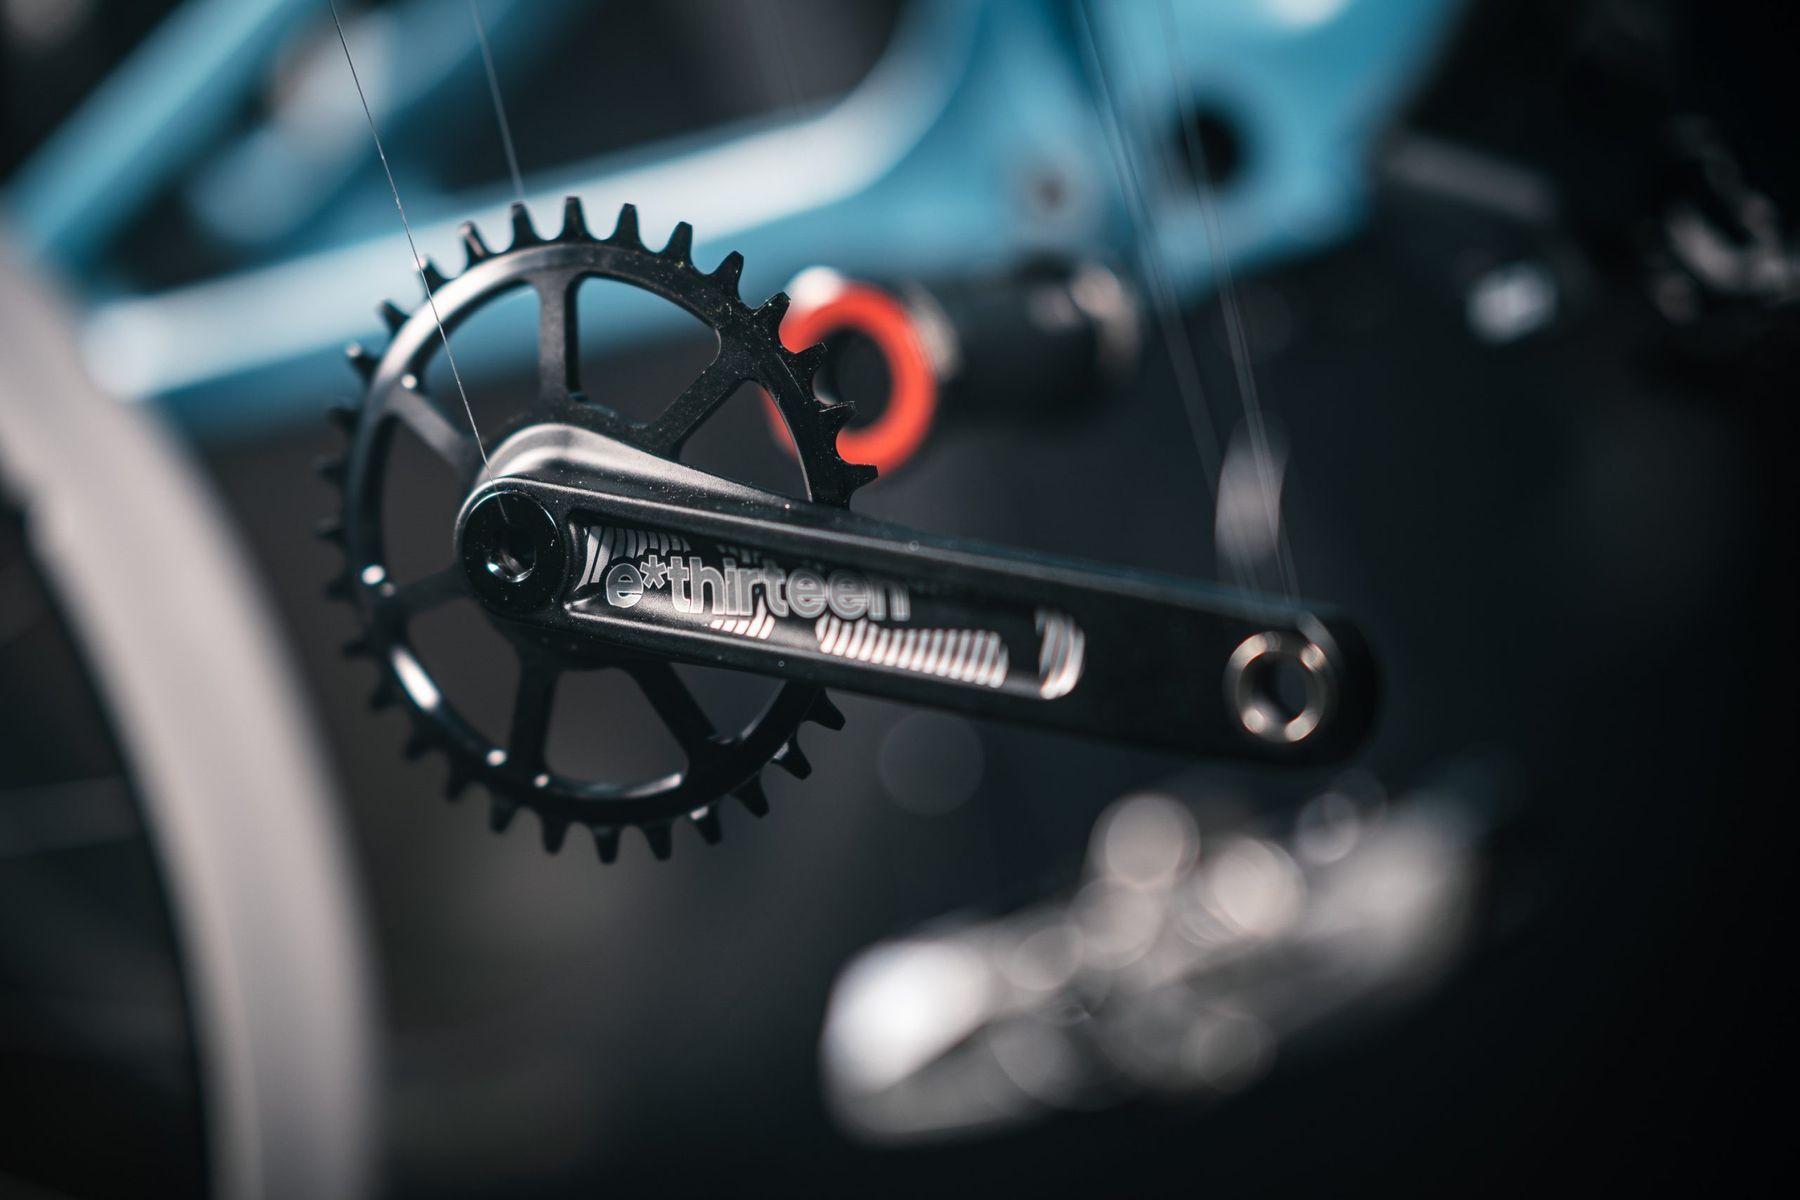
and SL Guidering
Cranks are the 170mm TRS+, a good solid trail crankset, with a 32t SL Guidering. I’ve opted for 170mm cranks for all the ground clearance, and although the 32t chainring seems the obvious choice, I might switch that out for a 30t chainring at a later date if I find I’m running out of gears on climbs. After all, I’ve got the 9t on the cassette so it’s not like I’m lacking range on the top end.
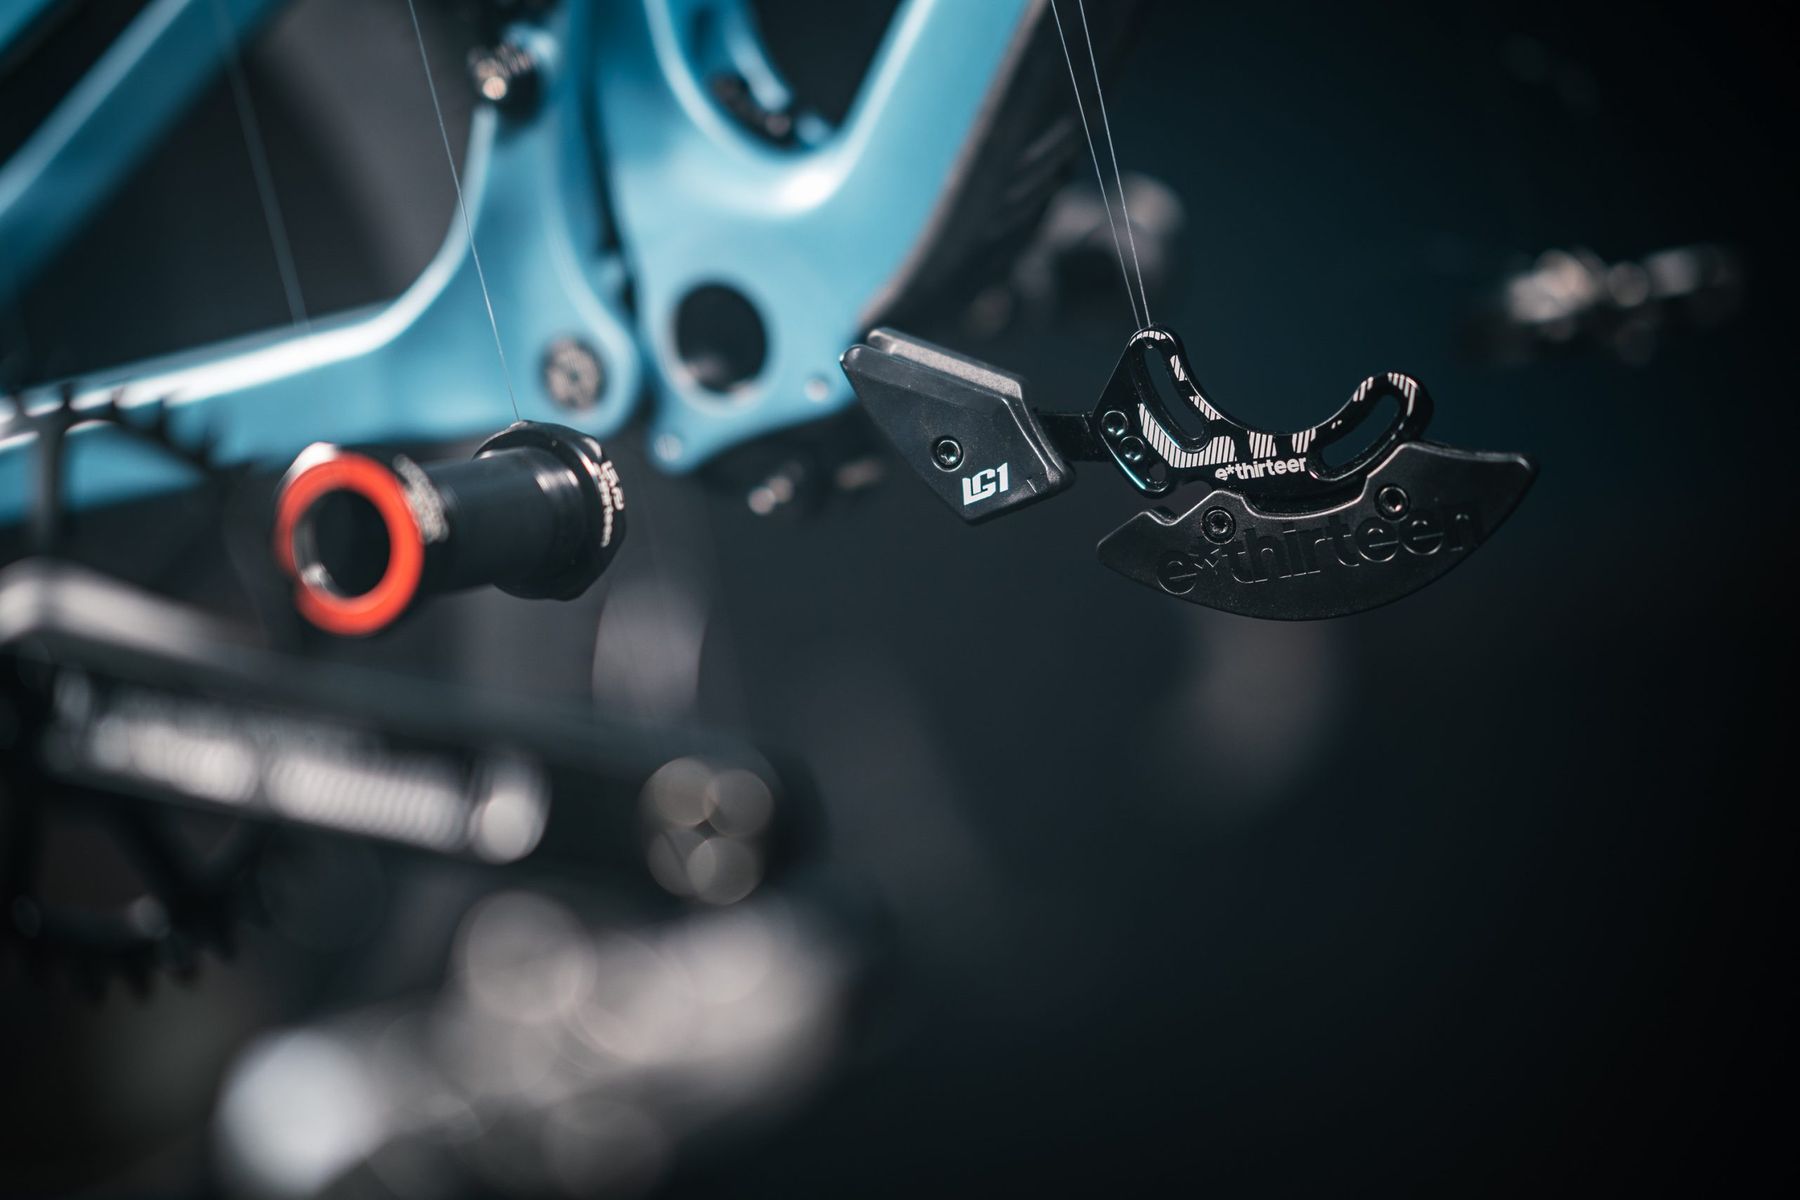
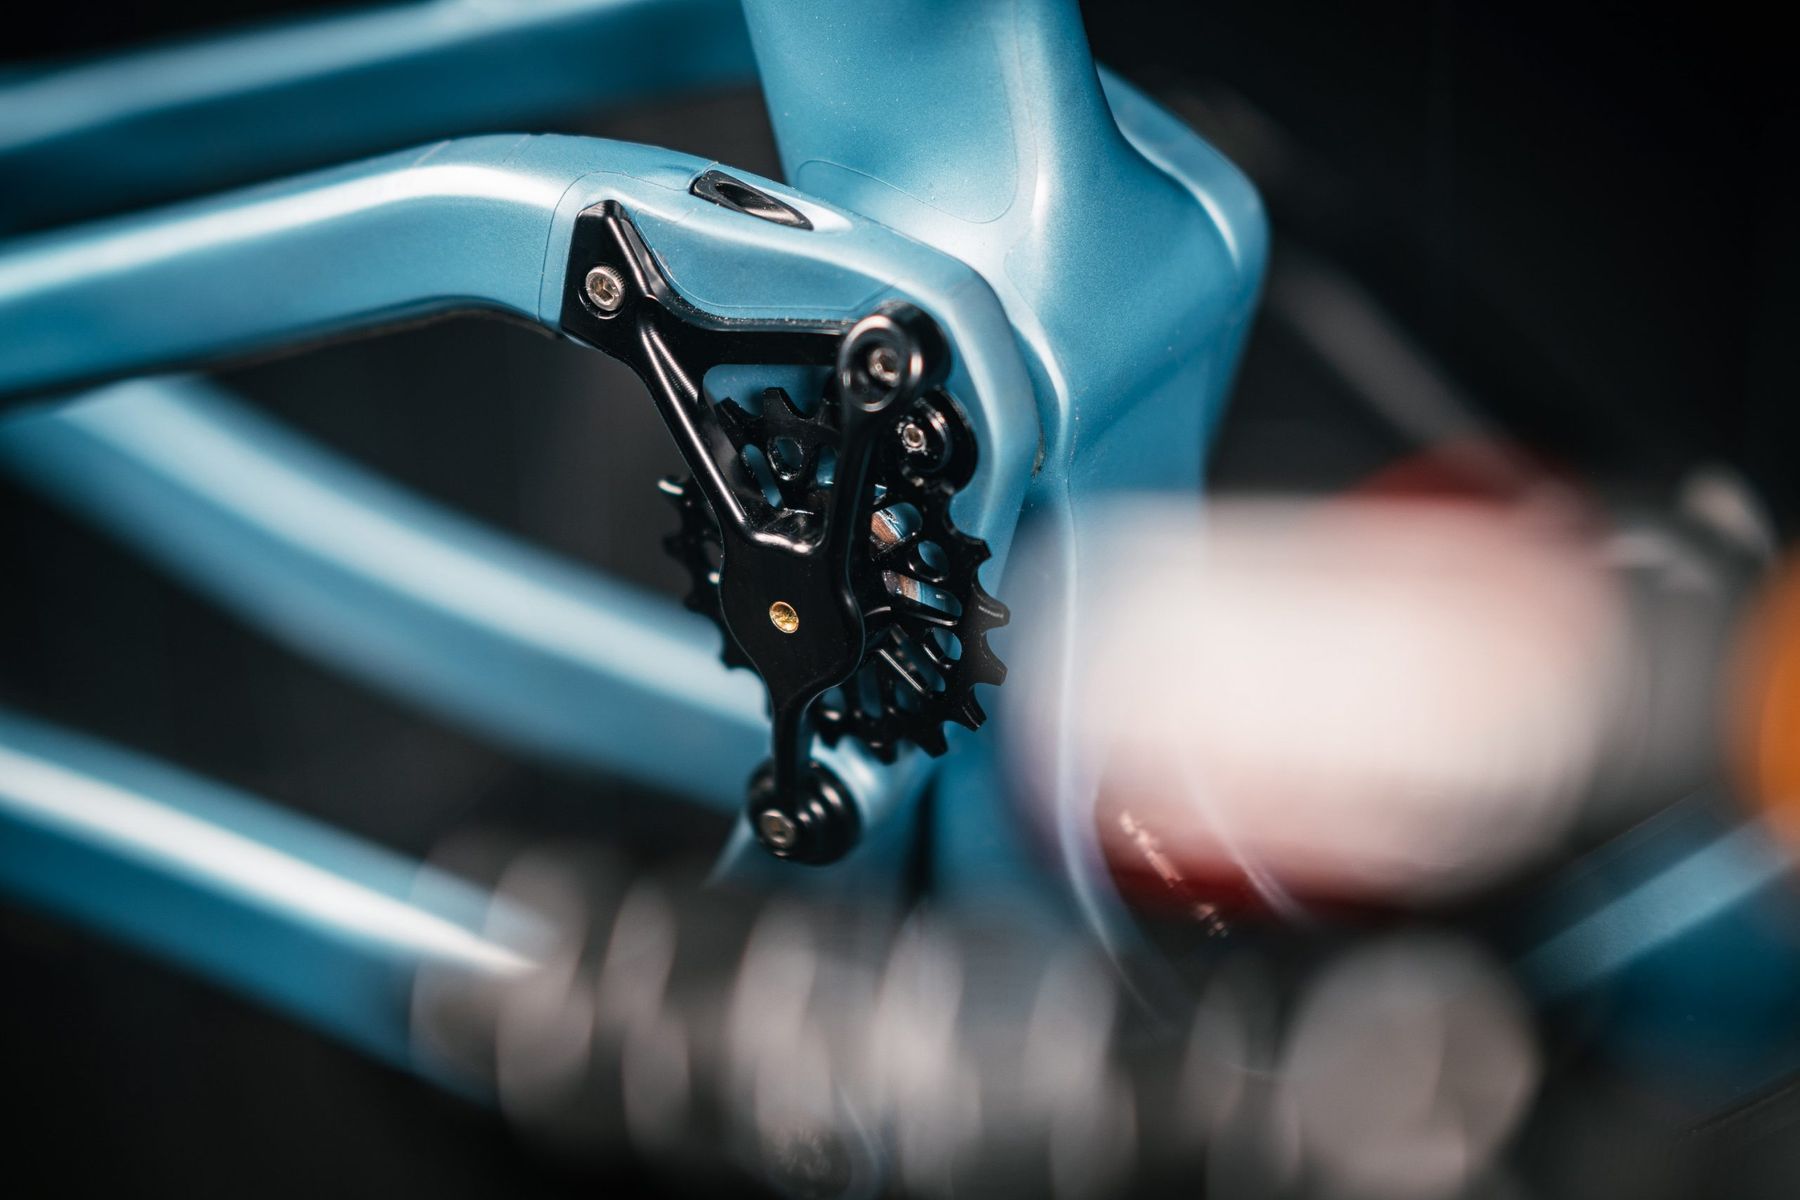
To complete the belt and braces approach, I’ve opted for an LG1+ chain guide and bash guard. The bash guard is there for extra protection when riding on rocky terrain, and it’s a lower guide only, because the high pivot and idler on the Highlander rules out anything else. I’m 90% certain it’s overkill, but I’d rather be safe than sorry when descending Lake District tech.
Brakes
TRP Slate T4
- Price: £105 (brakes, per end), £45/£55 (rotors)
- From: www.upgradebikes.co.uk
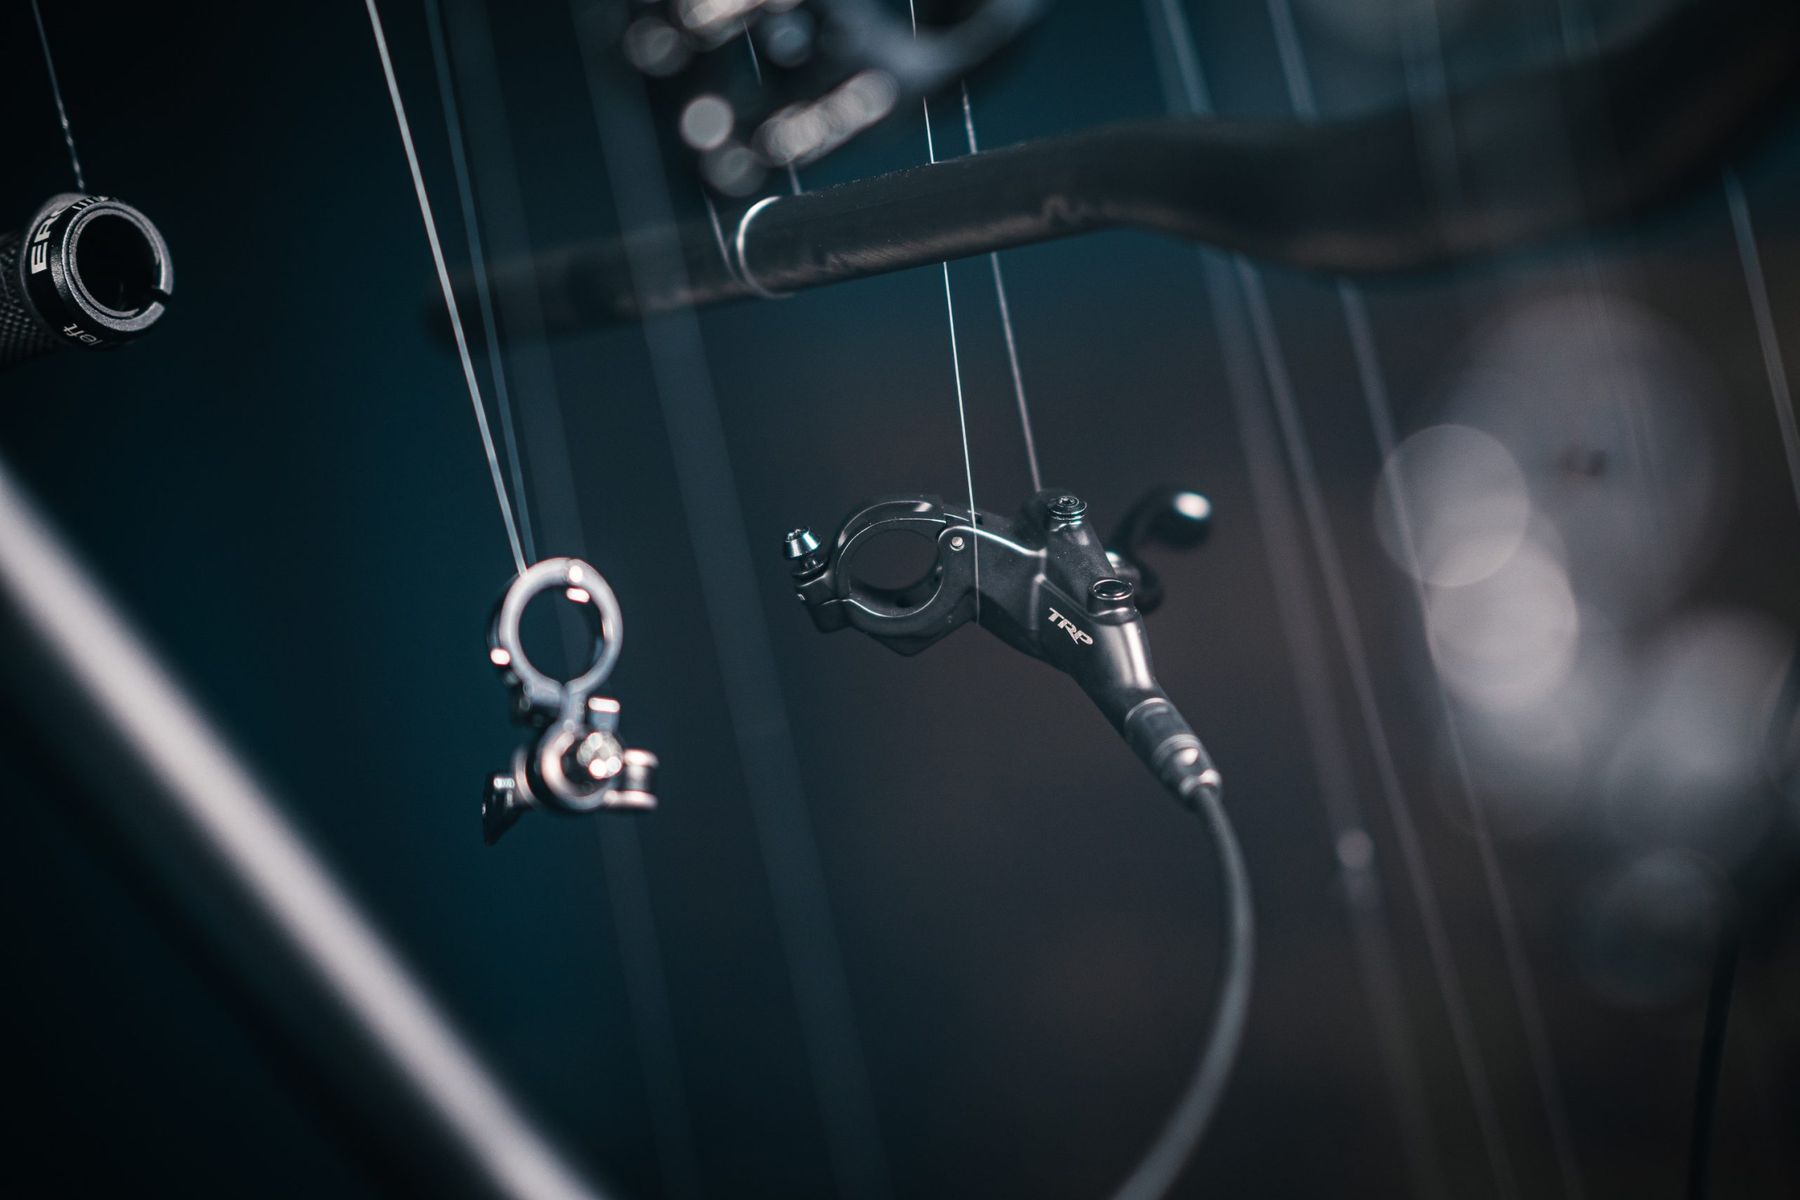
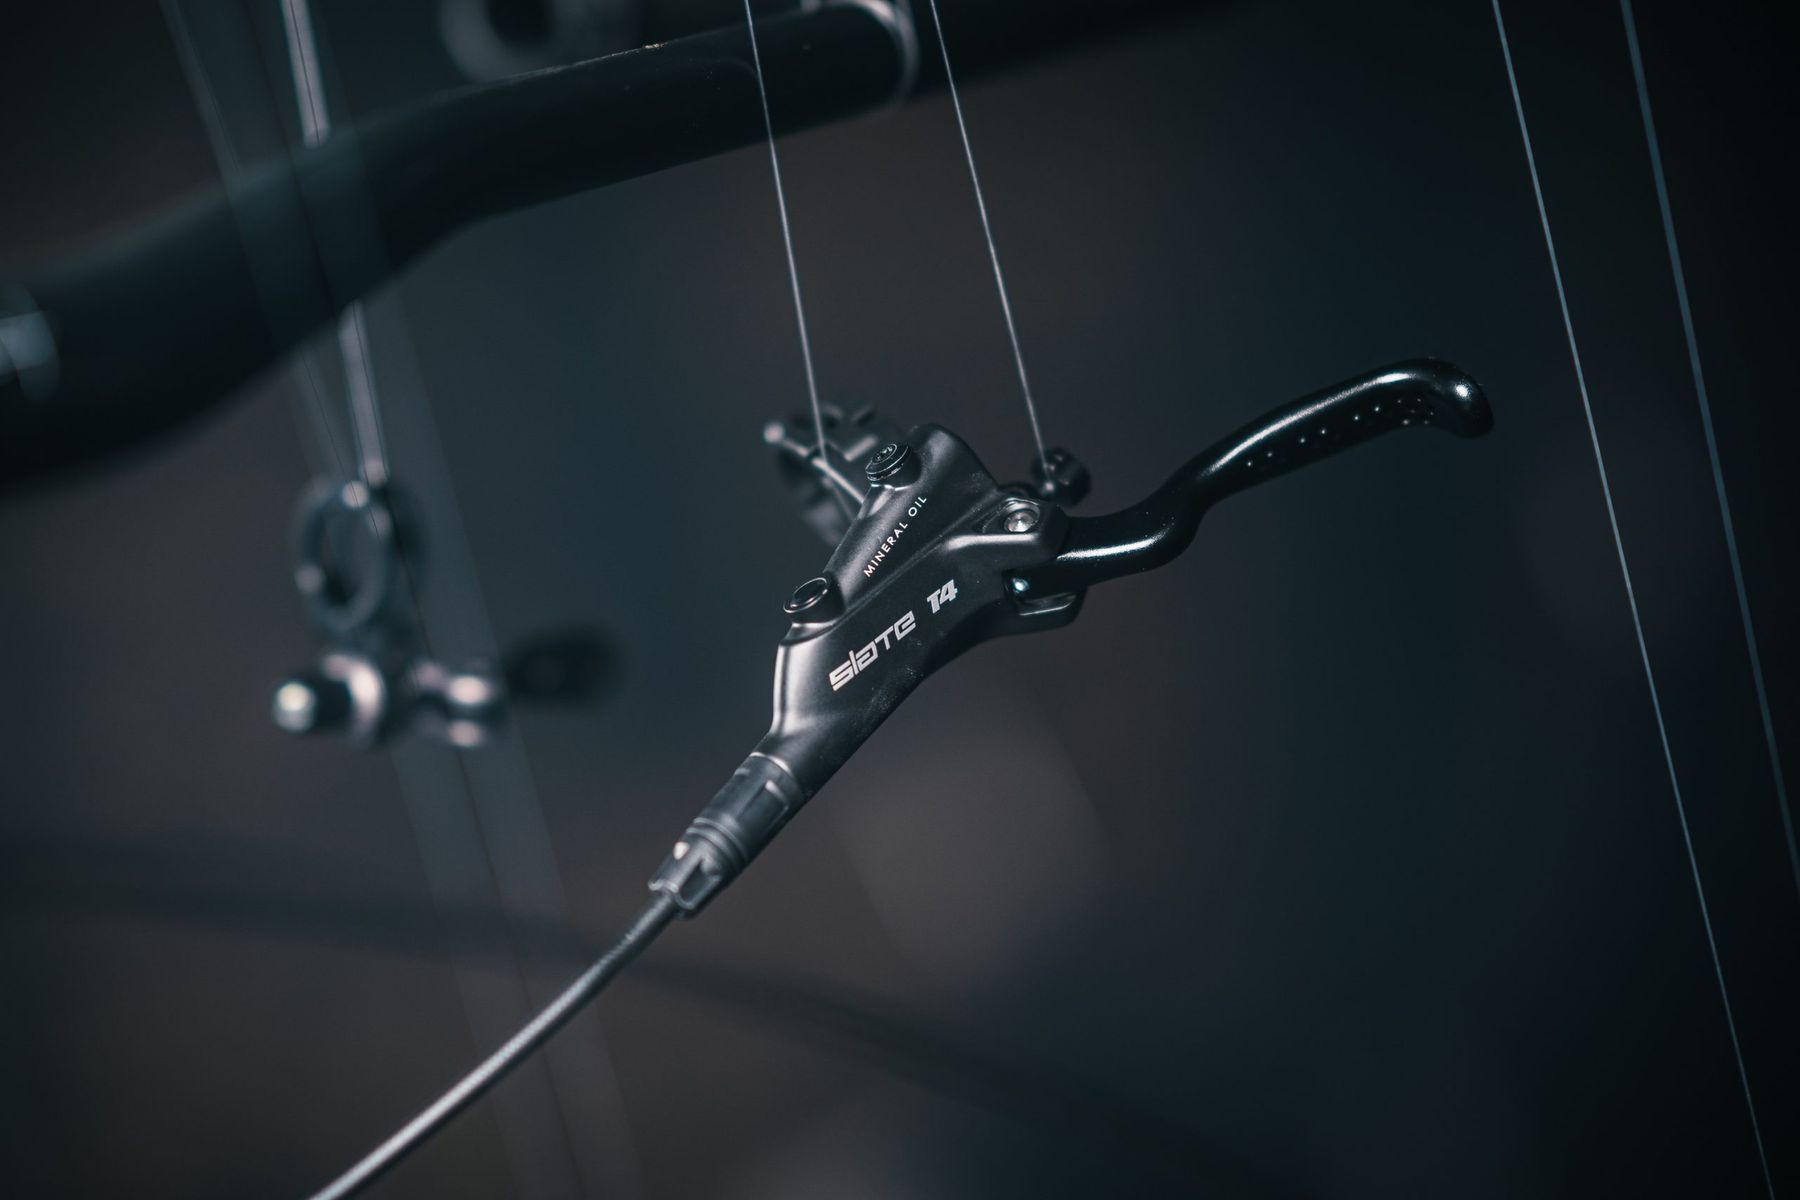

Matching the shifter and mech are the new TRP Slate T4 Evo brakes with 203mm and 180mm rotors. I was certainly tempted by the more powerful TRP DHR brakes, but these Slates are on a par with Shimano XT 4 pots I was running previously and seeing as I was perfectly happy with them, I figured why not. The brakes have had most of the same upgrades as the DHR Evos – the lever shape has had input from Aaron Gwin, and the smaller 5mm diameter hoses are stiffer and should offer better hydraulic pressure as well as being easier to route internally (not that this is an issue on the Highlander).

I’ve chosen a 203mm rotor up front for the steeps, and a 180mm rotor out back because I think anything bigger for a UK trail bike is overkill. Although the DT Swiss hubs are centrelock, I’ve opted to go for 6 bolt rotors and use adaptors because of flexibility – as this is a long term test bike, if it gets a different set of wheels fitted, there’s a strong chance they’ll be 6 bolt.
Dropper post and lever
Crankbrothers Highline 7 (170mm)
- Price: £284.99 (post), £54.99 (remote)
- From: www.extrauk.co.uk

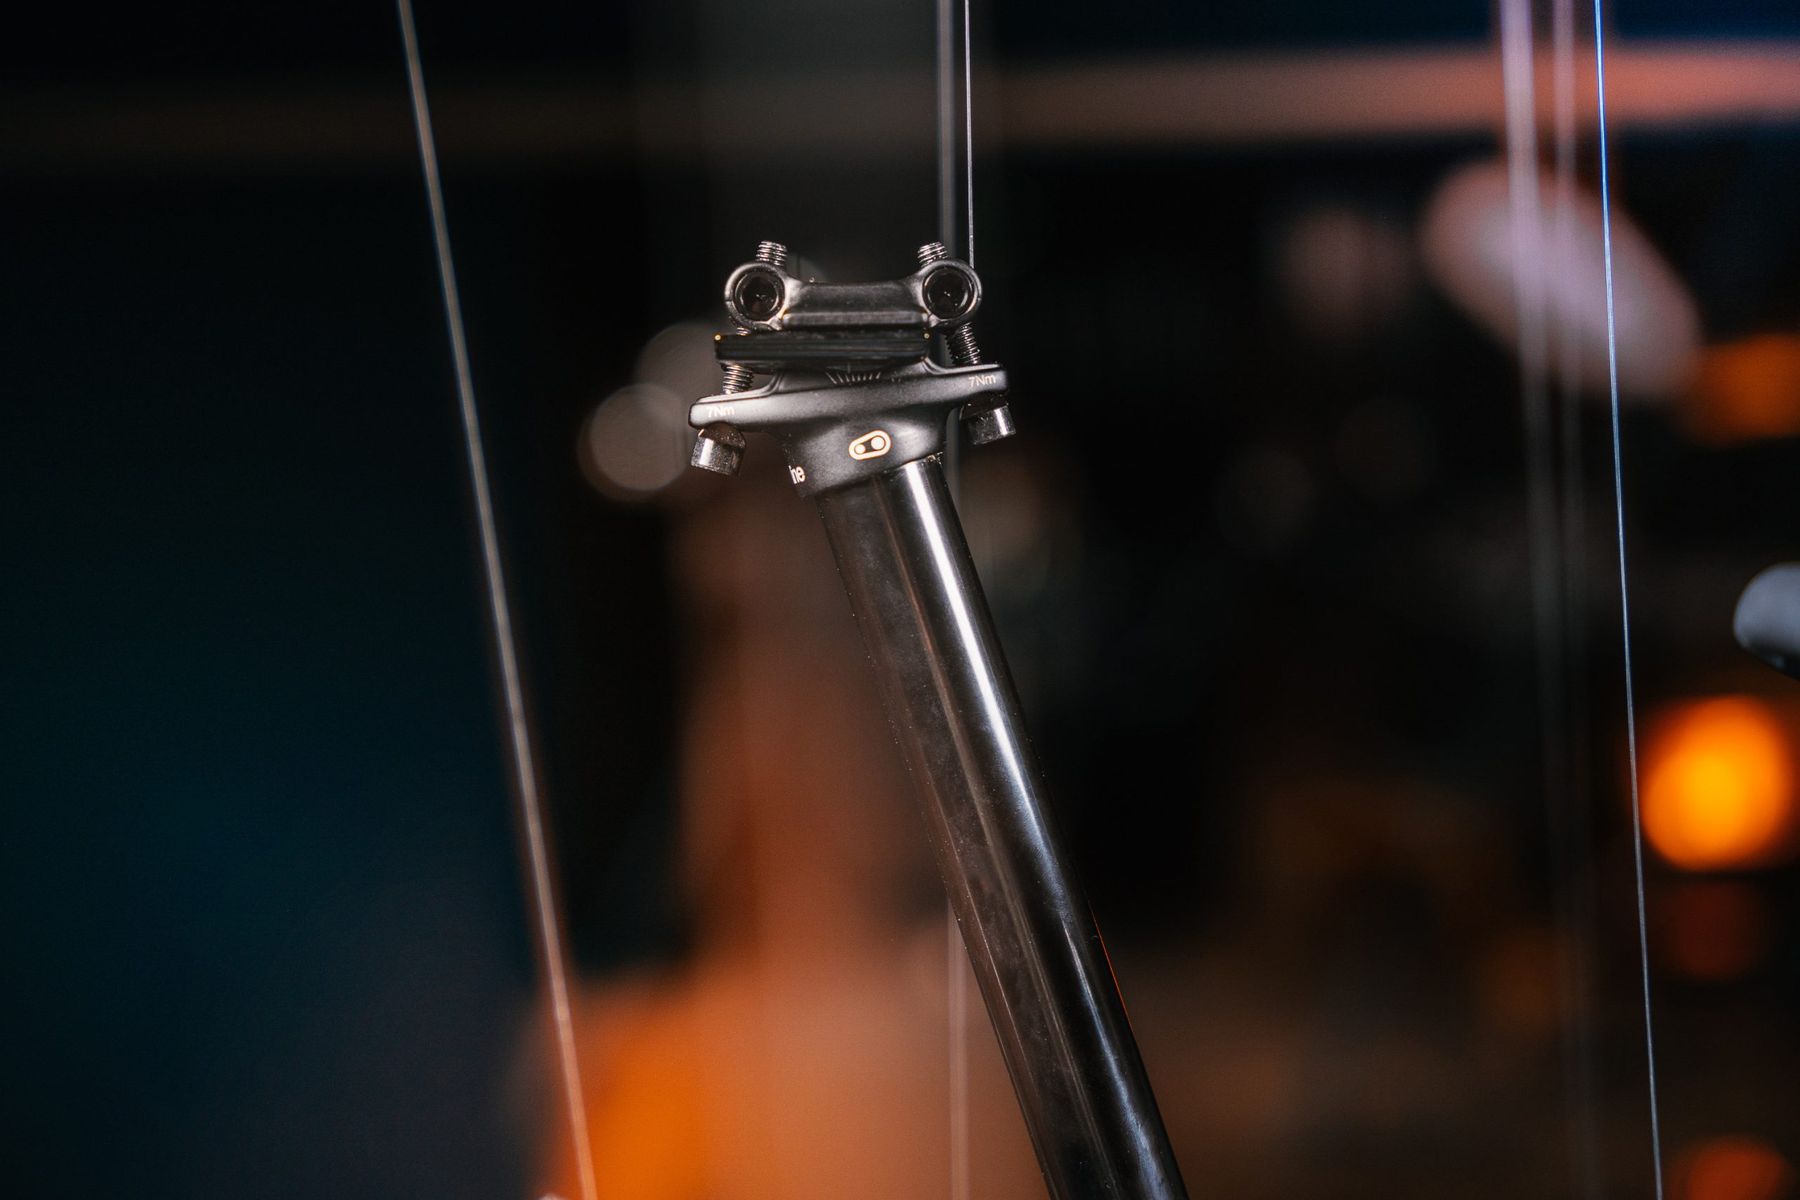
I’ve had several versions of the Highline dropper in the last few years, and each one has been absolutely bomber. The only problems I’ve had have been with the overly sensitive interface between the cable and actuator at the base of the post, but that looks like it’s been sorted on this iteration. This latest version now offers 170mm of drop, an ever reliable two bolt clamp and the remote remains as infinitely adjustable as it ever was. I’m honestly expecting nothing but good things from this setup.
Saddle
Ergon Enduro SM Comp
- Price: £69.99
- From: www.extrauk.co.uk
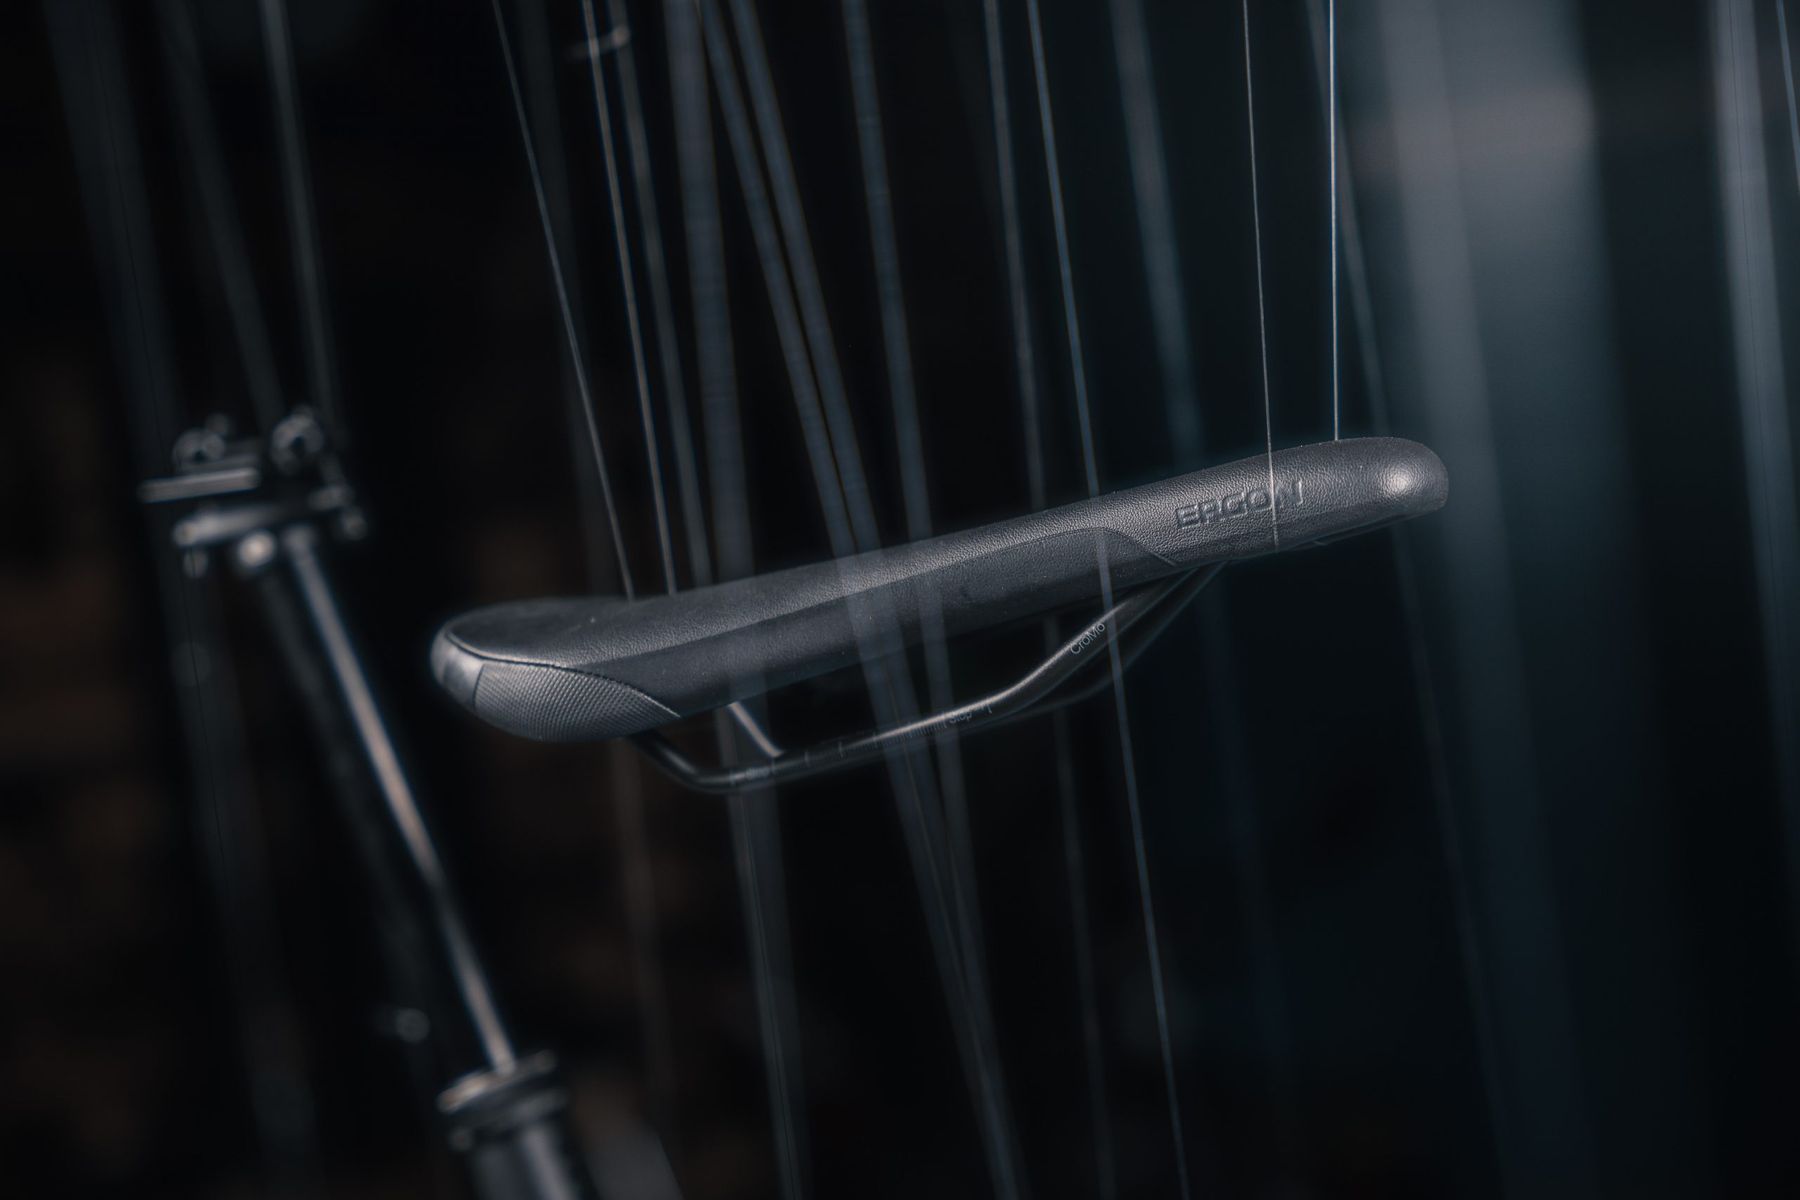
Ok, saddles are a hugely personal thing, and what works for one person may be the most excruciating experience for someone else. So let’s read nothing into the fact that this was developed in conjunction with Fabien Barel, Richie Rude, Joe Barnes and Remy Metailler. I’m totally fitting this saddle on this build in the hope that it’ll help me gain a fraction of the riding ability of each of these riders. That’s how this all works right? Right…
Handlebar & Stem
Thomson Carbon 35 20×800, Thomson Elite X4 0x32
- Price: £170 (bars), £105 (stem)
- From: www.upgradebikes.co.uk
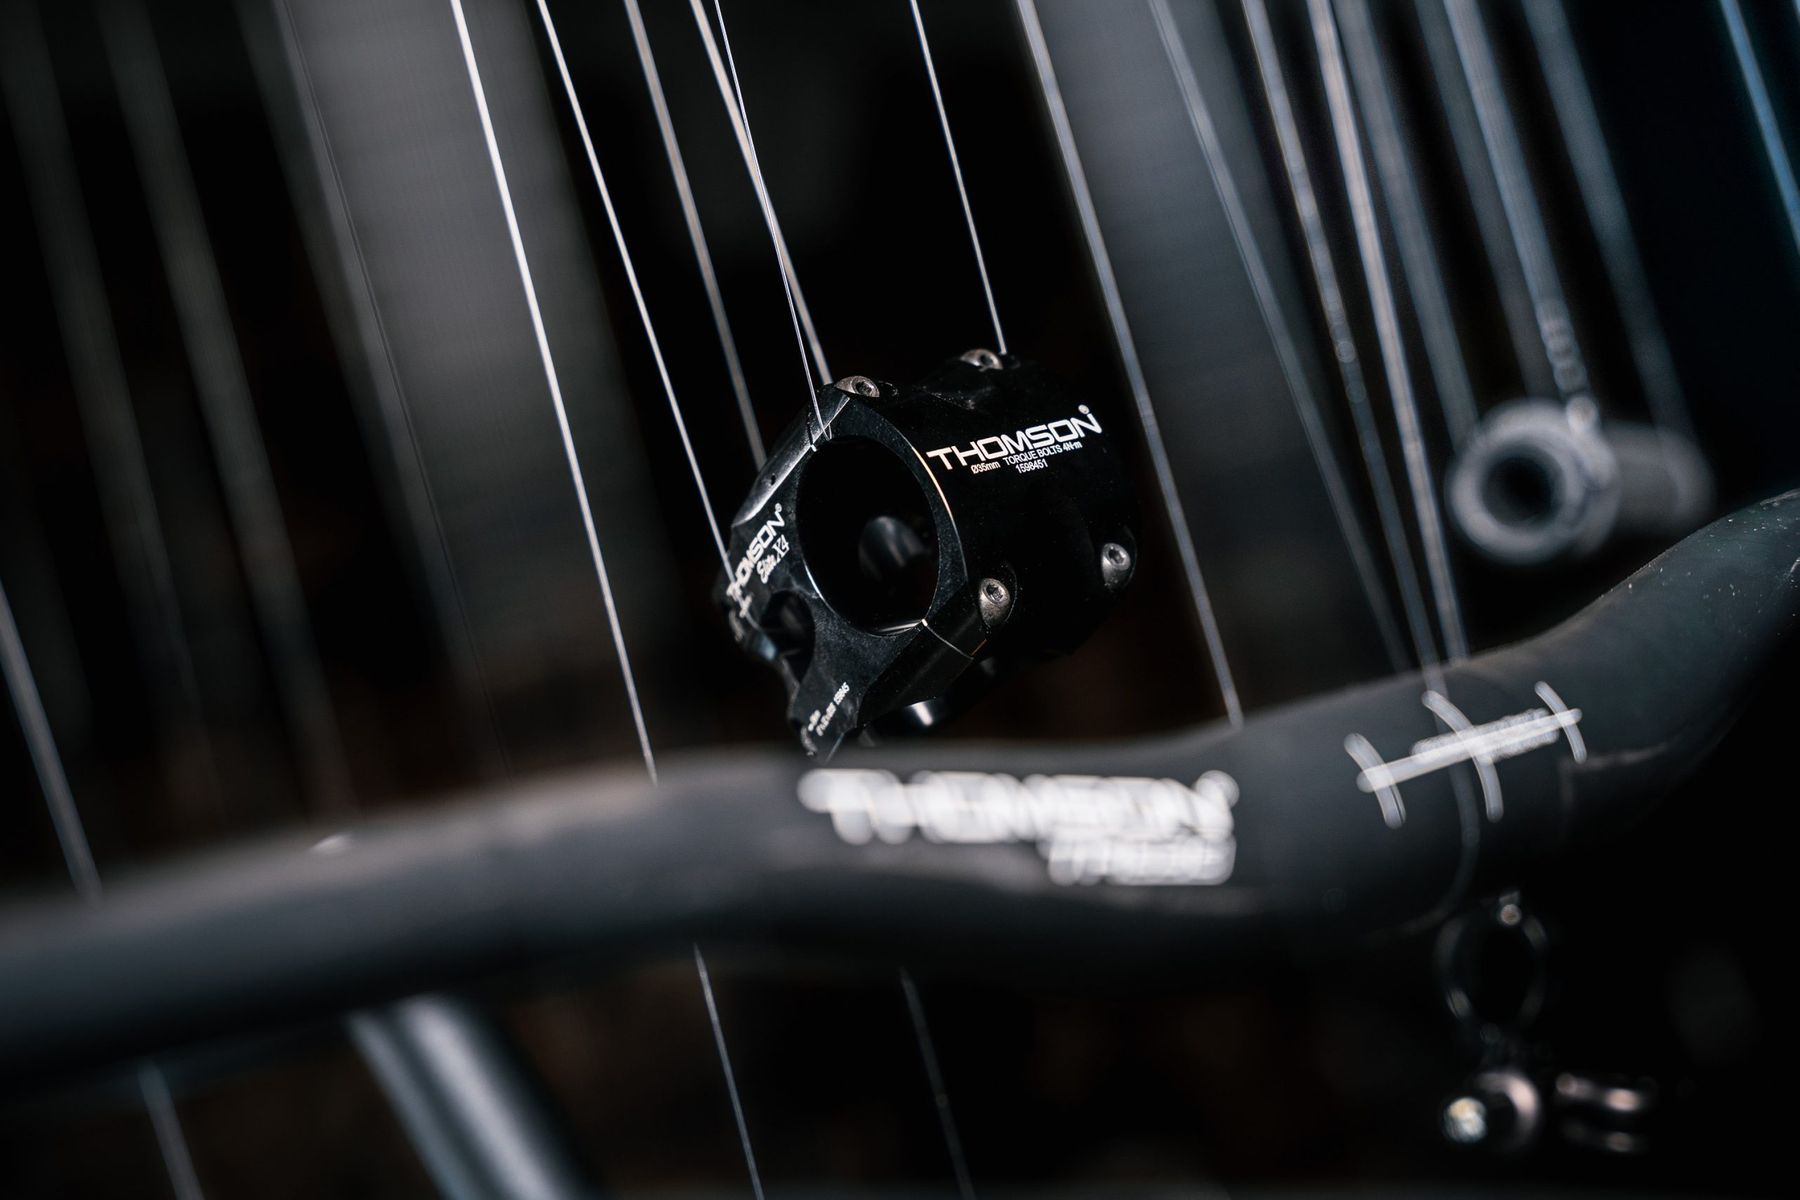
Super short 32mm Thomson Elite stem 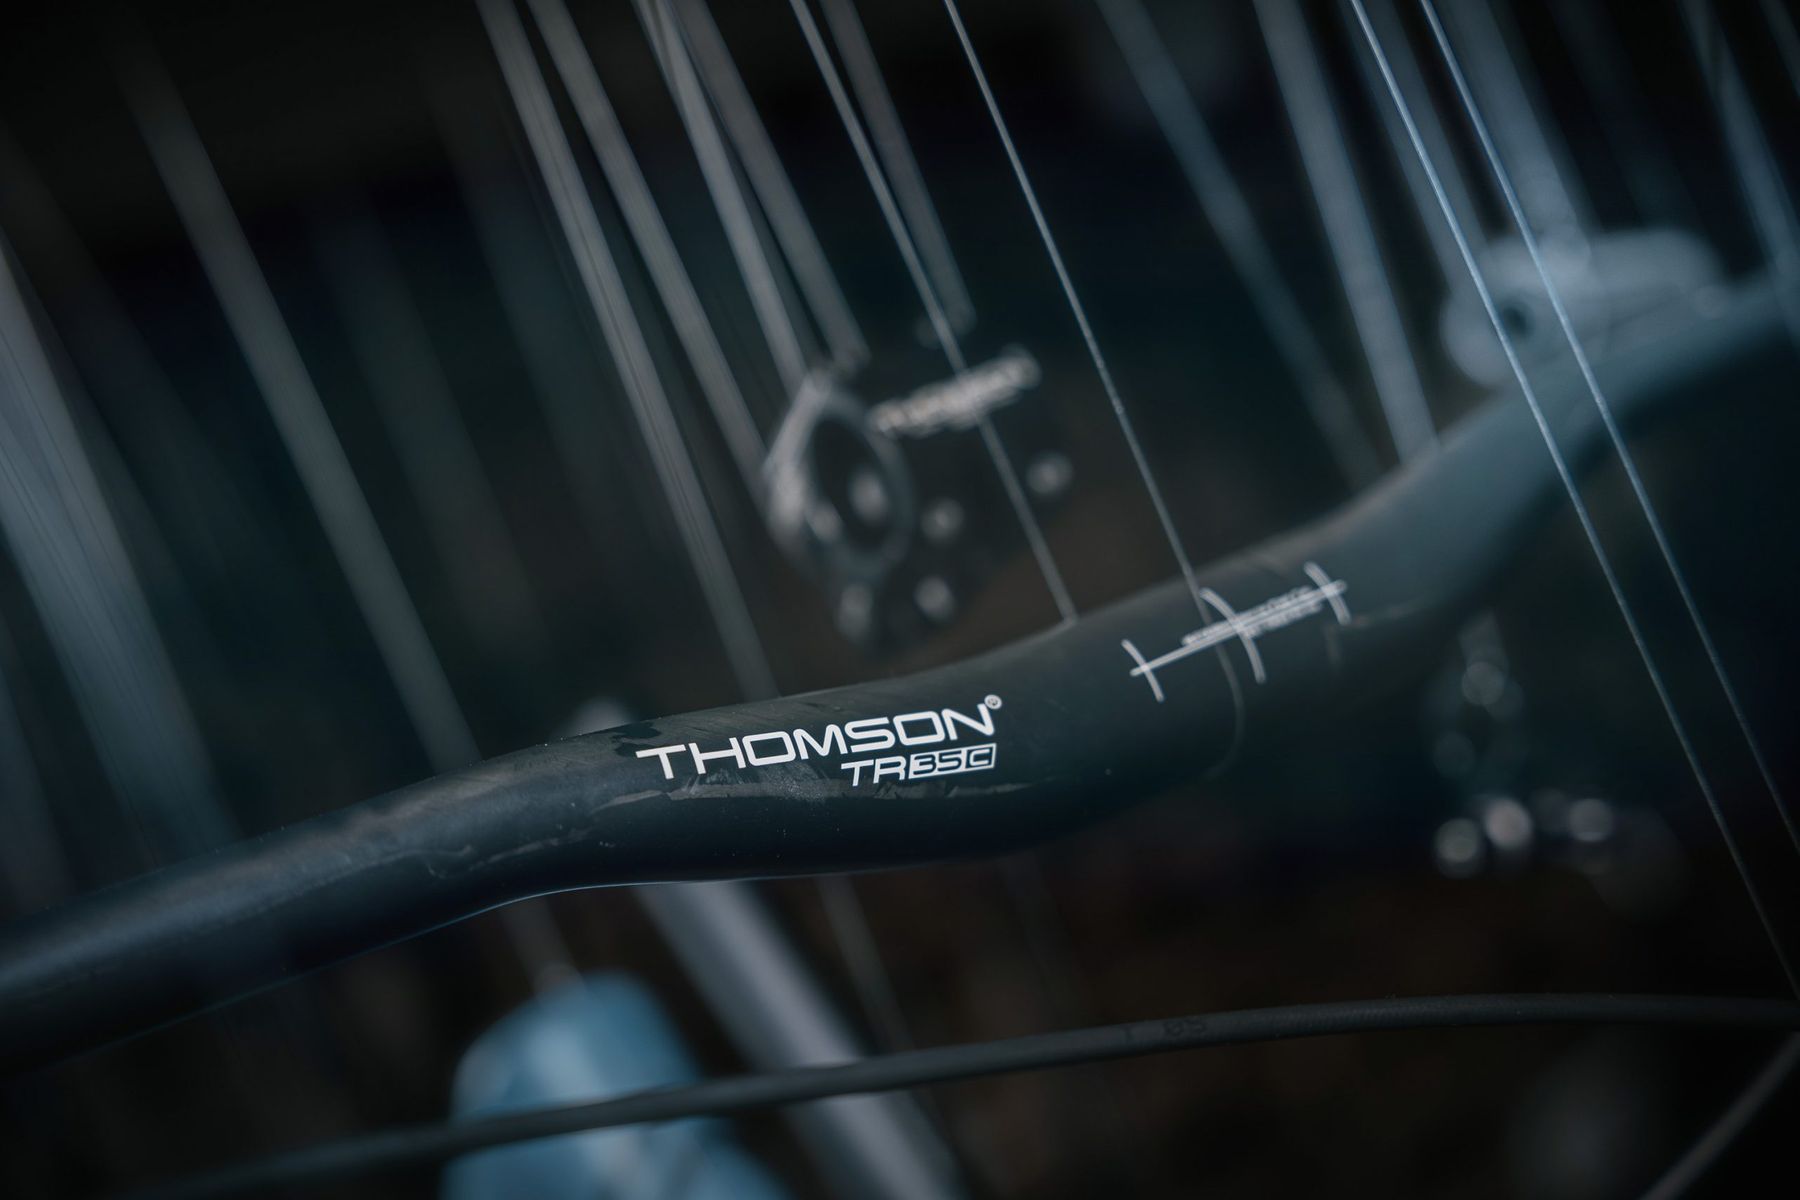
Thomson TR35C 800mm wide carbon bars 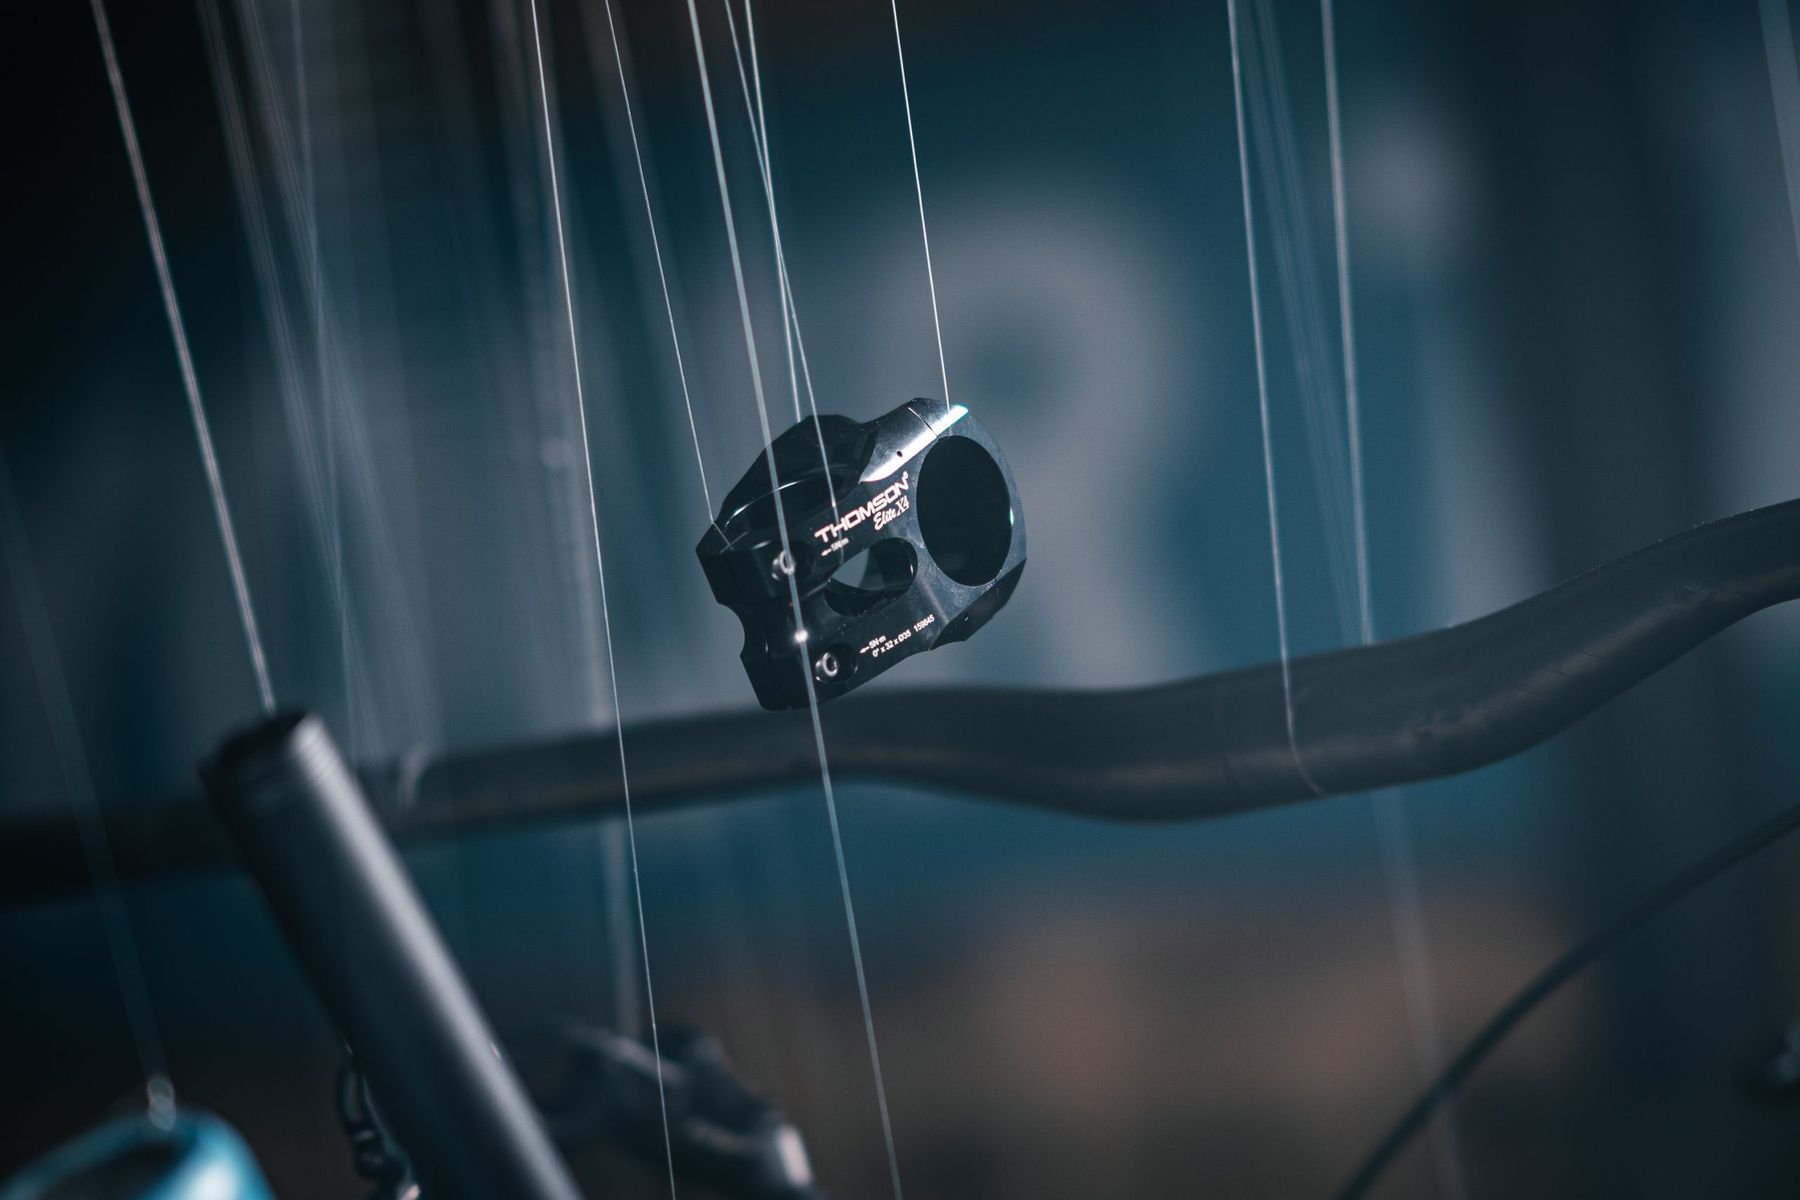
When I bought my first Orange Five back in 2010, one of the options was the Thomson upgrade pack, consisting of a carbon bar, alloy stem and alloy seatpost. Given the opportunity to run their new 800mm wide carbon bar and super short stem all these years later, I jumped at the chance. The finish on these is as good as ever, with classy understated graphics and they’re just as desirable as they’ve ever been. The bars have 20mm of rise, paired with 9° backsweep and 5° upsweep. Apparently there’s a new dropper in the works, and fingers crossed I’ll get my hands on one when it’s ready.
Grips
Ergon GFR1
- Price: £31.99
- From: www.extrauk.co.uk
Developed in conjunction with Tahnee Seagrave and her teammates on the Canyon FMD Team, these gravity focussed grips are super slim for maximum feedback and ergonomically designed for comfort. Whether I’ll be able to test out their big air damping characteristics remains to be seen…
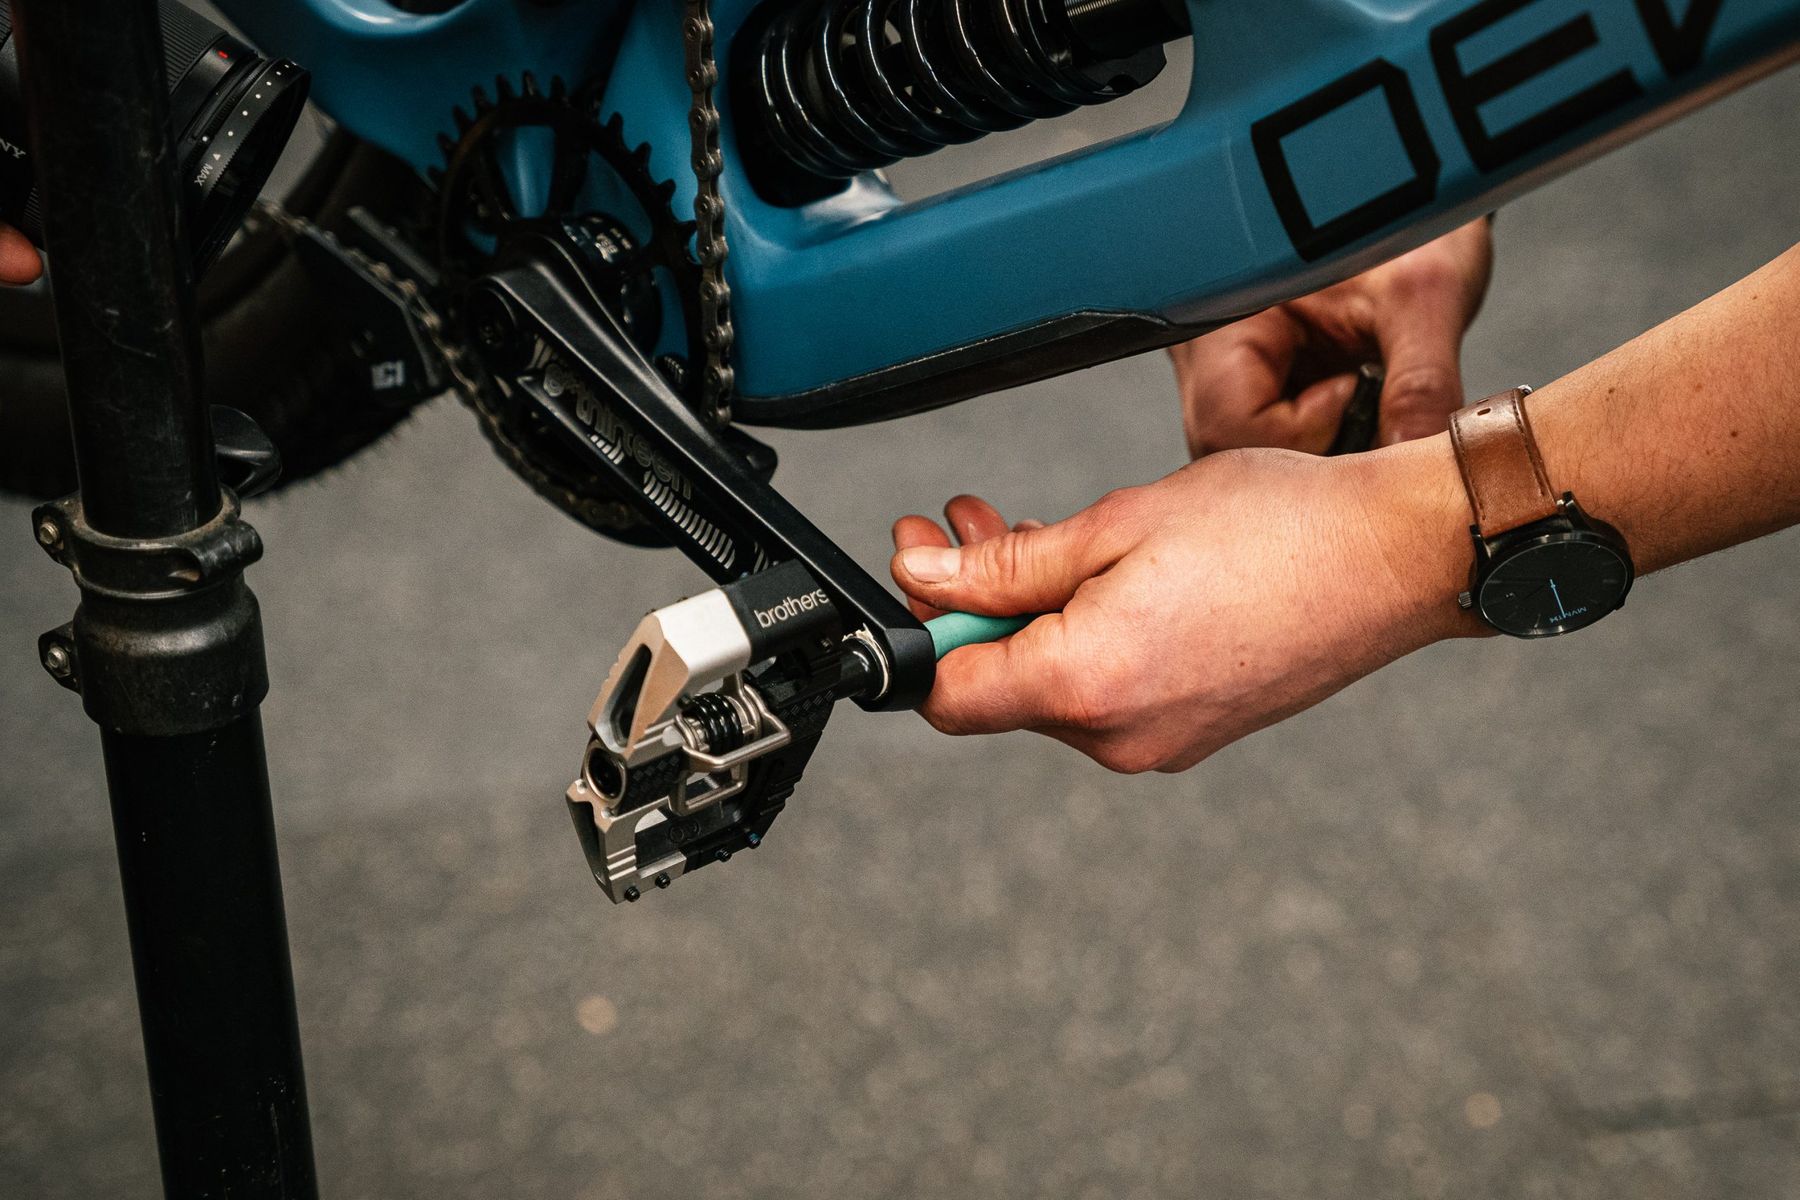
Pedals
Crank Brothers Mallet E LS
- Price: £149.99
- From: www.extrauk.co.uk
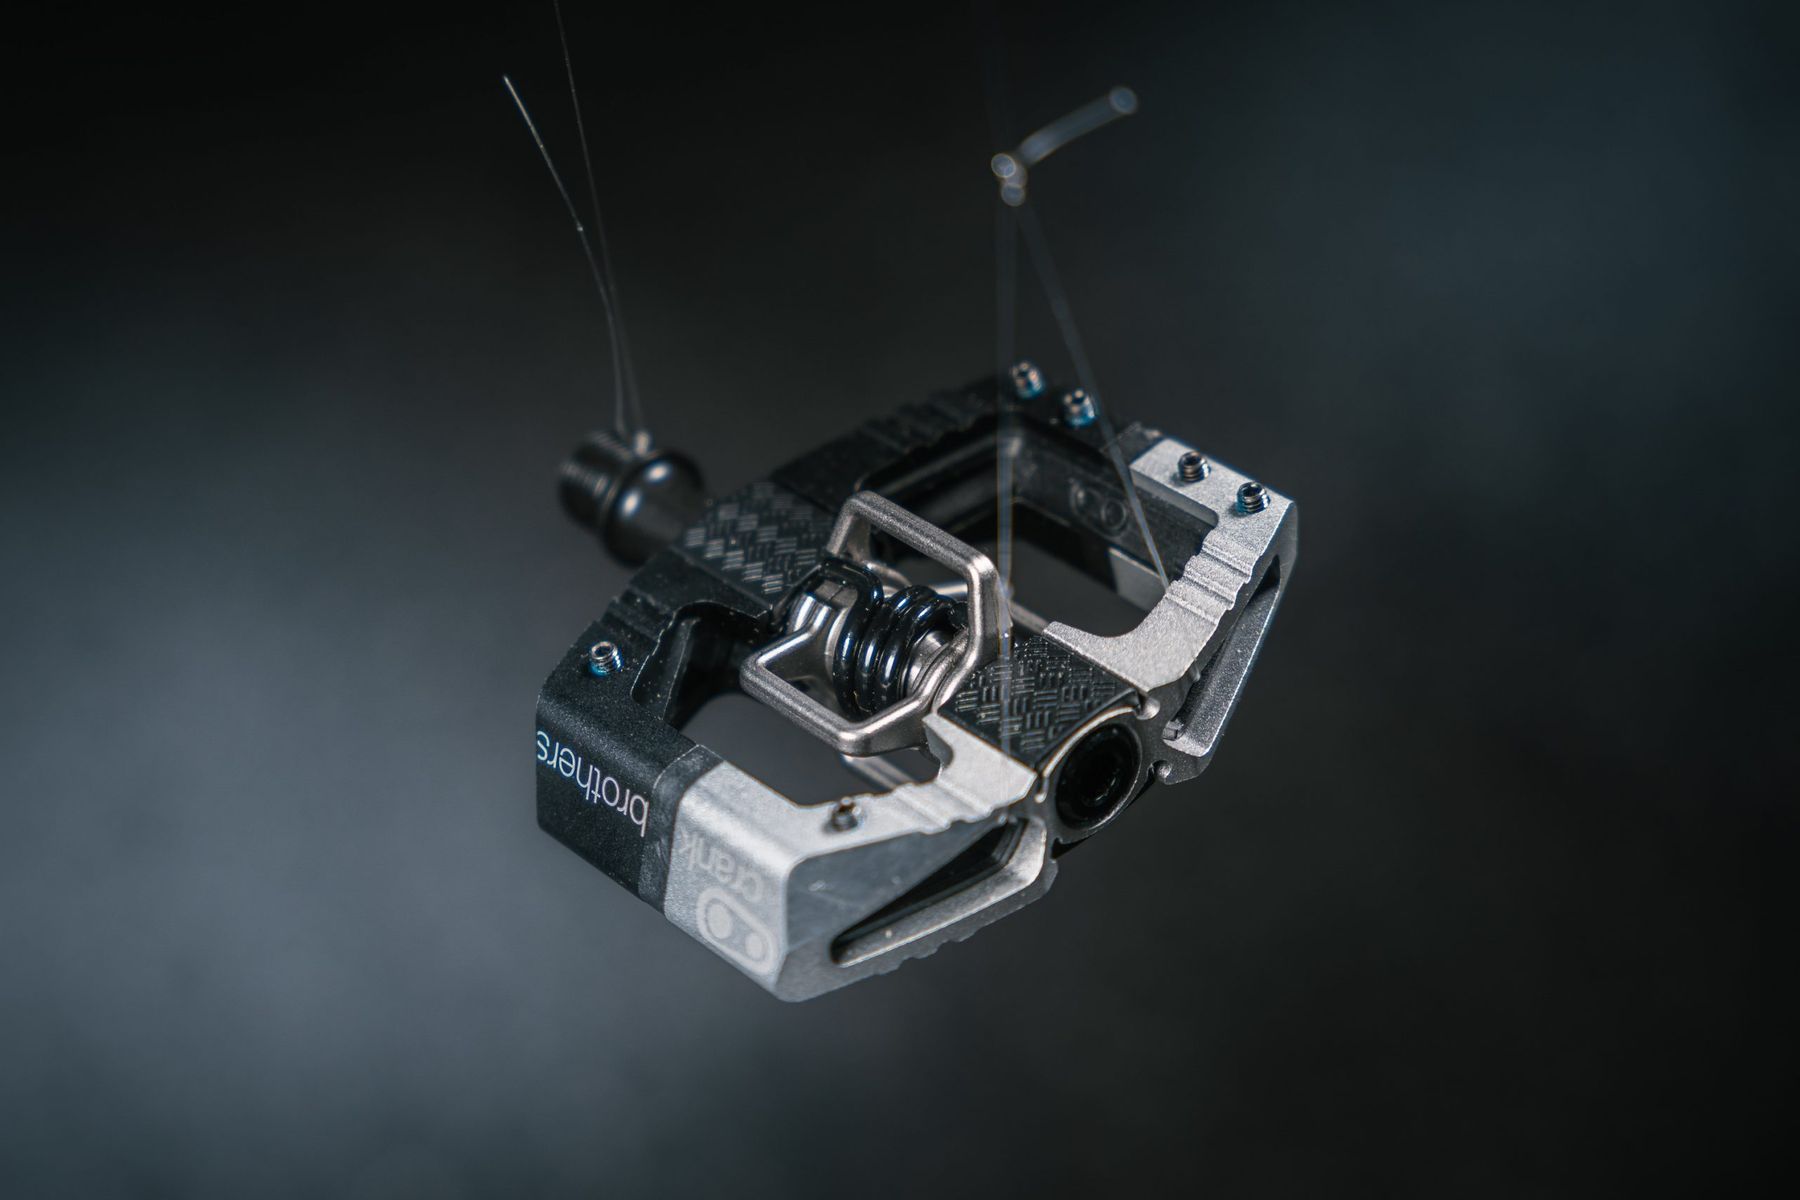
To wrap up this build, I’ve got a set of Crank Brothers Mallet E LS pedals. Renowned for their feel, float and kindness to knees, Mallets are found under the feet of many a pro racer and regular Joe alike. The Mallets have a larger platform than the Candy for additional support, but the ‘E’ version is smaller than the DH version and has a chamfered body to increase clearance and minimise the effects of rock strikes. The LS denotes a wider spindle for increased Q factor and more aggressive stance for rowdy terrain. Sounds perfect for the Lake District.
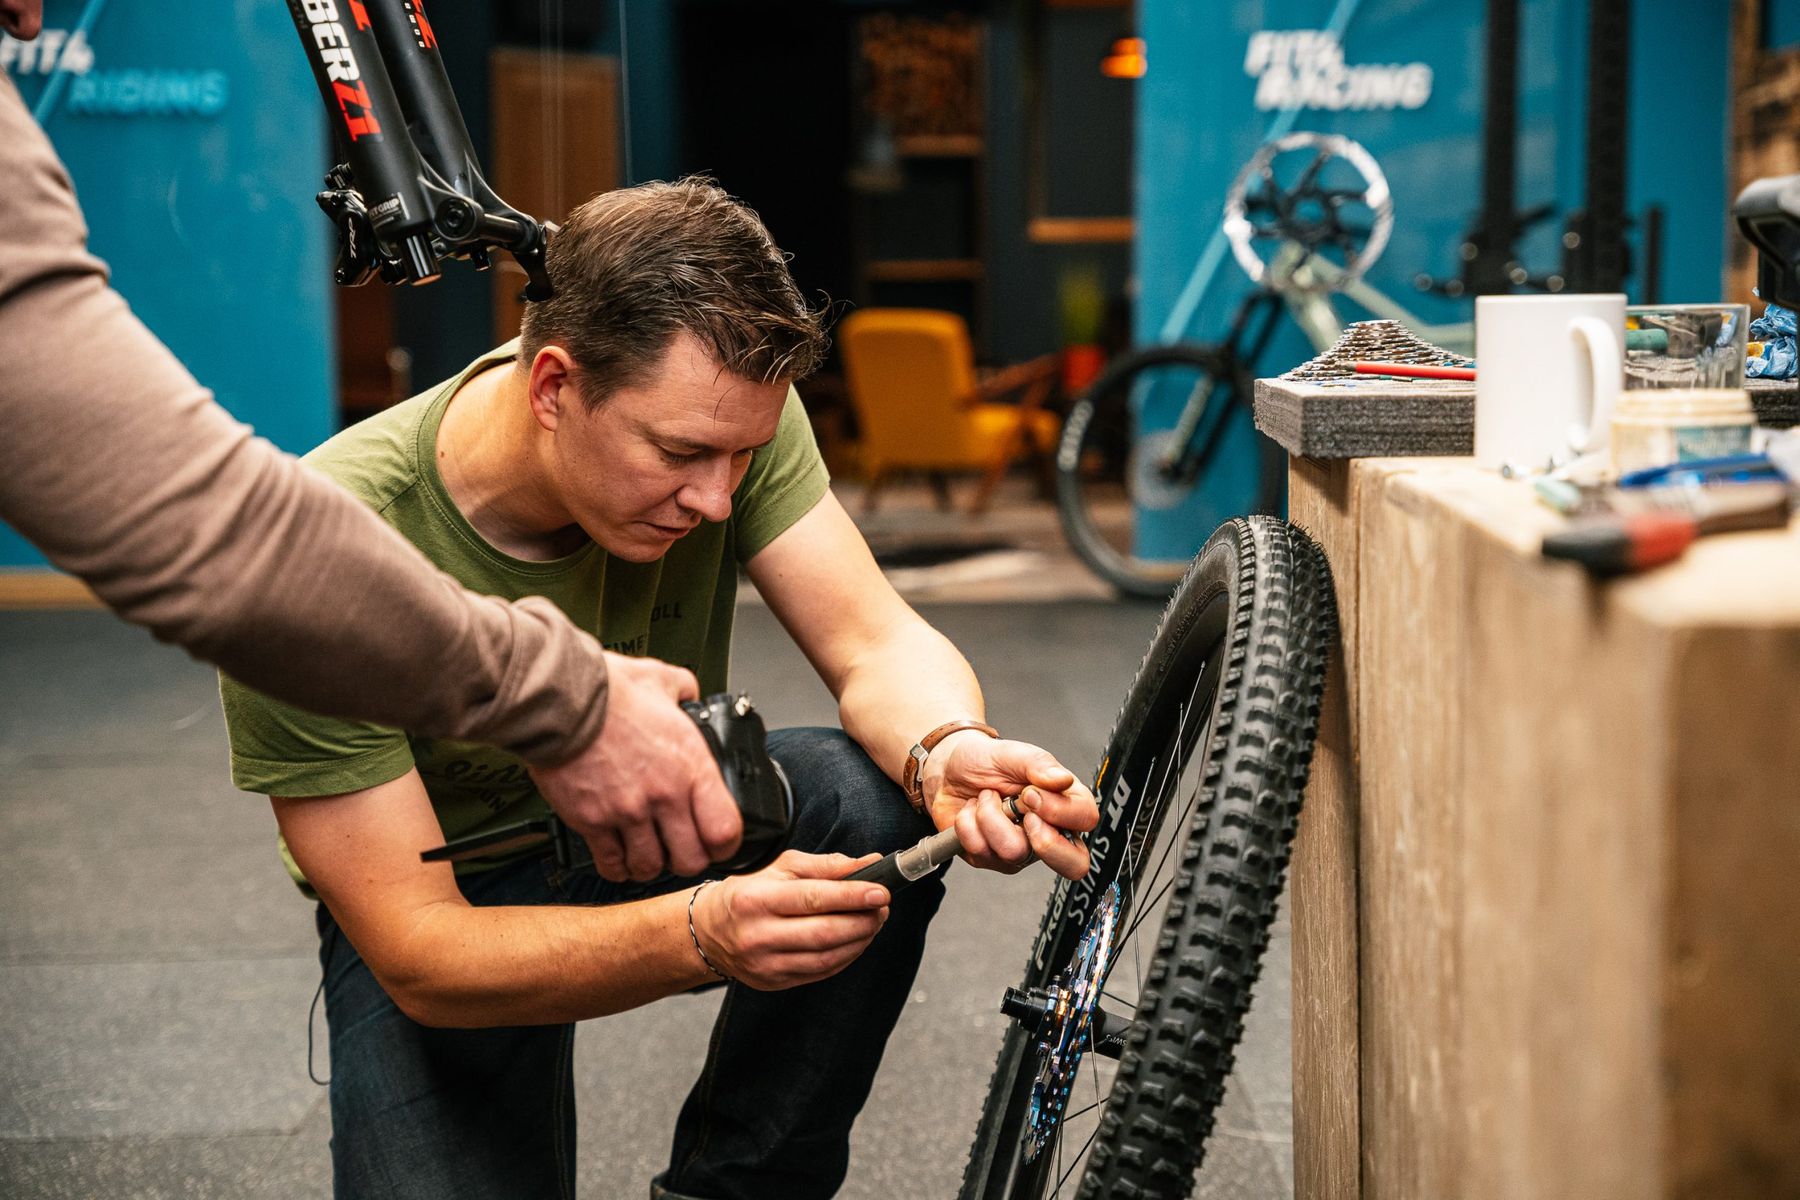
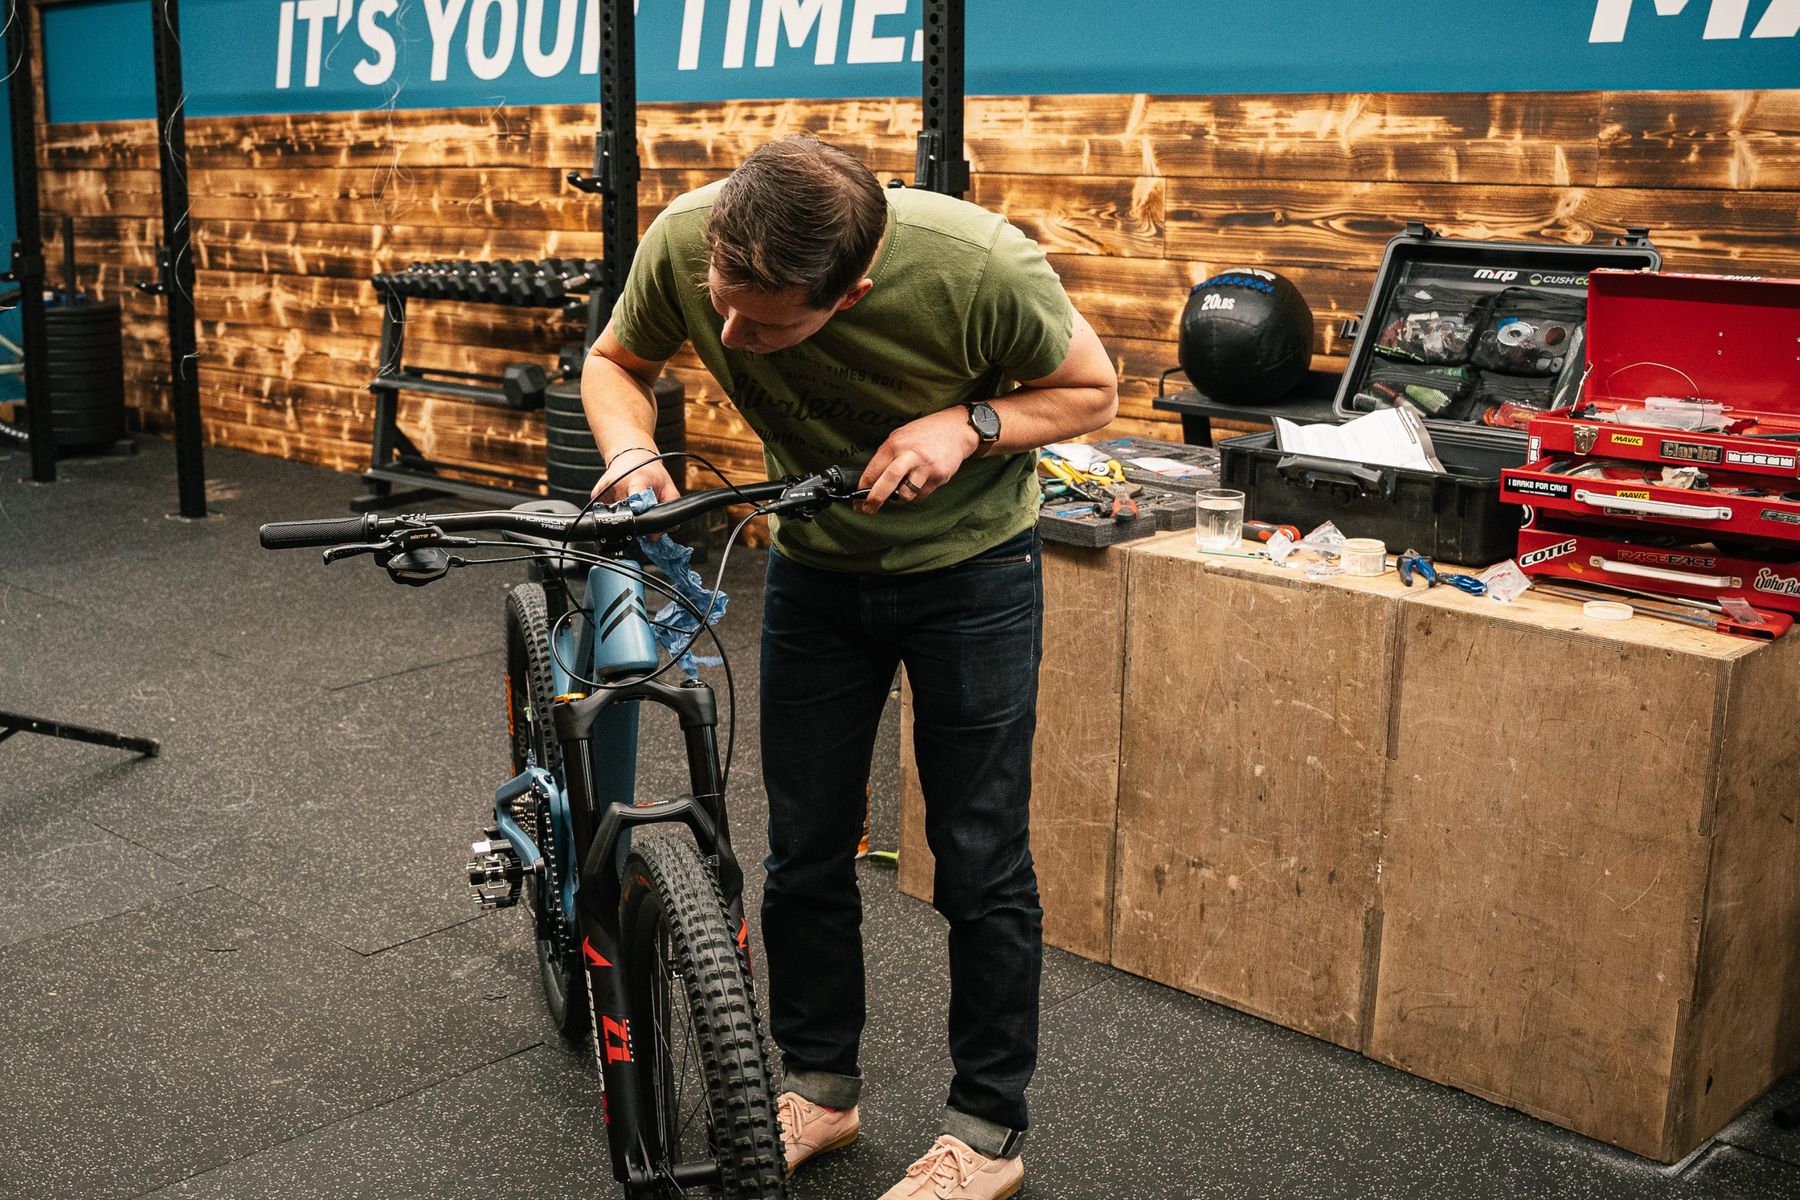
The Build
Well that’s an overview of the components, time to get it built up. I should at this point, highlight that I am in no way a qualified mechanic, just someone who has been riding mountain bikes nearly his entire life and knows one end of a hex key from the other. If at any point you get stuck or are unsure of what you’re doing, don’t be afraid of asking for help or wheeling your bundle of bits along to your local bike shop. The last thing you want to do is wreck your new components by over tightening a bolt, putting it on backwards or forcing it when something is wrong. Be warned though, that they may not take too kindly to being asked to fit your cheap parts you ordered over the internet for free, so go armed with biscuits and expect to pay for their time.

The actual build itself was relatively straightforward, and mostly consisted of simply following the manufacturers supplied instructions. There were a couple of curve balls thrown at me, but they were mainly my own doing – I mounted the front brake calliper incorrectly at first, but I noticed when fitting the front wheel later in the build and it was easy enough to remedy. Also, the E*Thirteen cassette needed a bit of wriggling to get the two halves lined up before bolting them together – the grub screw is very small and the threads are fragile, so I didn’t want to force them and risk damaging the cassette.
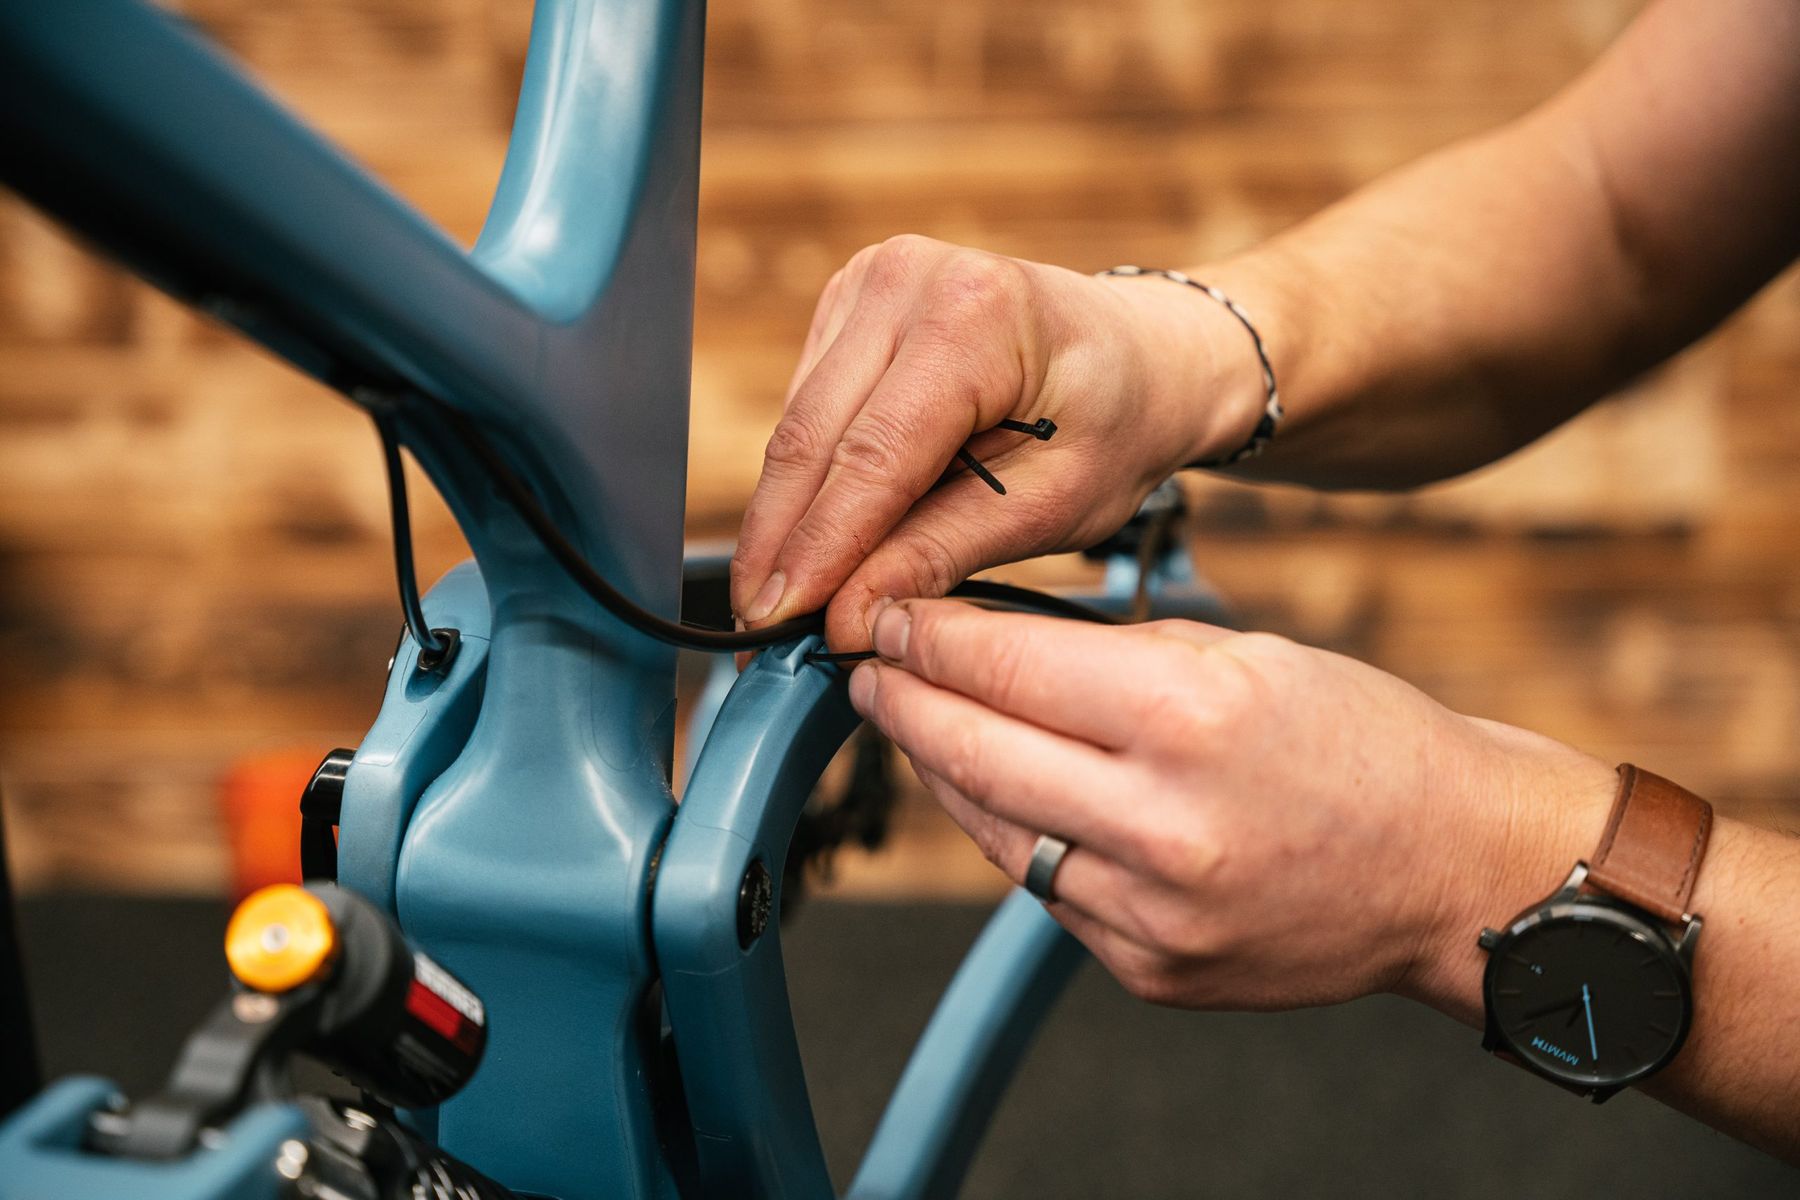


I used plenty of grease throughout, except where bolting on bits of carbon. At these points, I used a liberal application of carbon paste, which helps prevent slipping and in the long run will prevent parts from corroding to each other.
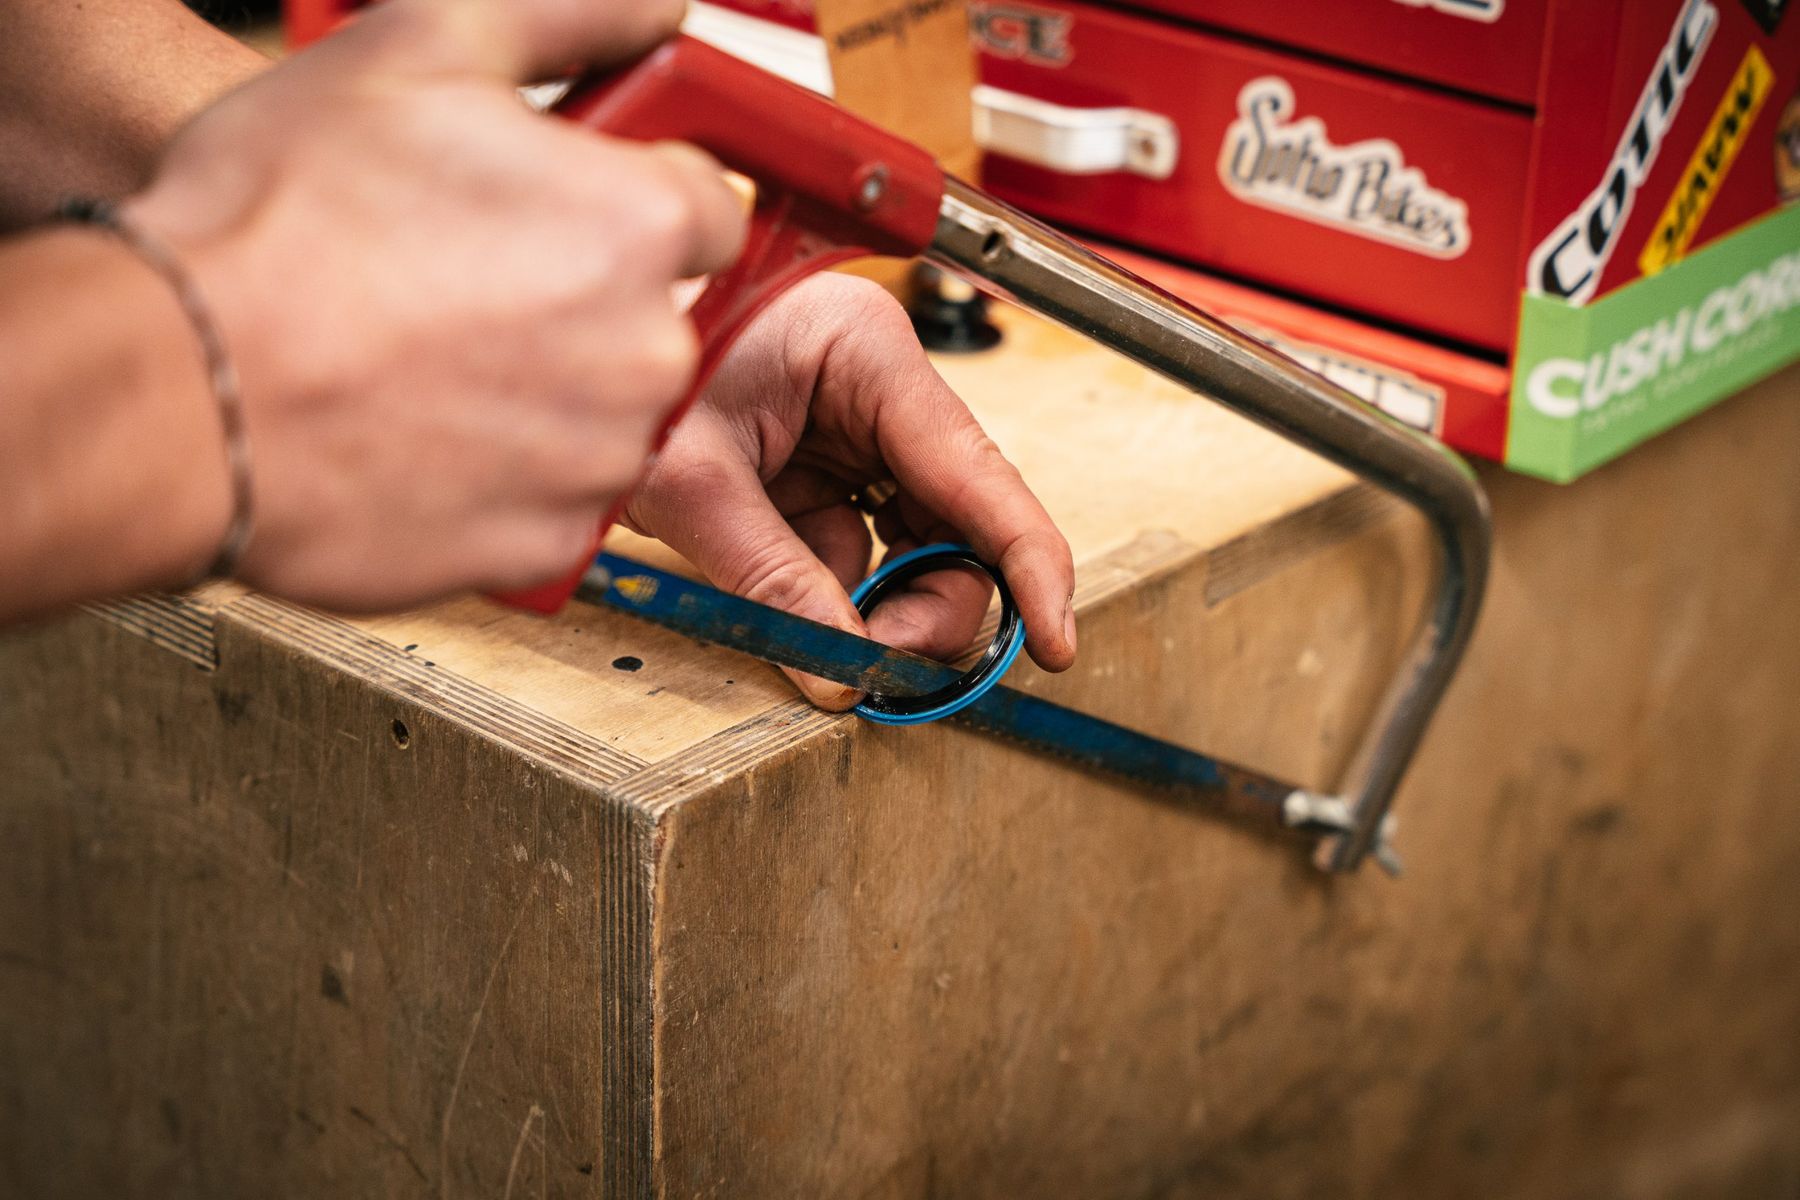
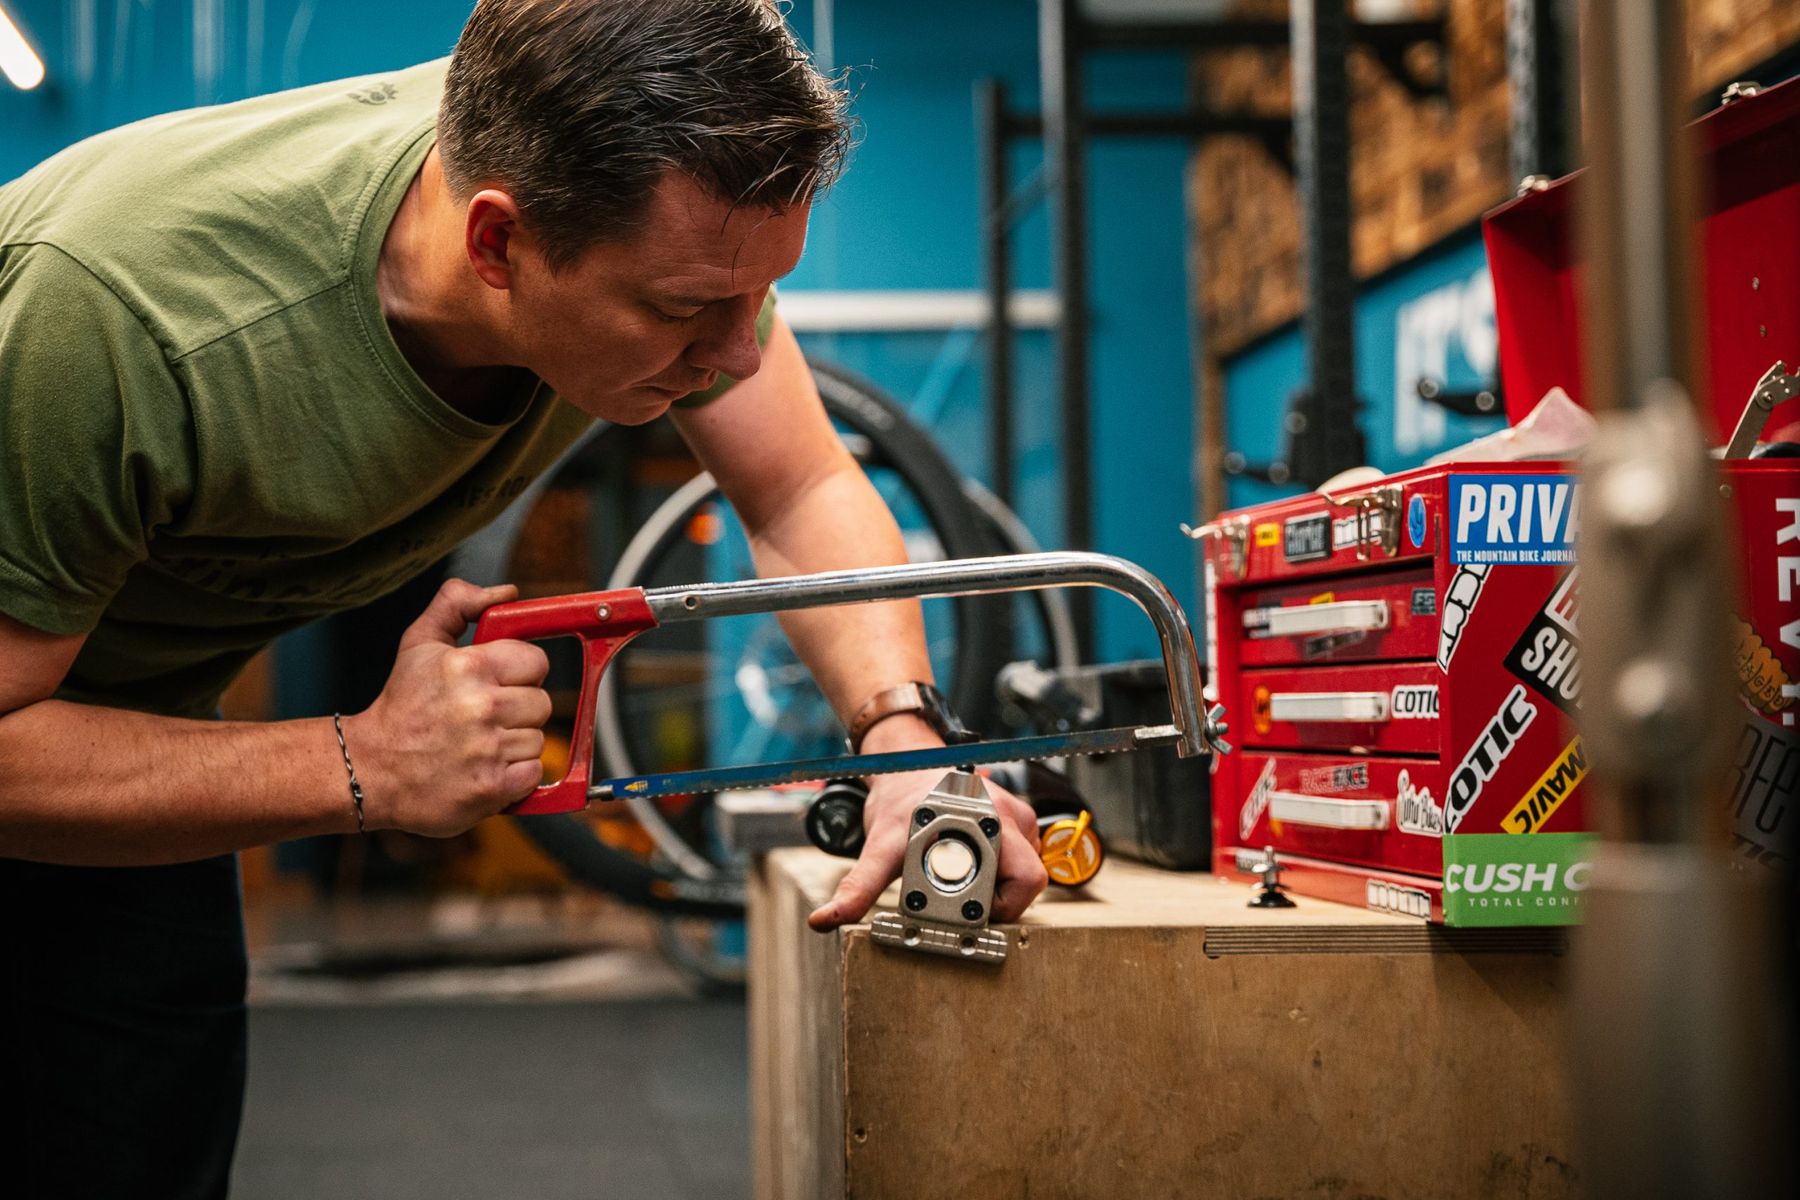
Tools
The only specialist tool that would have made this build significantly easier was a star fangled nut installer, but we were able to work around this with a bolt and a hammer. A crown race tool would also have been useful, but I took the rather drastic measure of hacksawing my crown race into a split crown race. If you don’t want to go that far, you can use an appropriate sized piece of pipe. Likewise, cutting the steerer tube is possible using just a hacksaw and some tape as a guide, but the dedicated cutting guide made the job a lot easier.

A headset press is pretty much essential – you really don’t want to ovalise your headtube by pressing it in wrong or hitting it with a hammer. The other tool you’ll find really useful is a torque wrench. It saves you from stripping threads and also means you know when something is actually done up tight enough, which is kinda key for important parts like brake rotors, handlebars and stems.

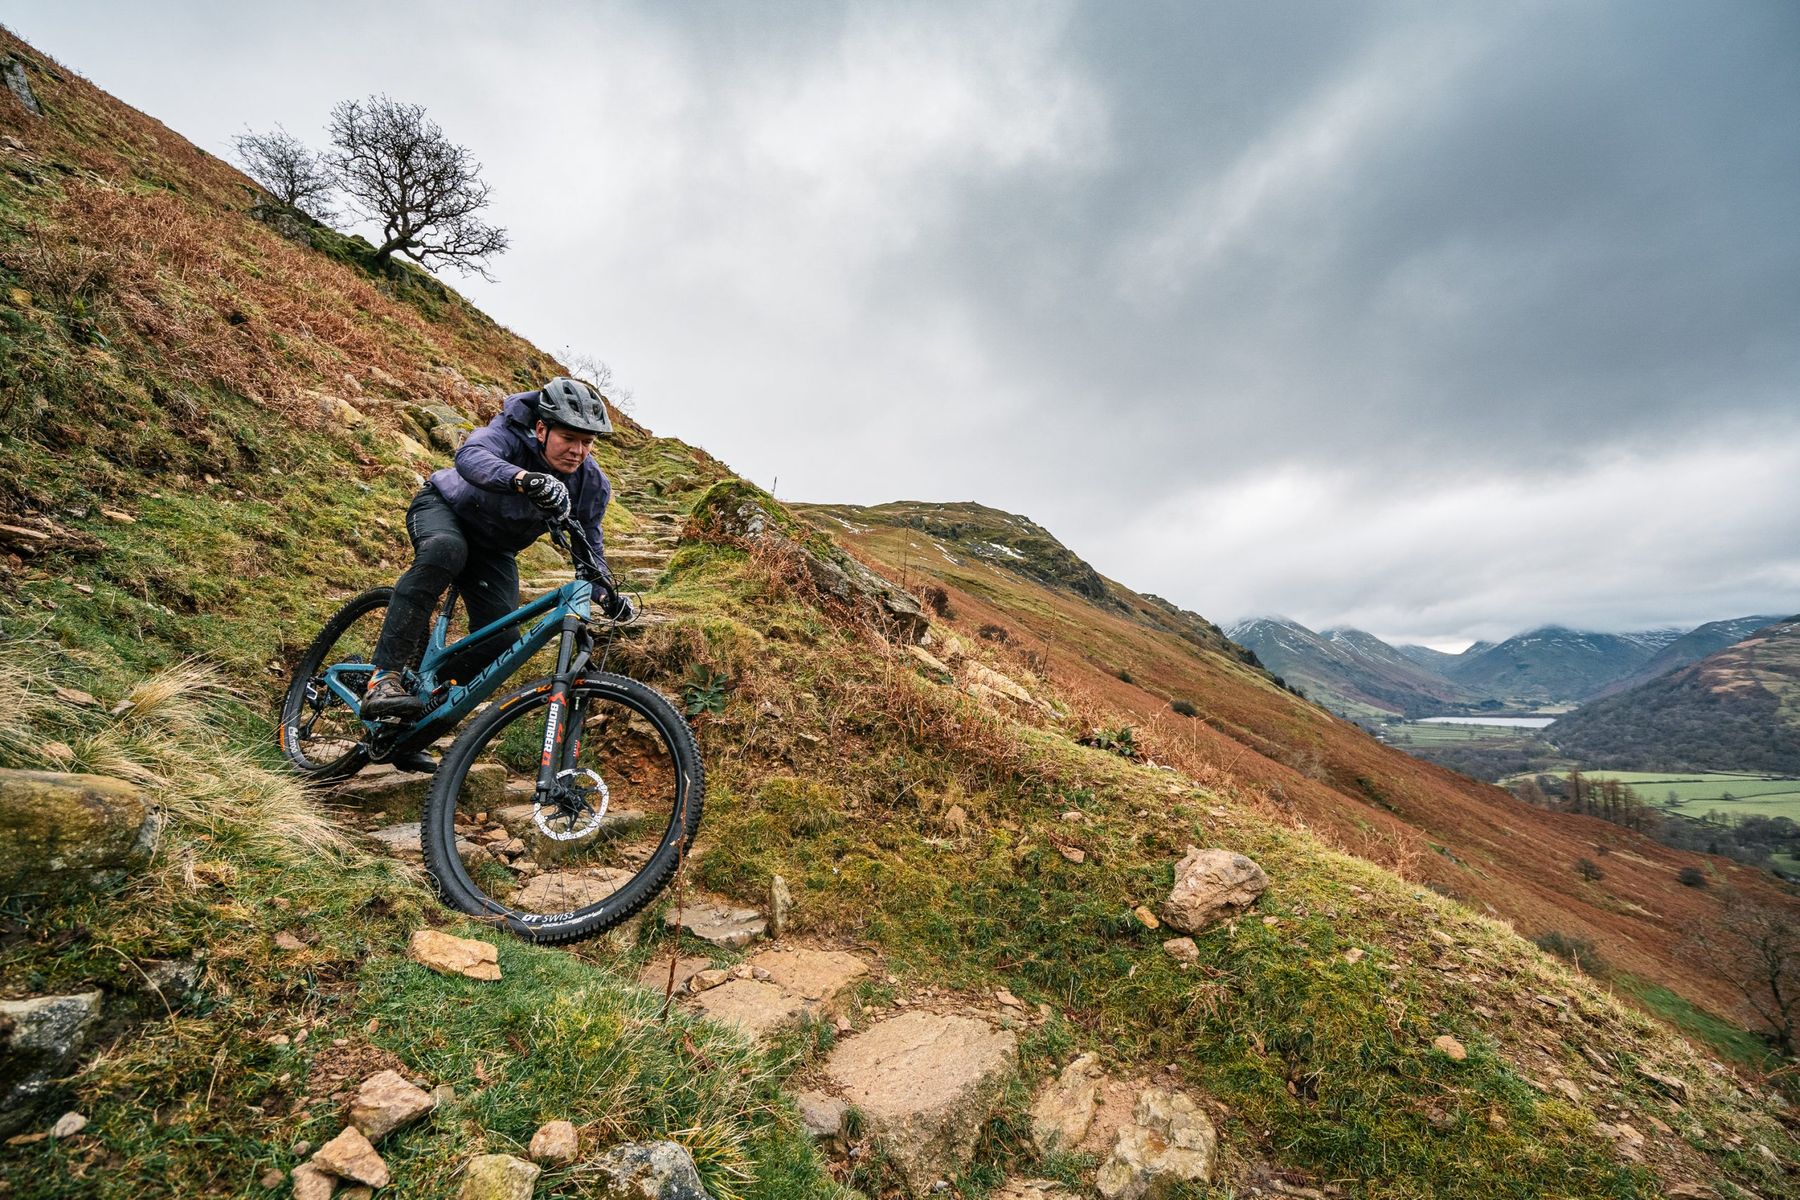
And that’s me done. I’m off for a ride on my new bike hoping the bolts don’t fall out! If you see me hooning about the Lake District and have any questions, please do stop me for a chat. Or, if you don’t live anywhere near The Lakes and have a question about any aspect of this Deviate Highlander build, just ask in the comments below and I’ll do my best to get back to you. See you on the trails and stay tuned for more updates…
Big thanks to Jonny at Fit4Racing for letting me take over his space for a couple of days, filming and editing the build, Pat Cambell-Jenner for the photos of the build progress, and to Pete Archer for the action footage.

What goes it weigh?
Did you have any problems with the rotors clearing the frame or fork due to the use of adapters?
I’ve not weighed it on an accurate set of scales yet, but I reckon it’ll be north of 16kg. It’s got coils front and rear, plus cushcore, plus it’s not the lightest frame to begin with…
No issues with the adaptors – I’m pretty sure they put the rotors in the exact same place as if the hubs were 6 bolt to begin with
What a lovely build!
Looks stunning.
Would love to hear how it handles Lakes trails. Pick mine up in January and literally cannot wait to get it up to the lakes.
Tier 3 currently ruining that.
Lovely build, but those cables hurt my eyes. I use spiral wrap to bind the 2 left cables together & 2 right cables together.
interesting frame and an interesting build that makes the DT wheel seem very conservative. i’m looking forward to the updates.
Very nice. I’ll see your Highlander and raise you for the very special one I have coming for test………….Watch this space!
Cheers
Sanny
PS Hanging it up like that would have driven me over the edge. I salute your patience and artistic sensibility!
Great build! How many months away is the long term review?
@Lowey – it’s a beast on open rocky trails. So quiet, and so planted. Climbing traction for days.
It’s a bit of a handful on steep, twisty trails, but that’s more down to this being the XL than anything else – if I was going to ride that sort of stuff all the time, I’d probably consider sizing down
@kiwijohn – yeah, I hear you. They were offending me too, so when I got it home I trimmed them all a bit so it’s much neater up front
@LAT – the frame is incredible – if you haven’t checked out Sanny’s first ride review, make sure you do as he goes into a bit more detail about the logic behind the design.
As for the wheels, because I’m running CushCore I can get away with lighter tyres and lighter wheels. If you look at the slightly burlier DT Swiss EX1700 wheelset, there’s not a great deal of difference between the two so this gives me the option to change the build without changing the wheels – I could put an air fork and shock on and save a chunk of weight without even trying.
@Sanny – cheers! Hanging it was strangely therapeutic, and totally worth it once it was all up. It was quite the trip walking around the parts floating in mid air
@frankie0003 – Thanks! As for the reviews, we’ve got a few articles planned for early in the new year, so you shouldn’t have to wait too long
@LAT – the rest of the build makes the wheels spec stand out as sensible to me.
Looks amazing, I have a growing desire for one of these, or a Forbidden Druid
Absolute dream build, that. Heading out to rob a bank in a Covid Secure way right now.
Considering the Highlander 140 to replace my aging Rocky Mountain Instinct BC Edition. So…how does it climb?
Do you have any updates to the review?