Singletrack’s ‘other’ Lakeland product tester, Piers, gets out after hours in order to bring us this Ravemen PR1600 review
I confess that I had not heard of Ravemen before the PR1600 came through my letter box. So I open box and have a play with it without reading the instructions (We all do it, admit it.) Once unboxed the light feels well put together lots of nice aluminium, recessed buttons, fixings and a small digital display, USB in and out ports at the back covered with chunky rubber. A two button remote control with mount, charging lead and comprehensive instructions along with a battery for the remote and a 3mm Allen key are provided in the packet.
Here’s what Ravemen say about Ravemen:
“Combining high quality and durable material with innovative design, along with the concern for riders and others’ safety which has been fused into their genes, Ravemen promise their products will be not only reliable and easy-to-use to improve your riding experience, but also a trusted companion that will earn you respect from others.”
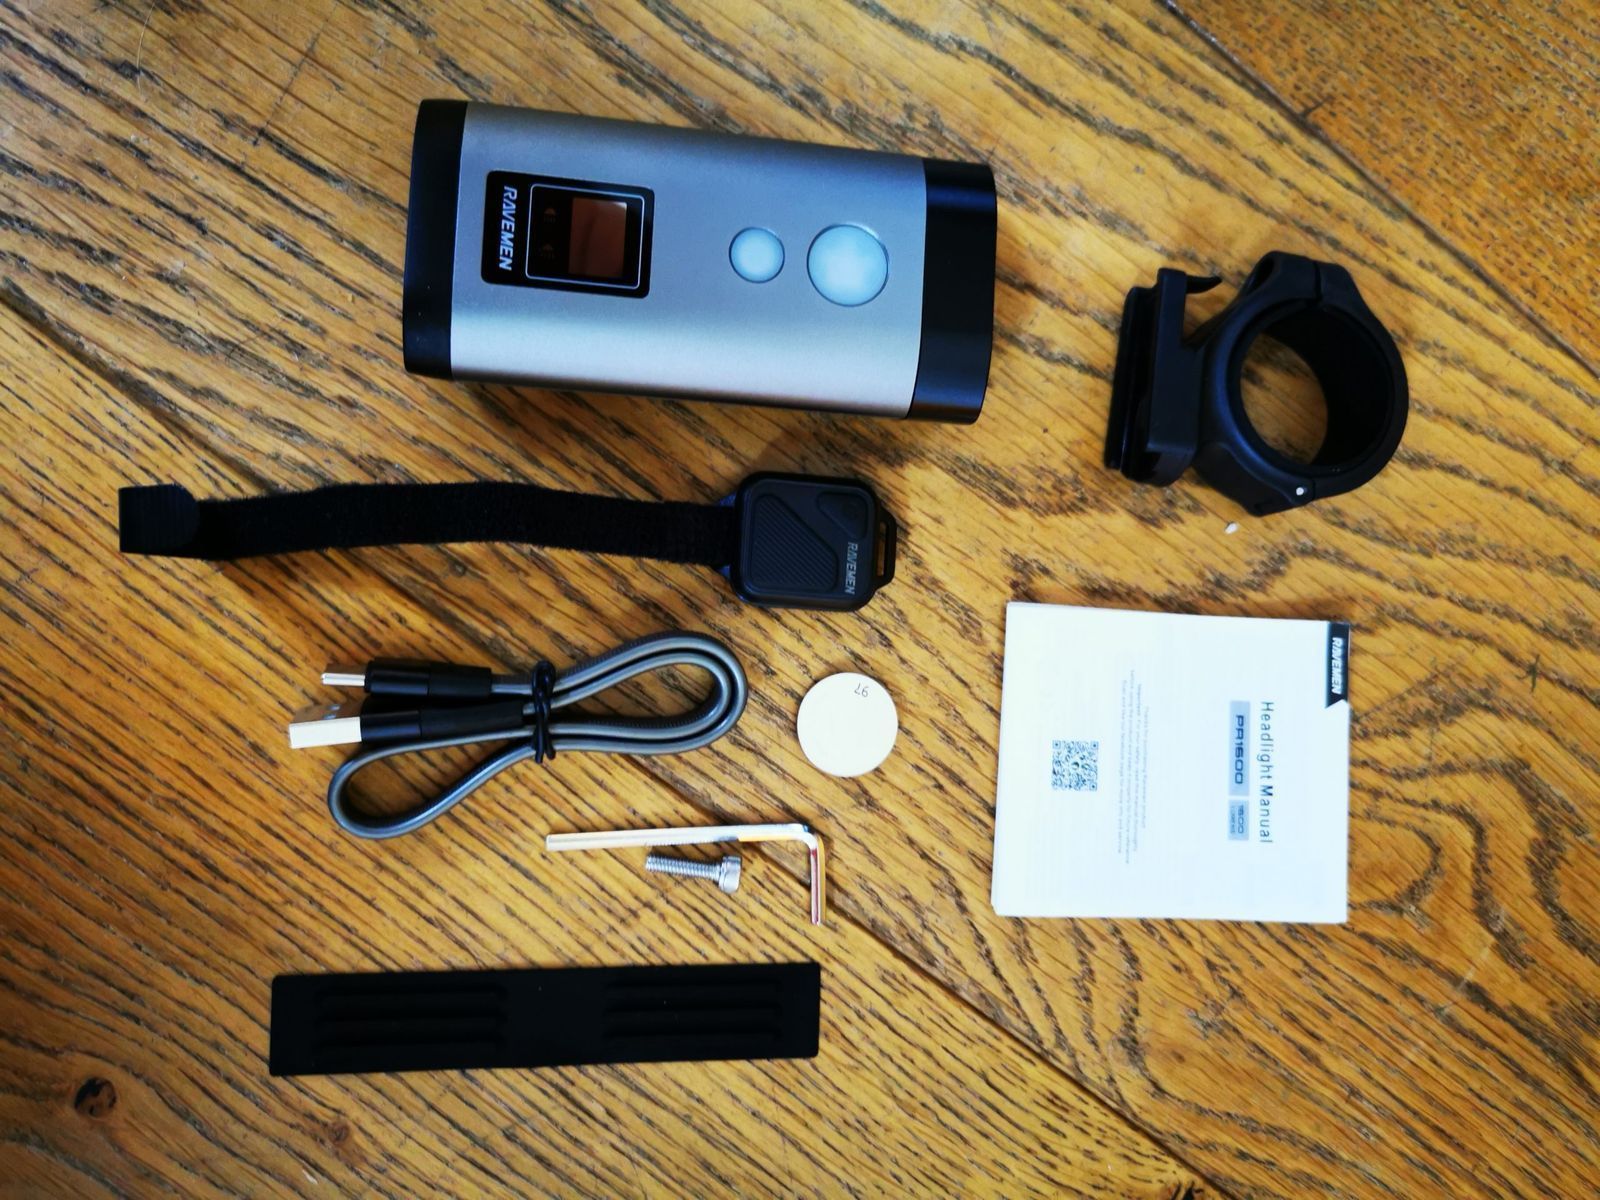
After reading the instructions, a few different features were to be found, not seen on other lights, that would be quite useful for long distance stuff. You can charge your other electronica from the ‘USB out’ port or boost your ride time from an external battery pack using the ‘USB in’. Up front we have two LED: 2*CREE XM-L2s with a supposed lifespan of 50,000 hours. (I am not sure that the internal batteries or even my knees will last that long). The two lenses have differing lens designs. One lens is focussed to replicate a car’s headlights being dipped to oncoming traffic. This dipped mode is operated from the top buttons or the remote as are the different power settings including the flashing mode.
Charging the lights threw up an oddity with its newer USB C-type lead as it refused to charge on my (very latest) Samsung or Huawei chargers but charged up perfectly well on an older phone charger and the laptop. I can only think it’s to do with the higher amps with the newer phone chargers push out and the light having the charging rate throttled back to save it getting damaged. I had no further problems after I had worked out why it was not charging up. Somebody will be along in the comments section below to correct my electrical dyslexia…
Fixing the Ravemen PR1600 to the handlebars is quick and simple using a hinged bracket, with a rubber spacer to adjust the clamp to the various bar diameters, Using the 3mm Allen key to tighten up the stainless steel bolt everything snugs up nice and the light sits nice and securely on the top of the bars, the bracket will fit both 31.8mm and more modern 35mm handlebars. A small compact remote is the final bit to the set up, This one is held on by a Velcro strap and the small compact remote can be put in all sorts of places and, excuse the pun, “be kept close to hand”
I found Ultegra lever hoods are too big as the strap is not long enough to wrap round so couldn’t fit it to the lever hoods. After playing around I settled on where the bar tape ends on the CX bike and between the grip and the brake lever on the mountain bike. I would be interested to see how the Velcro lasts after a winter of being swapped round different bikes. Unless you have extremely wide drop bars, I found it would not fit on the gravel bike with its Shimano GRX in-line leavers and an out-front GPS mount taking up all the real estate
Personally, I have shied away from this type of light in the past due to preferring to own lights that will work on both helmet and bars With the Raveman, you’re stuck using it on your bars. It’s far too heavy to put up top and secondly it would need some proper botching to do it.
Ravemen PR1600 – The Ride
Mounted up on the mountain bike for the first ride out for this Ravemen PR1600 review, the light worked well toggling between full power for the descents and chopping it right back on the cruising bits. This worked well to extend the run times, which on the lowest setting was 20 hours at full charge and 1.5 hours at the full 1600 lumens. A few very rocky descents failed move the light or the mount and it remained solid over the whole test. Running the lights on the CX bike it was much the same story, Though I found I needed full power a lot less. It wasn’t really needed as it was overkill even on fast descents. Dip function was useful as just in the same way you would flash your main beam at an oncoming car to remind them to dip.
Using the different modes is achieved by scrolling through using the small button on the light body or on the remote unit, this is slightly painful as you need to go through the whole range of different power outputs to get back to the setting you were on. If you have just hit the 1600 lumen mode for a descent and want to back to super low for example. Bypass all the settings and jab the big button and ping it’s at full beam and to dip press it again Anything more than a summer weight glove caused lots of fumbling on the remote which was mildly frustrating. Run times were quite accurate and a small red LED display kept me up to date with how long was left in real time rather that a percentage display that others have, and this indicated when both lenses were powered up or not.
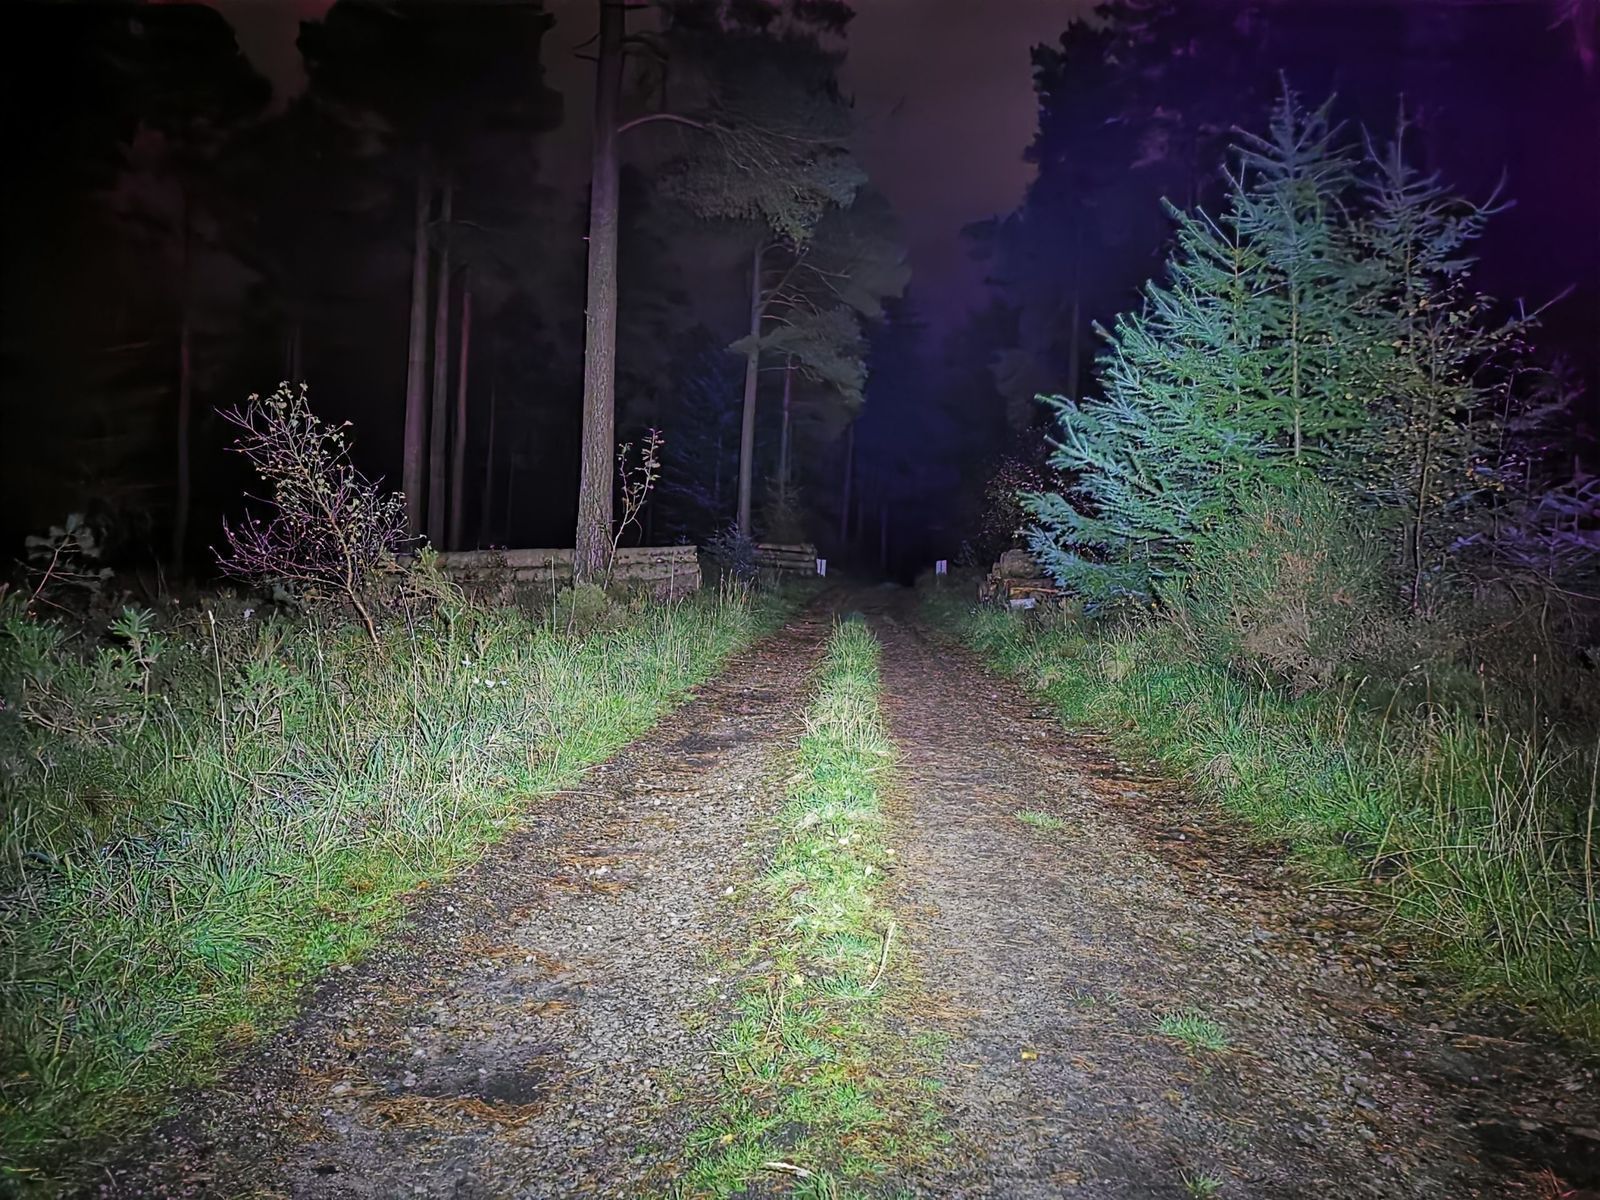
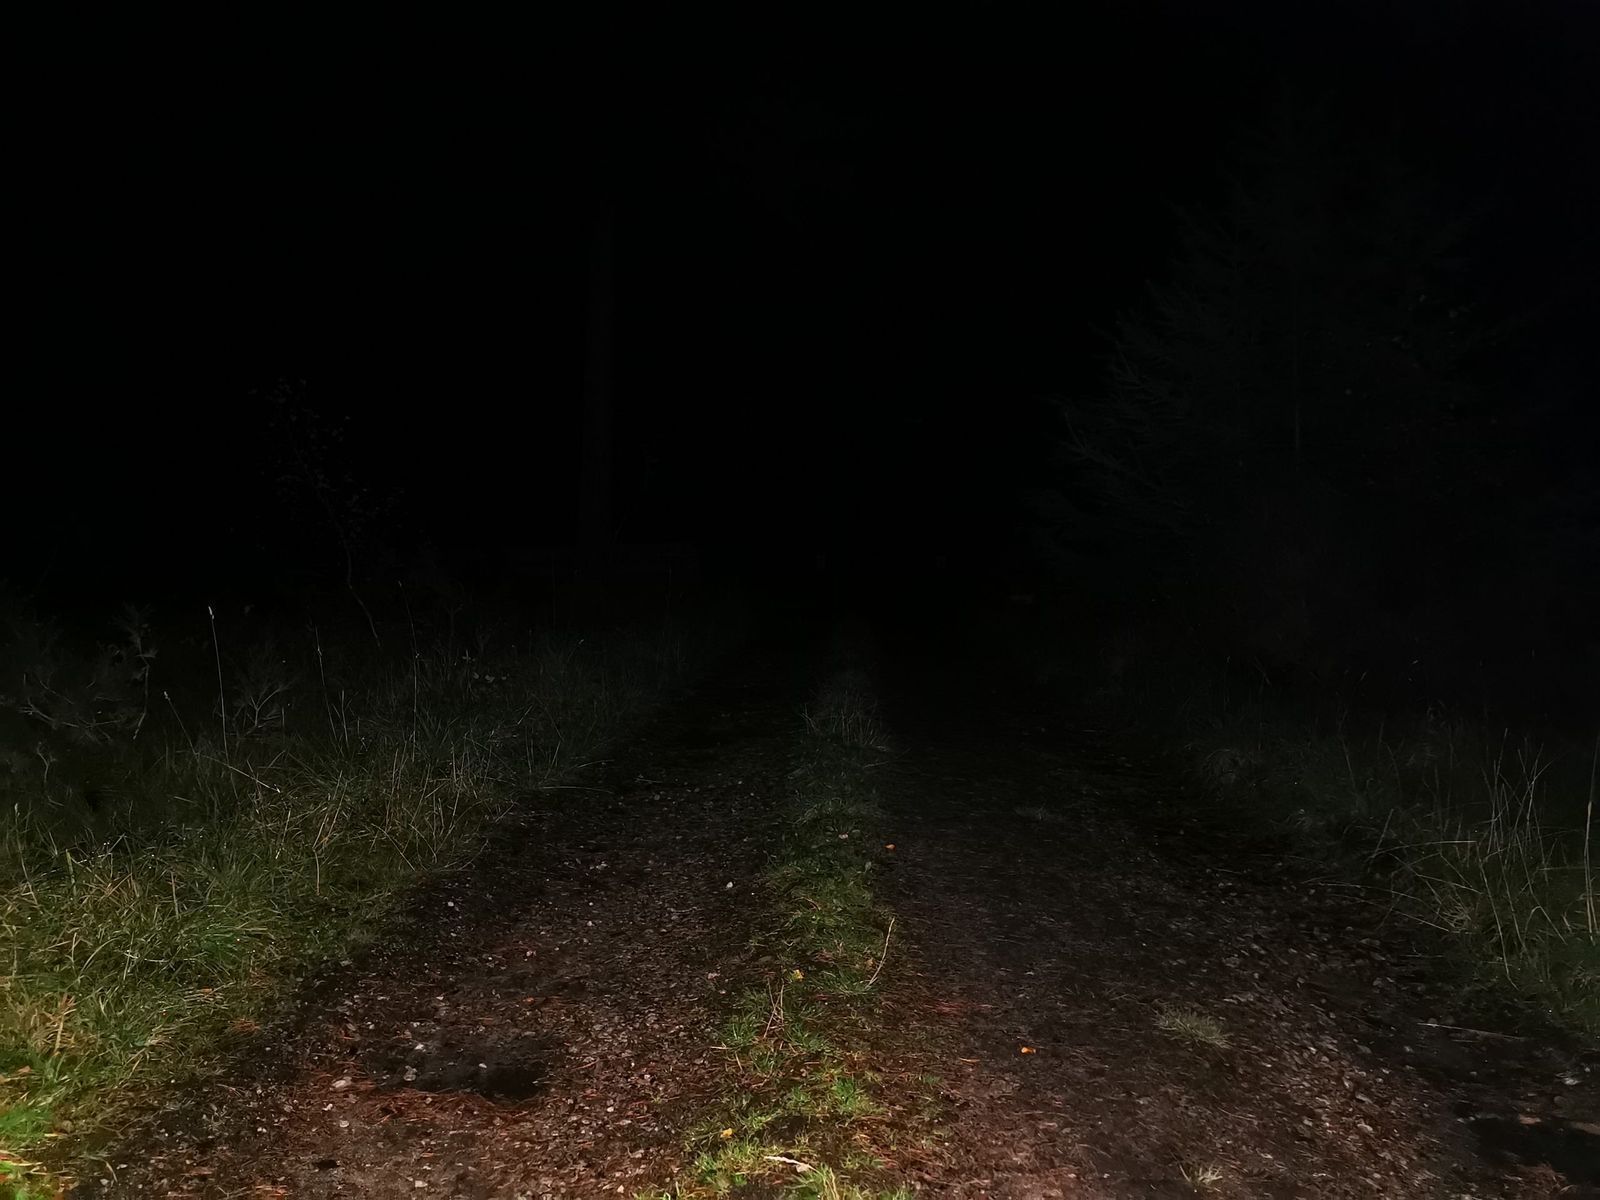
Light spread was spot on with the Ravemen PR1600 (there’s a PR1200 available too by the way) with no dark patches and light filled up my frame of vision nicely on both the CX bike and the mountain bike, Though I still needed to use a extra helmet mounted light when on the full suspension in tight and wooded trails as, like most people, I tend to look through the turns rather than where the bike is pointed at that precise moment Plenty of mud and rain were thrown at the remote and the main unit and, despite some very wet rides and the hose pipe, the still light came up shining…
PR1600 – Overall
As a main light for a gravel bike on longer trips this light would be great, especially with the bonus feature of being able to use it to charge other bits of gear or simply extending night rides with a piggy back battery pack. Being able to dip the lights was a surprisingly useful feature on the tarmac. As a bar mounted light on the MTB it pushed out more than enough power but I would need that second light on a helmet for any really serious night time #enduroriding. At £120, it’s great value with all its tech features and it’s really well made so should give service over a good few years.
Dimensions (Headlight): 100mm (L)*48mm (W)*27mm (H)
Weight (Headlight): 220g
From: www.bob-elliot.co.uk

@chipps – regarding the charging, my PR1600 is the same.
Charges fine plugged into my Anker multi-socket charger, but tried it plugged into the fast charger for my Pixel 4a and it didn’t charge at all – nothing.
I get the same with an old digital camera.
Just to clarify, do you push and hold to dip? I was hoping that you could click between the high and a low mode to save scrolling through all the time.
tim – there are two buttons.
On/Off is one button (the large one), which also toggles between both beams & dipped beam only.
The second button is for scrolling through the brightness levels.
The mildly annoying thing is, if you switch to high beam and then back to dipped, it doesn’t remember what brightness level you were at in the dipped beam but just puts it at max output (for that beam). You then have to drop it down with the smaller button.
The USB C standard means it ‘should’ just draw what the charger attached can supply up to a maximum charge rate set by the Unit, so attached to an older charger it should not try to draw too much current, but attached to a higher capacity charger it should draw it’s (the light’s) maximum, not nothing. If it’s not charging at all i’d be inclined to think it was faulty TBH. Did you try it with another USB cable?
Of course the implementation of standards is not always standard…
Quick question – has anyone else found an equivalent to the remote hold-to-flash that seemed to be a feature on the PR1200? I’ve bought one and I’ll admit I’m a little underwhelmed by the controls which seem to let down an otherwise great light. Particularly with switching between modes always coming back to maximum brightness that @stumpy01 mentioned above.
Ah, just had another play, and a long press on the Big remote button will give it full power after a second or so, but then you’re back to full brightness “dipped” rather than whatever you were on before…