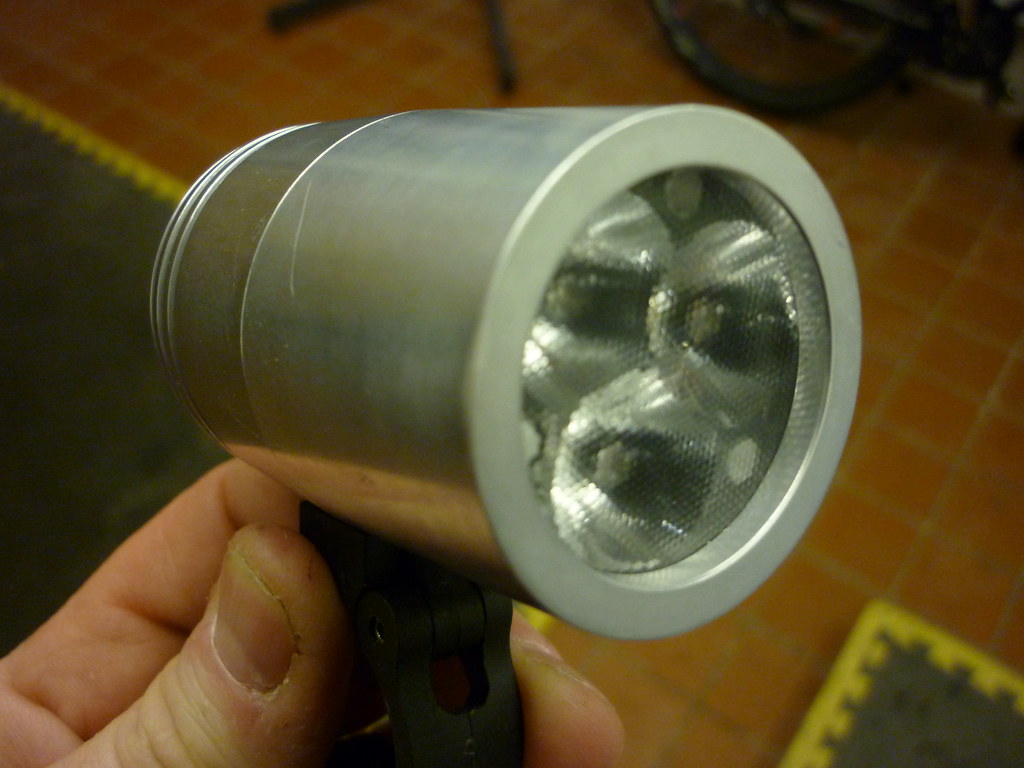
Righto Folks, to follow the thread I started on the Lumicycle halogen conversion. I thought I would do the same with the HID Halogen conversion as people have been asking about it, so here goes.
I used a XPG triple with a narrow lens and a Bflex driver (Approx 1000lumens when run at 1 amp)
JOB 1
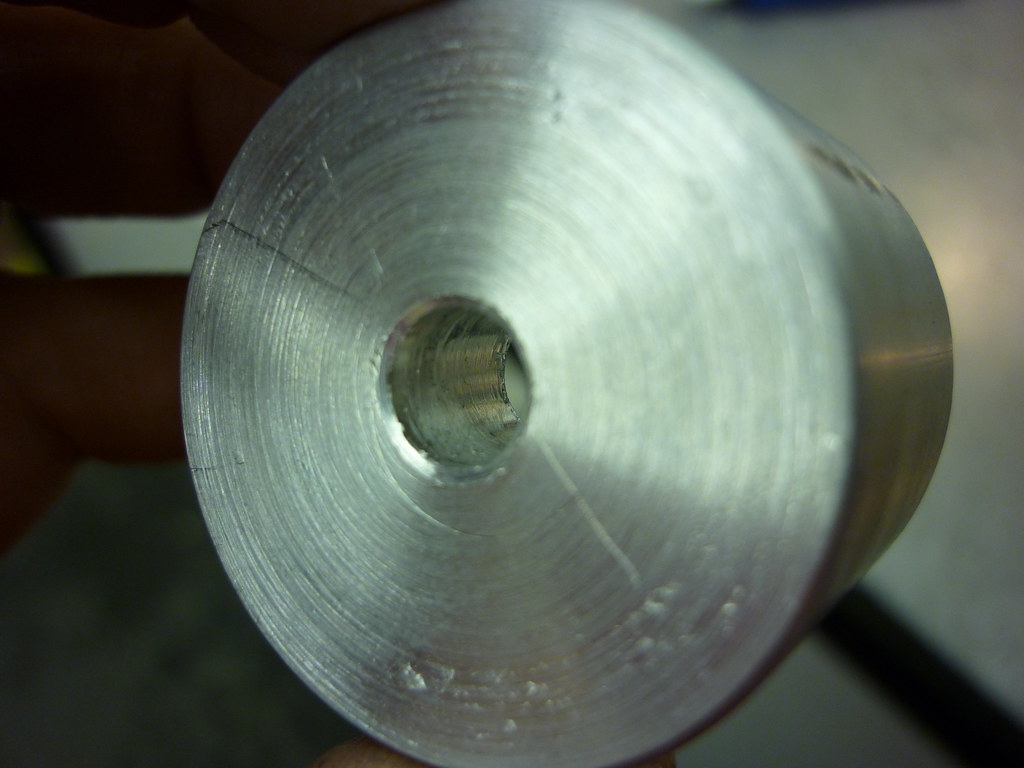
I have had some heatsinks turned especially for the job.
These need a 6mm hole in the centre adding for the LED wires to run through.
and then a small 'notch' filing in it to locate on the screw that holds the mounting bracket in
place. The mountain bracket has a spacer under it, remove this so the screw sits into the housing
like this.
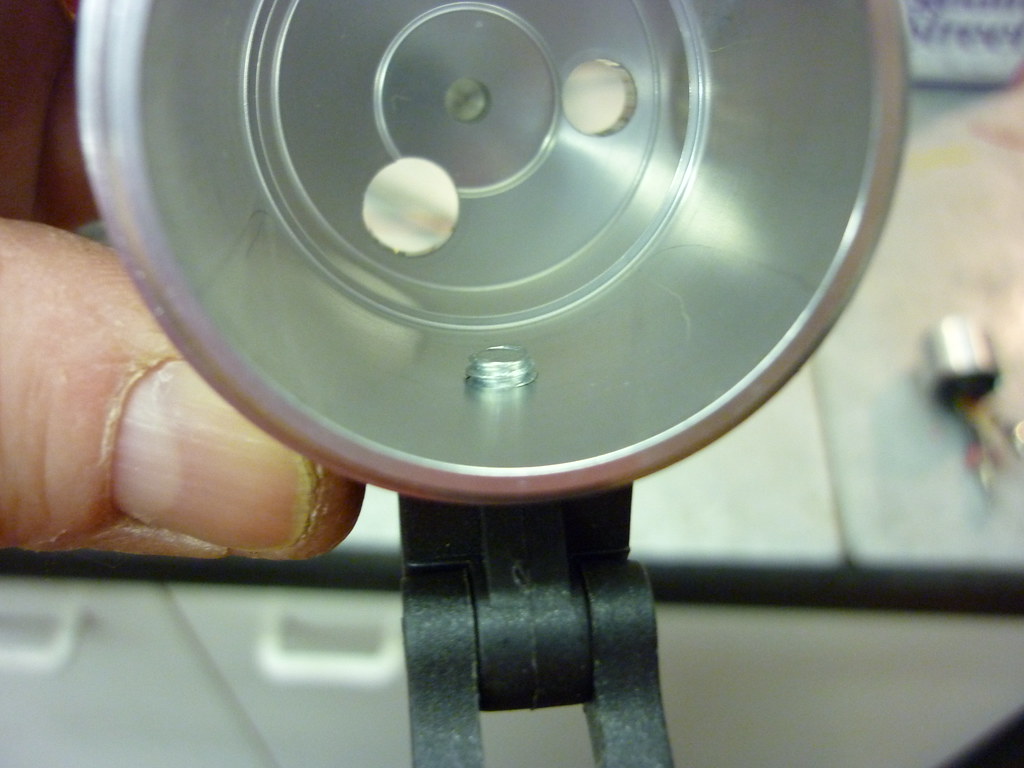
It's best to do this by sliding the heatsink into housing adding the LED's and optic and screwing
the cover in place. File the notch enough to allow the housing screw cover to just fit ie touch
the rear housing.
This completes the heatsink work.
JOB 2
I have used a Bflex driver this allows you to have 5 settings and it's programmable for
Temperature and voltage (ie it will switch down a power level when/if it gets hot)
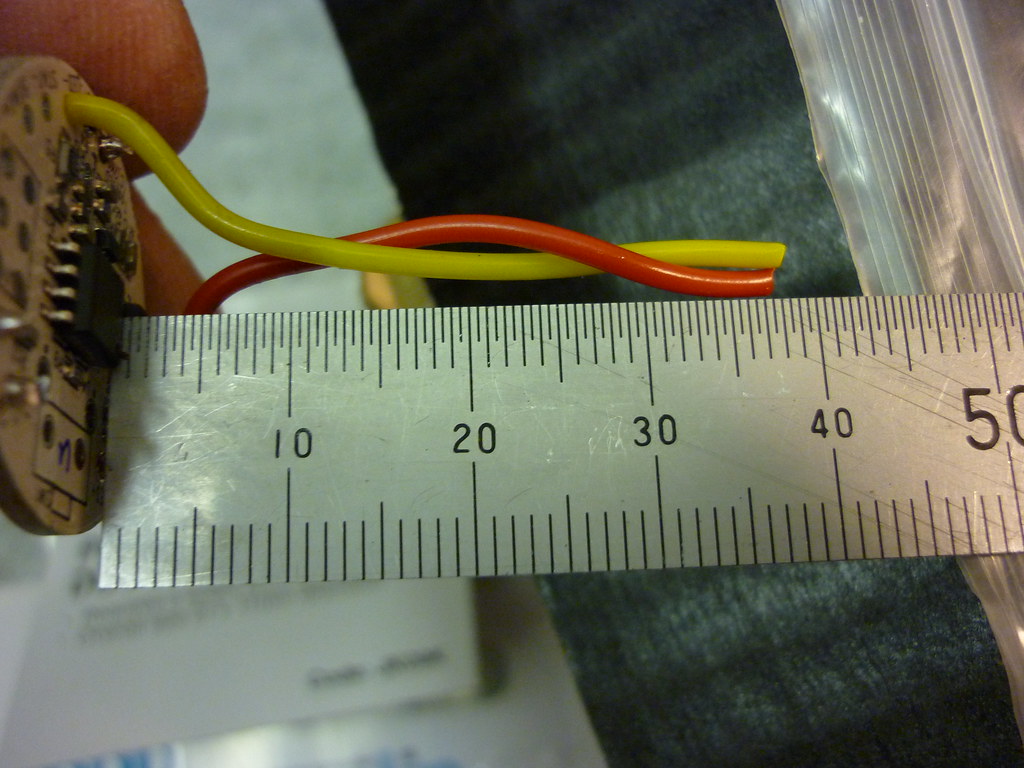
I used 3 amp wire from Maplins.
Solder all 6 connections on the driver. All 6 wire lengths should be approx 35mm long.
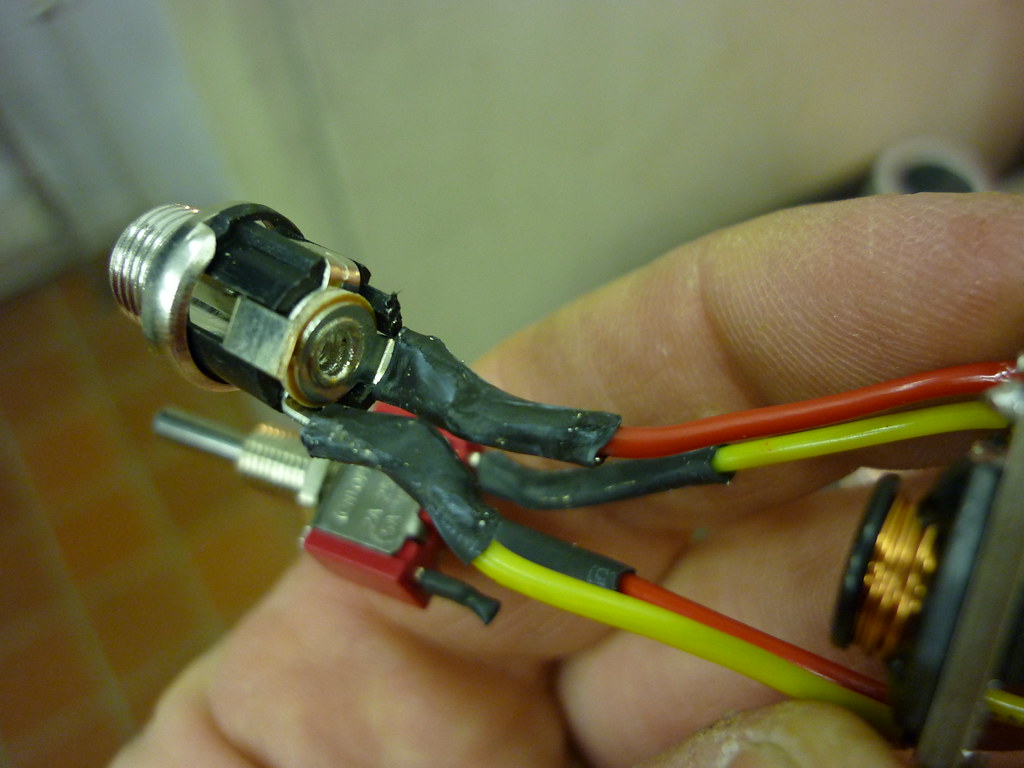
JOB 3
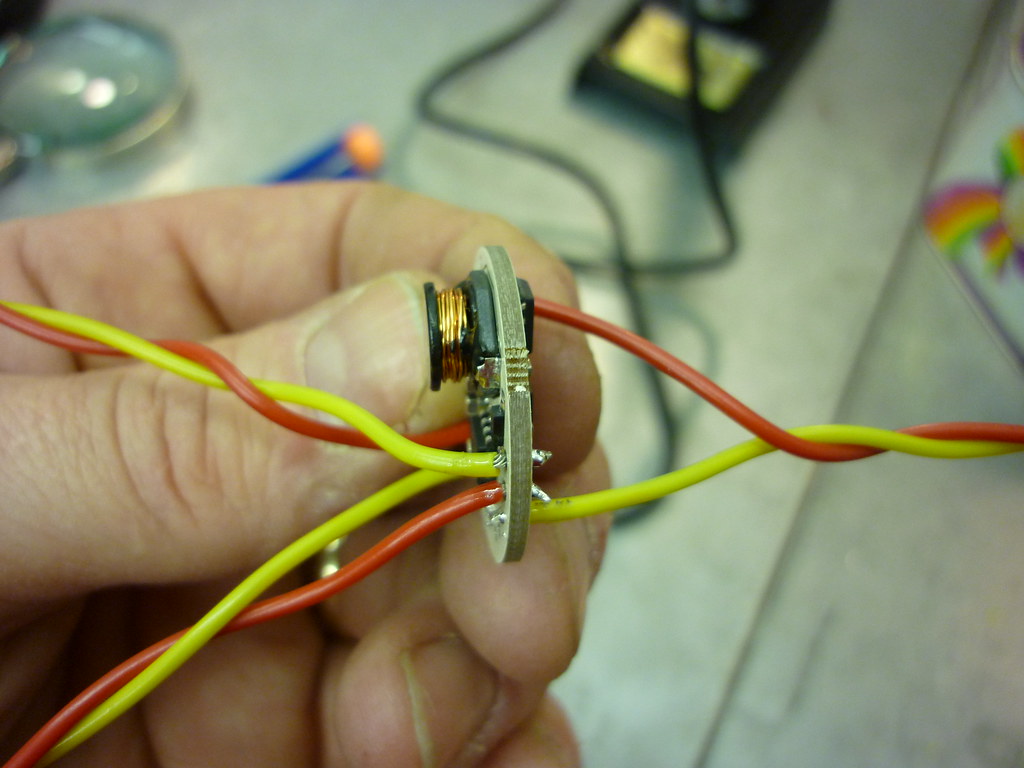
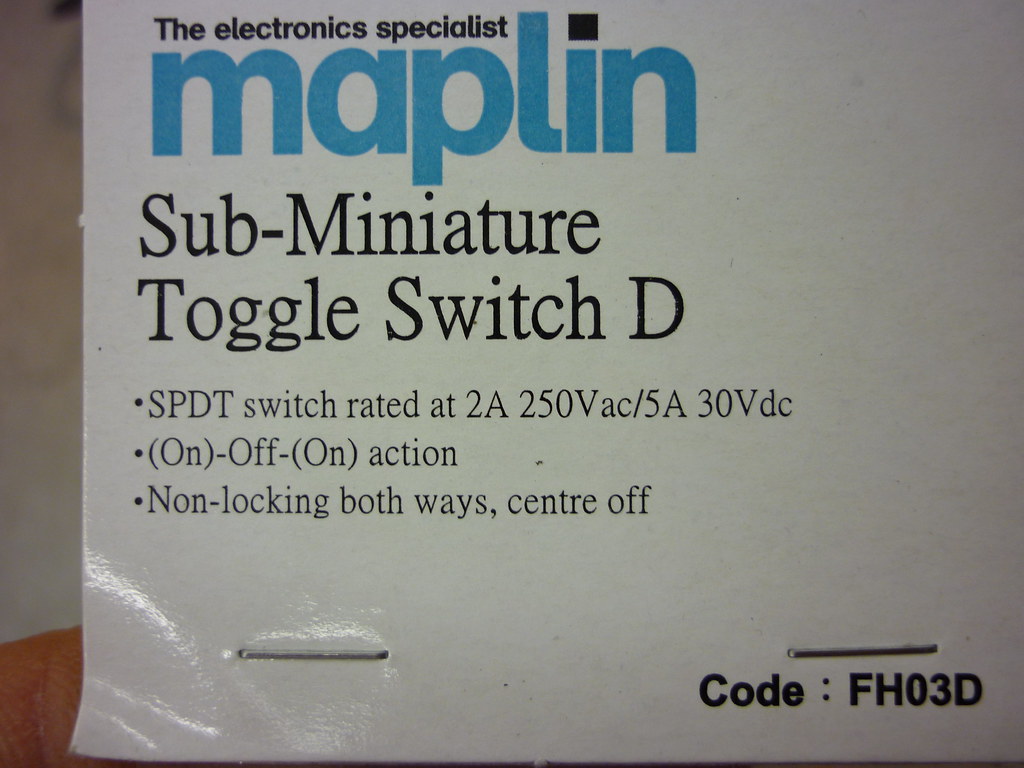
The you will need a new switch it's this one
The switch is a momentary switch, you only need to wire 1 connection on it though (Ie it only
needs to work one way)
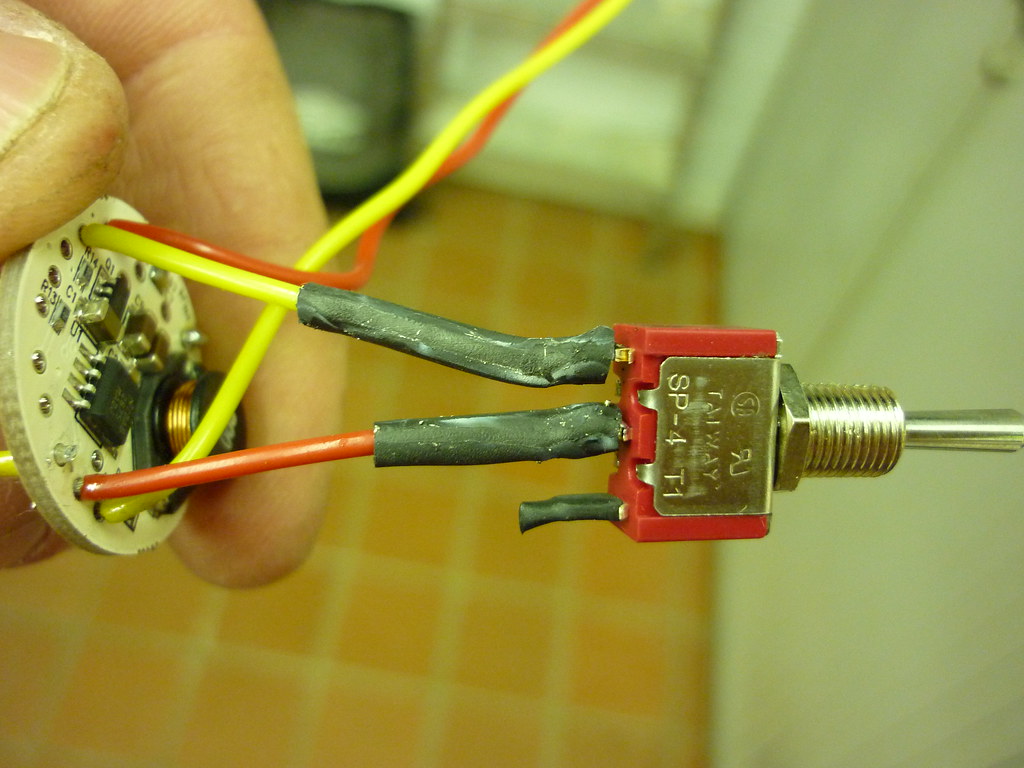
Solder according to the piccy, I use 3.5mm heatshrink as a precaution that is also available from
Maplins.
JOB 4
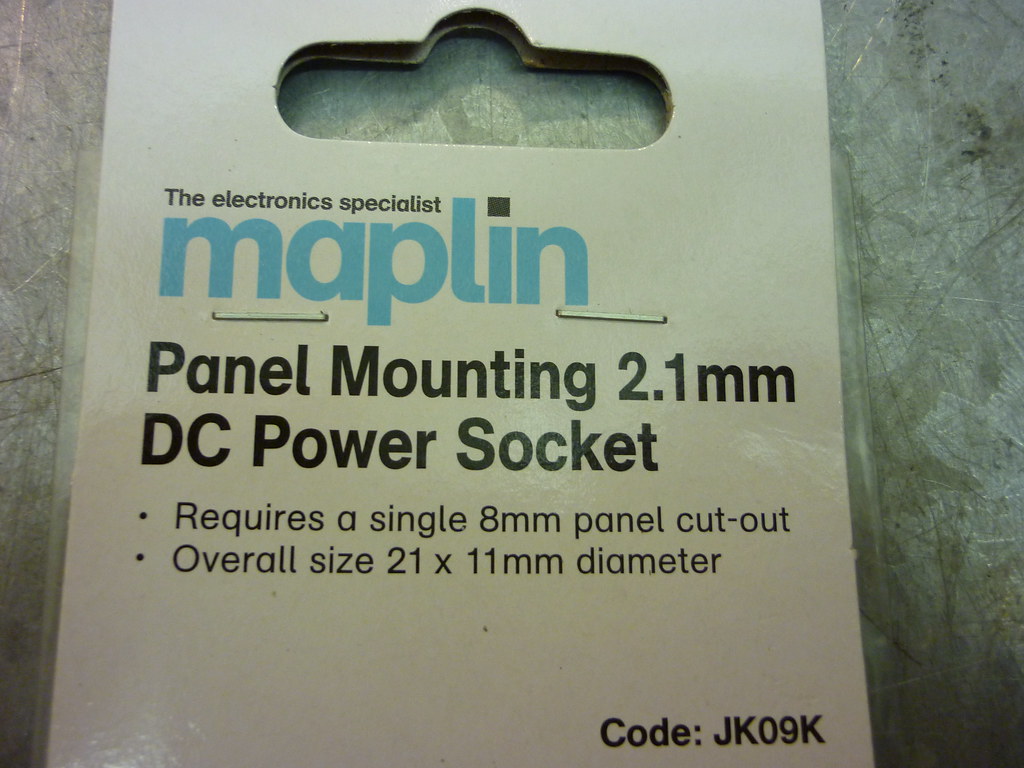
The next thing to do is solder the connection, if you want to us a new one then this is the one
for a 2.1 pin, I think the lumi ones are 2.5mm. Maplin have these as well or you can just use
your old one from the existing lamp.
I cut of one of the outer connections so ther is less for anything to snag when assembled.
My battery is not a lumi one so is centre positive a limucycle battery is centre negative,
remember this when soldering your connnections. Ie for a Lumi battery the neg from the driver
will go to the centre pin on the connector.
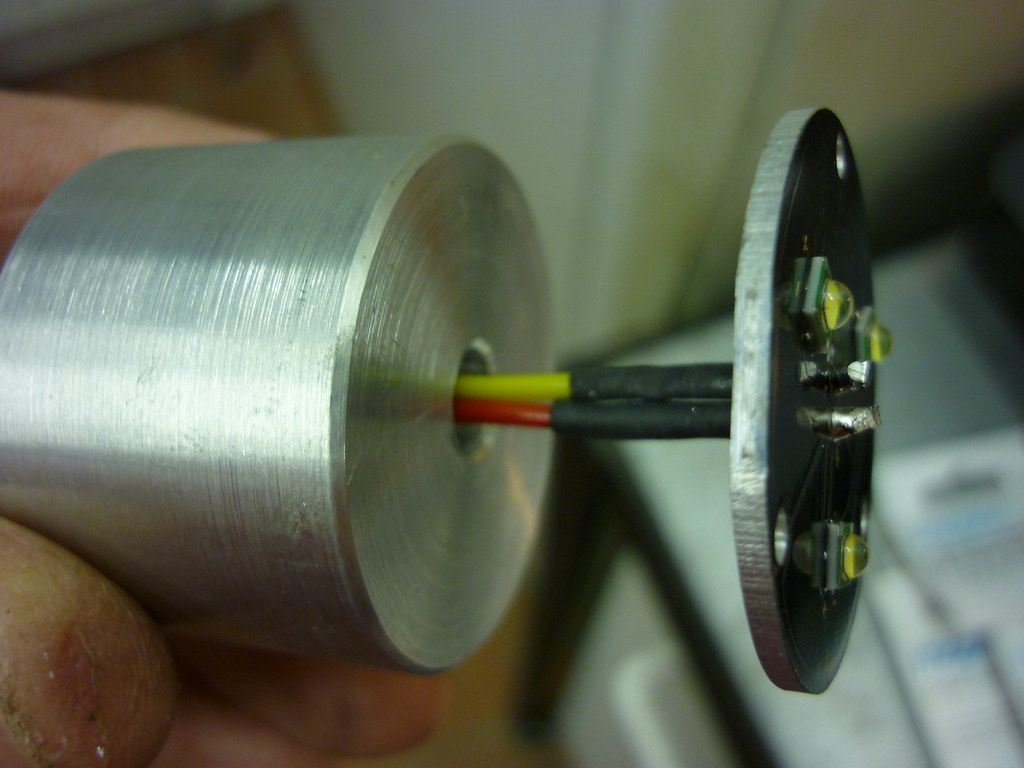
JOB 5
Push the LED's wires through the heatsink and trim to approx 25ish long, ie enough for you to
solder the LED board but not to much that you can't fit it inside the heatsink relief. Then
solder the LED board to the wires.
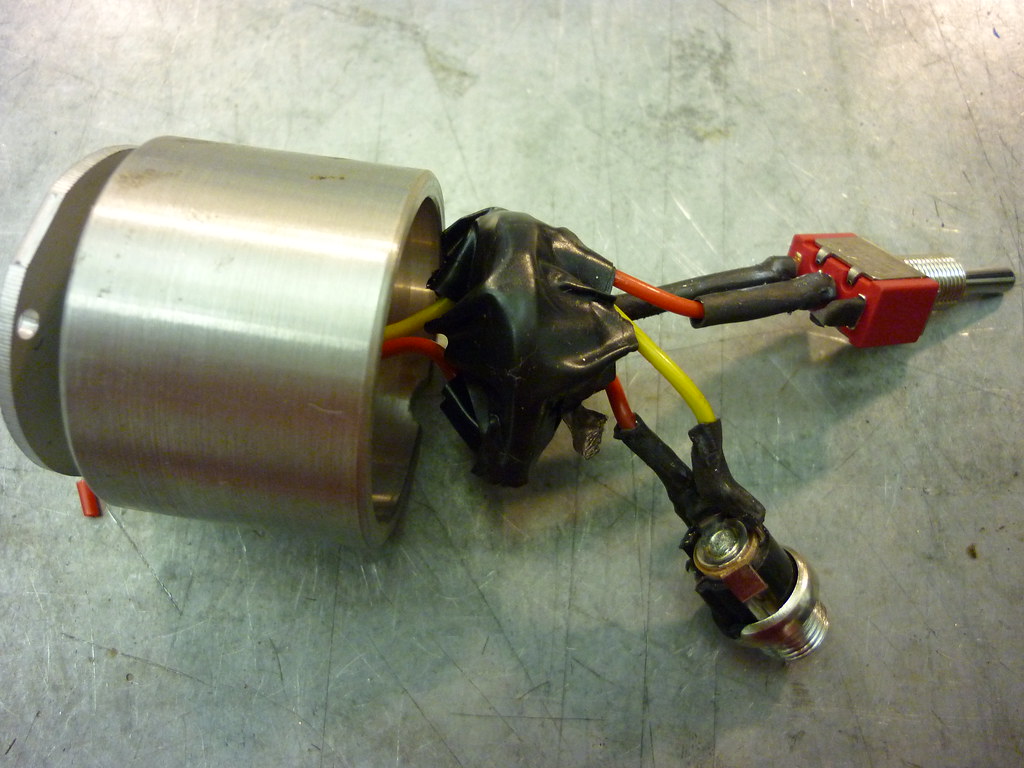
JOB 6
Try a dry assemble before adding any heat transfer compound and make sure everything fits, the
relief in the heatsink allows plenty of room for the wires and driver.
JOB 7
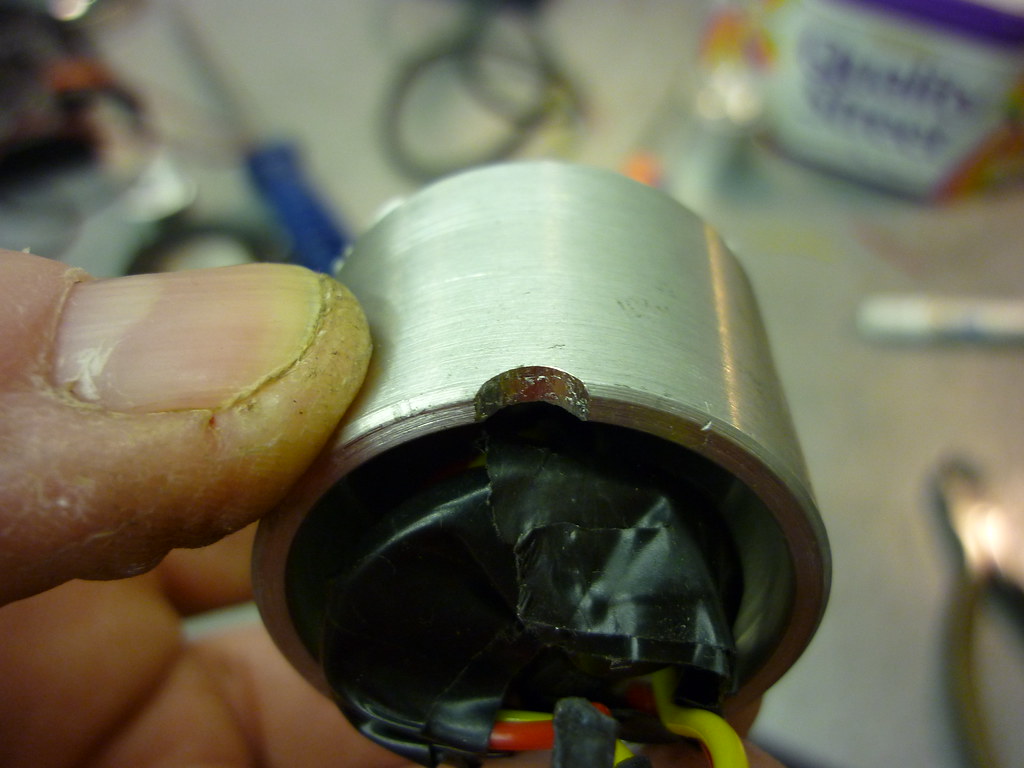
Wrap the driver in insulation tape OR heatshrink. I would have used heatshrink but I did not have
the right size. You will need at least 25mm dia. If using insulation tape, wrap the driver with
at least 4 lots of it and fold it down on either side of the driver.
JOB 8
I used non setting heat transfer paste, as this will allow me to upgrade as new LED's are
available. Put the heat transfer paste under the LED board and push this onto the heatsink.
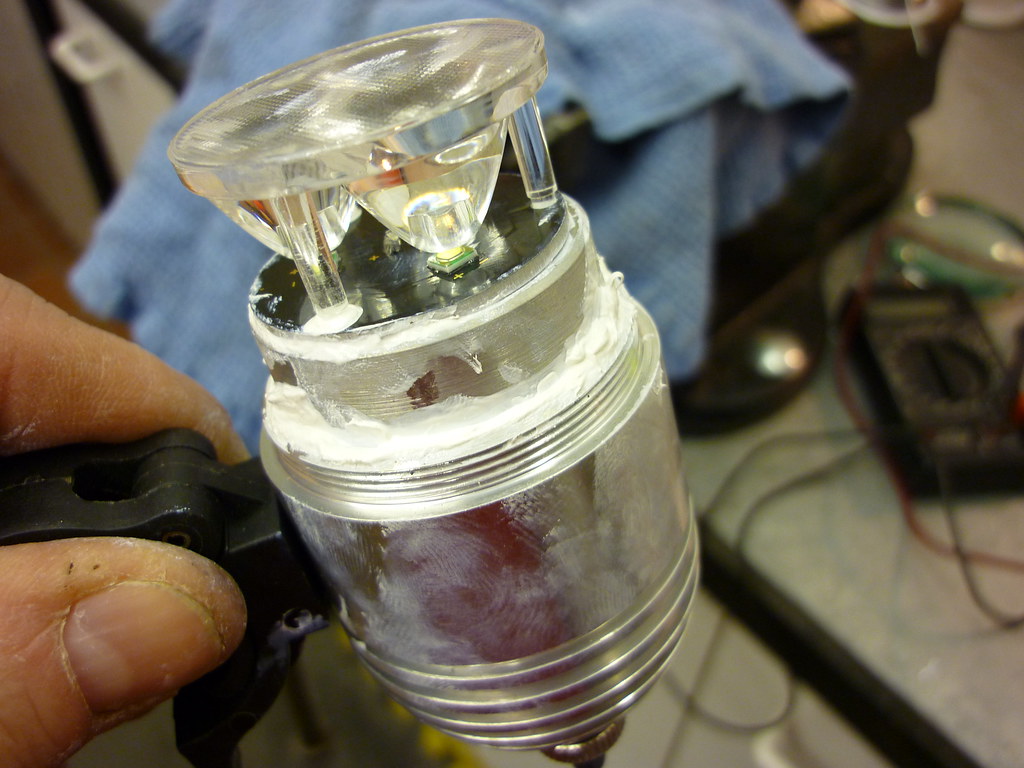
JOB 9
Then put heat transfer paste around the rear of the heatsink and install the lot into the
housing. Clean off any excess heat transfer paste and fasten the connector and switch and then
screw on the front of the housing or cap
JOB 10
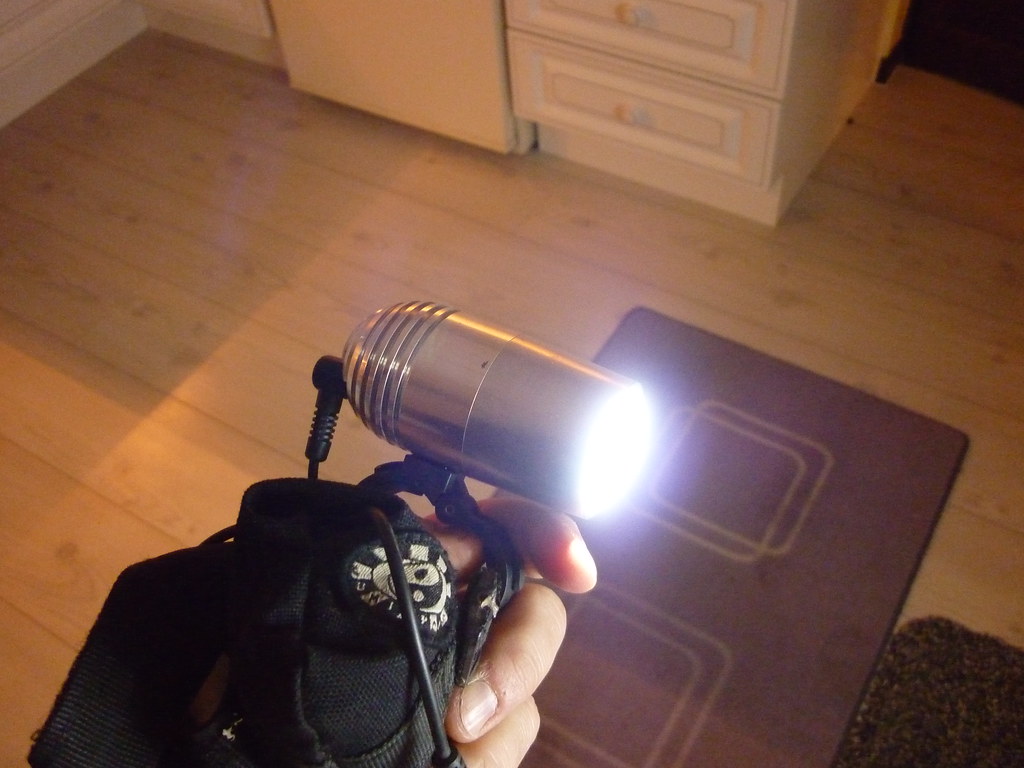
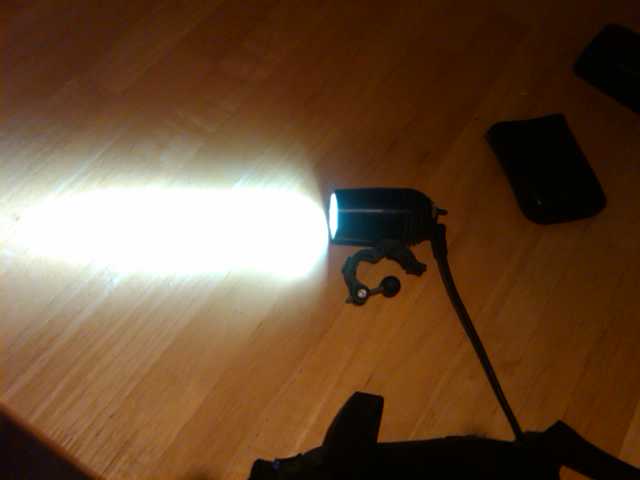
Plug your connector in and switch on and Voila
JOB 11
Alter the settings from the default by folowing the instructions for the driver ie set the max
current (I use 1 amp) set the temp to 80deg C and then open a well earned beer.
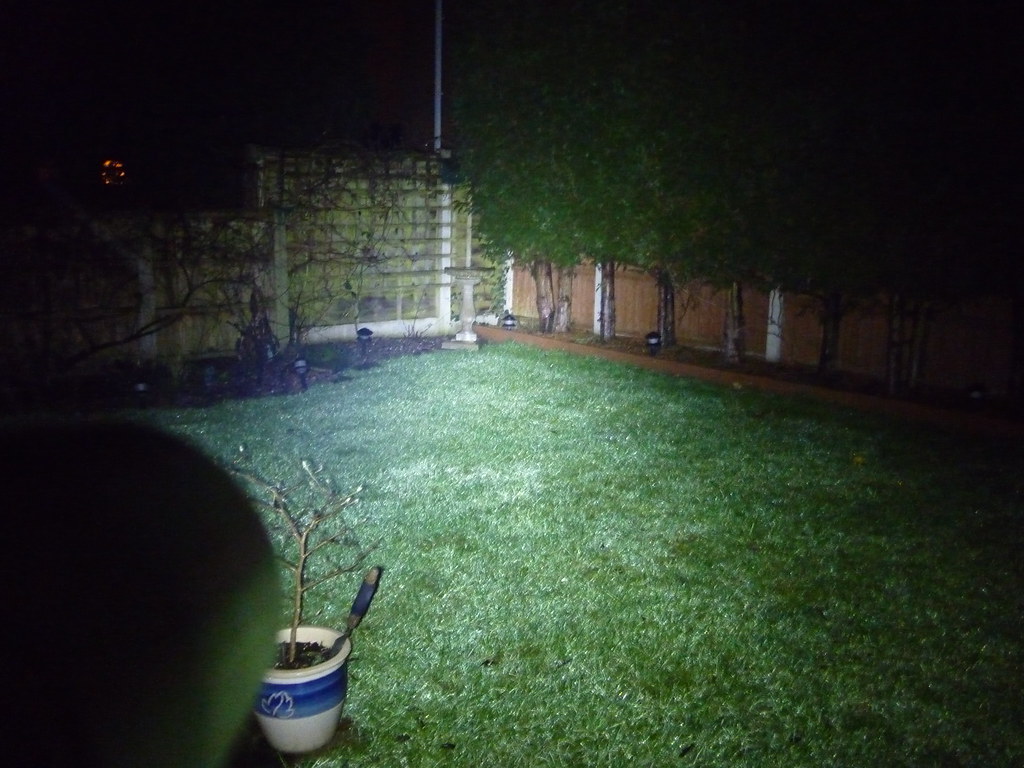
1000lumens (if using a triple XPG LED) and no more hassle about fragile HID bulbs.
any questions mail me it's in the profile.
I have about 5 heatsinks left BTW if anybody wants one.