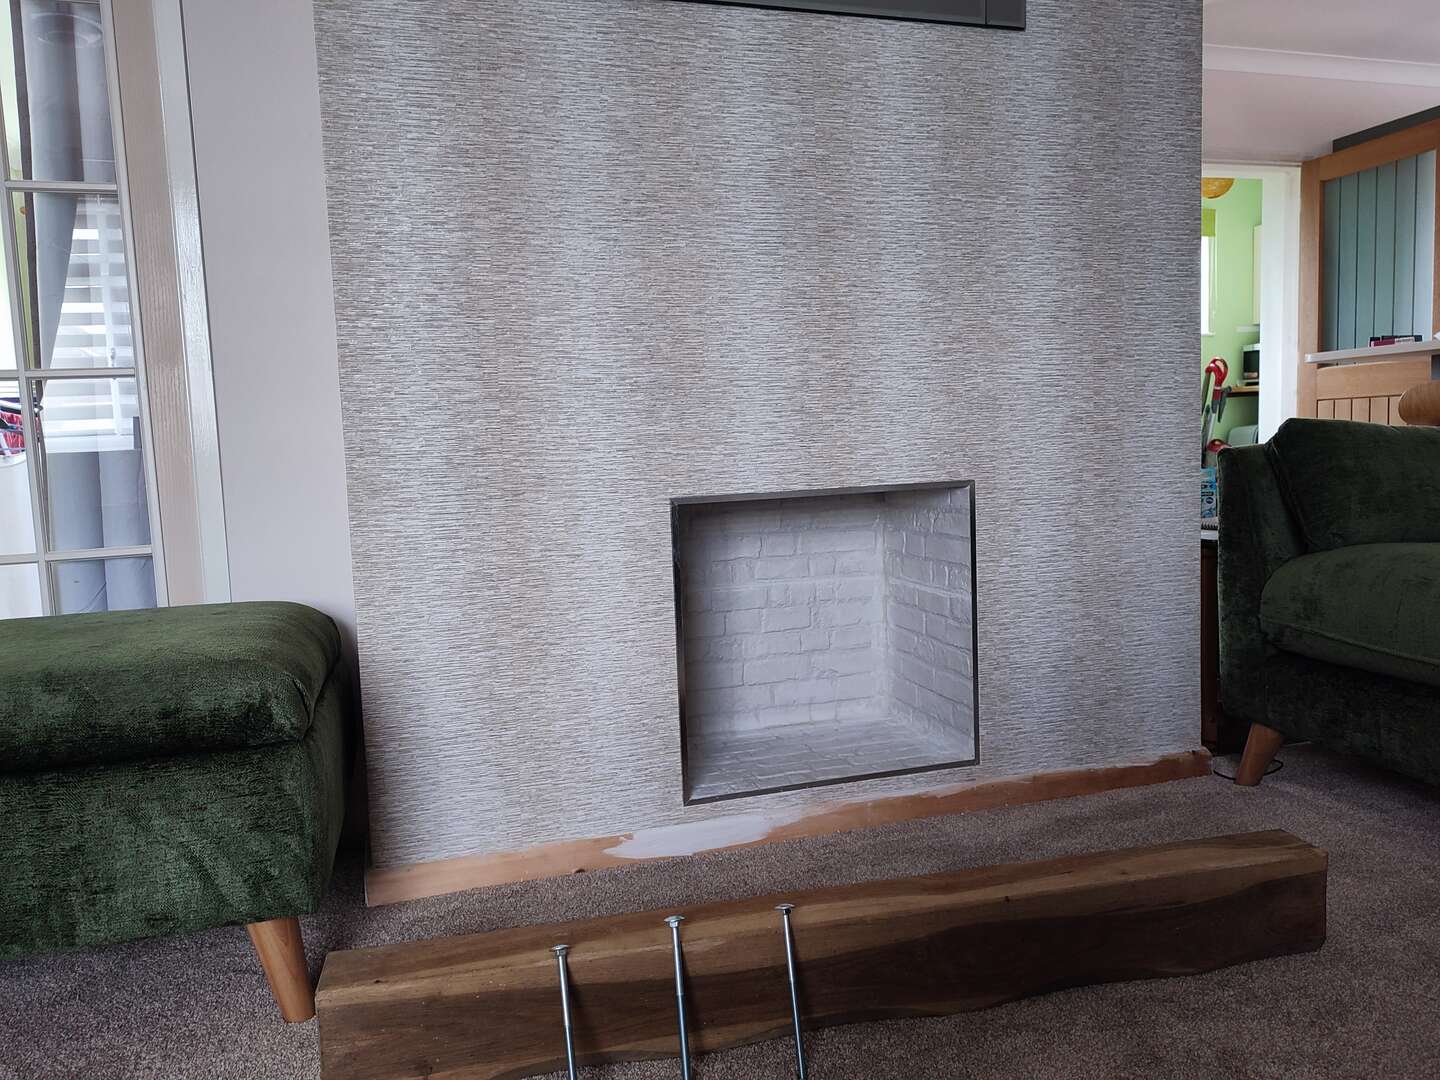
currently sorting lounge out. removed old electric fire and made a 'feature hole' in the hearth, and yesterday picked up an oak beam for a shelf to replace the mantelpiece. done a bit of googling and chatgpt'ing and it would seem the best method is 3x 10mm threaded bar into resin, then push the beam onto the bars so its all hidden.
resin looks easy enough to sort, i assume i just get some to use in a sealant gun, half fill holes, push the bar in whilst turning them apparently, wait to cure, then drill holes in back of beam.
so...... questions.....
ive dug out some carriage bolts from the garage that are the right size but ill obviously need to saw the heads off. theyre zinc plated, will they be soft enough for a bog standard hacksaw blade, or will i need to buy any special blades?
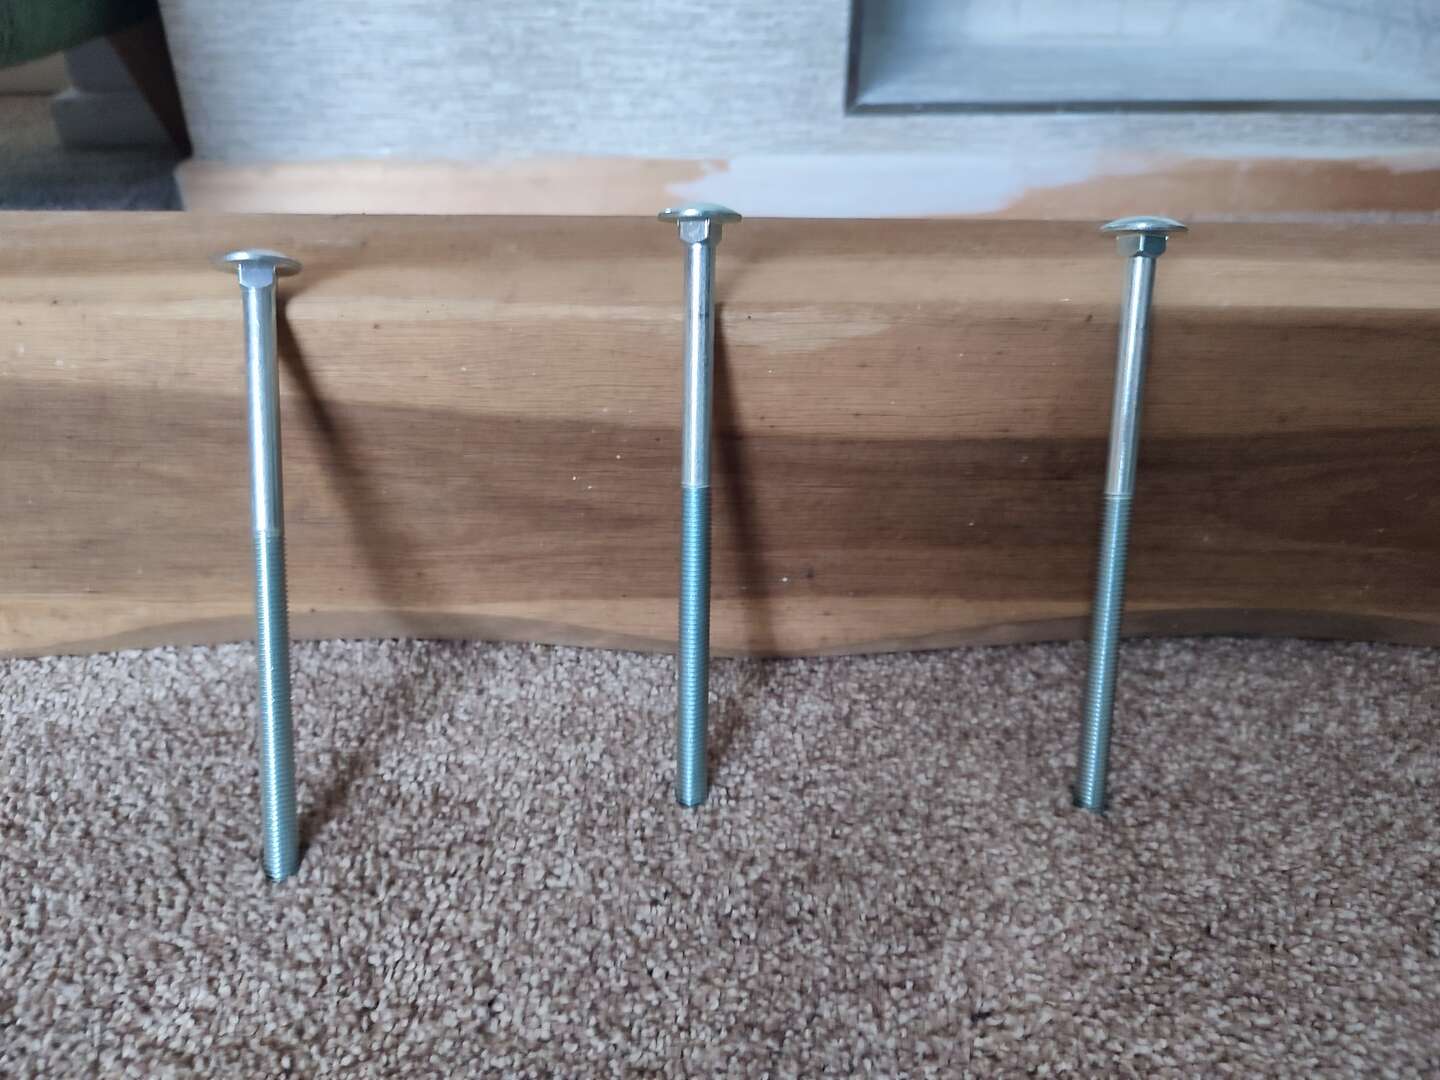
beam is 12kg, 1.2m long and 80mm deep. (140mm height but i guess thats immaterial)
and secondly, how do you prevent the bars dropping even slightly whilst curing, and hence making it impossible for all 3 holes to line up for pushing beam on? chatgpt suggests some 'straws over the top of bar' method that i just dont understand.
anything else that i might not have thought of?
cheers
12kg is the weight of an empty CH rad.
I'd just use long-ish screws and wall plugs. Sink the screws well below the surface of the wood.
Make sure you have a bit long enough to drive the screw.
Smaller neater hole, no need to get a socket in
Pack of screws <£10
Pop two plugs in each hole, tandem stylee, if you want a bit more grippage on a longer screw
sorry, do you mean leaving dowels showing, as per old oak beams in barn conversions say?
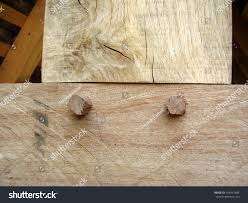
i thought that might look a bit rustic so suggested it but outvoted by wife and mates.
i also dont think itd look bad with those carriage both heads showing, but obviously you have to have access to the other side to pull those in.
either way, it would appear i have to make it floating.
EDIT: actually after re-reading i guess youre suggesting a brown plug, then knock another brown plug in to push it further back yes?
oh and theres no way mrs ex-p will allow screw heads to be showing 🙂
I did that 24 years ago with a similarly sized bit of oak sleeper split down lengthways. Mine is stonehenge shaped, has two vertical sides as well but they are for show really, not to rest the top on.
And it's been there 24 years with no bother with biggish hex headed coach bolts holding it, drilled into the wall behind, put in big rawlplugs from a similarly sized hammer fixing screw and screwed the bolts in. To hide them I drilled for the bolt diam and then did about an inch and a half with a suitably sized big drill bit so the head of the bolt could sit below the surface by enough to put a dowel in after. Then flush cut the dowel off and wax to be same colour as the shelf. It's visible if you go looking but far from offensive.
sorry, do you mean leaving dowels showing, as per old oak beams in barn conversions say?
EDIT: actually after re-reading i guess youre suggesting a brown plug, then knock another brown plug in to push it further back yes?
oh and theres no way mrs ex-p will allow screw heads to be showing 🙂
No dowels, nylon plugs, as per your edit
Decide where the holes will be. Use a chisel to raise a thick shaving on the surface. After the shelf is fixed, glue the shavings over the holes
It used to be called fox-nailing, but that's a whole different thing now!
I'm not sure how you'll pull the beam firmly onto the wall without access from the front. A loose 12kg shelf would annoy me 😊
couldd you rout out keyholes in the back of the beam, with plates with heyhole slots in it, and then use the heads of those bolts to slot it onto?
well i dont have a router, but i could maybe find a mate with one if that was the best method. you think theyd be strong enough?
just offered the beam up to the wall and the backs a bit bowed (the middles a bit higher throughout the length of it) so would leave a smallish gap rather than snug against the wall. is oak easy to plane? i tried a sander and it didnt touch it.
Its probably easy enough to plane if you've got the right planer. There's a reason the timber in all those medieval buildings that were constructed of oak frames has survived 400+ years - it's quite hard, and resilient stuff. Unlike, say, larch.
just offered the beam up to the wall and the backs a bit bowed (the middles a bit higher throughout the length of it) so would leave a smallish gap rather than snug against the wall. is oak easy to plane? i tried a sander and it didnt touch it.
It'd probably be easier to relieve the plaster on the wall
The way I'd do it would be:
1. Ensure that wall is sound and can bear the weight.
2. Position beam and mark wall. Mark midlines on beam too.
3. Ensure beam is flush or rebated into wall.
4. Select appropriate no. of 10mm screwed bars. I'm very risk averse so I'd probably use 5 over the overall length, at 20 cm centres from the midpoint. You want a good solid feel to the wood.
5. Drill appropriate holes into wall to 100mm depth. Blow out, inject resin closely followed by threaded rod protruding by Approx. 60mm.
6. Use tape or whatever to ensure that each stud is perfectly horizontal and perpendicular to the wall.
7. Once resin is set, cut to length if need be.
8. When all is set, offer up the beam to the now solid studs and push hard enough to leave witness marks on the beam.
9. Drill appropriate size holes slightly overdepth into beam.
10. Trial fit beam to studs. It probably won't fit perfectly at this stage.
11. Identify problematic stud/ hole and slightly enlage the hole. If need be a bit of gentle and judicious wiggling of drill may suffice but a reaming drill bit is better. Clean out the holes.
12. Once you are happy that beam can fit close, flush and horizontal against the wall... ...check again...
and again.
13. Inject resin into each hole in the beam and then mount to wall.
14. Adjust and support securely until resin sets.
Done.
I’d do what’s written above, except I’d chem fix the studs into the beam first instead. Seems like it would be easier to get them straight using a set square and be able to get an accurate measurement to transfer to the wall
Chem fixing metal studs sounds ridiculously over engineered. I pity the poor bugger who tries to remove that in the future.
I assume you are going to put stuff on the shelf?
3 of these with an ornament in front
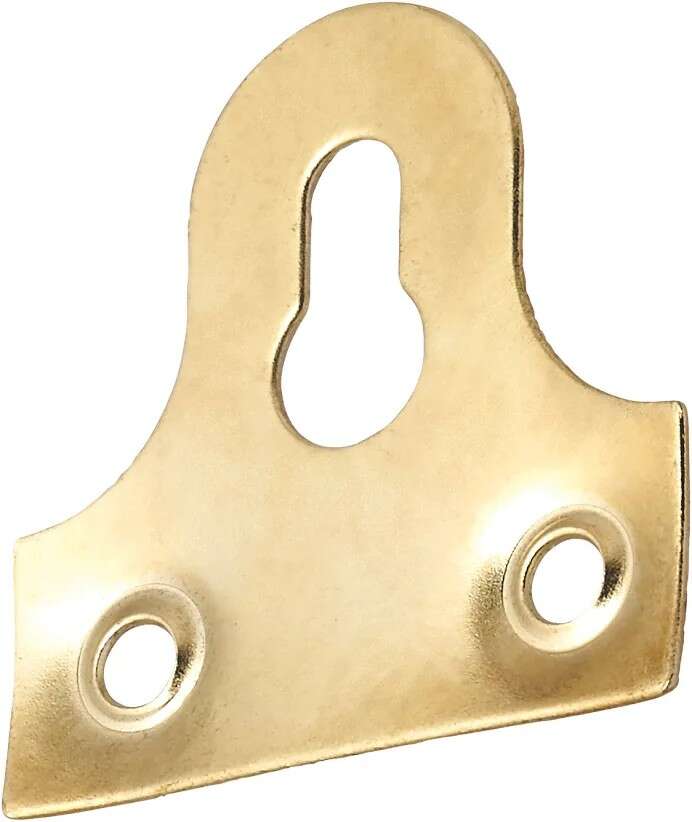
Not quite the same but I hung a lump of oak about 250mmx800mm from an RSJ. I used the keyhole method as above:
- Cut a bit of steel plate, a bit smaller in both dimensions.
- drilled 4 holes, about 50mm from each corner.
- Drilled 4 smaller holes about 20mm to the right of each one.
- Using a Dremel, extended the smaller holes to meet the larger ones, creating 4 keyholes
- Put the plate on the back of the wood, and drew round it
- Using a router, cut a relief out of the back of the wood so the plate sat flush.
- Marked the keyhole locations on the wood.
- Using the router, created clearance behind each of the keyholes to allow a screw head through it.
- Offered the plate up to the ceiling and marked the holes
- Fixed screws into the ceiling and left heads protruding
- Drilled and countersunk about 8 holes in the plate and then screwed it to the wood.
- Offered up the wood to the ceiling, slid it along to lock into place, and done.
Sounds more complicated than it was. My education in this sort is thing is an adequate pass in a computer science degree 20 years ago. It hasn't fallen down yet!
If you don't fancy cutting the plate, you can easily draw up a sketch in something like Tinkercad and have a company laser/jet cut it for you.
Likewise, you can probably find somewhere local with a planer/thicknesser that can shape the back side of the wood.
I’d just buy some floating shelf brackets rather than old bolts glued in, i.e
https://www.regalraum.com/en/bigfix-floating-shelf-brackets.html
My 3 solutions for fixing a heavy thing to a wall:
1) French cleat (dead simple if you can get a bit of a rebate in the back)
2) Support the piece with some props till the bond goes off
3) Support the piece with instant grab adhesive while the bond goes off. (Hot glue gun or double sided tape for example)
I used something like these for a mantelpiece, hidden, plus you have a bit of vertical adjustment. Just needs a hole drilling into the wood.
Concealed Shelf Support, for Installation into Masonry Walls - Häfele U.K. Shop
Yeah you really don't need epoxy fitting for that daft wee lump of wood. Kilo or Richard are far simpler and still over engineered.
Throw in some 5mm x 70mm goldscrews or similar from screwfix and some fischer duopower plugs and you are golden.
If you want it to look really need draw around it and actually cut the plaster out then use you fixing method of choice and then plaster up to the timber. Thats how it stops looking like a bit of oak bolted to the wall and like actual fabric of the building.
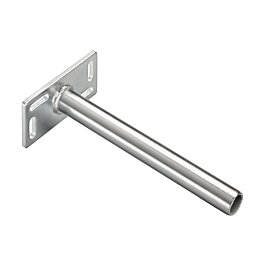
When I bought a similar beam from Celtic Timber it came with some of these https://www.celtictimber.co.uk/collections/hardware/products/straight-brackets
I didn't use them because I was using the beam as a mantelshelf but they looked perfect for the job.
REGALRAUM.COM
Floating shelf bracket - invisible attachment ✔ shelf boards with 1,8 cm bore holeshigh load-bearing capacity
CELTICTIMBER.CO.UK

Re screwing those celtic timber things. Its hard to see but between the screw and the knurling are a set of flats for a spanner.
12kg isn't particularly heavy kitchen units are rated waaaaaay heavier than that and look at their fittings.
And more significantly its very close tho the wall so there isn't much cantilevering going on even if you stood on it the weight is essential pushing down only.
Any of the options will work. The celtic imber one are probably the easiest aslong as you can drill straight.
Re drilling. I suggest you make a template. Drill holes in a scrap bit of ply/mdf/wood drill through board into the wall then dril through board into the beam.
Do the wall first incase the drill takes a walk in the plaster
how do you actually screw them into the plug if theyve got a smooth rod over the top of them?
Sorry, should have linked this in the first place
https://www.celtictimber.co.uk/blogs/guides/oak-beam-straight-bracket-installation
thanks. was just about to pull the plug on some but then got thinking about the eccentric nature of them. i get that theyre eccentric to halp with levelling up, but if i had 3 of them in the wall, arent i going to have a bit of a nightmare getting all 3 to match up the holes in my beam?
lets say i drilled 3 perfectly spaced holes in the wall and beam. as im spannering the rods into the wall theyre not going in perfectly are they, theyre always going to be eccentric to some extent and never all perfectly matched?
so say for a 2m beam, i drill 3 x holes at 500mm, 1m and 1.5m. the first one is fine at 500mm, but the 2nd two are never going to be at exactly 1m and 1.5m distance are they? am i missing something?
thanks
That's why I prefer a French cleat! It doesn't need to be the whole length. If you can rout out a couple of rebates you can fashion a couple of cleats.
That's why I prefer a French cleat! It doesn't need to be the whole length. If you can rout out a couple of rebates you can fashion a couple of cleats.
i did ask around my mates, but none have a router, so think i'll persevere with above method. i think i solved the issue myself whilst pondering in the bath 🙂
i wouldnt actually need to make the pins match the beam, id be putting the pins in first, rotating them until perfectly level, then drilling the holes in the beam to match.
is it a mantel and thus do you have access to the back in the chimney throat ?
I resined threaded bar into my oak - then drilled holes in the chimney breast BELOW the register plate. and bolted it from the back - easy to fit , easy to remove for painting.
my oak was substantially more than 12kg. - volumentric calcs place it at nearer 40kg . its been there for 15 years now.
no access from the rear mate, see photo in original post.
You just rotate the pins until they line up don't tight up tight like you would with a screw for the bracket.
Like i say use a bit of wood as a template. Drill through the template for both the wall and the beam and you will be so close the pins will take up any minor adjustments.