

That guitar is truly a masterpiece, a thing of beauty and a joy to behold! 🥰👏🏻👌🏻🫶🏻
I have neither the ability, skill or facilities to even think about making something like that, and the increasing level of arthritis in both my hands is starting to make even small jobs harder to do.
I did put a design on a tee shirt yesterday, though; I’ve got two King Crimson tee shirts with the cover designs from two of their three 80’s albums, ‘Discipline’ and ‘Beat’, the red and blue ones in the pic, but ‘Three Of A Perfect Pair’ is only available with the name of the band and album printed across the top, so as it’s a fairly simple image, I thought I’d have a go at doing my own.
I found a good quality image, cropped it and printed it to about the size of the others, spray mounted it onto one side of a Cornflakes box and very carefully cut it out as a stencil. After lots of digging on the interwebz, I found one bottle of blue acrylic fabric paint at Hobby Craft in Bristol, put some into one of those little plastic pump spray bottles and watered it down a bit. I lightly sprayed adhesive on the back of the stencil and got it all lined up and flat, on top of an old wooden drawing board with everything else masked, and sprayed it carefully a couple of times, to avoid it puddling.
For such a half-assed setup and for a first attempt, I’m really pretty chuffed with how well it’s worked out! I’ll be wearing it to the pub tomorrow evening. 😁

^Looks smart.
Thank you all for the kind comments about the guitar. I'm pretty chuffed with it myself.
increasing level of arthritis in both my hands is starting to make even small jobs harder to do.
I sympathise with you. My eyesight is showing signs of age which I find tremendously frustrating. I'm trying to get this sort of thing out of my system while I still can.
I absolutely love this thread, as on one hand (and one page!) you have custom handmade guitars, and then stealth giraffes also. And both are absolutely mint!
This week I have made* the Earth so on Sunday I trested
[url= https://i.postimg.cc/QdNSLtN0/Globe.jp g" target="_blank">https://i.postimg.cc/QdNSLtN0/Globe.jp g"/> [/img][/url]
*Okay, it was a kit but still quite fun to put together. The globe rotates when you turn one set of gears, the viewing lens moves up and down so you can see the detail of a specific area and the is an LED loop inside so it illuminates if you want.
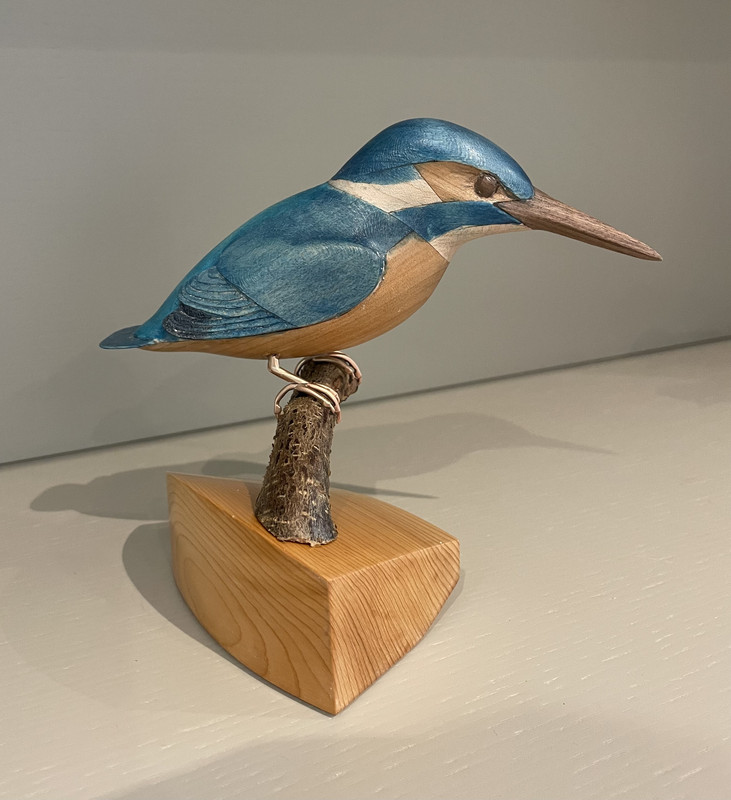
That kingfisher is a lovely thing.👌
I approve of that kingfisher muchly.
also, that’s not just any old walnut on the beak, that’s American black walnut innit? Quite familiar with it as I built a drum kit out of the stuff and have all sorts of jigs and fixtures around my workshop made out of the offcuts.
There was the use of hammers, red hot metal an anvil and a qualified blacksmith when I assisted in the manufacture of this.
Watched a guy doing a nail-making demo; he also made some tenterhooks, which entirely logically are hooks for a tenter. Fascinating demo
Anyone displaying anything on here is skilled, the birds and guitar are my recent favourites 👍
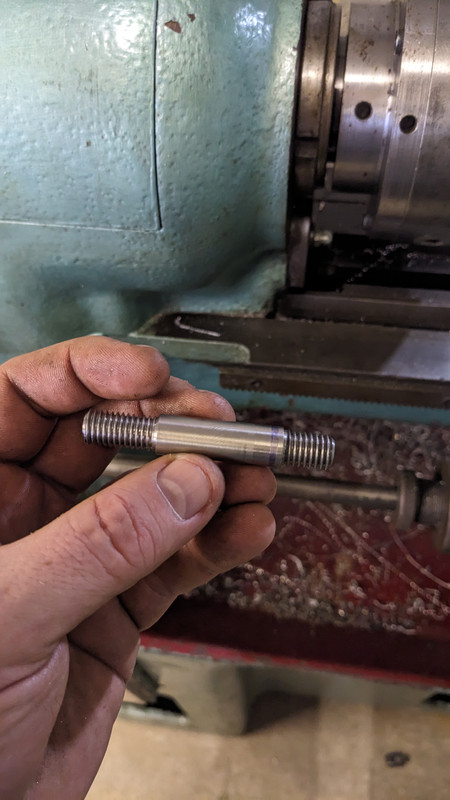
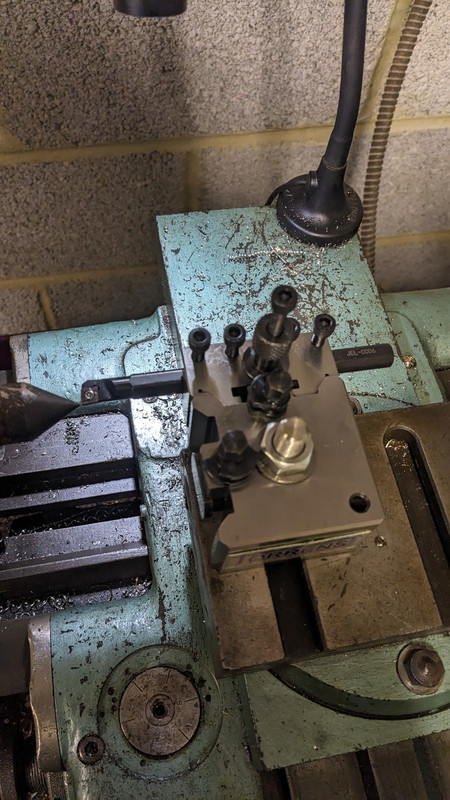
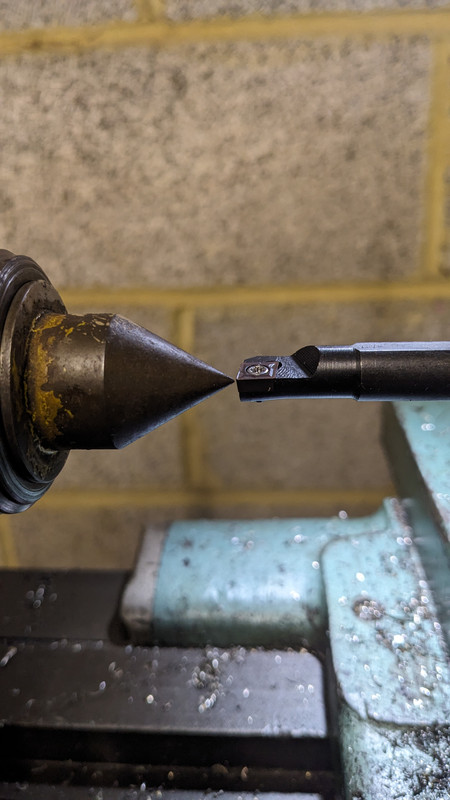
I made my first proper thing on my lathe.
A stud to mount a quick change tool post. Not the most exciting thing but now I don't have to mess around with shims to set tool height every time I change tools.
EDIT - FFS how do you post images these days? The image link thing isn't there any more, pasting in the direct links doesn't work and the upload keeps telling me the pictures need to be JPEG and under 10mb which they are.
The image icon is available for me on IOS. It has been absent on a couple of occasions so it might be worth logging out then in again ?
Good to get the stud made, QC tool posts make things much easier
This thread popped up while I was sitting in my wife's birthday present:

The main fabric is a throw I got from Vinted which was an ideal size and saved me some work.
There was a bit of trial and error with sizing, lengths of rope, etc. (a lot of which I think is specific to the fabric because of its weight and stretchiness) but the design itself is pretty simple. Basic idea cribbed from here but ignored the dimensions as per the comments.
Had to replace one of the cross members above the deck with a wider one so I could hang it without worrying about sudden landings!
@jonm81 nice lathe work! Wish I had room for one.
HTML tags work for images, so copy the HTML embed code from postimg if it has the option, or just wrap < IMG src="linky"> around it (without the space after < ).
E.g.
The image link thing isn’t there any more
You need to enable the “fancy editor” in your account settings.
Thanks folks. Fancy editor enabled now so hopefully it'll work next time. I did try the [ img] link [ / img] that used to do the trick but they don't seem to work any more
Wow, guitars, birds, art and now a sex swing!
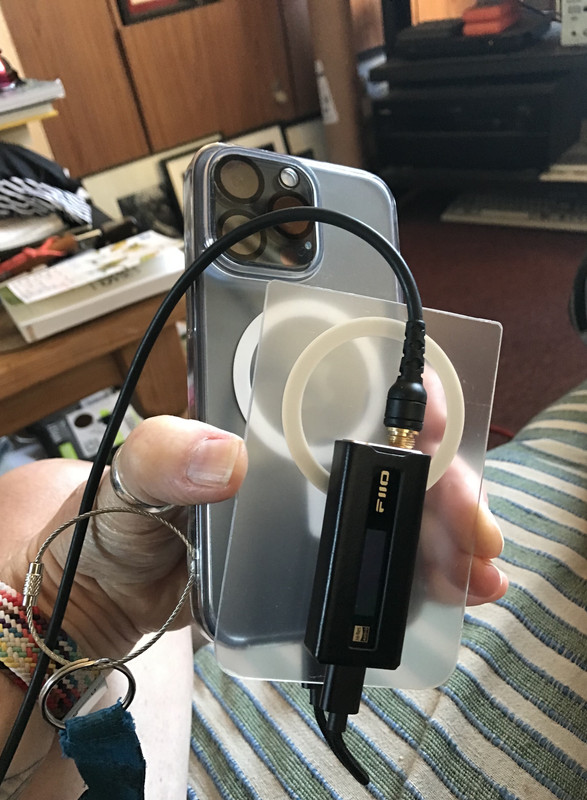
I use a Fiio DAC with my headphones on my phone, attaching it to the back of the phone with heavy-duty Velcro, but it’s not very stable. Then I had a bit of a lightbulb moment. My phone has MagSafe built in, so I bought a couple of Ringke MagSafe cases, and cut the bottom out of one of them and attached the DAC to it with No More Nails adhesive tape - works like a charm!

Im desperate to get back into this but completely lost my mojo for it.
I keep buying machinery, tools and things but after they arrive and are unpacked, they basically just sit there unused.
Example of this is i bought a dedicated morticer, but 6 months down the line I've not even bought chisels for it.
I sometimes wonder if ill make anything again 🙁
You will mate, you will. It might not be as soon as you'd hope but it'll happen when the time is right.
Massive lathe envy here. I’ve had a couple of ‘that would be a perfect job for a lathe’ moments lately. In one case just ‘embiggening three holes’, they just need to be concentric to the OD and I don’t trust myself with a hand drill!
That said i haven’t used a lathe in anger since school and it attempted to take my finger off so perhaps it’s for the best!
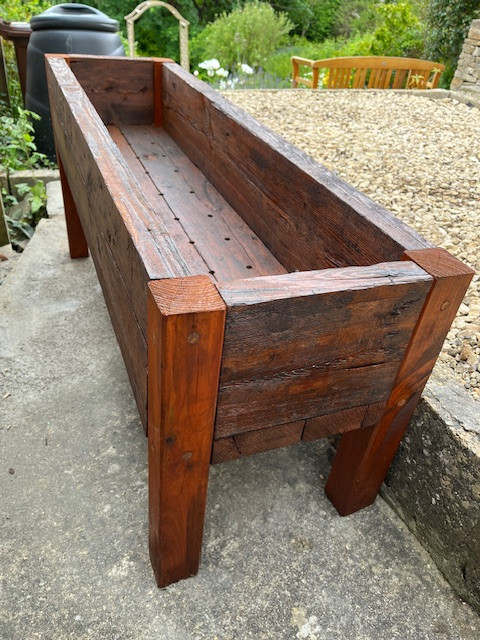
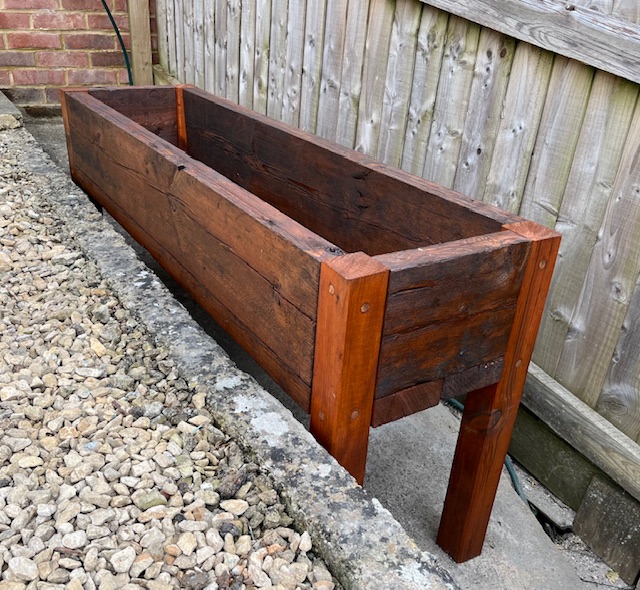
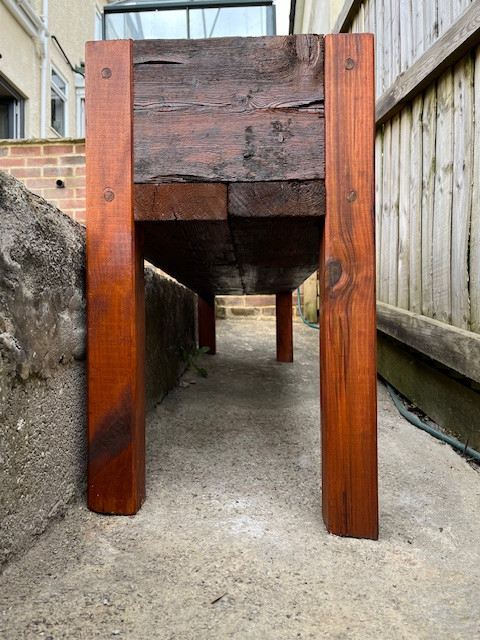
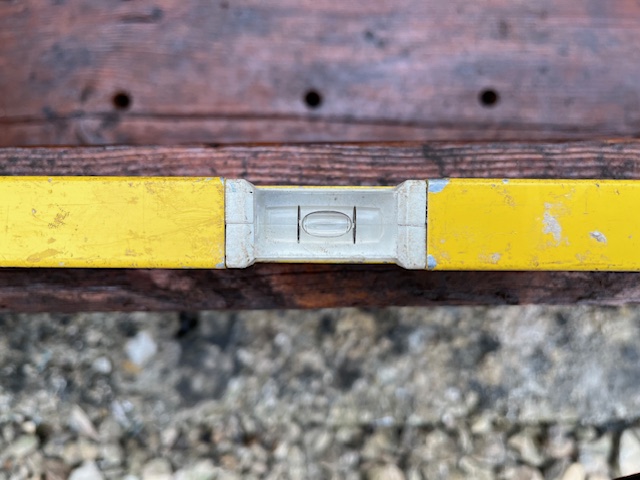
Not exactly up there with the precision of that *exquisite* Gee-Tar above, but the stability and levelness of a chunky planter I made for Mrs Merman made me stand back with folded arms and nod quietly to myself in knowing satisfaction. She requested a free-standing planter to be made for a very specific location: on an uneven lumpy path that sloped in two planes, so no two legs could be the same length or have the same footprint. Yes, I suppose fitting some adjustable feet might have been an option but hey. The trough was made from some half-rotten scaffold boards I found at the bottom of the garden, and the legs are a 75mm fencepost. The plugs which conceal the screw heads are short lengths of broken drumstick. Et voilá!
👍🏼
Needs grouting up and then I'm boxing the wall in with timber to give a square edge and a sitting/table the length of the patio.
Never touched doing anything like this. Its been a learning curve. Must have shifted tonnes of dirt and the old 3x2 corporation flags.....


I relaid my cooncil slabs.
Because despite being s nightmare. It was easier than carrying the ****ers up a flight of stairs.
Its called decor and i'm good at it?
Didn't think that through.... Edited.

As someone who detests frames, cushions, doorstops and anything else adorned with cringeworthy phrases, I heartily approve of this.
It was really a bit of a laugh to fill an empty frame until i fill with the output from my darkroom.
Liff Laff Luff is a standard joke in this house.
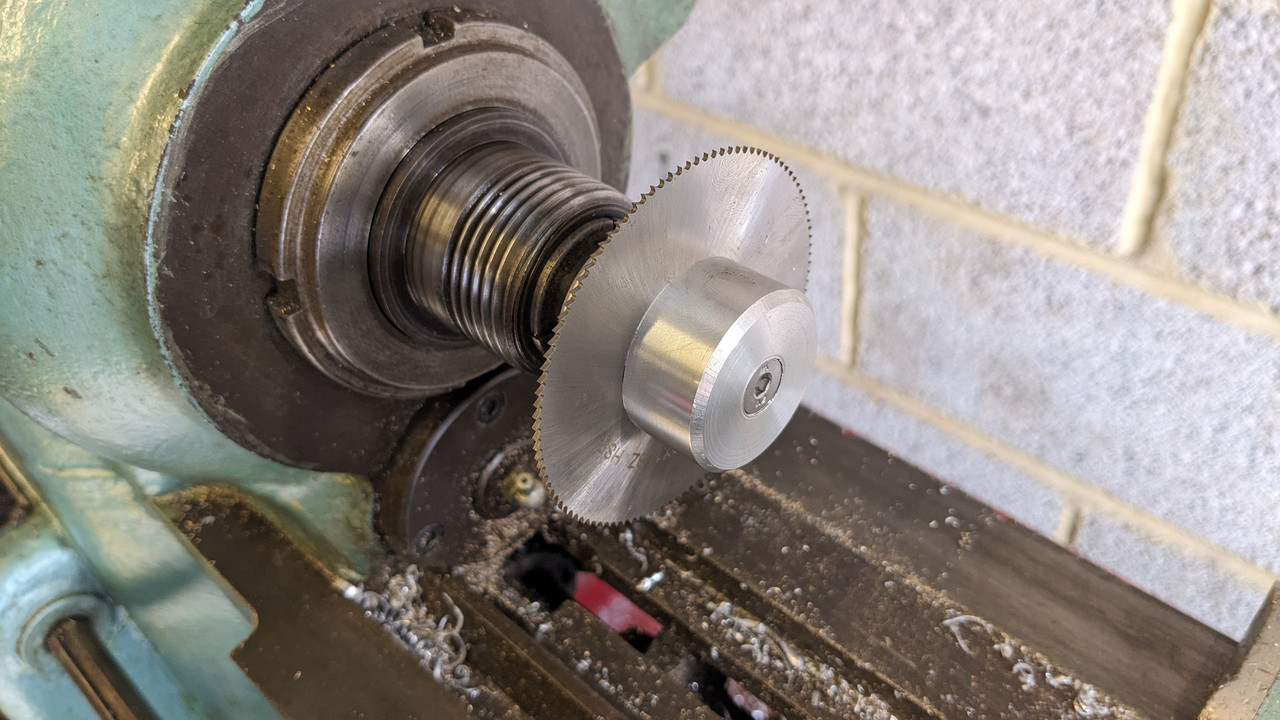
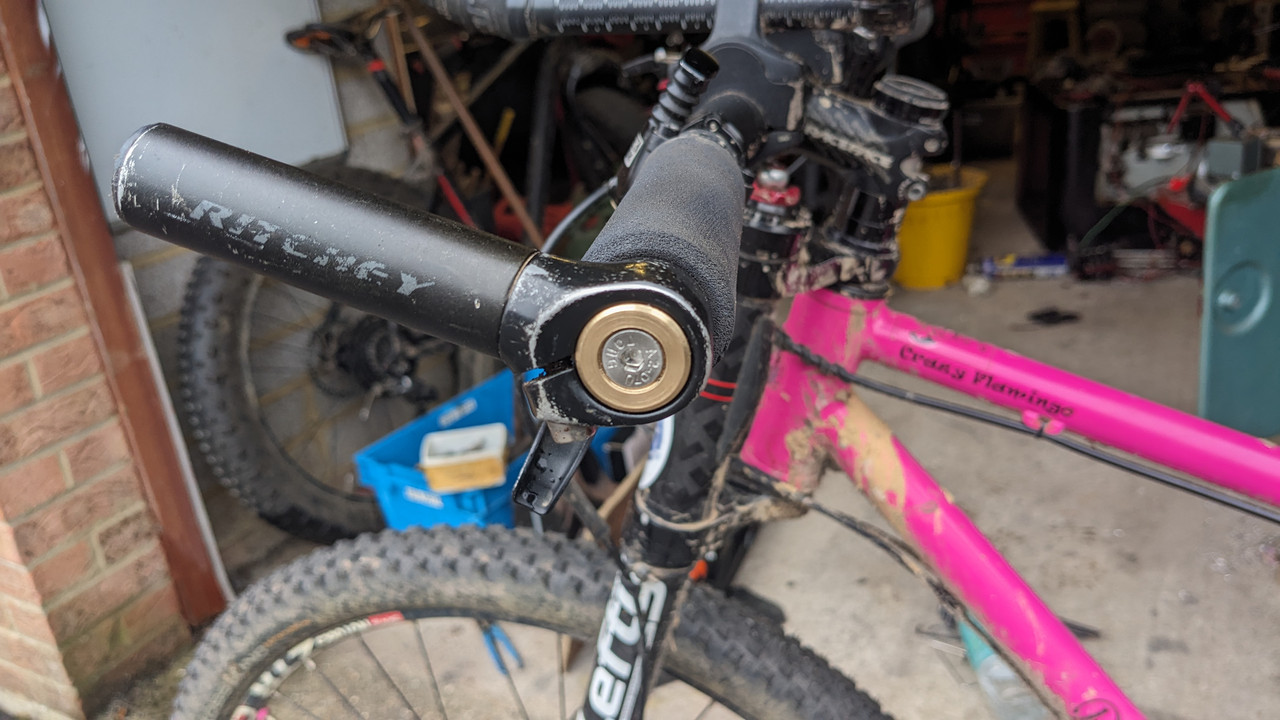
I wanted to put barends back on my bike but didn't want to crush the carbon bars. Rather than buying the £15 Specialized expanding bar plugs I have a lathe and some brass........
First needed to make an arbour for a slitting saw
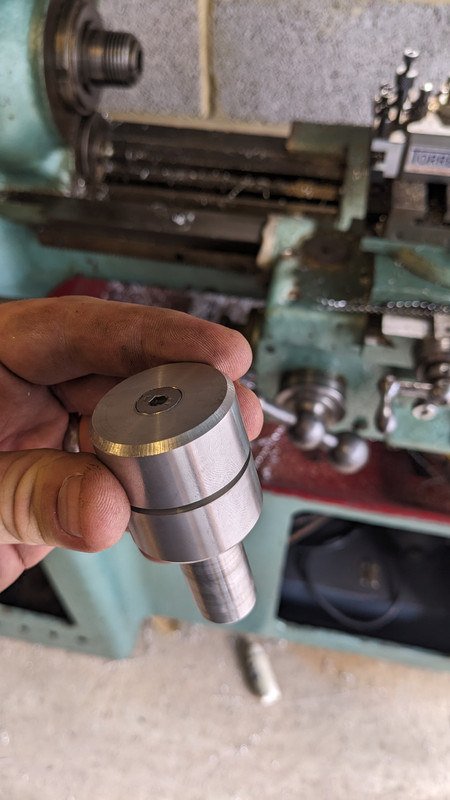
Then turned the bar end plugs
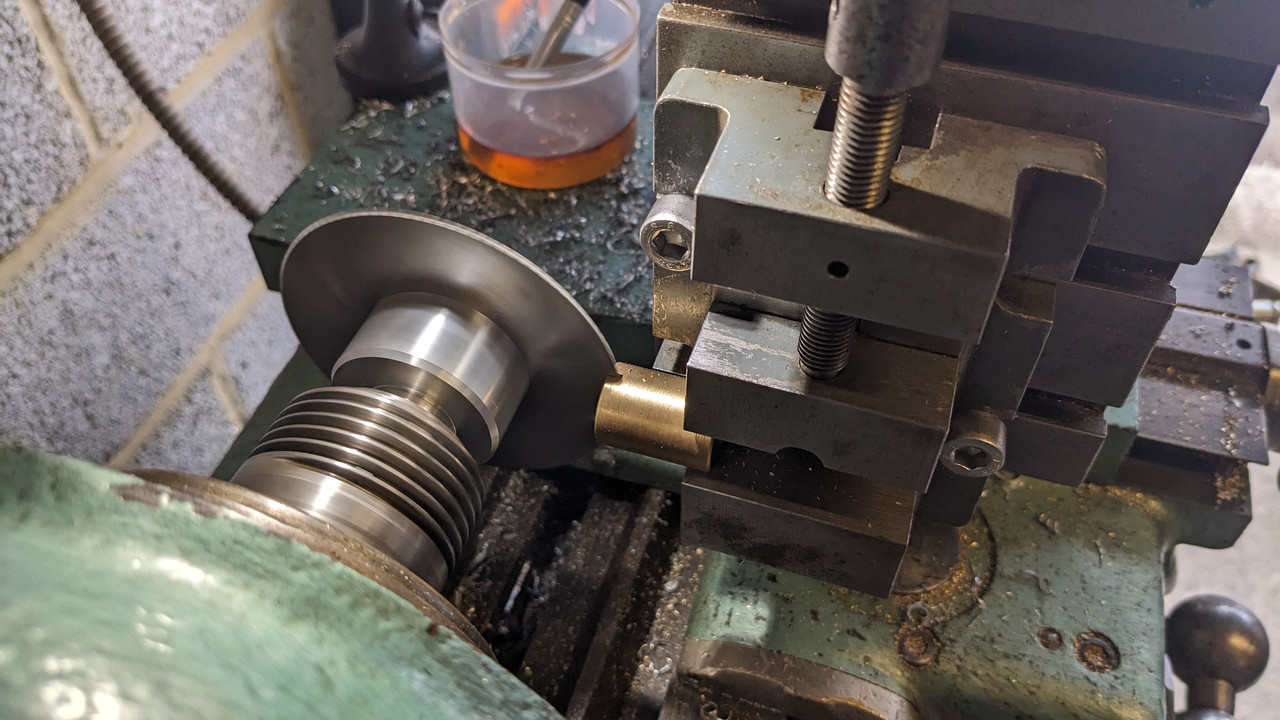
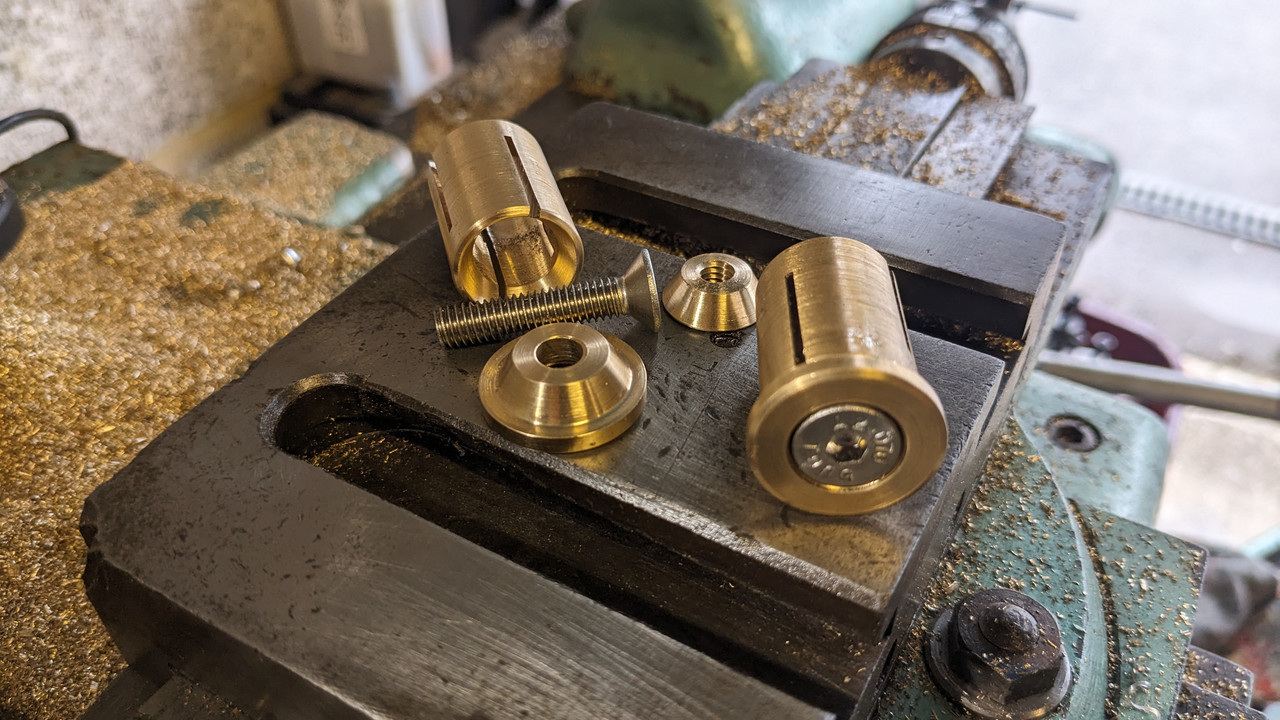
Nice slit. Brass can be lovely to turn
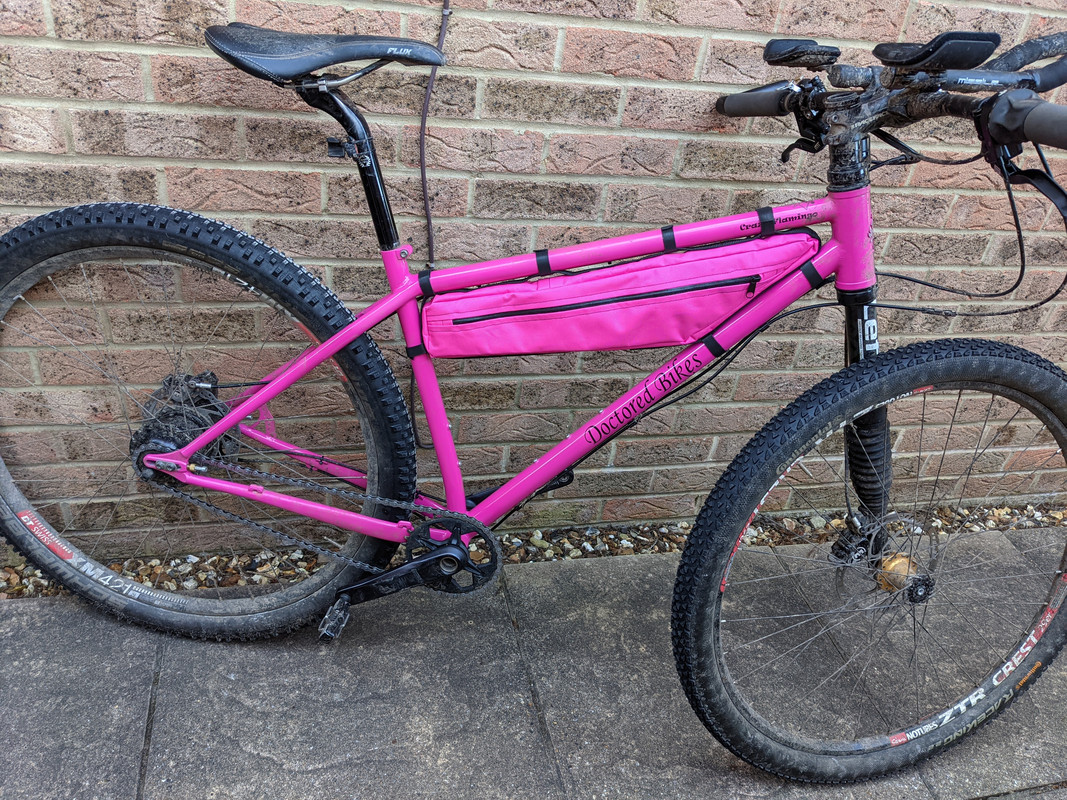
What is the frame? I'm seeing a Lefty fork attached to something interesting and (custom?) steel.....
Cheers Mick. Brass is really nice to work with. I much prefer it to aluminium.
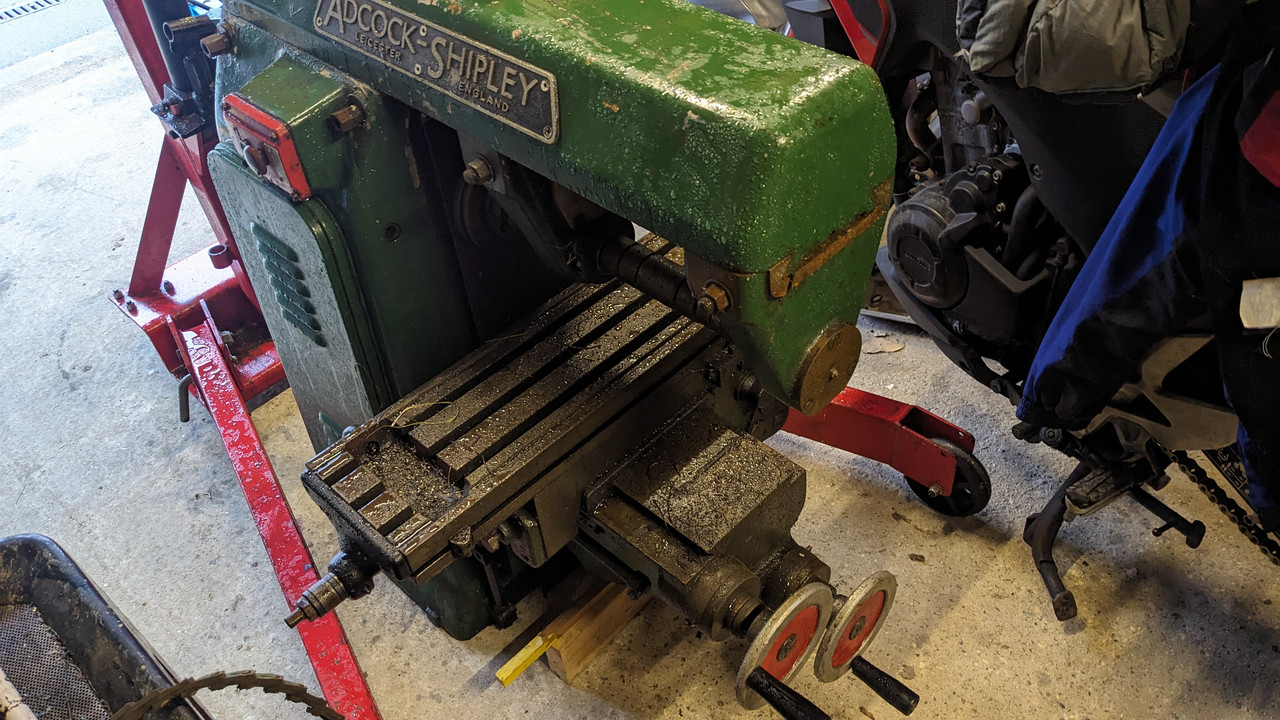
Slitting and milling will be much easier once I get this machine up and running.
The frame is one I made a few years ago. Columbus Zona tubing with PMW sliding dropouts. Built up with a carbon Lefty and a Rohloff for doing long distance rides.
I was sad enough to recognise a head tube and hose guides probably from Ceeway........ so not surprised it is Columbus tubing. I also use Zona as a reasonably priced and reasonably strong tube (mostly just for top and down tubes as I bend my own stays and seat tubes from 1.5m lengths of Gara cro-mo).
Feels a bit wrong not using Reynolds, but for occasional frames it is more convenient to get it from one place whilst buying 44mm ht, bb shells etc
Every time i see a lathe on here i am reminded i should really bolt the flywheel for my treadle down do i can use it.

No-hammer press fit bottom bracket remover:


The outer part is an old brake piston bored out to fit over the OD of the press-fit cup. The inner part can be fiddled through the spindle hole and then flipped up behind the cup. Tightening the bolt draws the cup out in the most civilised manner.

BB was well past its best!

Took about an hour to make the tool and about 30 seconds to remove each cup!
 https://www.misterg.org.uk/photo/images/2024/07/21/IMG_7391a.jp g" alt="" width="1200" />
Very neat solution
More repair than build
More repair than build
Do you mean me?
I made the extractor - didn't take many photos of the work in progress though.

@ jonm81
QR tool post mount was the first thing that I made for my lathe.
Not quite so simple as just making a threaded stud.
I cant claim 'all my own work' though.
I had to remove the cross slide as that required modification so I could not use my lathe for the next steps. Borrowed some time on a friends big lathe.
Turned 1 mm off the top face, but left a boss as the same diameter as the inside dia of the new QR tool post.
Had to buy an M14x1.5 tap to thread the crossslide to take the new 14mm QR post stud.
Then had to 'lap' the tool post to the boss. Some very fine grinding powder mixed with some thin oil (Luckily I had some SAE 5 hydraulic oil), and just a 'few' rotations of the post had it moving round very smoothly.
Last job......Very careful cleaning, including a dip into an ultrasonic tank, of the cross slide and tool pust to remove any traces of the grinding paste.
Certainly removes the tiresome task of setting of the tool height.
No pictures unfortunately.
Any makers here made under stair drawers? Pretty keen to do this and seen a number of methods online. Trying to decide between building a frame from Ply (3/4 probably) or regular 2x4. I suspect the Ply would be pricier, but maybe neater and easier to position drawers.
Anyone done it? Lessons learned and advice?
How big is the space you are filling with the drawers? What are the drawer fronts going to be made from? You might find 12mm ply suitable or possibly even 15mm MDF. Jointing 2x4 to make a suitable frame would probably involve more work in the long run depending on the size of the whole project
