Forum Replies Created
-
Is NRW About To Close Coed Y Brenin?
-
 peaslakerFree MemberPosted 3 years ago
Renthal bar shape gives me problems too. More sweep, as suggested. I get on well with Burgtec but Nukeproof is another good option
peaslakerFree MemberPosted 3 years agoThe C1 spring wants to ride higher, like the original solo air. If you’ve got both compressions wide open, is that because of harshness? If so, the problem is actually packing on the rebound. Why? Because you’re at too low pressure for a start.
You should:
1. Add more air
2. Speed up your rebound by two clicks
3. Get the LSC and HSC back into the game: middle on HSC and 2-4 clicks from full open on LSC
4. Move a spacer from under your stem to on top. Believe me you won’t be able to tell the difference between a 30% sagged B1 and a 20% sagged C1 after you’ve adjusted your body to be in the same place (actually I’m exaggerating: you will be able to tell but it won’t be much)
peaslakerFree MemberPosted 3 years agoFWIW, going in the opposite direction…
Back in 2018 I was in La Thuile and I snapped the main pivot out of the carbon frame on my XL enduro bike. I was also riding clipless at the time – CB Mallet DH.
I flew back to the UK and picked up my old size L aluminium frame (same make and model that I hadn’t sold on) and transferred all the components onto it and then had to reacclimatise to the shorter reach.
I couldn’t get it to gel until I moved my cleats further forward.
Neither of these bikes would classify as modern geometry (my XL and L would be equivalent to Scandal L and M respectively) but my belief is that foot position is a useful tuning tool. I did revert back to flats shortly after which remains my preference.
peaslakerFree MemberPosted 3 years agoIsn’t it fascinating that hunting out premium “strong” components ends up being so much cheaper than light premium counterparts. It isn’t so much about “strong, light, cheap: pick two”. Apparently light is inversely correlated with cheap, just as it is inversely correlated to strong. Choose “light” and they take your money and sell you flimsy tat.
peaslakerFree MemberPosted 3 years agoI ride SH on a 150mm travel (170 fork) 29er that I also use for enduros and everything else. I’ve been on 150mm+ travel bikes for SH for over 10 years. I wouldn’t recommend this as necessarily everybody’s normal, but it lets me keep one bike as my everything bike.
The OP’s favourite SH trails aren’t the steep ones. BKB, Yog Pots, John the Baptist.
Having capability to extend beyond these trails and not get out of depth isn’t a function of suspension travel numbers. With 5k bikes, there can be a lot of hard selling on perceived value like carbon, lightweight and bling transmission but I think you need to concentrate on the factors that will really bring on your riding and nothing brings on your riding as much as confidence:
1. Having a really good balanced position in the centre of the bike (don’t confuse this with just picking an extra long reach). I mean a sensible balanced chainstay length for a bike fitting a 6 footer combined with an ok modern reach watching out for the distortion in reach numbers you get from weirdly low stack numbers; Avoid too high a stack – you can easily add spacers or handlebar rise but you can’t shave mm off a head tube.
2. A seat tube geometry that permits a dropper post with 175mm drop.
3. Brakes (big rotors, no mucking about, not a pissy XC combo)
4. Just normal tyre sizes – 2.35/2.4/2.5 better in my book than anything bigger
5. Suspension components with a sufficient level (i.e. not too much) of adjustment that you’re confident you can dial them in – no point in having adjustability that just means you get lost.Pretty much any use you’re likely to put the bike to you can adapt with tyre choice if you get the basics right. Although tubeless has been the rage for years, fitting a tube gives a different, damped feel. Experiment with sturdier carcass tyres – they’ll be slower on the flatter trails but hold up better in the steeper stuff.
peaslakerFree MemberPosted 3 years agoIf you perceive them as your nemesis, you’re already reacting to the corner. If that’s the case it is normal for your body to react by self sabotage. Reassess where your weight is. Make sure you’ve got bent elbows with range of motion. For me, it feels like if I lead with my head “like I mean it” everything pans out great. If my head is not in the game metaphorically and physically, it all goes wrong. Counterintuitively, the more you commit to the front the less likelihood of OTB.
peaslakerFree MemberPosted 3 years agoI’ve got the Triton thicknesser. Very noisy.
You need good extraction (flow and capacity) to keep up with it. I’ve got a shop vac linked via a vortex separator that can handle thin cuts (0.4mm) but going 0.8mm over full width is too much for it. I can fill up the 30 litre collector bucket in 15-20 minutes.
I’d be concerned that with pallet wood you don’t have enough thickness to begin with to have much usable after you’ve got it decently planed on two sides. The Triton is rough and ready and you get a fair bit of snipe (thinner bits at the ends) as well.
You can put planks through the thicknesser wedged up on a sled to get rid of warp, cup and bends, but this all adds up to material you have to remove leaving a thinner end product.
Sappy woods gum up the blade and make the rollers slip so you need to stay on top of degumming the works.
After all said, I’ve got a lot of good work out of my thicknesser and it has paid for itself.
peaslakerFree MemberPosted 3 years agoI had a wandering bite point. Cured it by overfilling them (bleeding with worn pads), then pushing the pistons back in to eject the excess fluid out of the reservoir. That ensures that there is no air in the master cylinder reservoir. Just like that, no more wandering bite point.
And I’ve tried that and many other tricks on problem brakes to no avail. I’m a mech eng and I’ve designed hydraulic systems (that self-bled at the slave, incidentally). I’ve assembled and bled many a slave cylinder. I’m sympathetic to all the design intricacies of a multi piston brake. But when it comes to spending my own time chasing out issues, there is a time after which I was happy to declare enough was enough and move on.
Bleeding with two syringes isn’t particularly clever with these systems. The friction in the top syringe means you put pressure across the m/c diaphragm and if you plunge the top syringe you get an even bigger pressure differential. When you detach the syringe the diaphragm pings back, ejecting the excess fluid or ingesting air, depending on which way you had it loaded. Shimano have it about right with their funnel. A top bleeding reservoir open to atmosphere is a very good thing for bike brakes with their small master cylinders (you can replicate this with two syringes by just removing the plunger from the top syringe).
Don’t get me started on the various i-Specs. What a crock. No compatibility between generations so any update of gears forces an update of brakes and vice versa. Limited range to get things where you need them. Utter, utter pish. Then you have a general policy of Shimano making their band on shifters not sit nicely alongside their own brakes.
Besides being the absolute dregs of the barrel when it came to bite point problems, when the M8000 XT brake came along it became apparent that Shimano had not the slightest clue. A narrow band onto the handlebar? WTAF? Lovely twisty forces being reacted through a very small and bendy interface. Now, of course, they have corrected that totally obvious and execrable mistake and invented a new thing. Reversing course is not the sign of a design team that know their arse from their elbow.
As I say, I’m done. I did my time.
peaslakerFree MemberPosted 3 years agoThat @howsyourdad1 and others have bled brakes to their satisfaction with a different fluid is great but it is just a data point on Shimano’s design problems.
I’ve had Shimano brakes try to kill me on multiple occasions. None of that nonsense has recurred since moving to other manufacturers’ brakes.
I’ve had mid-run, out-of-nowhere occurrence of zero free movement of the brake lever accompanied by weakened application (because of ServoWave). Seldom a laughing matter as I’m using my brakes at speed and committed to my lines.
I’ve had a m/c develop a leak on me on stage 1 of an international enduro (a Shimano supported event so they subbed in a brand new m/c M8000 that was never as good as the M988 it replaced)
I’ve had micro-weeping piston seals contaminating brake pads multiple times. When you first get this, you buy new brake pads which get contaminated and if you’re really slow on the uptake you buy more when those get contaminated the next day – all of which was good money you could have put towards brakes that function.
I’ve had the general “bite point moves around a bit” problem ad nauseam on individual problem callipers that is fixed forever when you substitute a known good calliper.
I’ve investigated problem callipers and found loose aluminium swarf and impacted swarf in the pistons that snags and tears at the seals.
So I am done with Shimano brakes.
Normal form for tinternet is for somebody to pipe up that I’m evidently tosh at bleeding brakes. Nah. That’s not it.
If Shimano brakes have problems with Shimano fluid (the only fluid they warrant) then Shimano brakes are not good enough for me to bother with.
If the Putoline fluid does indeed fix all the Shimano brake problems then it is a scandal. You can get good individual Shimano brakes with fewer problems out of the box. If you get a bad one, it is worth one competent bleed to see if they come good but after that you’re better off ripping them off your bike and spending your money again.
I have experimented with hybrid setups. I’ve run Formula Cura callipers with Shimano m/cs and Formula mineral oil. This was exceptionally good until the pads wore and the m/c volume proved inadequate. The Cura callipers have the same cross-section area as Saints. The fluid is much lower viscosity like the Putoline. But that was still too much dicking around for me when it is so much easier to plug in a set of Curas, levers and all.
peaslakerFree MemberPosted 3 years ago@thols2, isn’t that exactly what’s being complained about. Removing a capability to swap and change when in reality you might have a dead bike in need of a replacement part. The choice is between getting that bike going again Vs getting it back to original spec after a search and wait for a specific part to be available. If you’re in a resort and you bend a mech, you’ll Want to replace with something immediately available. If the number of Shimano standards has doubled you have half the chance the retailer will have the part in stock unless the retailer doubles their inventory.
peaslakerFree MemberPosted 3 years agoThe optimisation of rear mechs for shifting is mostly about parallelogram angle and offset. If the general profile of the cassette is sort of the same, then existing mechs should be quite capable of shifting the chain from one cog to the next. The missing piece in this would be a shifter indexed for the cable pull required for the cassette spacing.
This would offer backwards compatibility and a minimal increase in internal and retail SKUs (good for the aftermarket supply chain).
LinkGlide could have been a heavy duty cassette and chain option. However looks like Shimano want to have a way to target the OEM e-bike market and substituting in a cassette and chain would be invisible from a brand PoV. Their established order of Deore, SLX, XT gives them opportunity to offer Linkglide equivalents direct to manufacturers and have a plausible B2B sales pitch (good for the OE supply chain and damn the aftermarket).
peaslakerFree MemberPosted 3 years agoWhen you get aftermarket shocks for existing bikes there is the outside chance that the stock valving isn’t right for the bike’s leverage ratio. I’m not talking about “customisation”. Just whether you needed the light, medium or heavy standard tune but lets get the fork set first of all.
It depends on how you’re falling off and it also depends on which Lyrik you got hold of. Lyriks are generally among the easiest forks to set up so getting you a good baseline should be easy-ish.
If you’ve got a latest 2021 model year with the new spring, it likes less sag that the 2019/2020. IF you’re earlier than 2019, they again like less sag.
2021 (DebonAir, sometimes called C1) ~ 20% sag
2020/2019 (DebonAir, sometimes called B1) ~ 25% sag
2018 and earlier (Solo Air) ~ 18% sagAlso, what damper spec is your Lyrik? RC2, RCT3, RC (AKA on the 2020/2021 versions as Ultimate, Select+ etc.)
Rockshox “Trailhead” gives setup suggestions and they’re not massively out for pressure and rebound. I would start here (https://trailhead.rockshox.com/en/search/) (with a reliable digital pump). My preference is to go a click or two faster on rebound but the pressure is usually a good starter.
Factory set, there should be two air volume tokens in a 150mm fork. Again, start here as it won’t be far off.
What weight are you? If you’re either at the very light or very heavy end of the range, there may be more of a challenge.
My last top tip is that “optimised” suspension is about balance between the front and rear. Quick check for this is to push down on the top tube/seat tube junction and see if both te front and rear compress about evenly. If they do, you’re balanced. If they don’t, you’ll never get it to feel right.
peaslakerFree MemberPosted 3 years agoFor dual air, back in 2010-2011 I built a transfer valve with pneumatic piping to join both air chambers to the same pump and the same pressure. You could then turn a valve and separate the two before detaching the valves and sealing the system. This then becomes a very accurate system. You could equalise the two and then once separated you could add a pump stroke or two to one chamber or the other.
The other variable is to do with where the fork positions itself as you’re setting up the pressures. If the fork is in its travel and not resting up against the top out stop, you don’t really have predictability. As soon as you start seeing any sort of suck down from applying negative pressure you’re basically in a place where you have very little repeatability. All the advice to set positive first and then set negative assures that the fork is against the top out as you’re setting positive – this is good advice. The alternative approach (with my transfer valve) was to set the pressure and then compress the fork slightly (5-6 mm) and then close the chambers. This is the same as having an equalisation port in Solo Air/DebonAir.
Preferred setup for pretty much all MTB suspension whether air or coil is to have low preload – low force at top out. With DebonAir this goes as far as equilibrium being slightly sucked down and having a pneumatic top out. For Dual Air, this means the negative pressure at topout should be higher than the positive pressure (negative acts against a smaller cross-section area, so this balances out). Pumping until you start to see suckdown is a good approach.
Shorter travel forks inevitably have to ramp up pretty sharply. This can mean you end up narrowing the operating range by losing a bit at the top and having the sharp ramp up at the bottom. This compromise may be worse than having some preload at top out. All setup is compromise and these are the bounds you’re working within.
peaslakerFree MemberPosted 3 years agoYou two are no fun. But do you refer to bigger end-space or a deeper set equalisation port?
See how much easier it is to refer to something in regard to its bigness. See all the potential for telling us something is bigger (better, obvs) while actually the engineers have just anodised the piece in a new colour and the journos can recycle the press release for this year’s widget that you’re selling for £24 a pop.
Bigger = good. Right. So lets add (bigly) tokens to our big airchamber (+ve) to make it (let me see) small yet ascribe goodness because we’ve done a big/big combo. Muchly bigness. Progression is for real men (obvs).
peaslakerFree MemberPosted 3 years agoThis rabbit hole eventually leads to the “size” of the negative chamber – a marketing term that is ascribed mystical powers to simultaneously unleash hitherto unachievable equivalence to a spiral of springy wire while having a just rightness of progression (which rhymes with aggression) to tame the savage riding beast that lurks within us all.
peaslakerFree MemberPosted 3 years agoI did a bit of calculation on screen real estate vs resolution vs the amount of zoom I need to read things vs viewing distance vs aspect ratio.
The optimum for me was equivalent to running 2560×1440 on a 32in-28in 16:9 depending on viewing distance. That is a 4k at 150%.
The relatively common 34in superwide 3440×1440 offer an almost equivalent coverage at 125% zoom.
Things I didn’t realise were important:
1. A properly adjustable stand – height being the biggie. Fancy monitor propped up on books is just silly.
2. A joystick controller (not touch sensitive buttons) – but I’m switching between multiple laptops attached to it
3. IPS doesn’t do black; VA doesn’t do gaming; TN doesn’t do viewing angles; Curved useless for design; HDR is mostly fake/irrelevant
peaslakerFree MemberPosted 3 years agoJust remember it won’t be the last road bike you buy.
I’m going to completely go against the “get an endurance/sportive model” with a more general explanation: If you have lungs and fitness and you’re going to ride for 1-2 hours fast, a long low position cantilevers your upper body mass to counteract the forces your legs deliver in the power stroke on the pedals – it is comfy.
If you’re going to ride for longer and not often go fullgas, an endurance/sportive fit is appropriate. You’ll be putting out lower average power and lower average force on the pedals so you need less cantilevering of your upper body to counteract pedalling forces.
peaslakerFree MemberPosted 3 years agoWe luckily worked out Wren were all pushy sales and no quality to back it up.
Didn’t work out the utter lack of transparency with Howdens for pricing. Depends on your particular depot but ours were rubbish and it just doesn’t help to have everything go via a builder and have a triangle of communications. Result was mistakes in what was delivered for a row of three (yes three!) carcasses – drawer bin unit, deep drawers and oven unit – with a worktop. I fitted it all and it went in nicely but it was actually less aggro teaching myself cabinet making and making the entire rest of the kitchen.
The design we wanted for the main kitchen needed to scrimp on every possible millimetre in a small space. I was able to do all that with my own design, but the computers the designers use just refused to allow it. Painful process all round.
peaslakerFree MemberPosted 3 years agoIf you change tokens or sag on a suspension fork or start switching between the different versions of the Rockshox Debonair springs (that ride at different heights), I reckon you may need to change headset spacers to get back to optimum. It is something I always have in mind when making such changes.
peaslakerFree MemberPosted 3 years agoI wonder which is most accurate. I can see how the clicky ones could go out of calibration quicker
It is really hard for beam types to go out of calibration. They give torque indication just as a result of Young’s modulus reacting to the input torque across the section of a piece of steel. Unless you attack then with a grinder, the indication will be the same. Clickys are reacting torque through a cam mechanism against a spring. Zero offset in the spring isn’t apparent. Zero offset in the beam type is shown by it not reading zero at zero torque applied.
Calibrations are typically expected to be redone every 12months. I don’t think that’s adhered to by many hobbyists. Comparing to a beam wrench is a good practice but that’s just telling you that the beam wrench is the more trustable tool.
peaslakerFree MemberPosted 3 years ago@Jordan, these reasons:
1. Cheap clicky types change the point where they click based on shear forces and axial twisting reacting the torque; how you hold them changes the result you get up to and including stripped threads.
2. To use clicky-types properly, you should always approach the torque by setting a lower value first and then building up which very few users will ever do. This is a built-in behaviour of a spring-type, where you see the build up of torque. The fastener is not going to require many degrees of rotation to get from “half torque” to “set torque”, but if you have no idea that you have reached half torque you have no indication that you’re already in the danger zone for stripping threads.
3. Although it is getting better, there is still a “Dad-educated” mass of people who believe in “click once, click twice, click thrice and give it a bit extra”. The only feedback is the click, so even if you educate good practice it comes over as so abstract that old habits persist.
4. Anecdotally, I’ve witnessed many new torque wrench owners launch topics on web forums about how a bike part must have been made of cheese because they used a torque wrench and the thread stripped. I’ve watched it happen in person with a user taking their brand new torque wrench from the box to the bike and insisting on using it because it is the new tool… leading straight to a stripped thread.
5. Spring types don’t (typically) go out of calibration like clicky types do and clicky type calibration can vary significantly across the torque adjustment range.The click-type sells you a pup. It tells you it is easy to use but to get safe and consistent results you actually need good technique and regular calibration checks.
I’ve formed my opinion by making my own mistakes to get here.
peaslakerFree MemberPosted 3 years agoIt is a massive diameter and the shoulder is immediately adjacent to the thread. As soon as it nips up, the torque is going to spike and you’ve got no chance of actually accurately setting preload in the fastening. Nipped up then QT is entirely appropriate. Any attempt to use torque to set this fastener is false precision.
OP’s proposed contraption to set torque is false accuracy for other reasons as the luggage scale setup will likely be measuring statically (because it is cumbersome) and torque needs to be set while the fastening is in motion. But as stated before this is a fastening where any attempt to accurately set stretch is doomed to fail.
The o-ring means it is quite a frictiony fastening, so what you measure (in motion) is ebven less of a clear indication of what is going on in the fastening itself.
In my experience, bike manufacturer torque settings are not like aeroplane manufacturer torques. They’re more guidelines. The earnestness with which some (GMBN etc) tell you to use torque wrenches or expect your bike to explode is a bad joke and usually accompanied by a demonstration of exactly how not to use a torque wrench. Bad torque wrenches, used badly against bad torque specifications is just a recipe for stripping threads (usually in soft alloy). FWIW, one Yeti torque specification on their rear suspension was sufficient to collapse the bearing it was preloading.
Incidentally, love the Topeak Combo Torq. As a spring type torque wrench it is worth a thousand clicky types.
Very few bike fasteners are truly stretched and most bike torque settings are given to prevent stripping threads in alloy. You’re safer by: 1) using levers of proportionate size to the fastening, and 2) nipping up followed by QT.
Torque wrenches in bike workshops are so that Cytech qualified mechanics have a way of blaming a tool rather than ham-fistedness when they strip threads.
peaslakerFree MemberPosted 3 years agoThe Taylors is disgusting. It’s not you.
+1 for Lavazza.
Sainsbury Columbian Decaf good also.
peaslakerFree MemberPosted 3 years agoEqual sag when swapping around spacers is a bit of an arbitrary constraint. You’ll probably find there are better compromises than just equalising sag. Exactly what to do depends on where you feel you’re hitting the limits on your current setup.
I developed a physics model: https://www.desmos.com/calculator/5ovufiqale
It isn’t necessarily specific to your scenario (and to some extent uses arbitrary units) but in a longer travel application the model suggests a ~1.5% pressure drop per token will equalise sag but exploring up to 4-5% of pressure drop may provide a good compromise of characteristics. 8% pressure drop is indicated as probably introducing negative characteristics throughout the stroke.
Take all such numbers with a generous pinch of salt… and as stated before, your best action depends very much on the limitations you’re facing with your current setup.
peaslakerFree MemberPosted 3 years agoConsider the datum for the shock to be the equalisation point. Then you have a single pressure in the model of the system. Makes the physics much easier. With tokens you are altering the compression ratio of the positive chamber only.
Not going to spoon feed. What do you think happens?
peaslakerFree MemberPosted 3 years agoIf you take the plunger out of a syringe, it works just like a shimano funnel.
If you’re replacing old fluid with new fluid, you need to flush from one end to the other, obvs.
To absolutely get rid of air bubbles, IMO nothing beats running a funnel/open syringe at both ends and gently raising and lowering the caliper relative to the m/c to siphon the fluid one end to the other. Zero mess. Miniscule pressure differential to atmospheric, so no new air being introduced. Perfect control. Tap to dislodge bubbles. Do this with a detached caliper and rotate to various angles while tapping to get all the last air bubbles out.
FWIW, I’ve had bad M8000 calipers that did not come good, with indication that the pistons had embedded aluminium swarf in them (manufacturing defect) preventing correct slip/grip in the piston seals.
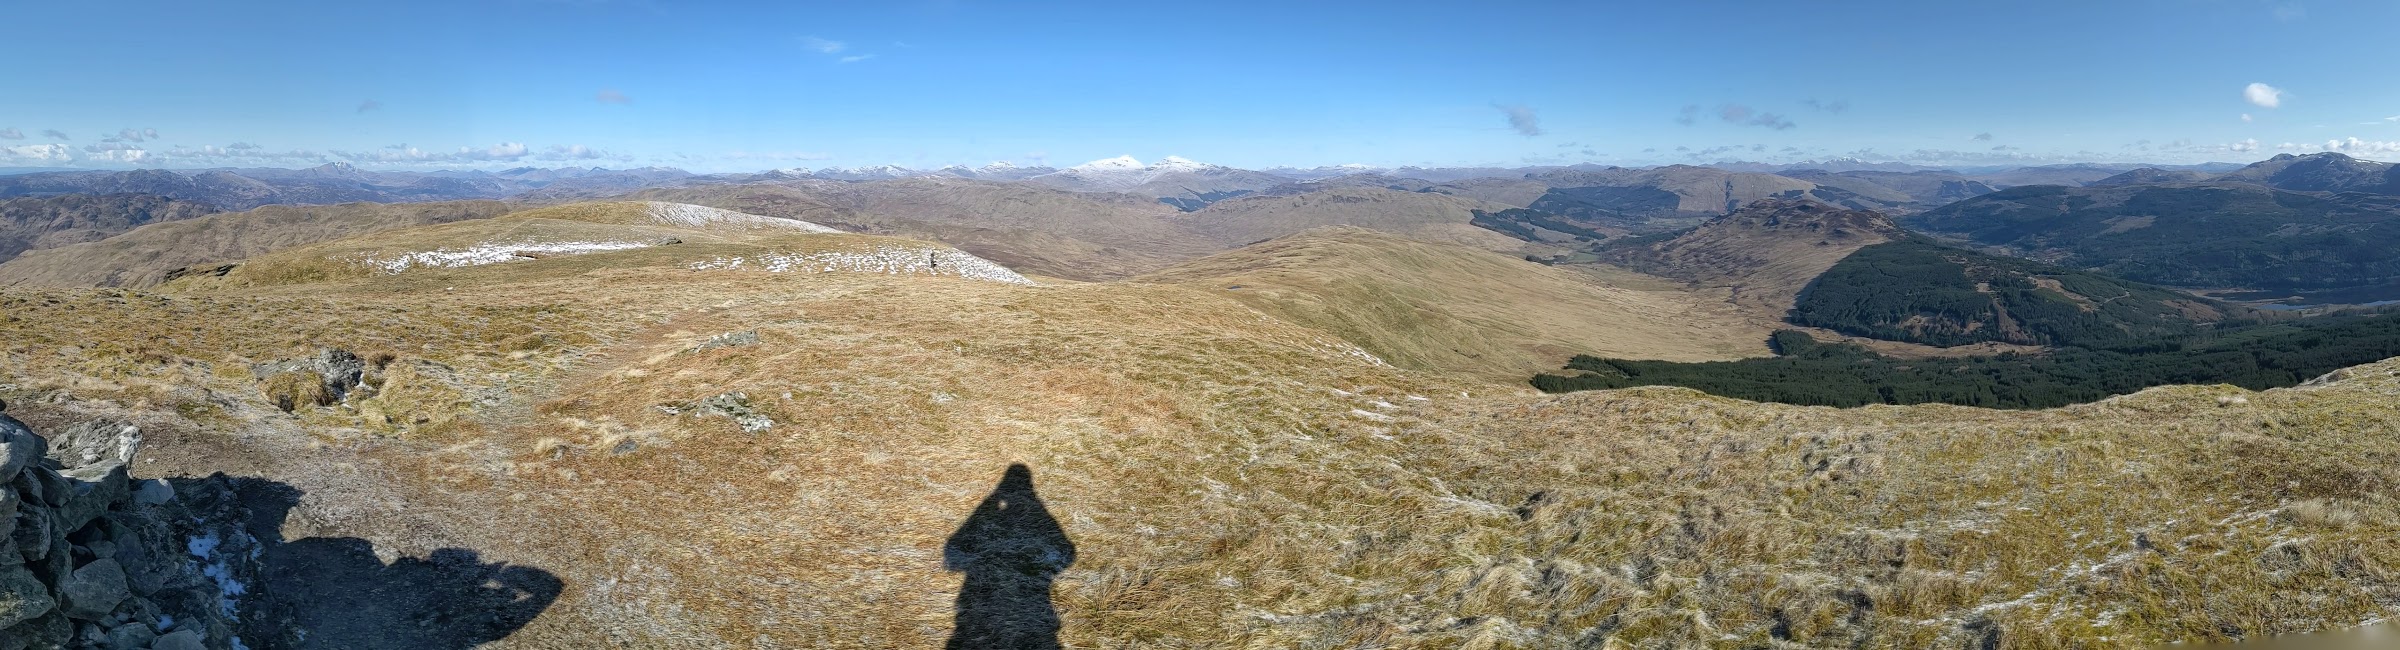
peaslakerFree MemberPosted 3 years ago@matt_outandabout did the Ben Vorlich, Stuc a’Chroin, Beinn Each traverse a week ago, so we’ve been trotting around the local hills a fair bit.
peaslakerFree MemberPosted 3 years agoI think we’re in your photos, OABs. We did the traverse taking in Benvane, Stuc Dhudh and Ben Ledi, descending back down Glen Stank.
peaslakerFree MemberPosted 3 years agoIf you’ve let the chain wear to between 0.5% and 0.75% on eagle GX cassette, my experience is that a new X01 chain will skip.
peaslakerFree MemberPosted 3 years agoVery little is different. Mesh systems implement some combination of 802.11k, 802.11v and 802.11r protocols. Decision to roam is still largely up to the implementation in the client device. Some mesh systems have dedicated radios for backhaul, both are 98% marketing over actual engineering. Cables do the job better but are harder to sell.
peaslakerFree MemberPosted 3 years agoPersonally I start with the normal distance from the steering axis to the BB. I’ve analysed a bunch of geo charts and remarkably a huge number of bikes come in with round numbers of millimetres for this measurement in their sizes. I like ~700mm bikes in peaslaker effective normal improved sizing (hint: look closer)
Why? Because stem length adds to it and stem spacers don’t alter it at all. Once you’ve got head tube angle and as long as the head tube isn’t too long you’re golden.
If there is sufficient interest, I’ll start an NSFW thread for how to measure this.
peaslakerFree MemberPosted 3 years agobut I am seated for 90%+ of the time
As someone at the more enduro end of the riding spectrum, I spend more time sat on my bike than I do standing. Climbing hills takes longer than riding down them. There are the bits in between the hilly bits as well.
But, when I take myself down dangerous, technical descents or enduro race stages, I’m standing. Whenever I’m jumping, I’m standing. Whenever I’m having fun, I’m standing. When I’m speccing a bike, I’m optimising it for the memorable bits of riding not the filler.
peaslakerFree MemberPosted 3 years agoThe Fox/Specialized auto-sag was a kinda random approximate by-product of having an equalisation port. Not bad for ballpark, perhaps but not universal and if you start optimising design to make auto-sag work you might end up compromising the size balance of your pos and neg chambers.
Releasing pressure on the negative chamber (how auto-sag worked) meant you got the full positive pressure stressing the seals across the equalisation port; we’re used to equalising every 50psi as we’re pumping up a shock and seal design/robustness may be another area where auto-sag would introduce compromise.
Just musings. No facts.
peaslakerFree MemberPosted 3 years agoFWIW, Jeff Lenosky saying hardtail reach should be shorter than full suss reach…
peaslakerFree MemberPosted 3 years agoI bought my newer full suss without getting rid of my older bike. They’ve both been raced in enduros and pelted down mountainsides. At 6’2″, I can set up my riding position on both equivalently even though one has a reach of 432mm and the other 483mm. 55mm vs 75mm stem (with some rise), spacers and some bar roll sorts it out. I feel that going much longer or shorter would introduce compromise; the bikes I have bracket my preferred fit. So that’s a 51mm range of reach that’s perfectly workable.
Reach and stack should definitely be considered together. Slacker head angles and a low stack will both undermine a nominal “reach” value – when you add spacers, the fit will not be as roomy. I expect to see a balance between longer reach and a longer chainstay. I don’t ever look at top tube or ETT lengths; for my riding these are irrelevant measurements. Saddles can adjust significantly on their rails. For the style of bike I choose, the bars are almost always too close for seated mileage but that is the least worst compromise that I accept.