Its a more than doubling of output. The original black hope 2's were no where close to 480 lumen! The newer version ([url= http://www.hopegb.com/voir_visled.html ]http://www.hopegb.com/voir_visled.html[/url]) is 480lmn the original is either 240lmn or 300lmn.
Trout, I think the 2 versions have a different housing so this upgrade might only be good for the older version (unless you have a newer one to test with too). The battery is also definitely a 2400mah one.
For those with Passubios - I've had an email chat with trout and will be sending him my lamp unit as he thinks he can do it from the pics I sent him. He's got to wait for some bits to arrive which may be a week or two away before he can do it though. Would end up with 1300-1500 Lumens, I think.
Thanks Nixie I have just been looking on ebay for the hope 2 and realised the casing had changed though looking it may be the same inside
anyone with one care to open it up and post some pics would be good.
looks to be better heat wise on the pics
I will post up pics when Wwaswas`s light gets done .
might need to make some heatsinks for it but looks nice and smoothe inside
While you're at it can you also knock together something that will make the unit quick to change between a helmet and handlebar mount? I know it currently only involves and allen bolt but feel that the current mountings are a bit carp
Anyone upgraded a vision one?
With the mark2 version both the front and the back unscrew and the leds are in a black Hope circuit board/mounting. Didn't delve too fas I am worried I'll break it. The lens looks the same, as do the switch and the gland for the wire.
[url= http://farm7.static.flickr.com/6035/6267262245_1b0fc83b4c.jp g" target="_blank">
[url= http://www.flickr.com/photos/68898554@N05/6267262245/ ]image[/url] by [url= http://www.flickr.com/people/68898554@N05/ ]toemarse[/url], on Flickr
[url= http://farm7.static.flickr.com/6037/6267788878_bf41e2e1c6.jp g" target="_blank">
[url= http://www.flickr.com/photos/68898554@N05/6267788878/ ]image[/url] by [url= http://www.flickr.com/people/68898554@N05/ ]toemarse[/url], on Flickr
Thanks Tomaso
Looks a better design than the early one with better heat path to the outside.
from what I can see there is room for the driver in the back where hope have theirs so no worries there .
the front my be a bit more involved as the leds are on a thin board so may have a clearance problem
but the XMLs are smaller domes than the old Luxions so may counter that
Looks good to go and can always mill off a mm if needed
Trout, ygm re. a Hope Vision 2 Mark 1 upgrade.
Folks,
FYI, just got a quote from Troute for the conversion. Not sure if I'm supposed to say how much it is but lets just say that Rorschach's estimate on about the 30th post (see page 1 of thread) is pretty much £20 on the high side. I'll let you find the other post and do the maths 😉
Seems good value to me.
And me, posted mine off this morning, am excited now 😀 sad as that is.....
Only 2 arrived today one old and one the new shape .
the old one was DOA so still cant get a beam shot but have done the upgrade on it
and will get a comparison shot against the new stock light tonight .
in the garage the upgraded is a fair bit floodier than the newer stock one
The new shape I have opened to have a look and it will need some machining in the led cavity and a spacer making .
the back driver cavity will be no problems
Posted my older version this morning, can't wait till it comes back 😀
nice night for a walk with my daughter and the lumen hound though the smell was a bit strong the farmer had been spraying slurry today and boy did it hum .
poor pooch had to have a bath before being allowed in the house why do they have to roll in it.
anyways on to the beam shots
first up is the stock new shape Hope not a bad beam and I suspect a different optic in there certainly different leds to the old hope.
the hope has 4 levels so i have missed out the very lowest
starting at level 2
[IMG]  [/IMG]
level 3
[IMG]  [/IMG]
level 4
[IMG]  [/IMG]
upgraded hope early model
1
[IMG]  [/IMG]
2
[IMG] 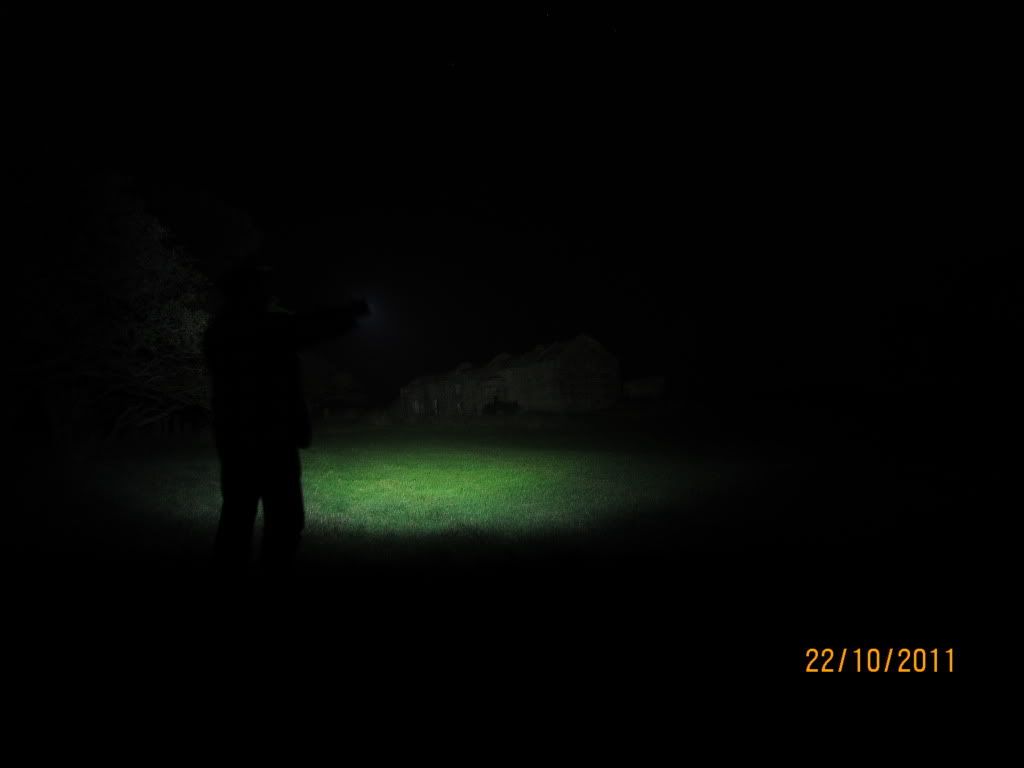 [/IMG]
3
[IMG] 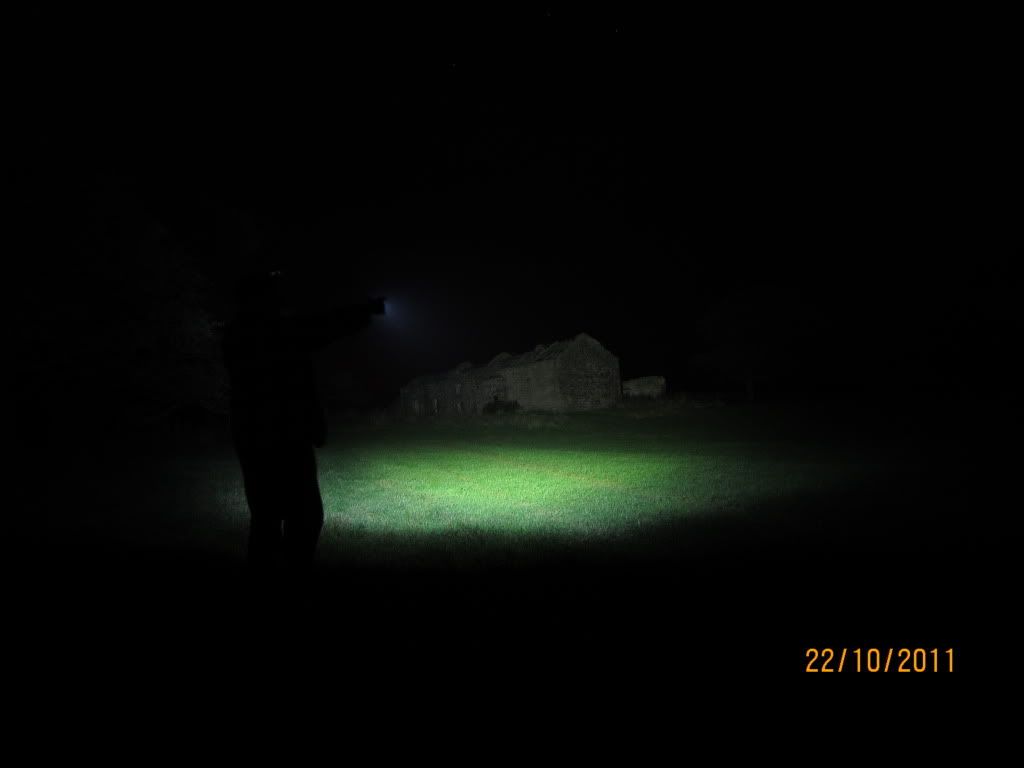 [/IMG]
and just for fun my little dog walking light
[IMG]  [/IMG]
[IMG] 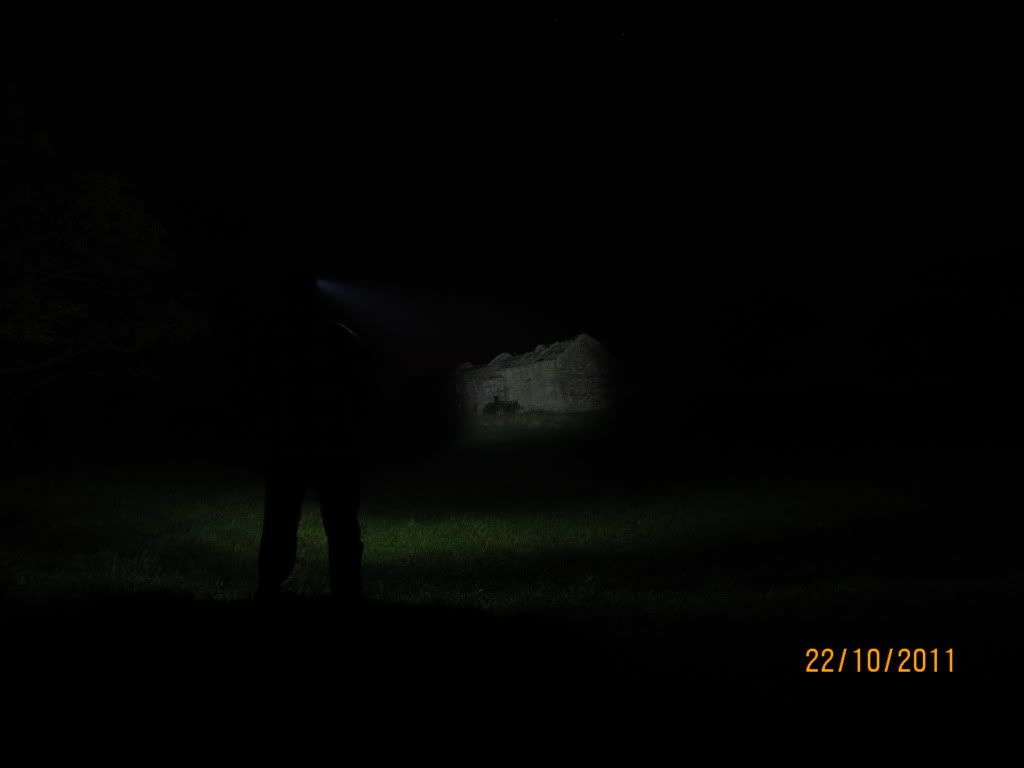 [/IMG]
[IMG] 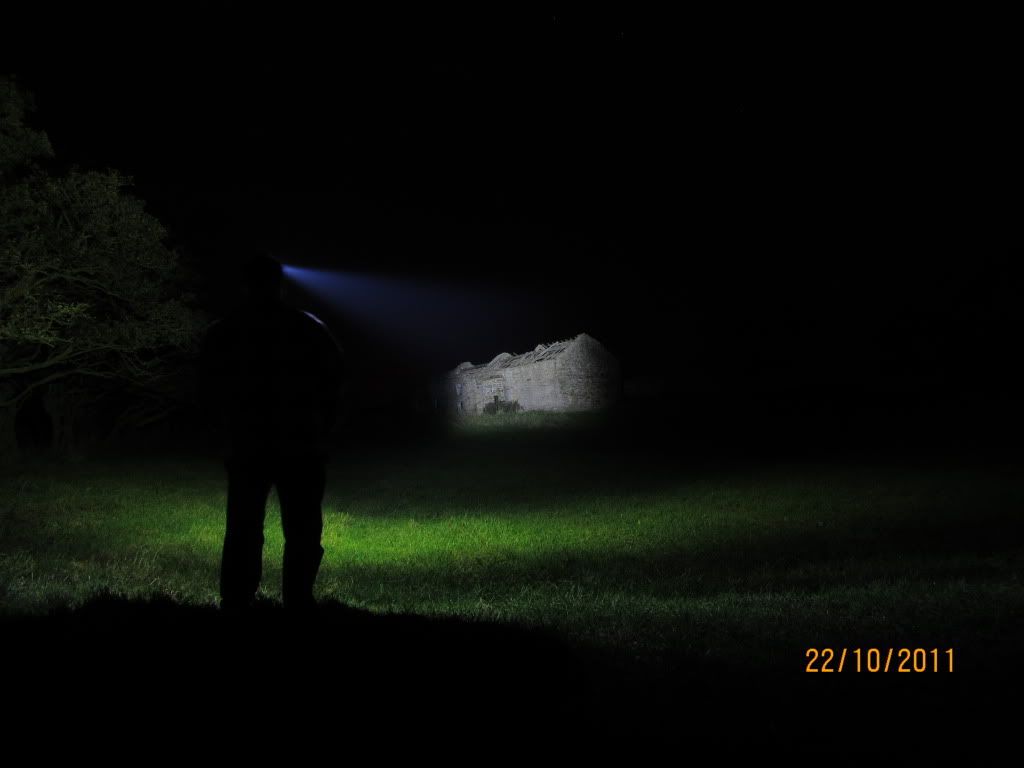 [/IMG]
Excellent work could i get the bits from you to have a bash myself trout?
Excellent work could i get the bits from you to have a bash myself trout?
Yes for sure drop me a mail
I didn't get mine in the post after all as I needed it this evening for a blast across the moors.
It'll be in the post on monday.
🙂
Mail sent troutie
Trout I mailed you about having a play with my Maxx D following a conversation on here a month or two ago. Not sure if you got it? Would be keen if you're up for it.
I have to ask! What the hell is that "dog walking" light?
How much will the Mk. 2 light cost to convert?
Thanks
Grim
juan - I want to upgrade my MkII Joystick too. I know how to open it but because its already night ride season I've not got round to actually doing it. I was planning on just swapping over the P4 for an XPG and changing the battery whilst I'm at it.
Mark 2 will cost the same but mean more work
[IMG]  [/IMG]
[IMG]  [/IMG]
Need to machine off the pillars and then make a spacer or make a polo shaped spacer .
Bol would like a look some time to see what is possible
but as you can imagine am pretty rushed this week .
Parksie some bits in a parcel for you to play with
There's no rush. I'll give you a shout in a few weeks time.
Sweeet should be fun will try to remember to take before and after beam shots. Hopefully the after beam shots wont just be darkness 😆
thats four done and on their way back I Hope the owners are enlightened 🙄
Hi Trout
Can you anything with Light and Motion ARC lights as mine has given up the ghost?
Harrison
If i am correct the ARC is made from plastic so no good for an upgrade to high power leds .
Parksie you should be getting your bits today so I have done a little
blog diy destructions
[url= http://www.troutie.com/Blog/Entry/13 ]Here[/url]
hi Troutie, I won't charge you a modelling fee if those beam shots came from my[b] lamp, which you used for pics in your diy guide 😀 they look great.
good to talk yesterday and can't wait for tonights ride, fingers crossed the postman delivers it ok.
will post a review in the next few days.
trout - great how to guide 🙂
my Passubio goes in post today.
Modified Mk II arrived back this morning, thanks Mr T.
Just had a play in the kitchen and nearly blinded myself! Will try to get out for a blast this eve., family commitments allowing.
APF
Great DIY there Chris - beat the post in this morning but thanks for the work on my AYUPs - very much appreciated - 🙂
Mines here, posted 11am Saturday, got here at 9am, WOOHOO!! 😆
I feel like it's Christmas already 😀 cheers Chris
Im all excited waiting for my bits 1st to arrive was towbar then a door panel fitted all that lot wheres that post man got the soldering iron warmed up ready.
Troutie - many thanks for the AYUP fix and Smudge Battery - spot on and the battery fits very nicely in the old AYUP pouch (is also more compact!!) Super bright as well 🙂
1x little box of tricks arrived 🙂 can i hold out on doing the work before getting the before beam shots?
While there is a post of hope light owners here does anyone know what make/model the connector used for the batteries on these lights is, or of one that is compatible and maintains the IP rating??
Trout, is [url= http://uk.farnell.com/apem/ipr3sad2/pushbutton-ip67-solder-lugs-black/dp/1086617 ]this[/url] the button your using??
Yes it is Nixie
also a bit cheaper and I may be looking at them when my stock of the others runs out
[url= http://uk.farnell.com/itw-switches/59-112/switch-spno-round-red/dp/519327 ]these[/url]
Well ?? Parksie
I gave in busy chopping things up and soldering results soon 🙂
Cool, thanks. Just seen the illuminated switched too, trying to decide if one of those link to the status led of my bFlex would be neater :D.
1st problem my light unit uses normal alen bolts internally driver and ally heatsink wont mate up.
Yes a problem that the first two i did had a small headed screw in there
and the others had the allen bolts
I had to swop for some M3 button heads I had .
grind the top of the allen bolt down and cut a slot for a screwdriver as a last resort
Hi Trout
yeh just checked and yes it is plastic. Do you do lamp fixes as well as mods. As I am not sure if its the battery or the head unit thats gone or a wire come a drift some where.
Harrison T H
it is usually the wire breaks in the back of the light head it seems to be a weak spot
unless the bulb has gone then its expensive
Mmmm hope its not the bulb how can I check if its a cable or bulb?
Sorry about all the questions but would like to get it up and running again
