Up next in 10



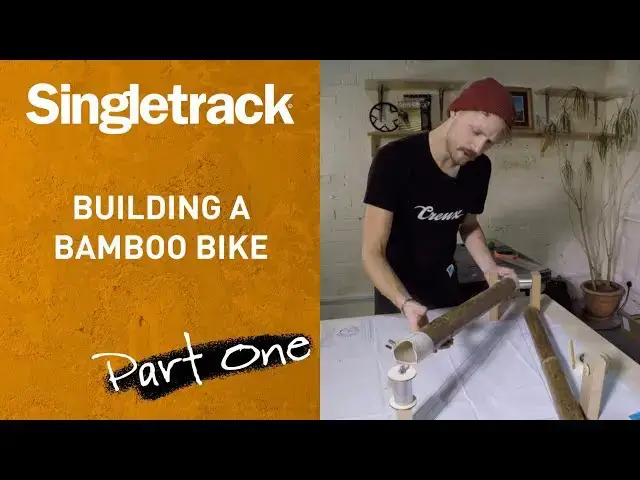
Find out what happens when you give a self-confessed perfectionist who is terrible at woodwork a 'Build Your Own Bike' kit.
The first instalment of the Bamboo Saga sees Wil laying the foundations for the build, and making a start on the frame. What could go wrong?
Part 1 of 3
Show More Show Less View Video Transcript
0:00
so to build a frame uh the first thing
0:03
that we have to do is create The Jig
0:05
that's going to support the frame we
0:07
have a taped head tube uh we have a
0:10
metal seat tube which will go inside a
0:11
piece of bamboo has to be metal
0:13
obviously to hold on to the seat post
0:16
bamboo is probably not going to do that
0:17
so well bottom bracket shell we have
0:19
here um and we also have the uh brace
0:23
for the dropouts and the physical
0:25
dropouts themselves these wooden blocks
0:27
that you see here are basic basically
0:29
the chock so that they're going to pull
0:31
the frame off the table we did run into
0:33
a bit of a snag because these are the
0:35
supports for the head tube so basically
0:37
what you're going to see here
0:40
is is effectively the head tube
0:43
supported by these two guys bolted into
0:46
uh into the table which I'm going to do
0:47
shortly um the drillings for these were
0:50
slightly off like AB just just slightly
0:53
but it was enough that when the uh when
0:56
the head tube was in position it was
0:58
actually sort of cocking the head tube
1:00
off this way and positioned on handle
1:02
bars Fork was going to be sort of off to
1:04
the left there a little bit um the
1:07
reason being appar this is a custom jig
1:09
setup for bamboo um Bicycle Club they
1:11
don't really make jigs for Boost 148 M
1:15
spacing um so it's a it's a custom jobby
1:18
anyway we've got brand new jigs here so
1:20
I'm going to um get these all set up and
1:23
then we're going to drill them into the
1:24
table and uh basically lay the
1:28
foundations for my veral death trap
1:31
drill
1:33
[Music]
1:42
holes
1:43
drill there we go that's that was a
1:46
really good one actually I got bit by
1:48
the
1:51
end that'll drop
1:53
down that's going to kind of lock it in
1:56
[Music]
2:04
it's too
2:06
short
2:12
[Music]
2:17
no that's a very pleasing structure
2:20
where it kind of plugs
2:22
in
2:24
it's slightly off in terms of my
2:28
drilling
2:30
I think you should be fine well you
2:32
drilled it now you got move those
2:36
holes wheels deviating from the
2:41
design gently reworking the geometry
2:45
based on the fact that I okay so you can
2:48
tell here these two guys that I've Dr
2:51
drilled holes for um are to far apart so
2:55
I put another spacer in here just behind
2:56
the head tube and I think that should
2:59
actually take up the slack see the
3:01
problem about doing a home kit like this
3:03
is you don't have anyone to go is this a
3:05
stupid idea
3:07
and which generally I kind of need
3:09
people to help me with those sorts of
3:12
[Music]
3:23
[Music]
3:25
questions I have to turn that shape into
3:30
this shape so it meets in a nice
3:34
round uh like basically like it locks in
3:37
there and then also have to do it up
3:40
here but on an
3:41
angle sounds so simple
3:49
[Music]
3:55
[Music]
4:06
[Music]
4:11
much bigger
4:12
diameter the down tube is than the
4:14
bottom
4:16
bracket I I Pro I guess I'm just going
4:18
to keep
4:20
mitering I'm just looking ahead at this
4:23
guy cuz that there you see where I'm
4:26
going that's that's going to be
4:31
uh challenging
4:36
okay this time going be so out of whack
4:39
anyway
4:40
[Music]
4:57
[Music]
5:18
I've just realized that this is a
5:19
smaller diameter tube than the head tube
5:22
so the M needs to be a tighter radius
5:44
bring that down into place like that's
5:46
that's beautiful there on
5:48
hu look at that how did that
5:51
happen minded it so the bottom brackets
5:54
like that angle and it's not it's dead
5:56
straight obviously that would be great
5:58
if if I rotated it down like there
6:01
that's beautiful that's really nice but
6:03
then it just then it's all cocked up
6:05
here
6:07
oh is it what you're going to do I I
6:11
don't know what I'm going to
6:13
do
6:17
oh is there any way I can modify that
6:24
to it's actually Twisted isn't it yeah
6:27
exactly it's twisted cuz I'm I'm
6:29
standing it on a bench with my
6:31
[Music]
6:33
hand that H Sho m is really good I'm
6:36
really happy with that if you're
6:38
considering making a frame out of bamboo
6:40
right at this very point in time I would
6:43
highly recommend that you don't do that
6:46
cuz it's a stupid idea small gaps that
6:48
are still present once completed can be
6:50
filled at the gluing stage later on with
6:52
a bamboo composite filler we suggesting
6:54
that what you've got is not a small Gap
6:57
it's it's a reasonable reasonable like
6:59
if you look at it from up here it's kind
7:01
hard to see with the camera but if you
7:03
look at it with your own eyes from up
7:05
here see there's contact there look at
7:08
that look yeah you start from the head
7:12
tube is that is that what it says just
7:14
wondering whether next time you could
7:16
start from the bottom bracket no it says
7:19
start from the bottom bracket ah and it
7:21
gives you steps Mark the C line and it
7:23
showing the head tube cut so I cut sand
7:27
and shape check fit which I did check
7:29
and PR repair cool no problems then it
7:32
goes backwards and goes actually first
7:35
before doing all of these instructions
7:37
that we've just told you now select the
7:40
tube join the bottom bracket fit to BB
7:43
Max matching axis head tube to be honest
7:46
you can I could either way now you come
7:49
to think of it kind of makes sense to
7:50
start from the bottom bracket why you've
7:53
got that in there cuz once that's in
7:55
there you can pivot this up and get the
7:57
exact axis control the on and ex up the
8:00
right place have you built a frame out
8:02
of bamboo I know nothing okay I'm not as
8:04
experienced as you clearly yeah clearly
8:07
let's not start dishing out instructions
8:10
things we don't know how to do
#Sports