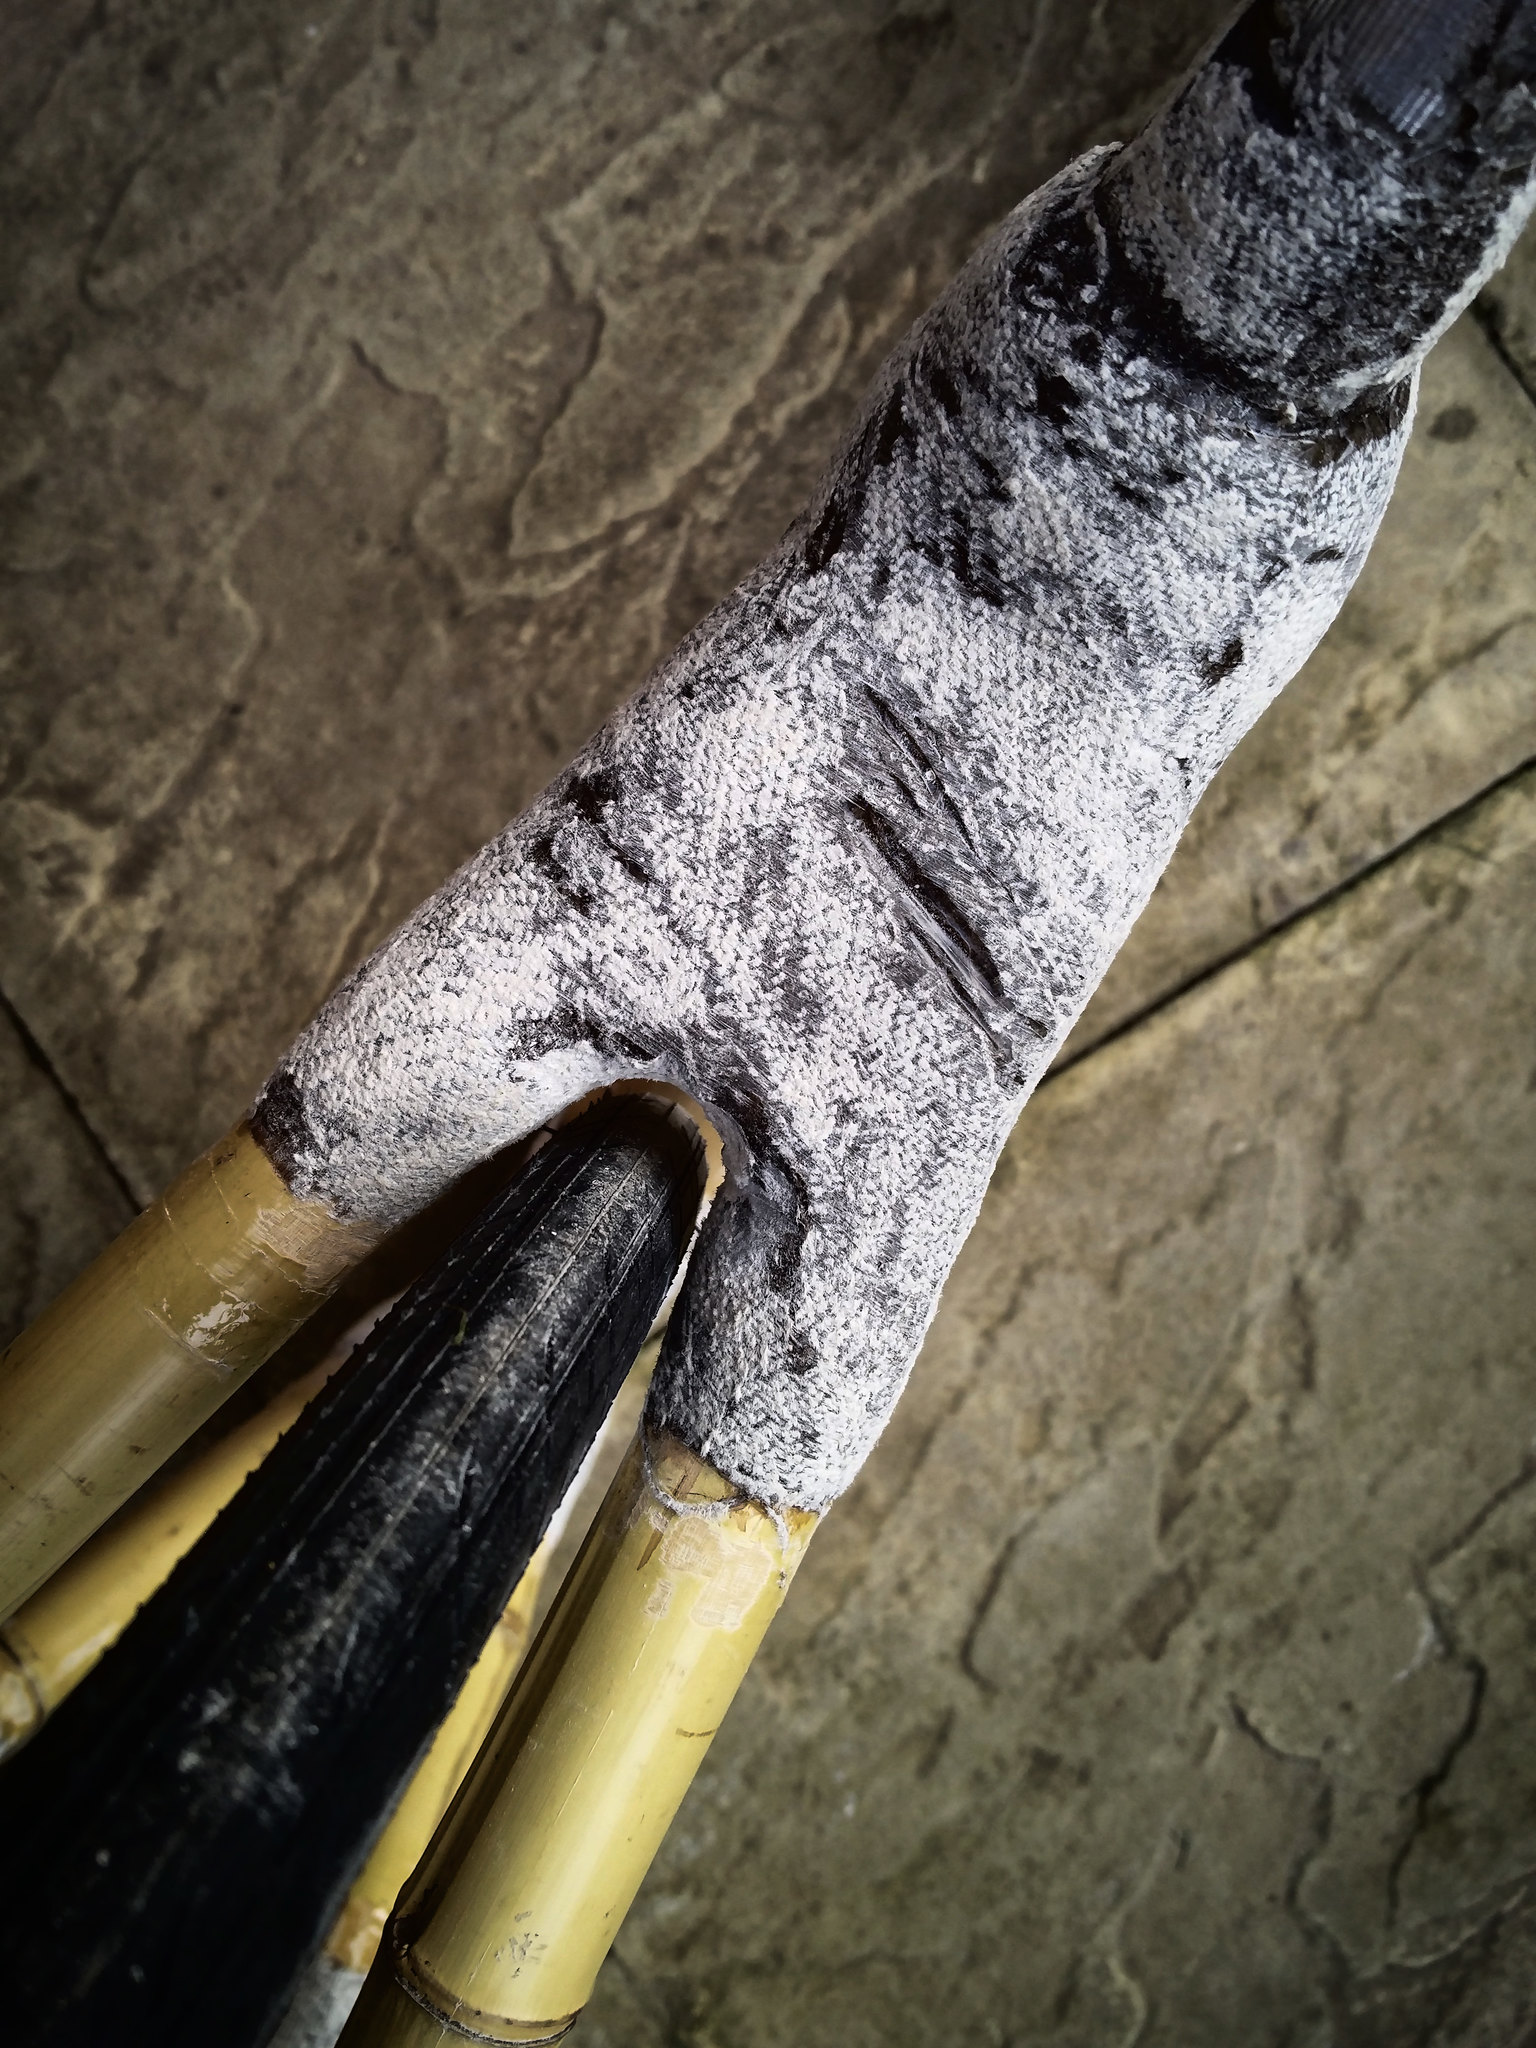
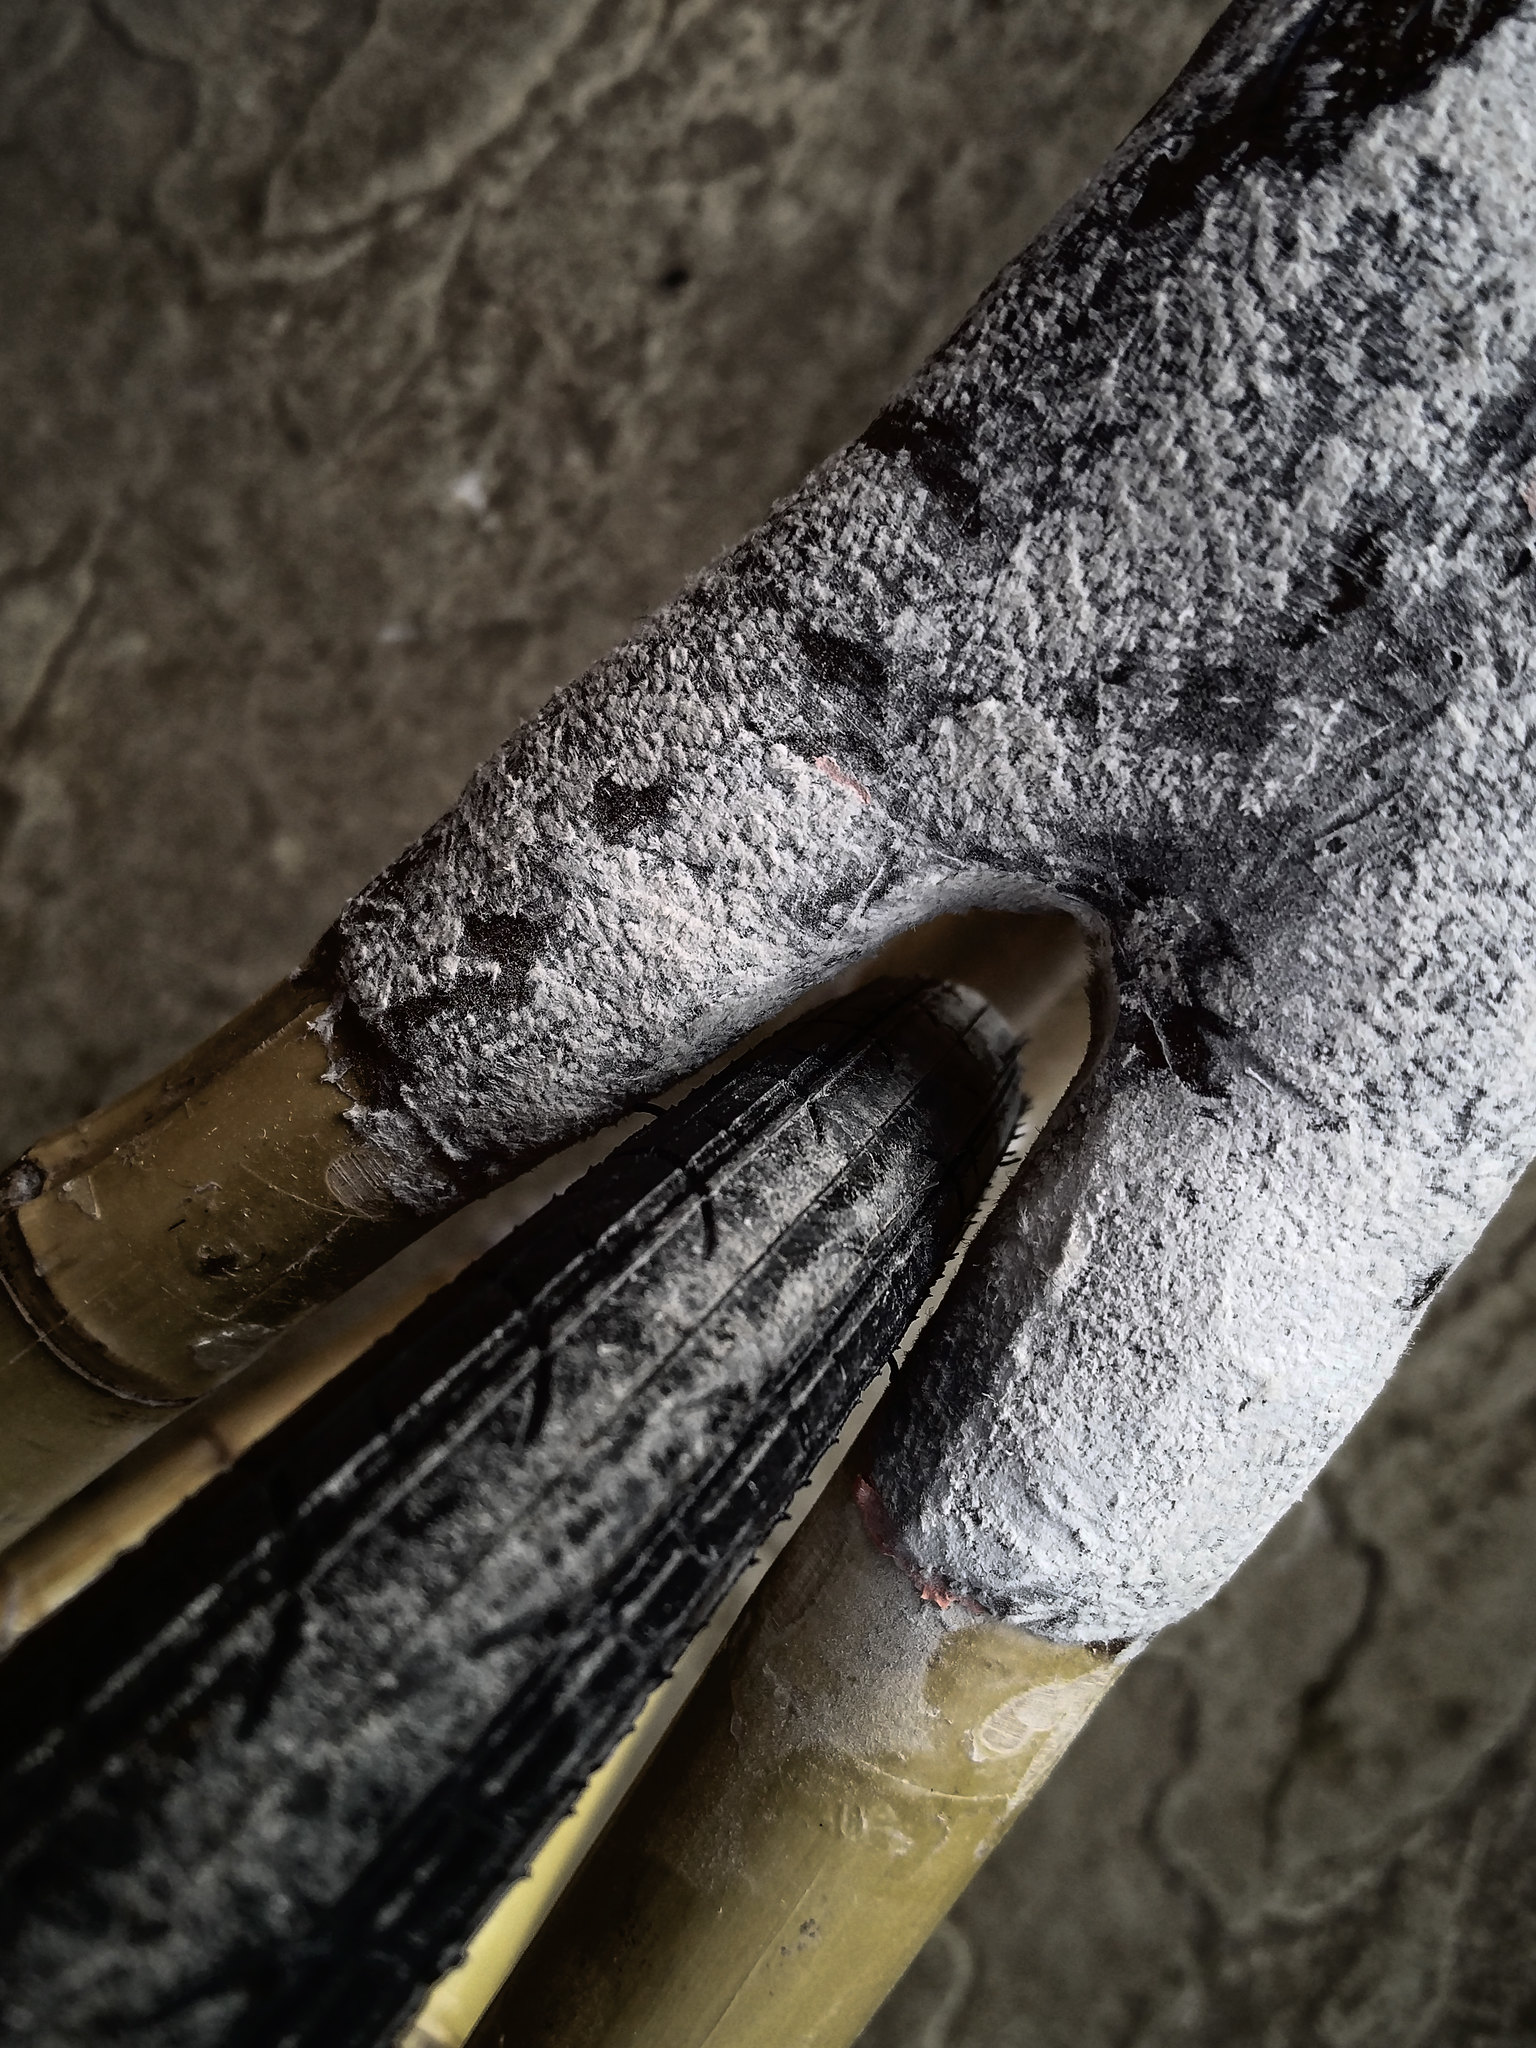
Bit of thinking, measuring, marking out, lots of filing and some more sanding and we have a central (enough) wheel. Clearance is still tight, but can’t do much about that short of cutting material out of the chain- and seatstays…
[video]http://vimeo.com/232381243[/video]
[url=https://flic.kr/p/Y9ZA5W]2017 09 04 clearance sorted 01[/url] by Rob P, on Flickr
[url=https://flic.kr/p/YcE8F2]2017 09 04 clearance sorted 02[/url] by Rob P, on Flickr
Now for lots of tedious hand sanding and polishing on the lugs…
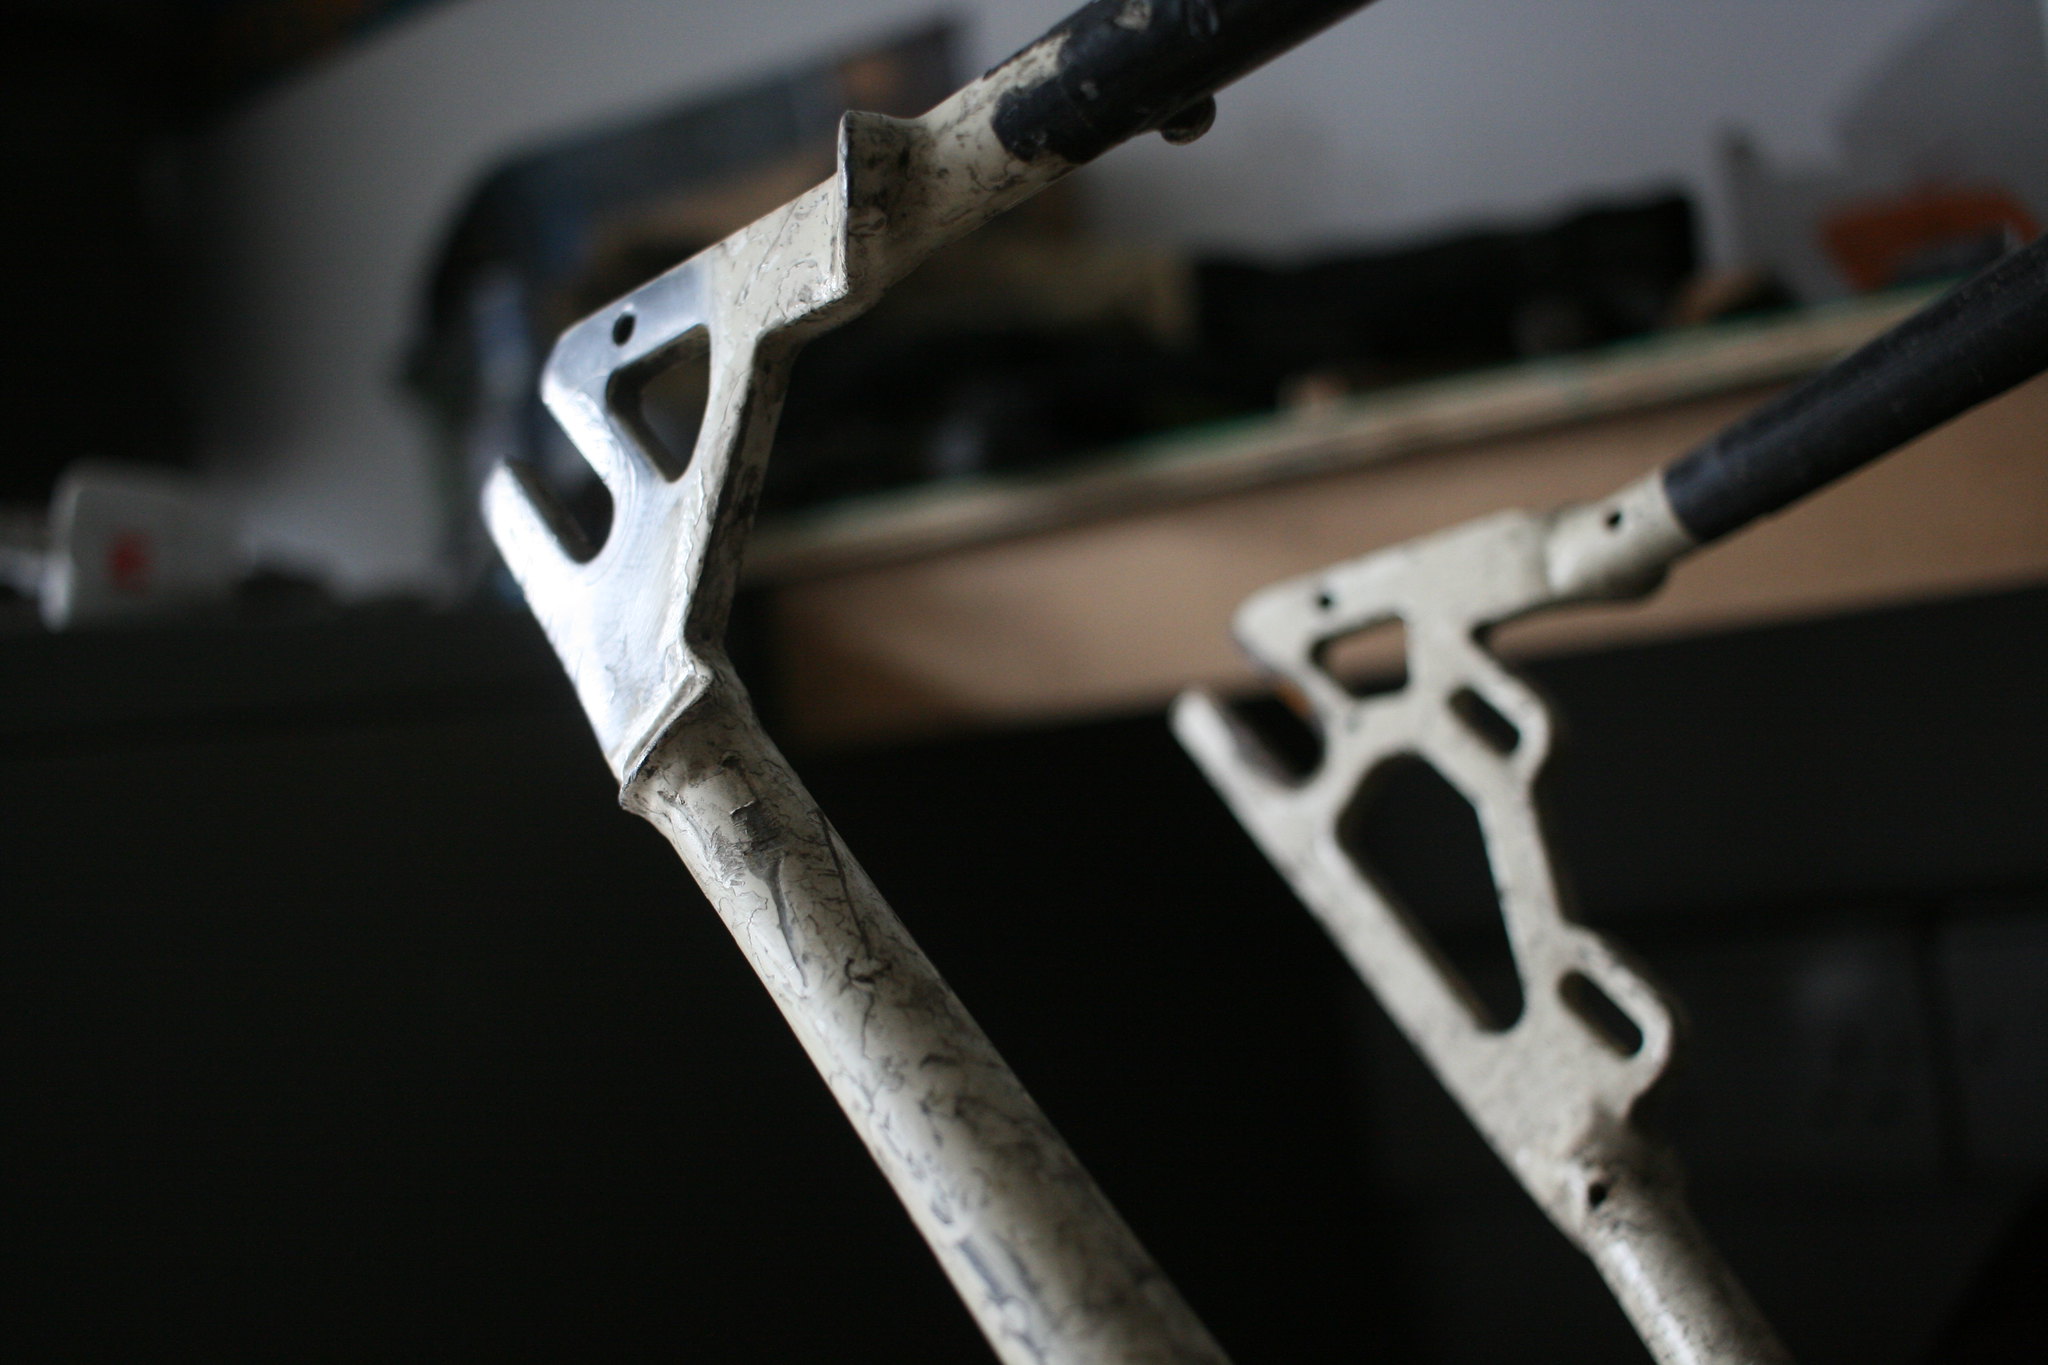
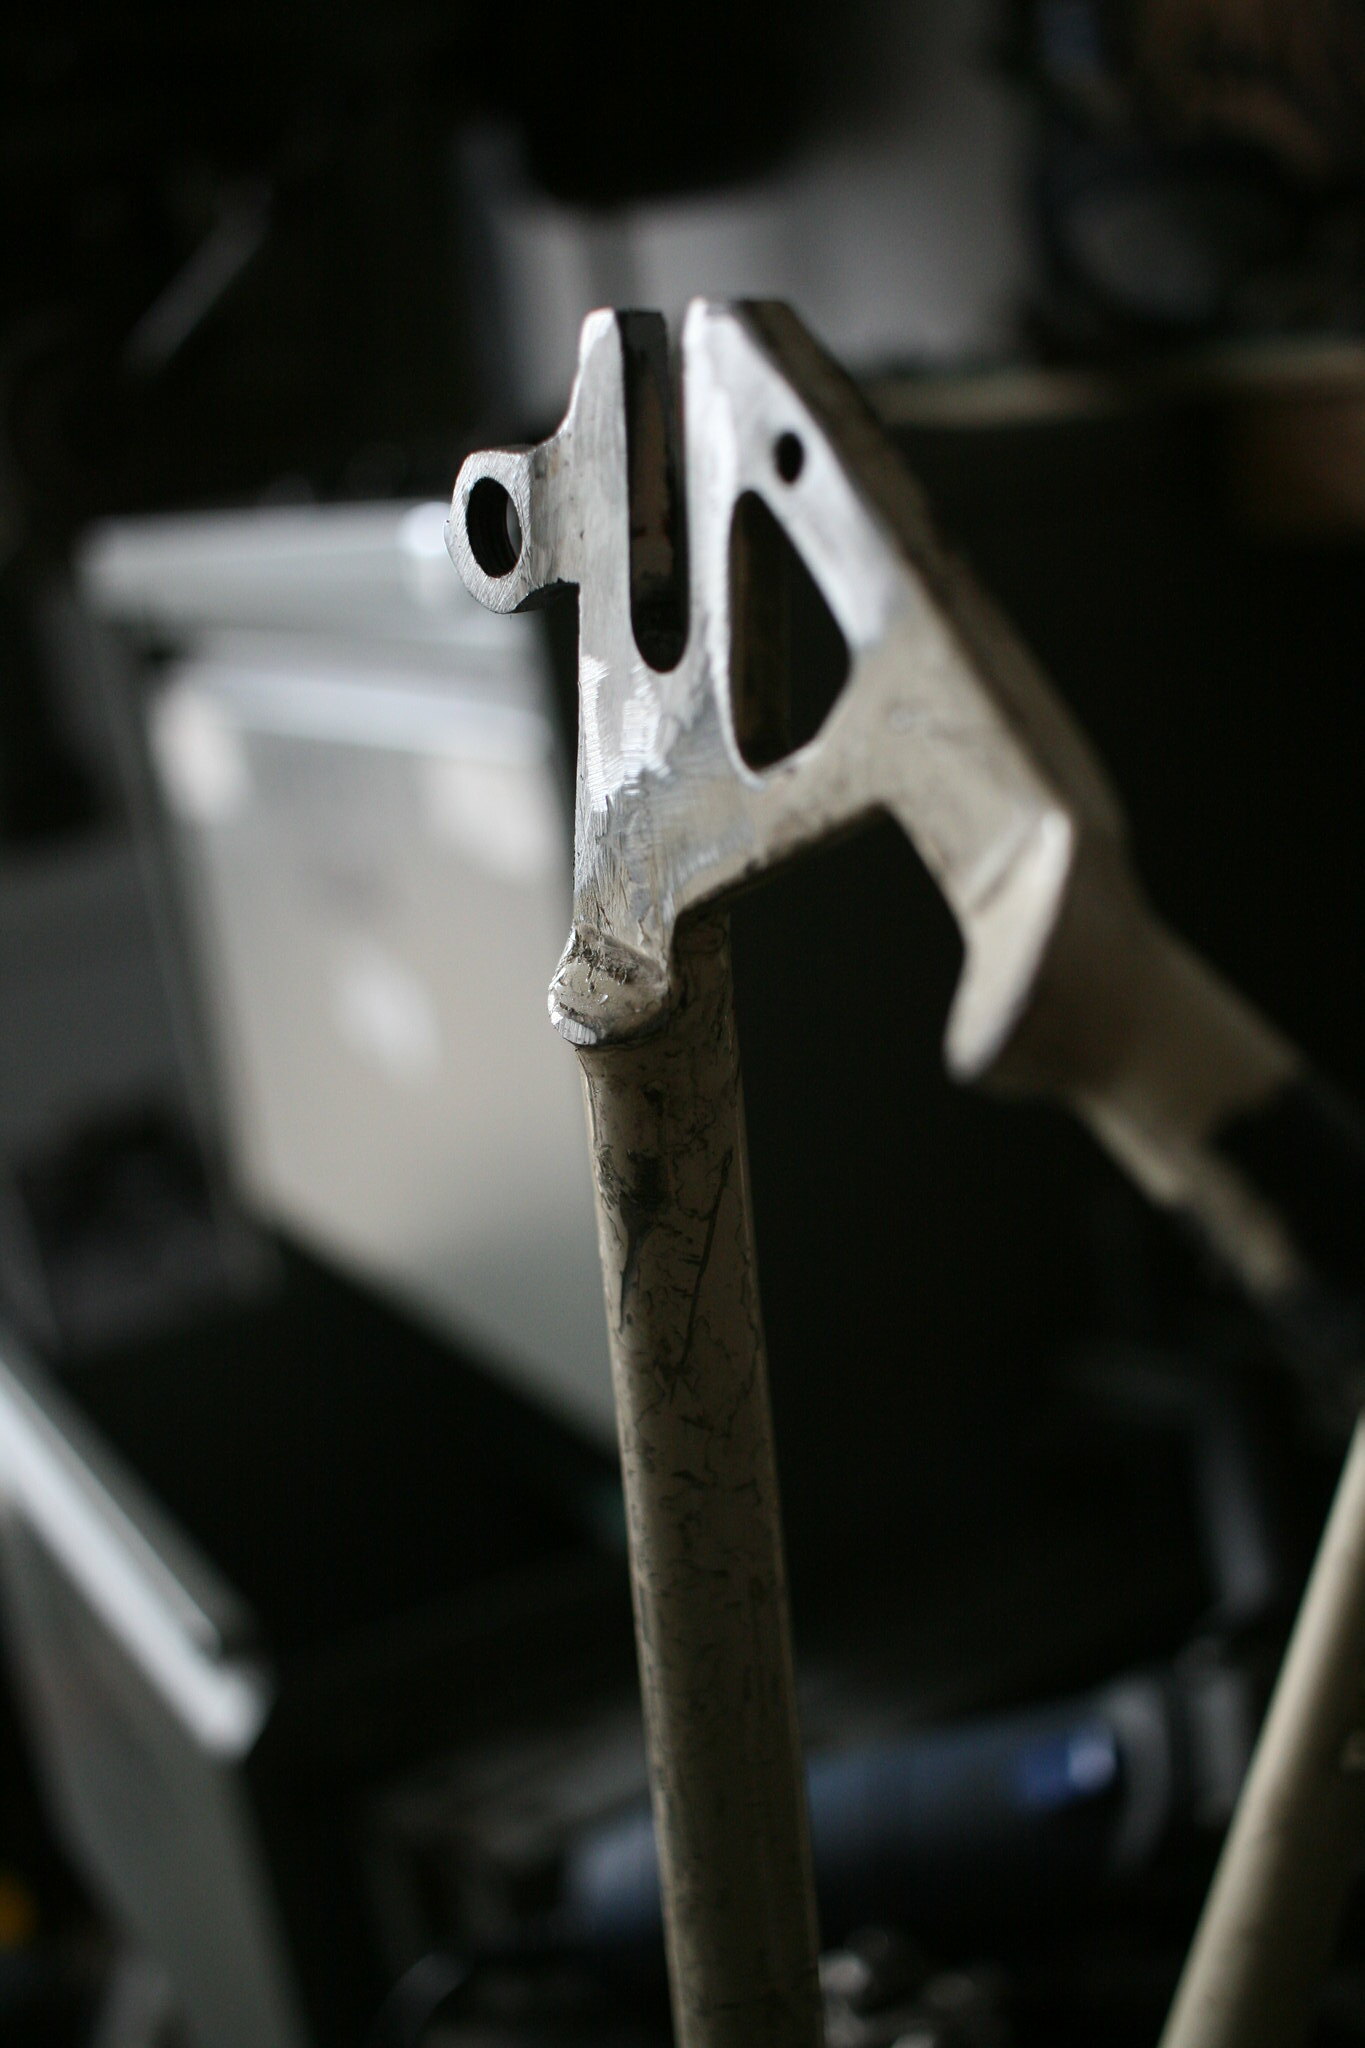
Result!
A few years ago I made something similar but with carbon tubes. The jig has to be pretty well prefect, as you can’t bend the frame like a welded metal frame. My jig was vertical so maybe was easier to check alignment.
Yeah, also the inability (strength-wise) to use REALLY narrow bamboo tubes on the stays doesn’t help either. I guess as it’s a small frame and the back end seems really short doesn’t help either…
So much good stuff- inspirational! Chapeau to all who’ve posted. Yes, it seems a shame when a few things go by without getting mentioned, but it really is great to see them all. Keep posting!
Today I made (rapidly bodged) a device for getting the number plate board on an empty dinghy trailer to sit at a decent height while still being right at the rear of the trailer (the normal thing is to hang them so dam low that they’re useless)
Technologically and aesthetically it was crap (a scrap bit of 150*50 CLS deck frame, an offcut of 100mm square fence post, two bloody great screws and two webbing straps) but as a 5 minute solution to borrowing an empty trailer and bringing it 15miles home along some very busy main roads it was functionally brilliant!
Finally finished it. I’ve given up one of my wood sheds (oh, the sacrifices I make!) to Mrs Stoner for a sauna.
Insulated panels with pine cladding. About £700 of materials for the cabin, £75 for the Aspen timber for the benches and £230 for the stove, controller and Finnish Sauna rocks.
Shower outside connects to the garden hose for a freezing douse.
1900mm long so enough for her to lie down (I prefer sitting on top bench anyway). 4.5kW heater with indeceipherable Chinglish controller.
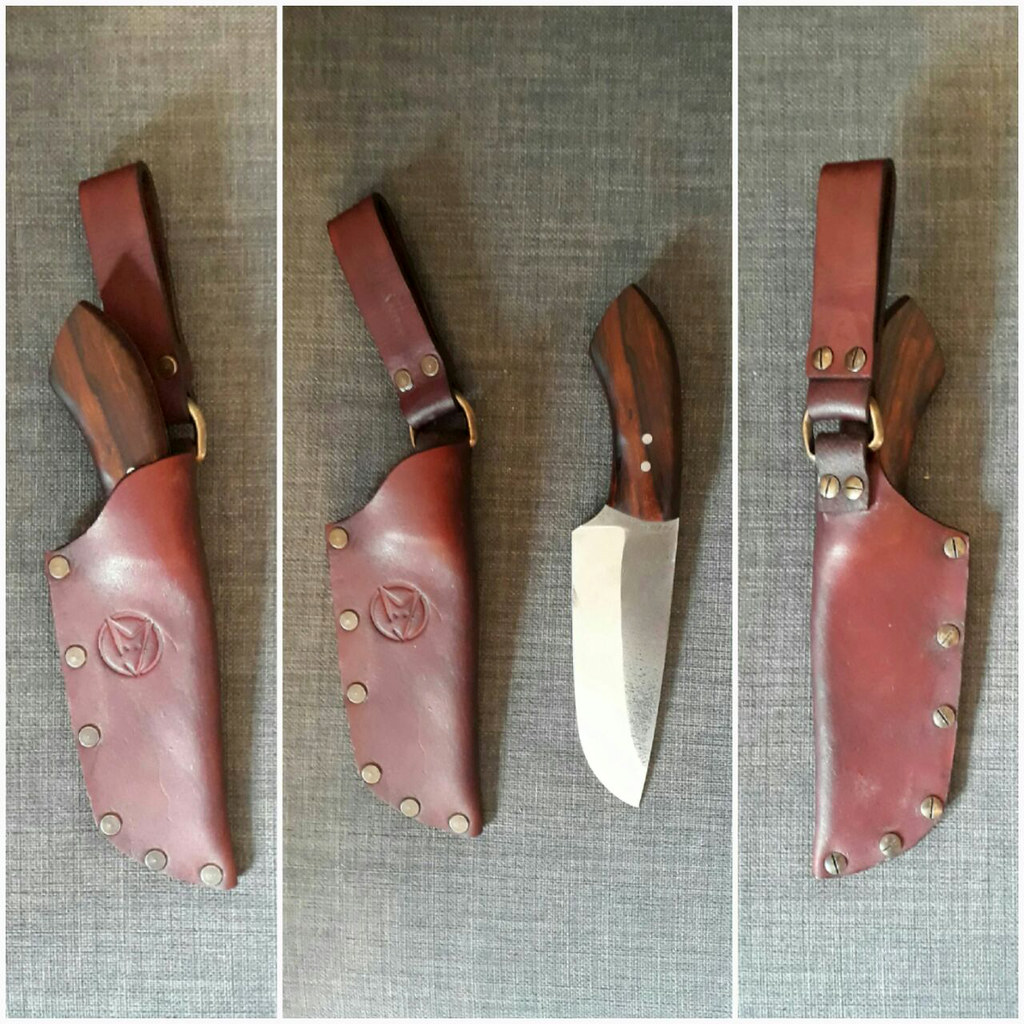
As always seems to happen these days I got asked to make a leaving gift for a colleague recently (must try to do more rubbish gifts…).
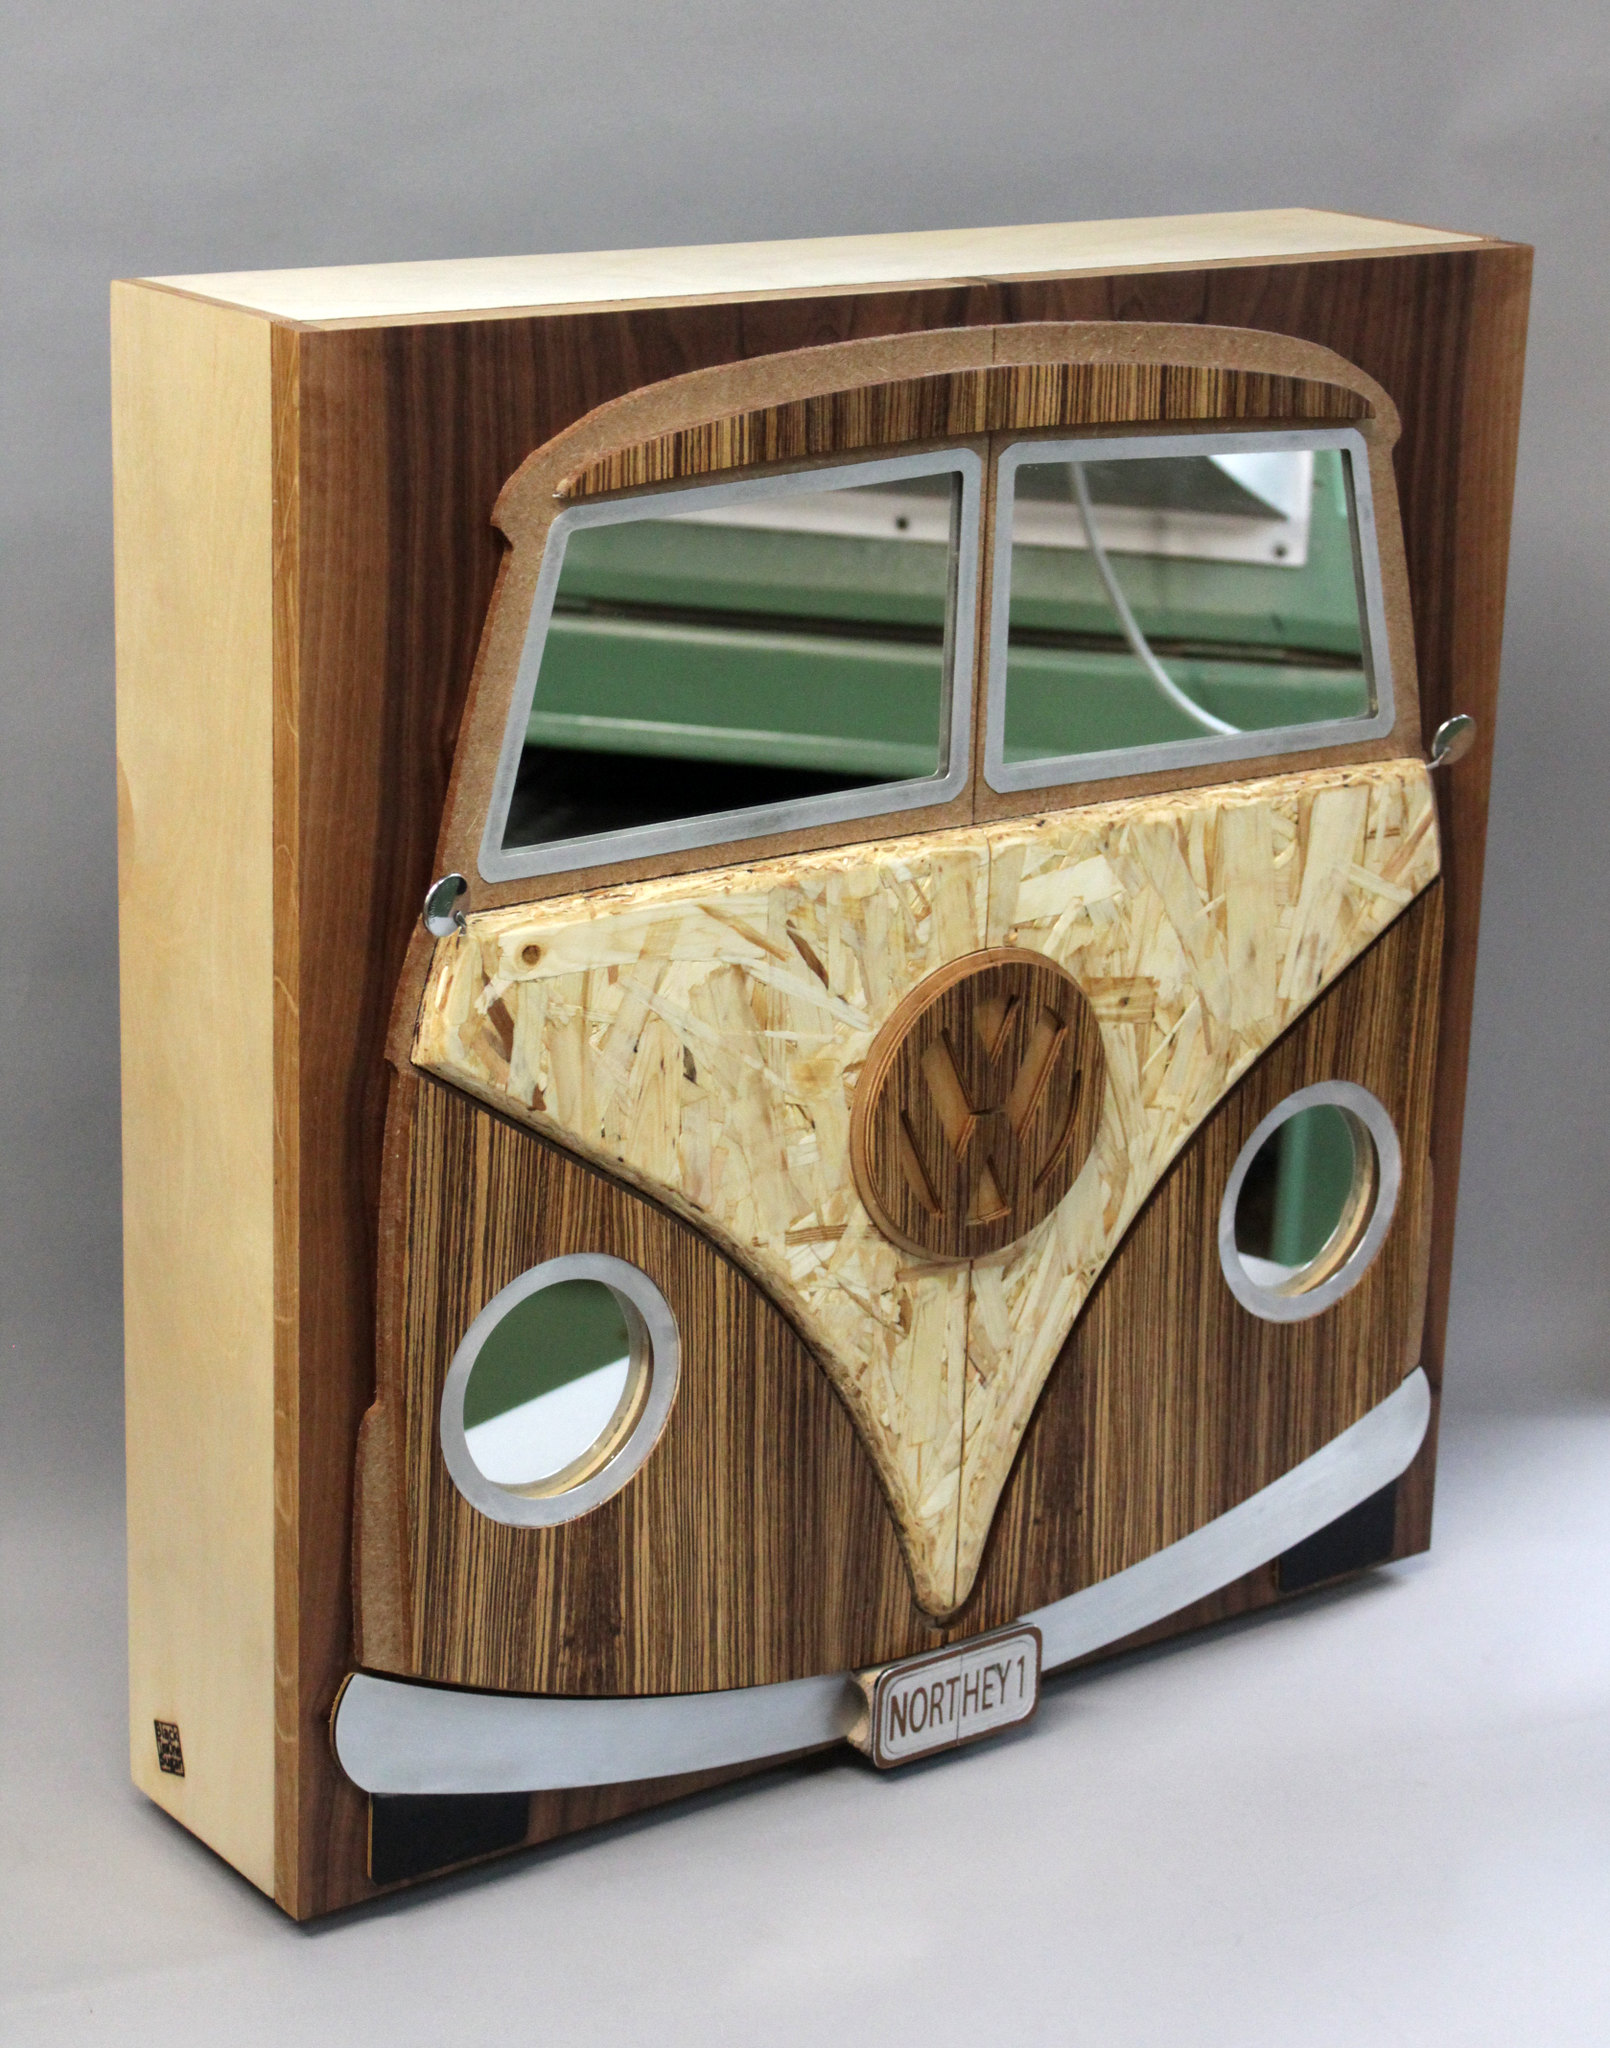
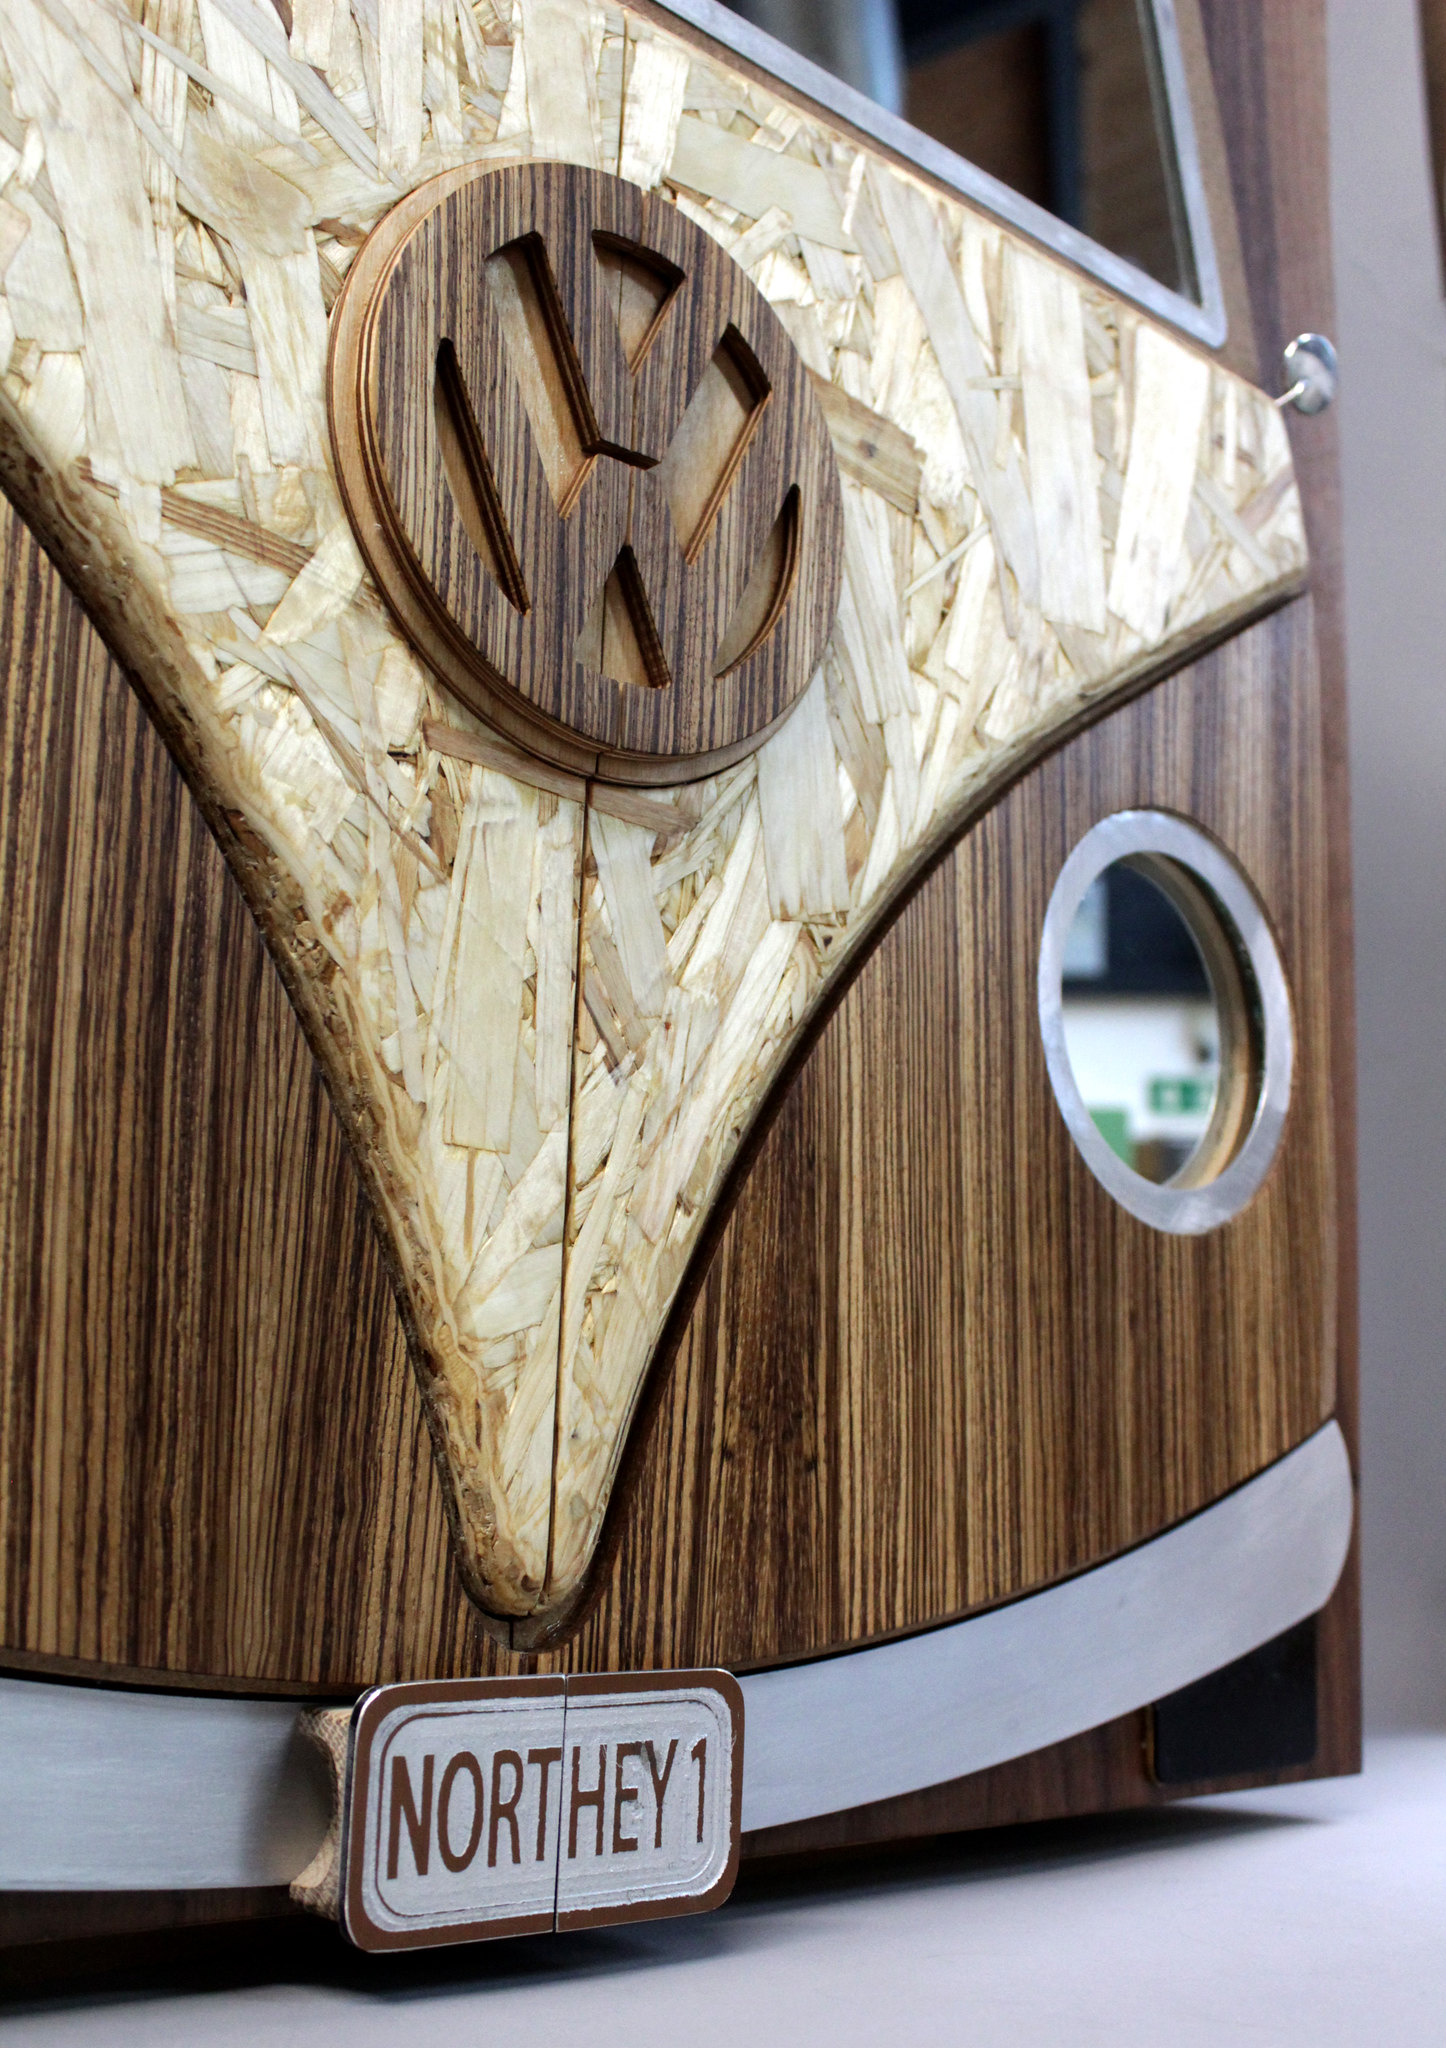
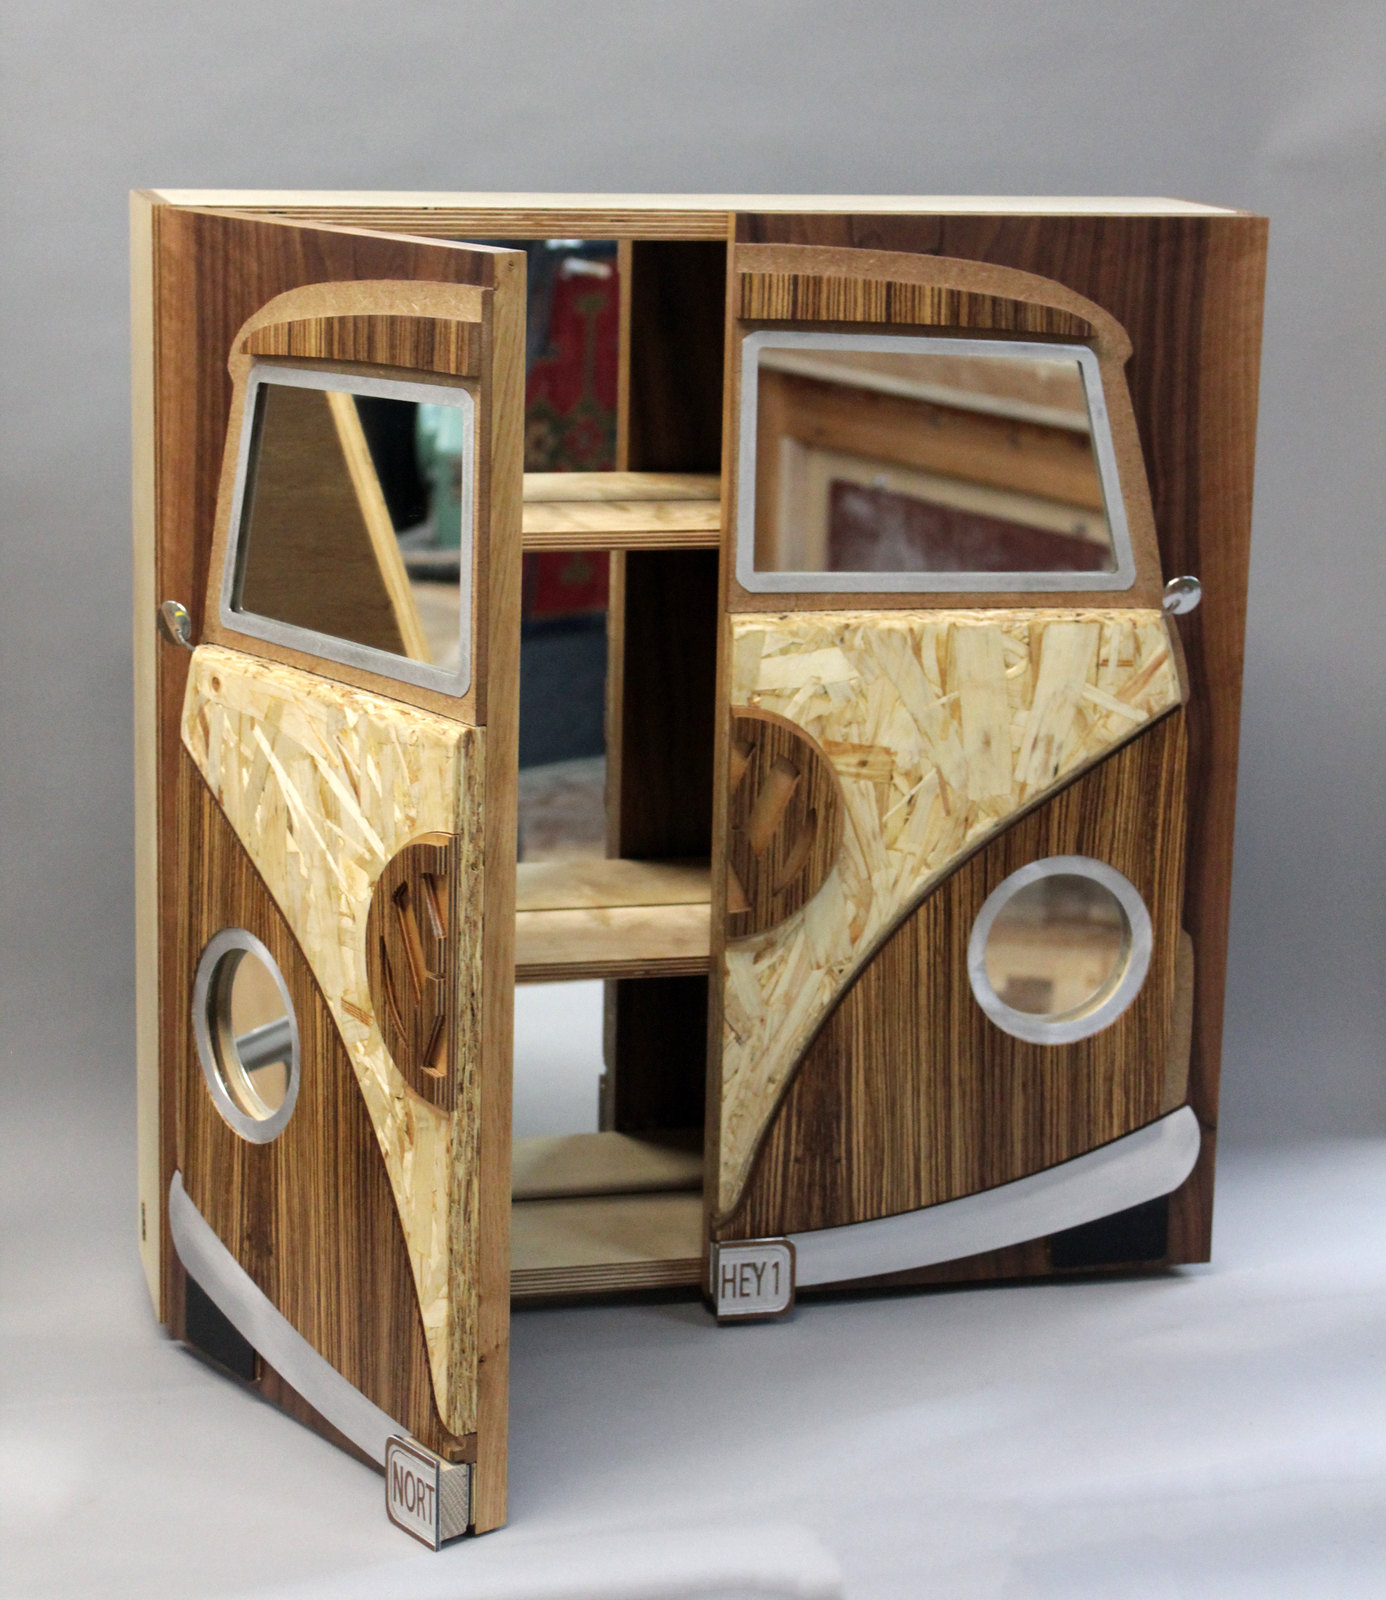
She’s well into Veedubs etc and so I took a cue from that and made her a bathroom cabinet, based on the classic split screen bus. Such an iconic shape.
It has mirrors in the front, including tiny and cutesy little Dental mirrors for the wing mirrors, and then has a main mirror in the back when opened.
I did pretty much all the cutting out on our cnc router, grabbing bits of time here and there between ‘normal’ work.
Made out of Birch ply for the case, and just MDF, Zebrano-veneered mdf, aluminium and OSB for the camper details.
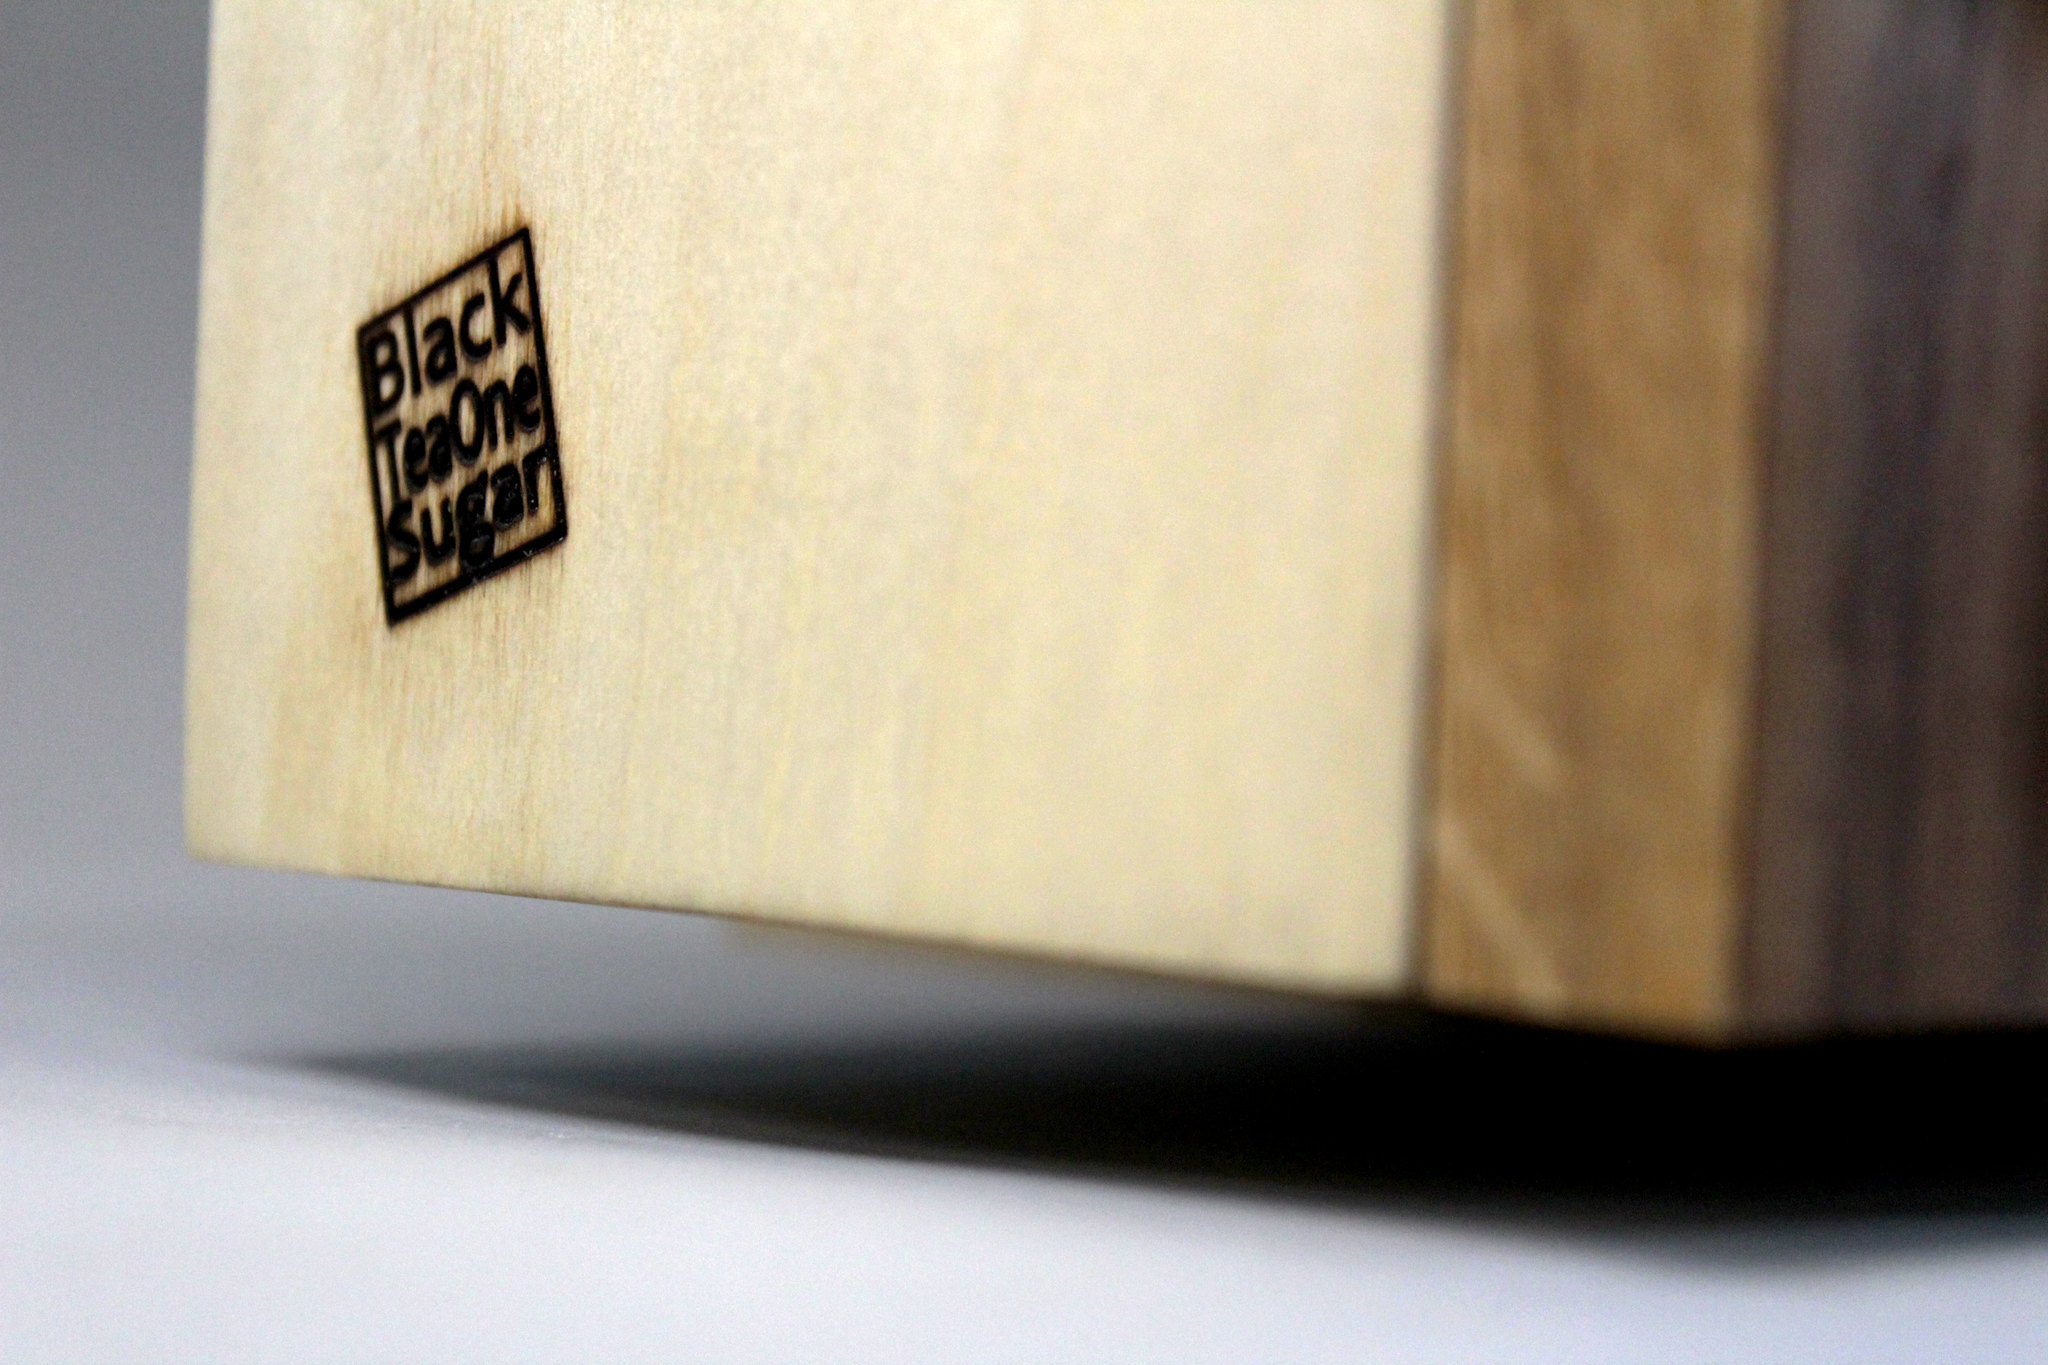
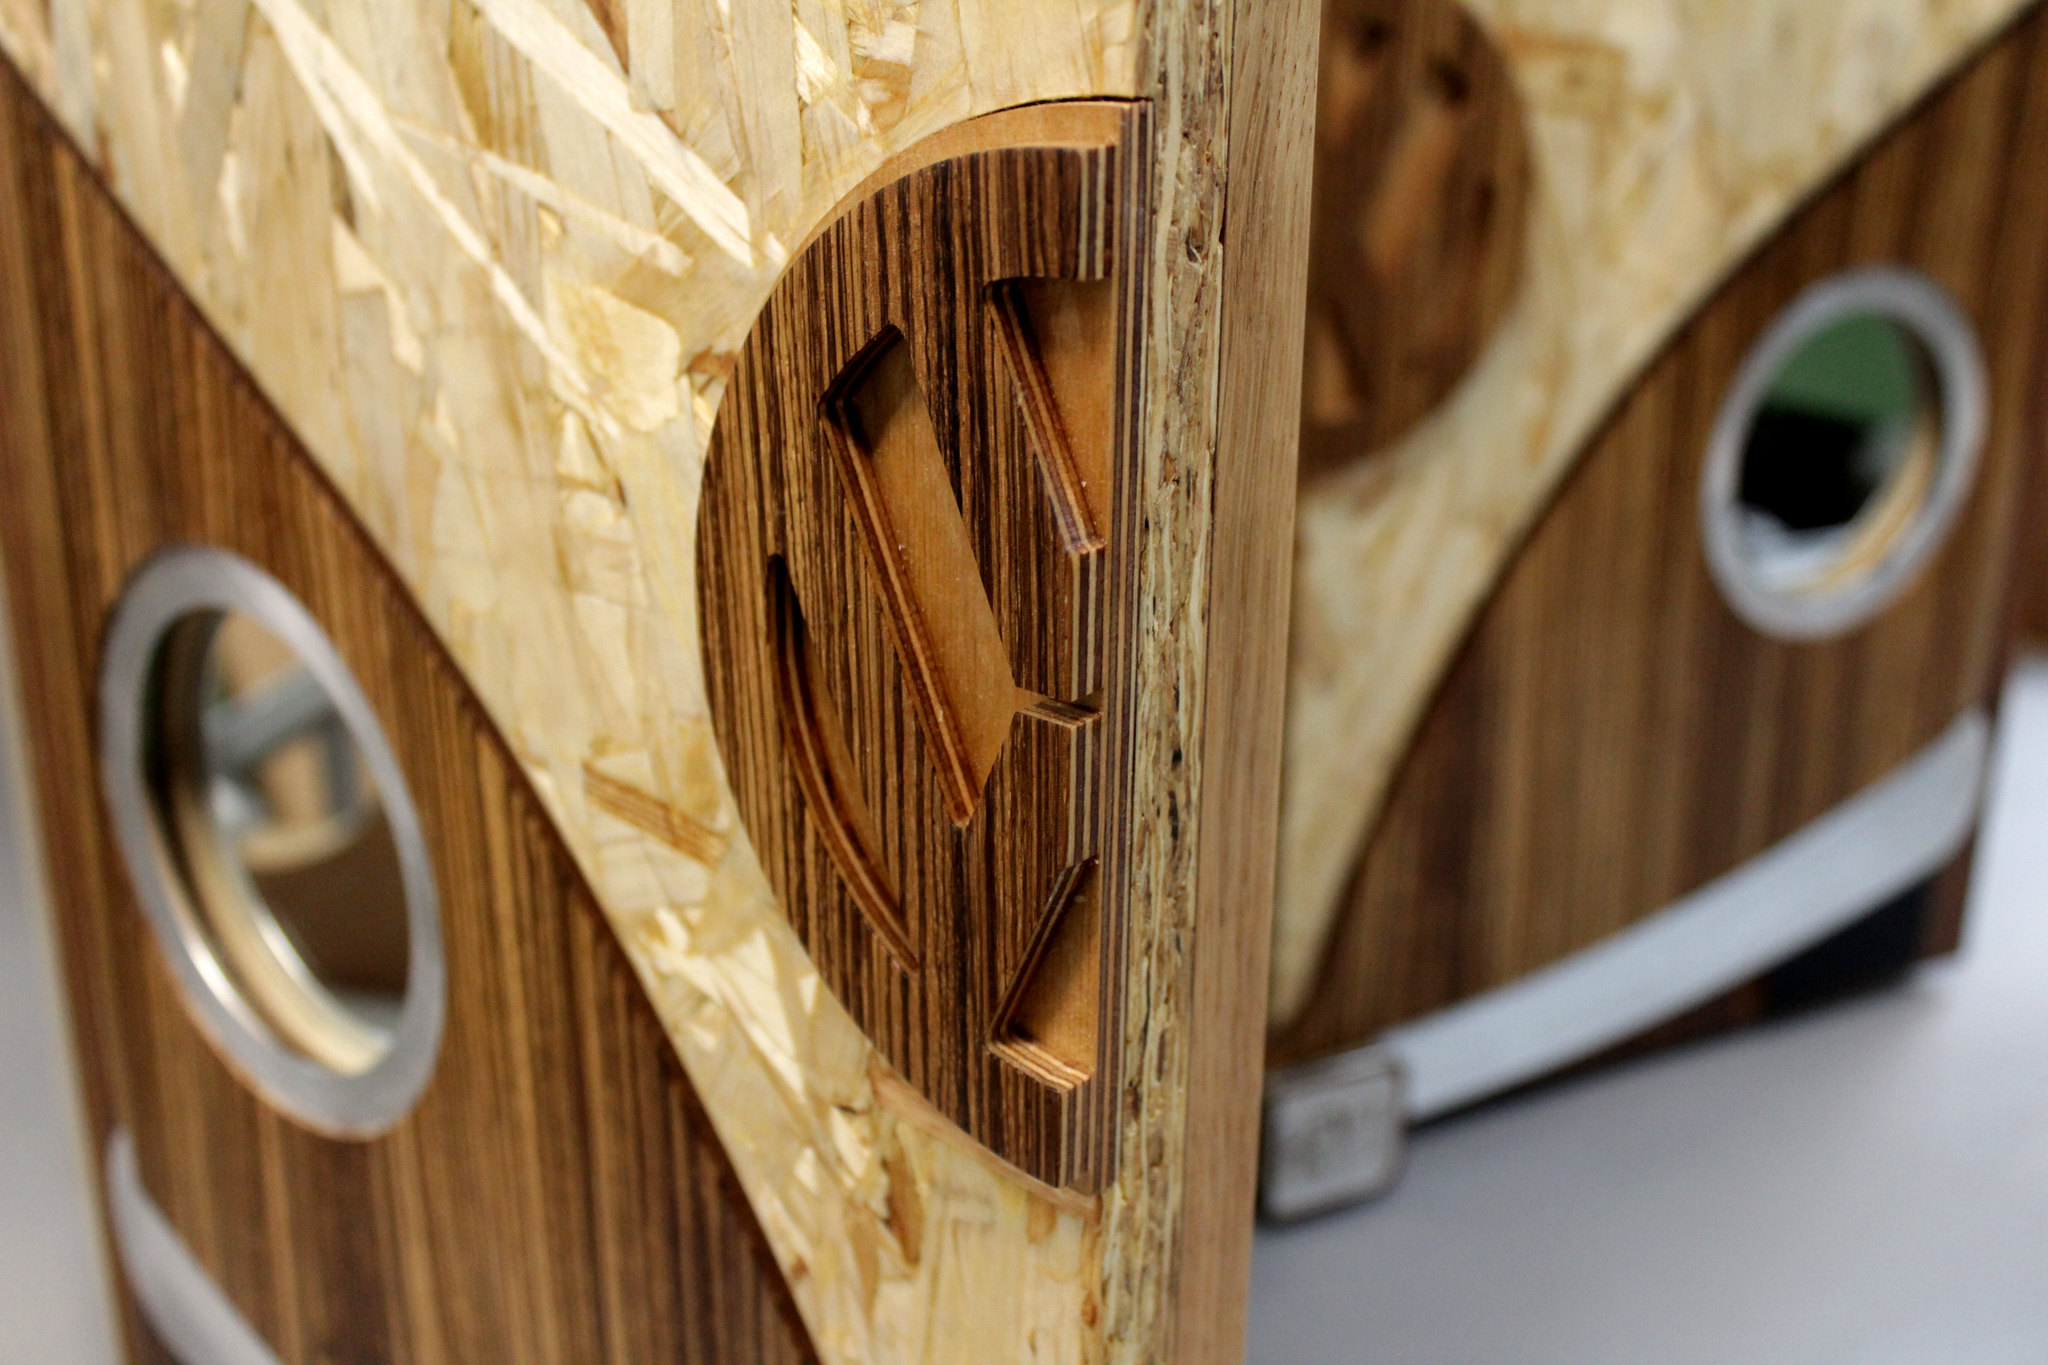
The numberplate (with the family name on it) doubles as a door pull. If built in real life, the numberplate would actually be on the ground as it’s lower than the tyres but hey! It’s a caricature!… 😀 [url=https://flic.kr/p/21tkoQ1]Front on side on[/url] by Kayak23, on Flickr [url=https://flic.kr/p/21tkoJj]Numberplate pull detail[/url] by Kayak23, on Flickr [url=https://flic.kr/p/GBCR1T]Camper doors ajar[/url] by Kayak23, on Flickr [url=https://flic.kr/p/21tkphJ]Blackteaonesugar[/url] by Kayak23, on Flickr [url=https://flic.kr/p/GBCR8M]Camper badge detail[/url] by Kayak23, on Flickr
I suppose I shouldn’t really be putting it on here, as we’ve not presented her with it yet….
Oh well, she’s not on here as far as I know… 🙂
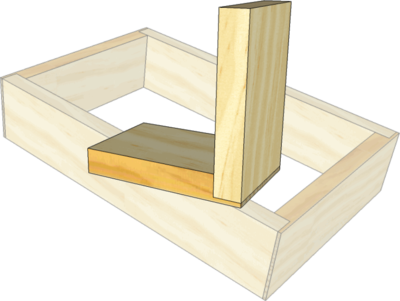
am interested in how you did the case corner junctions, something more than a butt joint?
Just a simple lap joint done on an inverted router.
When glued up, you can later add wooden pins in a contrasting timber to dress it up a bit and add strength.
Nowhere near the standard of the other stuff on here but I made this today as a ‘proof of concept’ for a cable cover for my dropper post remote cable. It’s a Fox Transfer and has an external cam to move the mechanism that has a habit of getting bits of grit stuck behind it. Water doesn’t affect it so I need a cover just to keep the grit out. The mechanism:
Getting fed up of having to stop mid-ride and remove the grit! Only takes a minute to whip off the cam, clean it then reassemble. Now I’ve got a mudhugger on the bike for winter it is keeping clear better but I want a permanent solution.
Found a 50p pipe plug that’s the right size so a bit of cutting and filing to shape it round the post and mechanism plus two grooves for the cable tie and I have this:
It’s pretty snug so grit shouldn’t get in easily. The big test will be tomorrow at BPW as the trailers get the thing covered every trip up. If it works well I’ll get my mate at a local engineering college to get one of his students to make a tight fitting one on their 3D printer.
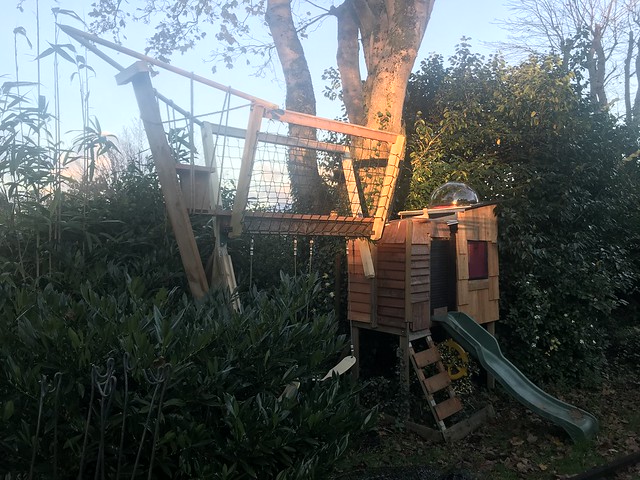
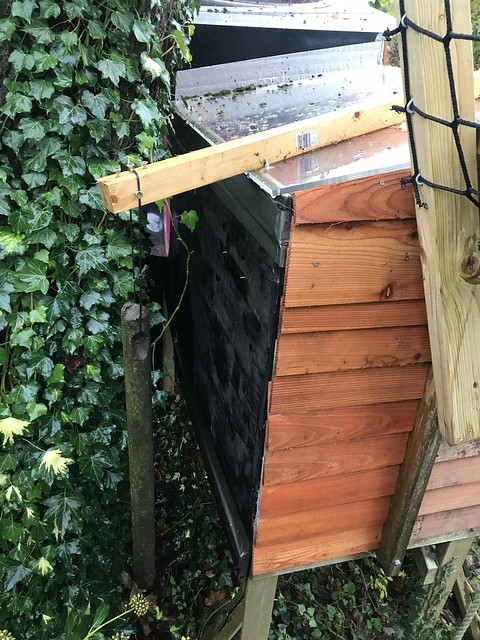
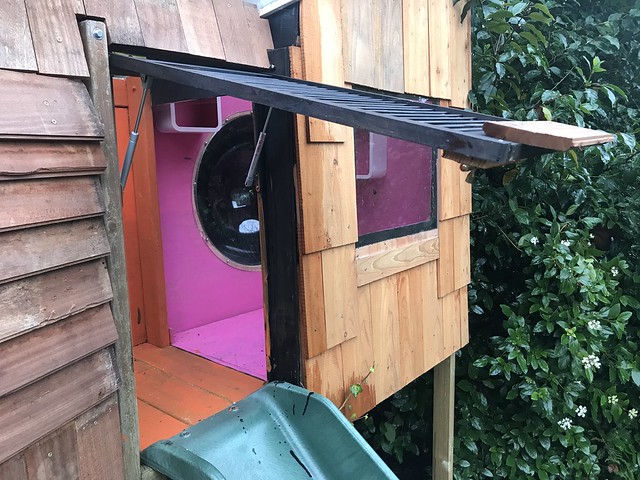
Cheers 😀 Not photographed, the counterbalanced opening clear roof on the den to give access to the flying bridge, and the gas-spring-opening emergency escape door to the slide…


 [/url]
 [/url]
 [/url]