- This topic has 20 replies, 16 voices, and was last updated 10 years ago by wysiwyg.
-
How to anodise a frame – the cut an paste edition
-
wysiwygFree MemberPosted 10 years ago
Pinched this from RM, thought it may interest some
This isn’t a complete “how to guide”, but hopefully it wil dispell some myths surrounding anodising and also shows you what prep needs to be done by the anodiser to get the correct finish. Hopefully this will also clear some of the mystery surrounding anodising one’s frame – it certainly did for me.
A thing to note is that the finish, greatly depends on how well the frame was stripped prior to anodising.
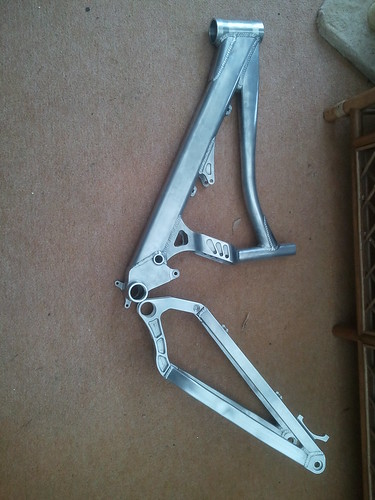
Also, don’t blame me, if you ask the anodiser to ano anything but ALu!!! If you melt your steel / carbon frame, kick yourself in the balls.Step 1-Strip.
The bike needs to be stripped of all paint. There are various guides online on how to do this, but in in short – Nitromorse and elbow grease does the job very well.

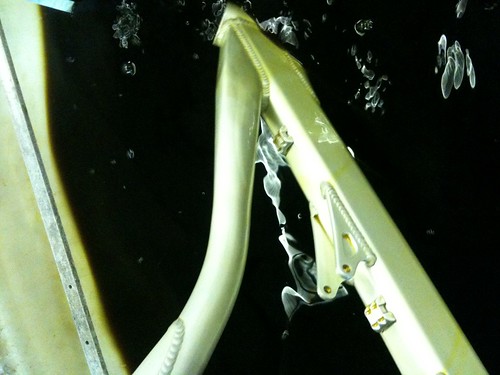
Step 2 – Degrease
The frame is then put into a hot vapour degreaser tank which should remove any grease or oil.
Step 3 – De-oxidation
To establish the type of aluminium, the anodiser will go through a hot alkali cleaner and a de-oxidiser solution process. This also ensures that any existing anodising or oxidation on the aluminium has been removed and the whole frame is now bare metal.
This does mean that frames that have already been anodised, can be re-done.
Step 4 – Rinse
After rinsing through several clean water tanks, the frame is then hung up to dry in a drying oven before any masking needs doing.
Step 5 – Butt-plugs
Now any surfaces that needs protection from blasting are masked up using special buns or tape.
As you might/might not have heard, when you bead blast, a (very very) tiny bit of the alu is blasted off (saying this makes it sound much harsher than it is!)
To put it into perspective – if your frame is scratched lightly before anodising, the scratch will still be there afterwards.
For good measure, the anodiser will mask they areas where the bearings will be fitted just to ensure that there will be zero play.You can see the little butt-plug things in my ISCG mount holes and where my bolts go
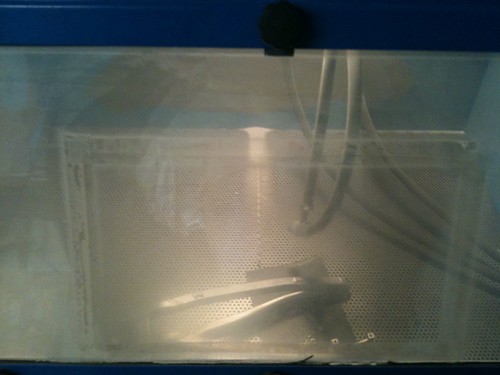
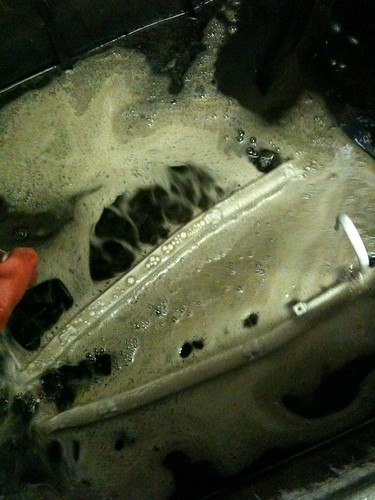
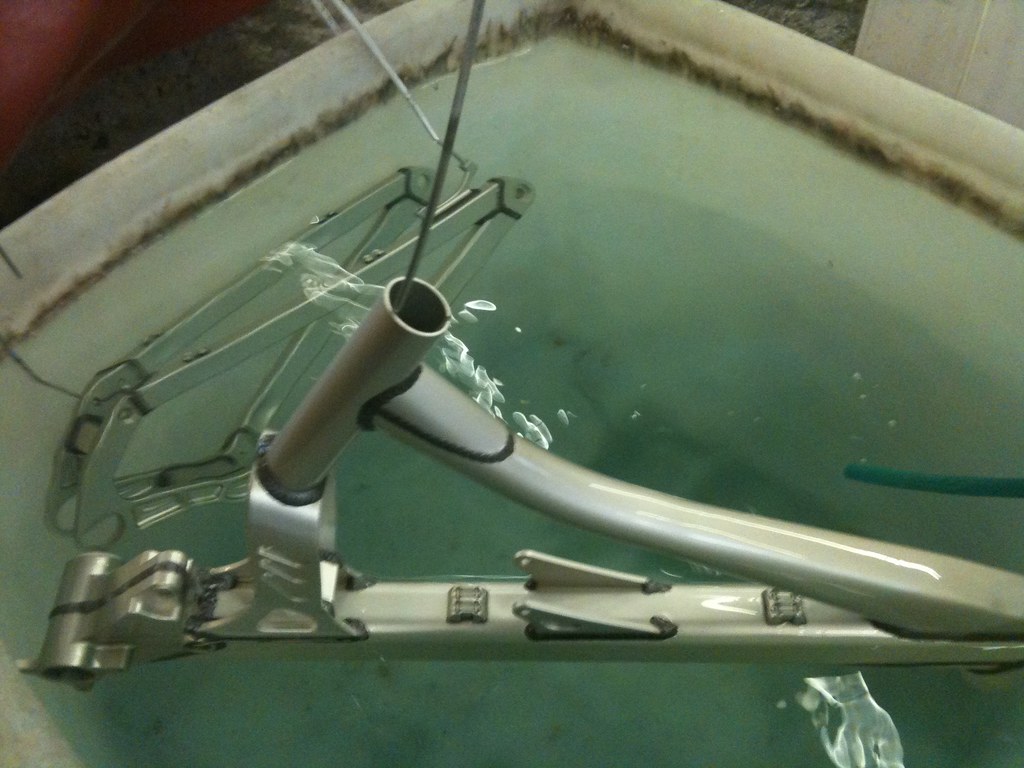
Step 6 – Blasting.
I had my frame bead blasted, which means that tiny beads of glass is “sprayed” onto the surface of the frame.
The swing arm being blasted
Blasting enclosure
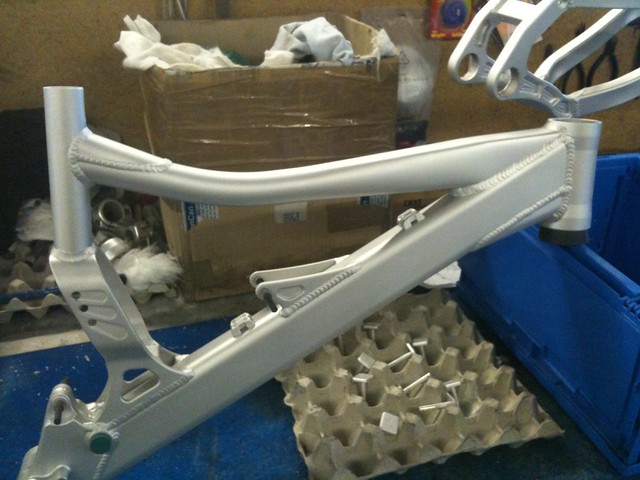
You will now notice the matted look the blasting gives the frame
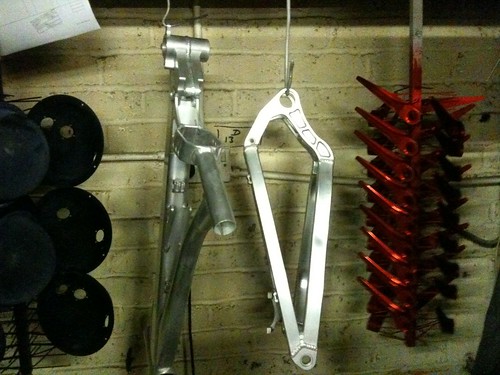
Step 7 – Brightening.
Next up, all parts get jigged up and then chemically brightened for a couple of minutes. This gives more shine to the blasted finish and flattens down the roughness that the blasting process gives.
After brightening, the components are noticeably brighter but the picture probably doesn’t show this up too well.
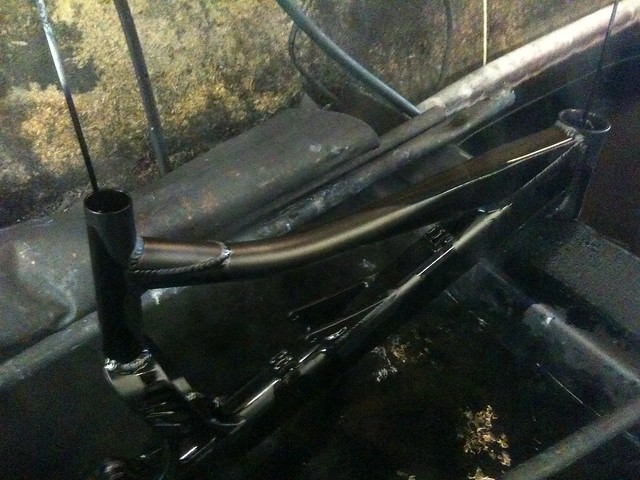
Now all the masking media can be removed.Step 8 – Anodising.
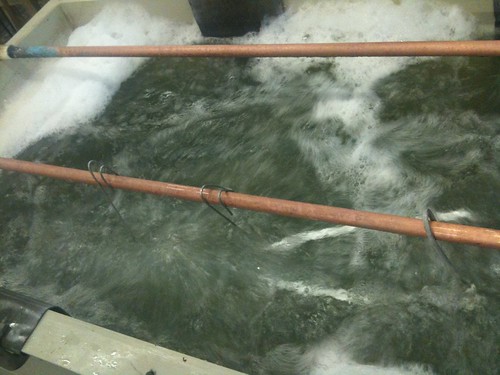
The parts now in the anodising vat. Everything gets a quick flick through an acid cleaner before getting anodised just to ensure that everything is chemically clean. As with all previous acid cleaning and brightening processes, all work is rinsed thoroughly in fresh running water to ensure there is no cross contamination between different treatment tanks.
The media must be aluminium or titanium and must make tight electrical contact for the entire time that the job is being anodised.
This is because anodising is non conductive, so if a wire moves half way through, then electrical contact will be lost and the whole job will need to be striped, and re treated all over again.
This is where the magic happens. This is the anodising vat which is kept at a constant temperature, acid concentration, voltage and the treatment time must be accurate within a couple of minutes. These parts will need to have about 1 hour in here for maximum anodic film thickness.
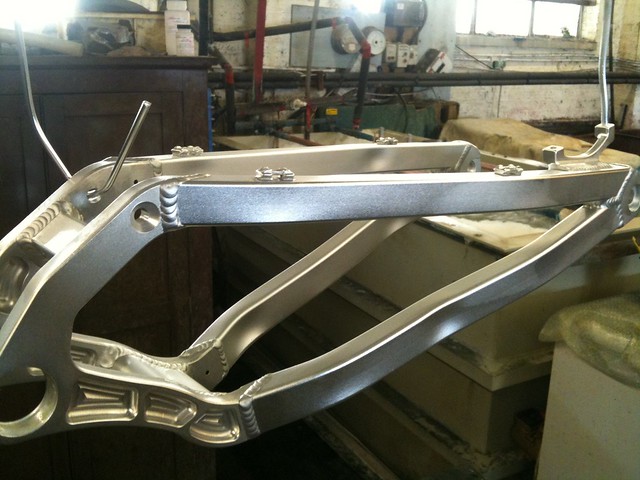
After they are anodised, the parts get rinsed again several times to wash out any traces of sulphuric acid. At this point the parts are still silver in colour but have a porous oxide coating which is ready to accept the dye stuff.
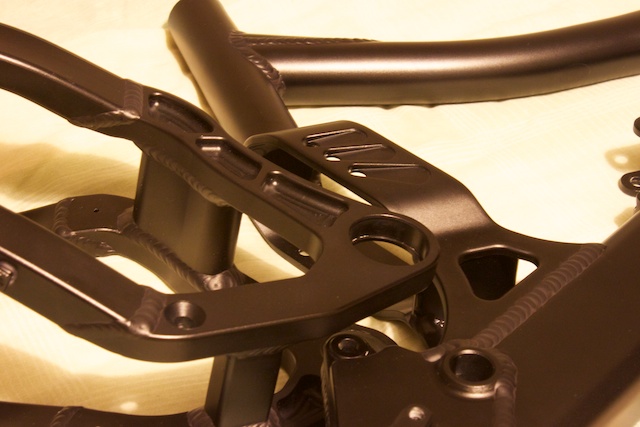
If we were to exclude the dying stage, this would be clear anodised. You will notice the welds are darker in colour, hence why you would normally see coloured anodising, as when colour dye is added, the darkened welds are hidden/cannot be seen.
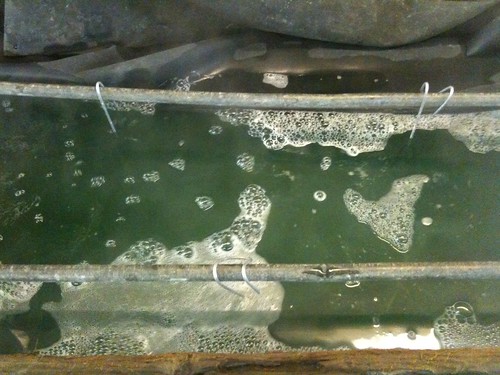
Step 9 – Dye.
We can now leave the parts in the desired dye for as long as required to achieve the correct shade.
As these are for Black, half an hour should allow the anodic film to get saturated with as much dye as possible.
Step 10 – Seal.
Once the desired shade is achieved, the parts need to be sealed. This is done in a Nickel acetate solution which runs at close to boiling. This opens the pore structure in the anodising, allowing the nickel crystals to block the pores. We usually leave things to seal for at least half an hour.
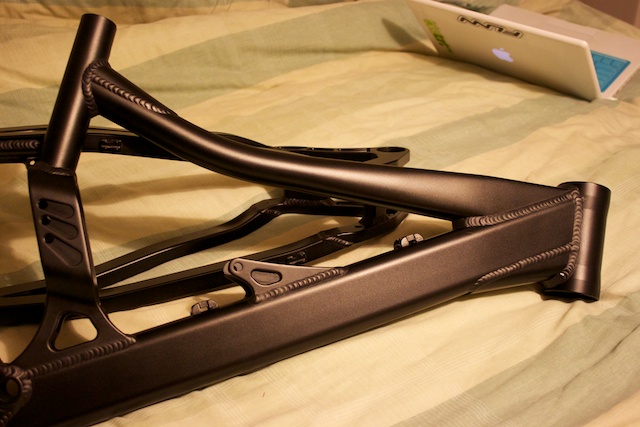
Once this is complete the frame is rinsed off, blown dry with an air line and put back in the hot air cupboard.
And here it is, the finished .. erm .. finish
NorthwindFull MemberPosted 10 years agoExcellent writeup… Where was it done? I suppose there’s not that many places that can do it, and less that you’d trust but that looks like top work all the way down…
makecoldplayhistoryFree MemberPosted 10 years ago£70 does sound like a bargain considering the cost of a good quality respray.
OnzadogFree MemberPosted 10 years ago£70 make want to get it done. Did you advise on the masking or is this someone who knows bikes?
clubberFree MemberPosted 10 years ago70 quid is a bargin for a full sus frame! If they’re anything like our local enameling place, they’ll get wise and up the price…
steviedFree MemberPosted 10 years agoWas this hard anodised or just dyed?
We use an anodise at work and am now thinking about getting this done as my paint is getting a bit tired..
Can do all the prep work myself as we’ve got bead blaster etc so might be able to get it done a bit cheaper..chief9000Free MemberPosted 10 years agoVery nice!
But anodizing reduces the fatigue life of aluminum alloys…. so for that reason I’m oot 🙂
stFull MemberPosted 10 years agoNice one!
I contacted a place in Birmingham about getting my frame done last year (had a Heckler then) and they were dubious about the coverage and potential running of the dye on something as intricate as a frame. I didn’t say anything about the fact that Santa Cruz happily sold my frame in an anodised finish as I figured if they weren’t totally happy with the process there was no point forcing the issue.
Would still like to get something like this done and I’m onto a hard tail frame now so should be even easier than before.
wysiwygFree MemberPosted 10 years agoInteresting about fatique.
Had a quick speed read of this chopper article
AverageMarkFree MemberPosted 10 years agoNice job and £70 is a bargain – especially if that includes the blasting and masking!. Bear in mind that if you have an anodised frame and strip it you are removing material, the blasting will remove material, the brightener will remove material and the re-anodising will also remove some. Add fluid entrapment, burning and all the other bits and bobs in and it’s not as simple as it sounds!


The topic ‘How to anodise a frame – the cut an paste edition’ is closed to new replies.