- This topic has 32 replies, 19 voices, and was last updated 8 years ago by purplemoose.
-
Photographing shiny objects, help needed..
-
steviedFree MemberPosted 8 years ago
Trying to get some decent photo’s of my aluminium 3D work to put on the website. Any tips on how to get the best quality images? I’ve got a Samsung NX300 camera..
This is the sort of thing I’m trying to photograph:

molgripsFree MemberPosted 8 years agoDiffuse light. Either
a) Outside on a dull day
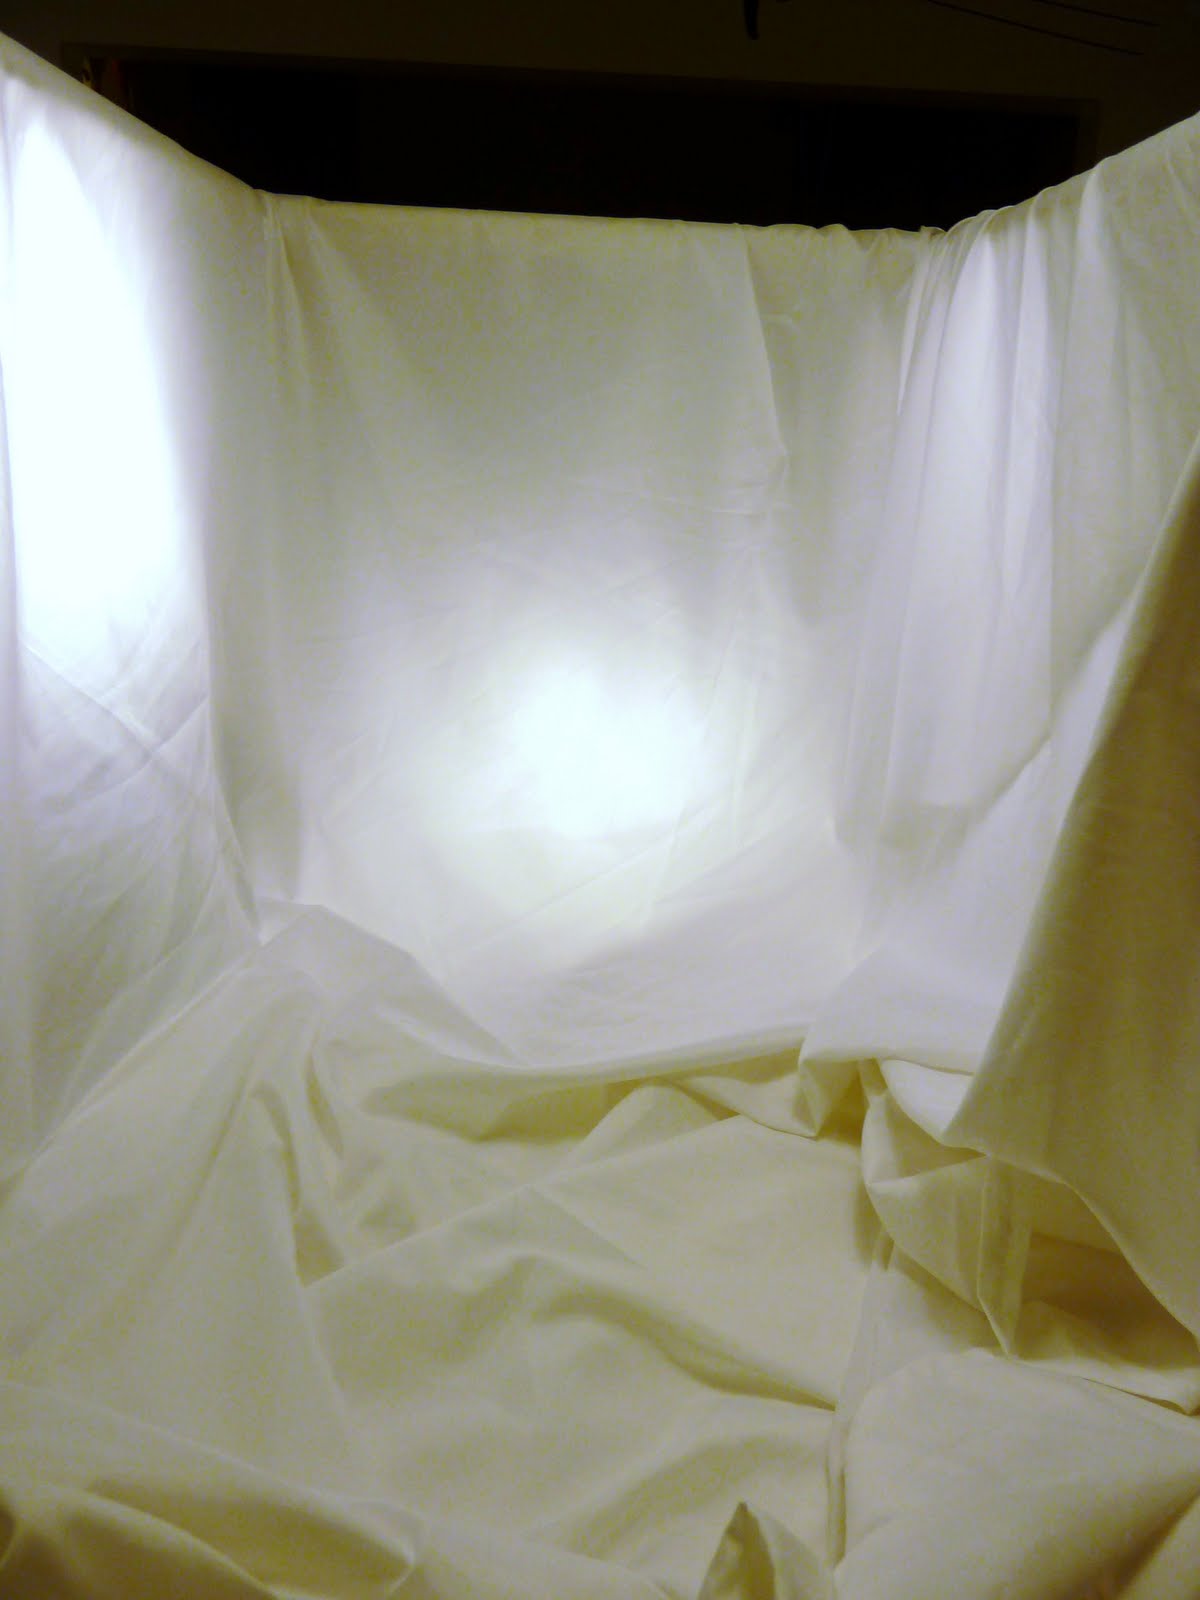
b) Hang a sheet up in the room between the lights and the table
c) If using an SLR, get some sort of diffuser for the flash
d) If using a phone flash, stick some white fabric or something over the flash.. but this is likely to be rather hard 🙂
e) Use several portable desk/floor lamps behind sheets all around the subject.jairajFull MemberPosted 8 years agoPolarising filter will help reduce glare from the subject.
You also want to use multiple sources of soft lighting. Either bounce the light off a white ceiling or use white cloth or frosted plastic to diffuse the light. I think multiple sources of light are better than one bright light.
muppetWranglerFree MemberPosted 8 years agoPlenty of photographers on here. Could you swap a milled map of their chosen area for a set of good photos? Got to work out cheaper and probably better than doing it yourself.
molgripsFree MemberPosted 8 years agoIf you’re near Cardiff I can help you out. I love a bit of studio photography 🙂
trailofdestructionFree MemberPosted 8 years agoQuestion. How big are those models and how expensive would they be to post ?
I have access to photography studios and professional lighting and camera equipment, and I’d be happy to help out (I could do with a project), but you’d have to cover the postage costs yourself ( I’m poor 🙁 )
Based up in Preston, Lancs, so a bit too far away to collect from you unfortunately.
Have a think and let me know.
steviedFree MemberPosted 8 years agoThanks for the tips guys, I’ll give them a go.
@molgrips, not local to Cardiff, but thanks for the offer
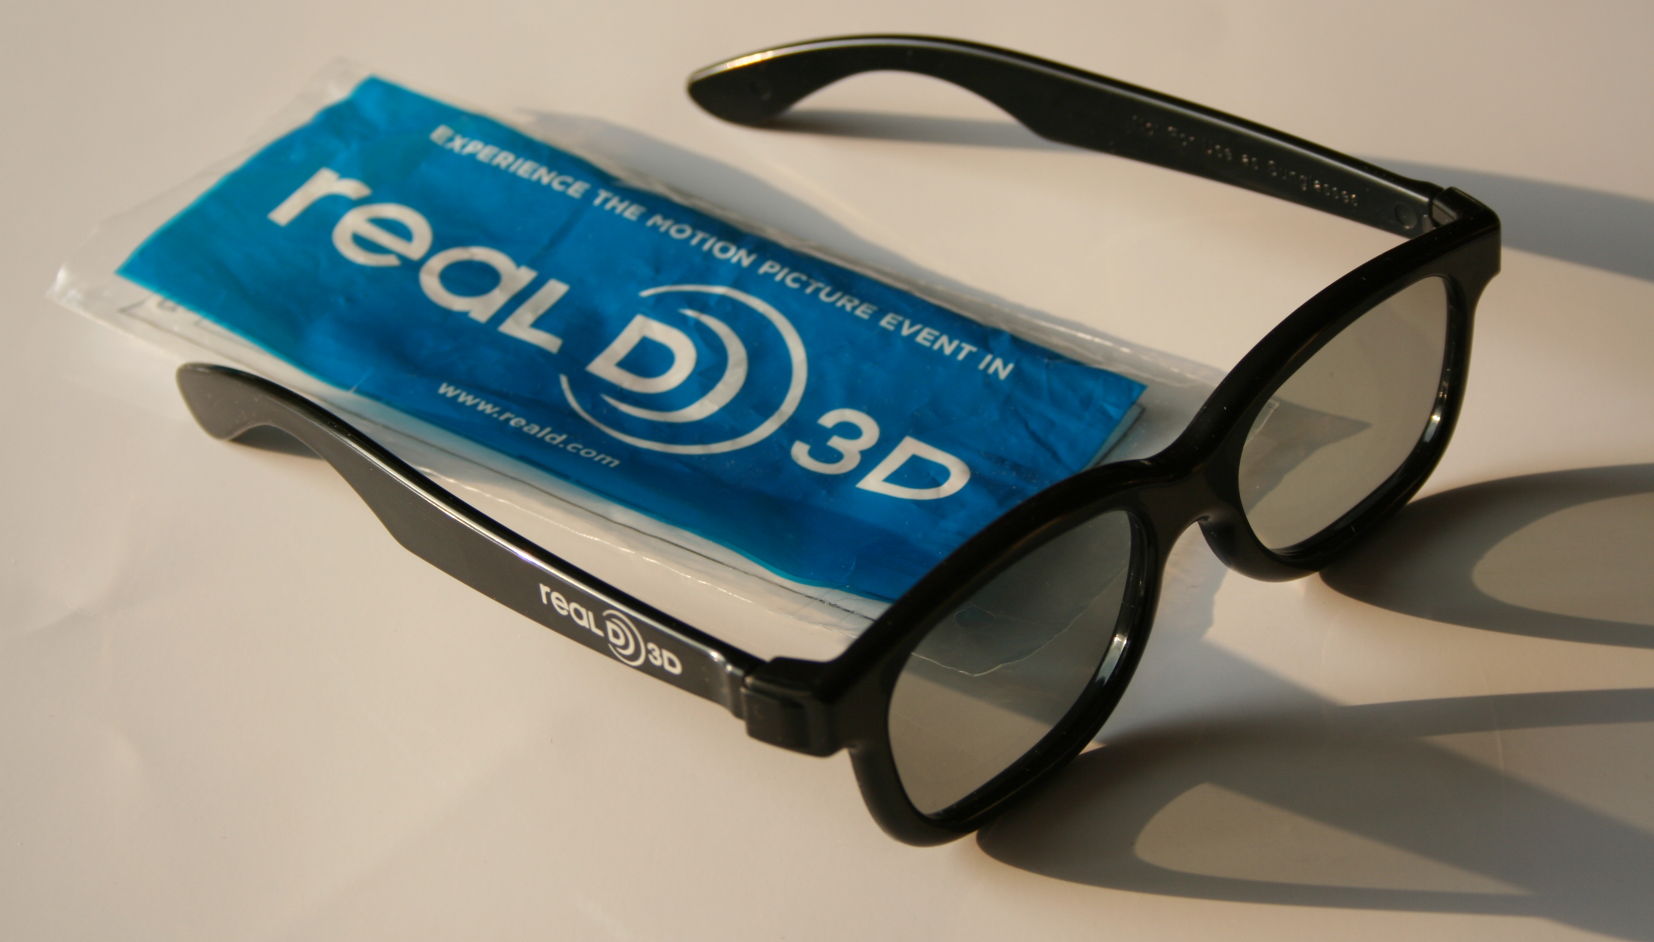
@TOD, they are 20″ x 8″ so pretty big. My F-I-L lives up that way so, if I’m struggling, I could get him to drop one off/collect. 🙂gofasterstripesFree MemberPosted 8 years agoReal 3D cinema glasses are circularly polarising, you can try disassembling a pair and whacking them over the lens…. or the lights 😀
Also –
assuming you’re shooting JPEG try to set the quality as high as possible, if you can, and reduce the complexity of the background image to leave more data available in the file for the details you actually want to record.That camera supports RAW. Shoot RAW and encode as .pngLastly, try strip lighting, or a pinhole or slotted cardboard cover over the lights to give as many points of light as possible.
All easy hacks, and might increase the contrast nicely.
CougarFull MemberPosted 8 years agohttp://www.digitaltoyshop.co.uk/CIRCULAR_POLARIZER_FILTER_Samsung_NX300_t3097_5058
(never heard of the retailer, first hit on a Google)
wysiwygFree MemberPosted 8 years agoCut down on ambient light and create a lower angle light source that cuts across from rear to front. Desk lamp with paper over the top behind and just above.
scarleyFree MemberPosted 8 years agoI’m too far away to help personally, but the suggestion of polarizing filters and changing the lighting are good. If you don’t want to do it yourself, and without wanting to sound patronizing, getting someone who knows what they’re doing is worth the money. This is probably doubly true when you’re talking about advertising something you want to sell.
If you don’t have much money to throw at it just yet, maybe try contacting Cardiff or Birmingham University Photography Societies (presuming you’re based around Malvern) – it’ll be students and the quality will be varied, but if you enter a dialogue with them about what you want/expect and what you’re paying for it, you might be able to make an arrangement with them. I don’t know them personally, but we have request like this coming into the Leeds Uni Photo society fairly frequently.
trailofdestructionFree MemberPosted 8 years agostevied – No problems buddy, happy to help.
My thoughts are (because everyone has to give their 2p) that it would be great to photograph them on a still life table. There’s a guide to building one for very cheaply here
As everyone has already covered, the key is to diffuse the light and make it ‘softer’. The main problems with anything that is shiny or metallic, is that it will give you very harsh areas of contrast, or hotspots, so to try and avoid that you need to spread out the beam of light to a wider pattern, by shining it through a material to diffuse it.
( I hope I’m not teaching you to suck eggs at this point, let me know if I’m being an arse, but I always have to assume that everyone is staring with no knowledge of lighting)
Ideally, you want something kind of like this set up
Instead of using softboxes (which I guess you haven’t got) build two frames on either side with diffuser gels (you could use tracing paper or grease proof paper work well) to soften the light and give a more evenly lit texture for shooting a general cover shot.
You could then experiment with harsher lighting to create a more dramatic effect.
molgripsFree MemberPosted 8 years agoLots of info on homemade softboxes on the internet, using sheets etc. You can make one the right size for your thingy.
stumpy01Full MemberPosted 8 years agoOnly problem with a diffuse light is that you will probably lose the sense of texture & depth that brings out the curves & contours of the hills.
What might work would be to get some diffuse pictures (even lighting) to show the overall piece & then use a more directional light source like you have at the top of the page to create the shadows and highlight the contours for some more pictures.
If your camera has a decent macro mode, you could get in nice & close for these shots to emphasis the detail.steviedFree MemberPosted 8 years agoI am a novice so any info is gratefully received. I’ve got a bit to work with so can go away and try to knock something up and see how we go. 🙂
molgripsFree MemberPosted 8 years agoYou could go super directional and light near horizontally with a naked light, to pick out the hills like the setting sun…
trailofdestructionFree MemberPosted 8 years agoThat’s true Stumpy, but you could compensate by using a shutter release cable with a tripod, and a longer exposure time with a smaller aperture to give a slightly increased depth of field, and then platy with the contrast settings in post.
wysiwygFree MemberPosted 8 years agoYou could fill some of the shadows with white foam or card, theyll bounce the light around and mean you only need one light source, moving them in/out angles will change the shadows etc.
Take a gander
MrSmithFree MemberPosted 8 years agoYou don’t need a softbox, you need some frames with diffusion material stapled on, if the object is reflective then the ‘trace’ needs to be thick enough so you can’t make out the light source when you look through it.
I use rosco tough rollux or Atlantic frost.
You dont need a polariser just a bigger light source, the beauty of using diffusion material over a softbox is you can move the light around and make it harder/ softer and place it in an area that shows of your object the best.
(I shoot shiny things for a living)Or pay somebody who does it for a living ( not soliciting for work as I’m too busy as it is)
stumpy01Full MemberPosted 8 years agoMrSmith – Member
I shoot shiny things for a living
Robot Assassin?!
I knew it!!
sandwicheaterFull MemberPosted 8 years agoPudding, you need more pudding. Some cake in the photo should do it.
Not a photographer. I know what i wants though, and it’s pudding.
globaltiFree MemberPosted 8 years agoI would suggest a contrasting colour of light from a different direction to the main light. Blue, for example.
garlicFree MemberPosted 8 years agoShoot on a plain white background as the patterned surface in the images you posted distracts from the work. Rather than forking out for a lighting setup, wait for an overcast day and shoot outdoors (diffused omi-directional light).
Exposure wise, I’d take your light meter readings from the bight areas as these will become over-exposed if you expose for the shadows or mid tones as metal is hyper reflective.
purplemooseFree MemberPosted 8 years agoIf it were me, I’d shoot them from a fairly low angle, using window light (not in direct sunlight) 90° to the subject with, as has already been suggested, a reflector opposite side to the window. Make sure there is no oyher ambient lighting on! Some lining paper could be used as a reflector if you dont want to use a proper one but a gold reflector could work quite nicely, it depends what the pictures are being used for. Experiment with the bounced daylight to get the effect you need. Use something around a 70mm lens, i really wouldnt consider a wide angle. The only thing remains is what your subject is positioned on. Just bear in mind tbe background is equally as important as the subject. So I would recommend to save your money on polarising filters, certainly not needed, and rigging up flashes, the most you will need is one flash rigged up off camera, btbh you shouldnt need to if its not too dull a day. (Oh and Im a pro snapper if it helps)
purplemooseFree MemberPosted 8 years agoHa shame i dont do boudoir, and no not weddings either. But trust me a large window is a snappers best friend, and whilst i dont use a gold reflector very often at all it could work in this instance just to add a bit of warmth to the shot, but as i say it depends what the shot is used for.


The topic ‘Photographing shiny objects, help needed..’ is closed to new replies.