Viewing 20 posts - 1 through 20 (of 20 total)
  • For those about to floor, we salute you. Slopey garage block content
  • Pook
    Full Member

    A week or so I asked how to set breeze blocks on a concrete floor which slopes quite a lot.

    http://singletrackworld.com/forum/topic/how-to-set-breeze-blocks-on-a-10°-concrete-floor

    Well today I’m having a crack. Though hopefully not literally.

    Here goes.

    Space cleared and frame set. I’ve put some hefty screws in as anchors in the concrete as I don’t have a rebar..

    Pook
    Full Member

    Not going all the way to the back wall is intentional by the way. I’m leaving a space for plumbing/pipes so it seemed pointless leveling the very top and increasing the volume of mix I needed at the thick wedge end.

    Pook
    Full Member

    Don’t think I’ve got enough sand. Back in a bit.

    timidwheeler
    Full Member

    Hurry up then.

    bearnecessities
    Full Member

    Give him a chance, he’s only got tiny legs.

    Pook
    Full Member

    Quick blast to the garden centre and back.

    Pook
    Full Member

    There you go

    cyclistm
    Free Member

    That’s quite a slope!

    Pook
    Full Member

    13°.

    We extended out over the old drive. The original garage was on the flat at the back which is now our family room/utility/garden

    joshvegas
    Free Member

    I wasn’t very helpful in the other thread. Sorry.

    I like the curve.. nice touch.

    coconut
    Free Member

    “Cordek Sheets” is how you formwork smooth corners. See if you happy with the end result, if not add a bit extra using Cordek

    houndlegs
    Free Member

    Thats the biggest claw hammer I’ve ever seen, its as long as your legs 🙂

    senorj
    Full Member

    I was just wondering how you got on.;-)
    I like the curve too. Bravo.
    Are you planning to paint the slab?

    scaredypants
    Full Member

    photo of your wife holding today’s paper or I’m alerting the rozzers

    Pook
    Full Member

    Hello folks. So the latest.

    Some surface cracking but it’s curing well. Next challenge, build the sink support. I’m happy doing that, but what do I need to plumb the sink + washing machine? This is what’s in situ….

    Then central heating pipes too?

    hammyuk
    Free Member

    Ignore the central heating pipes – just don’t block them in.
    Sink straight onto those taps with a “T” on whichever is the hot/cold the machine needs.
    Waste looks like a 40mm so a simple 90 elbow, straight section up with trap on to it and sink – get one with a machine inlet and its about 30mins work tops.

    Pook
    Full Member

    cheers hammy. Just had a trip to B&Q but couldn’t find the T. Do you have a link?

    newrobdob
    Free Member

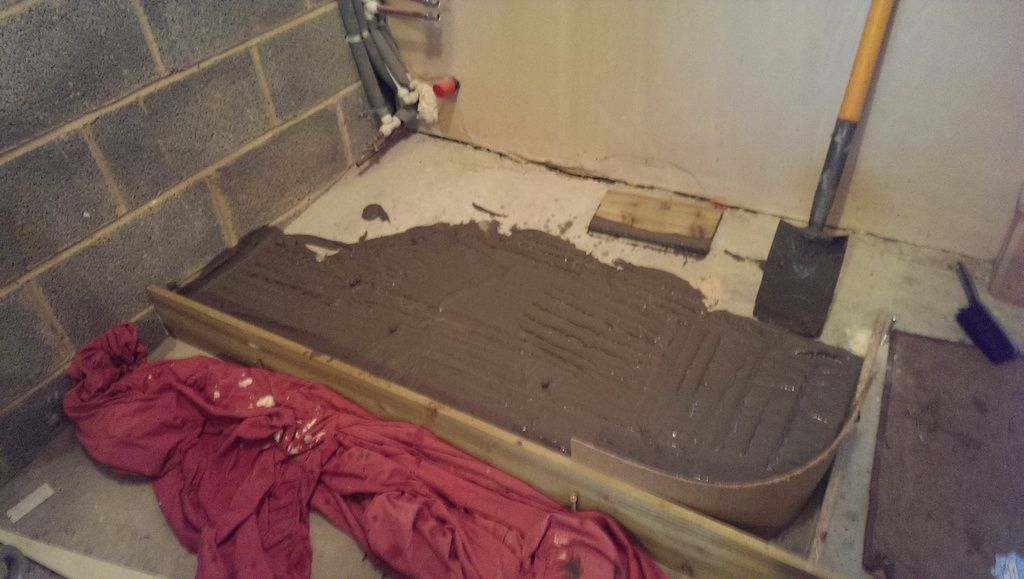
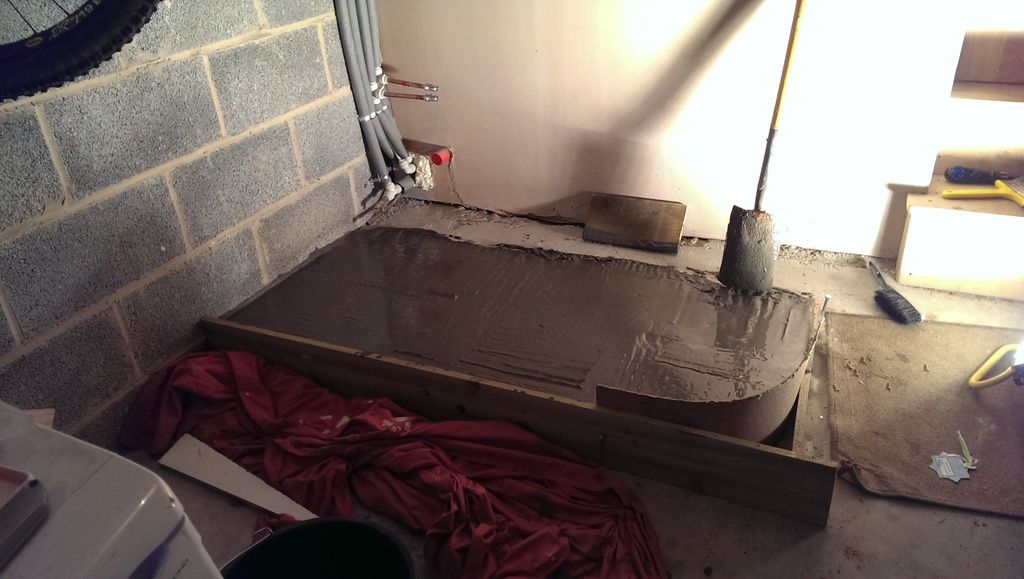
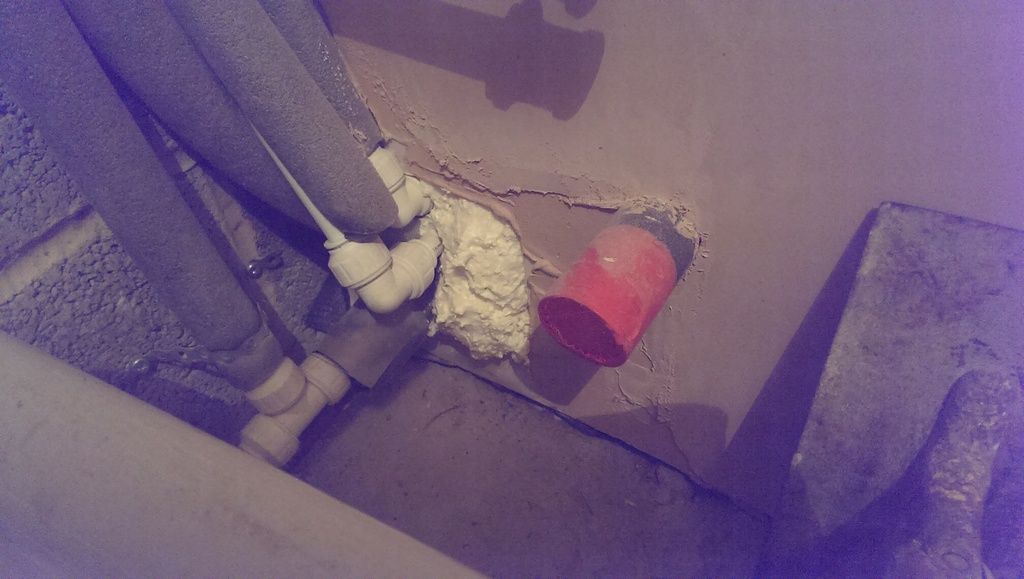
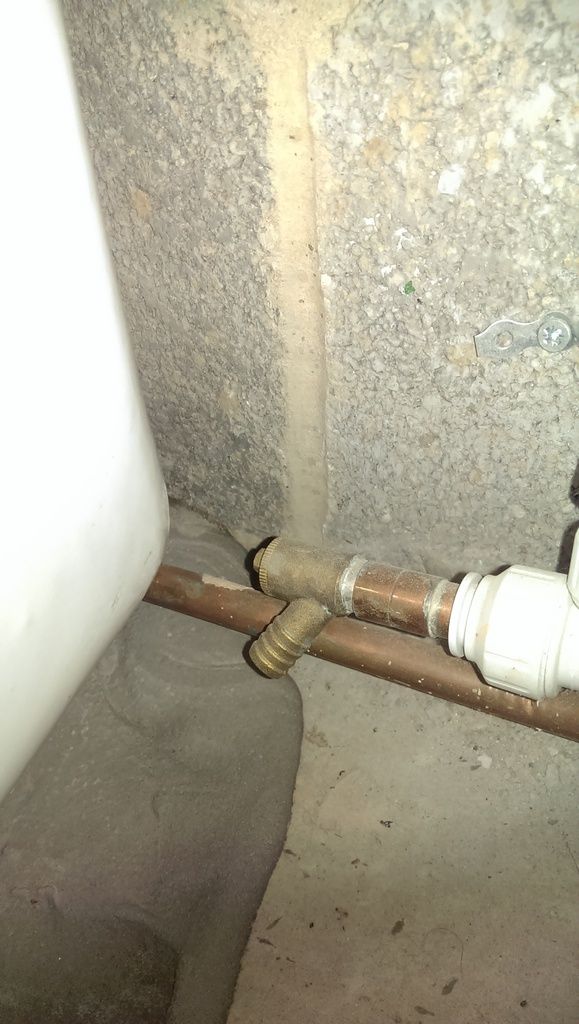
    You need a 15mm equal tee, just like the white ones you can already see coming off from the vertical pipes. They look like JG speedfit ones IMHO – get them from Screwfix.

    You’ll need some copper pipe OR plastic pipe (but you need to put inserts in the ends before connecting plastic pipe) coming from those isolation valves (which incidentally appear to be missing their locknuts and olives). On the cold pipe put an equal tee on so you have a feed for the washer. You’ll need a washer valve ideally which will go on the end of the pipe coming from the tee so you can screw your washer hose onto.

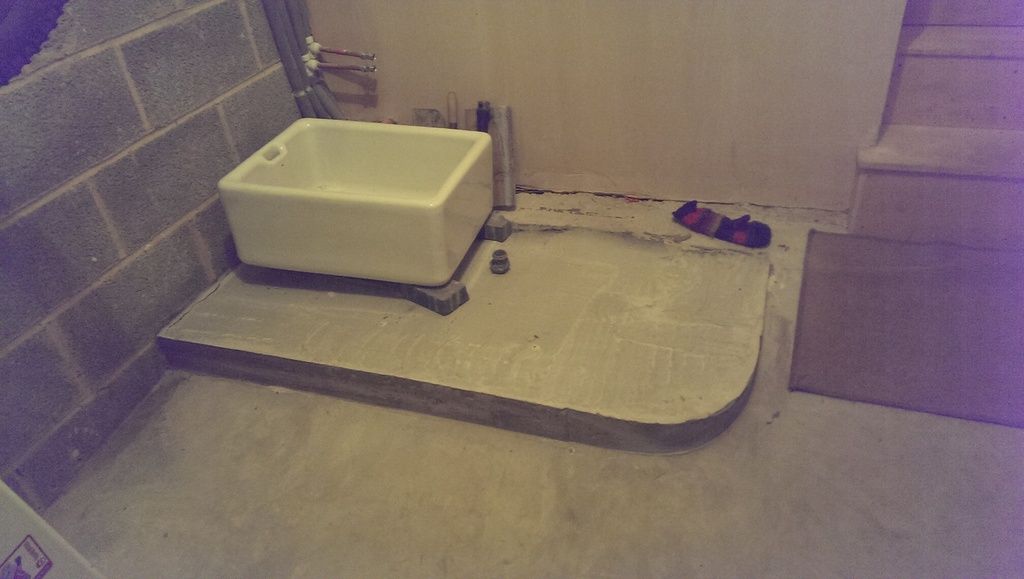
    The pipes going to the sink – you will need to buy 2 bib taps (outdoor style taps) and 2 90 degree wall plate elbows to screw them into. You then take your pipe up to them and install normally with a compression fitting. Don’t forget to PTFE the bib tap threads so it seals into the wall plate.

    Taps: http://www.screwfix.com/p/outside-tap-with-hose-union-15mm-x-mm/41948?_requestid=322153

    Wall plate: http://www.screwfix.com/p/p803wpcp-2-wall-plate-elbow-x/87929?_requestid=322884

    Equal tee: http://www.screwfix.com/p/jg-speedfit-pem0215wp-equal-tee-white-15-x-15-x-15mm/50422?_requestid=323359

    Pipe: http://www.screwfix.com/p/wednesbury-copper-pipe-15mm-x-3m/98683?_requestid=323767

    Washing machine valve: http://www.screwfix.com/p/washing-machine-valve-without-check-valve-15mm-x/51231?_requestid=325406

    Elbows – might need these to route pipe around corners, would need for copper as well as plastic pipe really: http://www.screwfix.com/p/jg-speedfit-pem0315w-elbow-white-15mm-10-pack/57953?_requestid=327110

    Pipe clips to fix pipe to wall: http://www.screwfix.com/p/talon-15mm-talon-hinge-clip-white-20-pack/65456?_requestid=326384

    newrobdob
    Free Member

    BTW, if it was me I would try to route the central heating drain tap differently – in my last house the plumber who installed the heating routed it into a drain pipe so I could just turn a lever and the whole system drained straight into the foul waste. It was BRILLIANT as you didn’t need to mess about with hose pipes and buckets whenever you needed to change a rad or renew the inhibitor.

    hammyuk
    Free Member

    Pook – turn the water off.
    Then on whichever the machine needs (hot or cold) cut the pipe about 40mm back from the valve.
    Fit THIS on the pipe.
    Refit the pipe with the valve into the new fitting on the horizontal – you can just fit the flexi from the tap straight on to it as it’ll be the same thread.
    On the vertical fita short piece of copper pipe and then THIS.
    The machine will fit to the new valve.

Viewing 20 posts - 1 through 20 (of 20 total)

The topic ‘For those about to floor, we salute you. Slopey garage block content’ is closed to new replies.