- This topic has 392 replies, 23 voices, and was last updated 3 years ago by AlexSimon.
-
Family-friendly bike-carrying camper build
-
robgclarksonFree MemberPosted 9 years ago
never seen this thread before, but by god i’ve just wasted the last hour and a bit reading it… good work sir.
MOAR!!!!
AlexSimonFull MemberPosted 9 years agoAmazing stuff.
Hope you are getting away in the sunny summer!Have you got a link to the ebay seller of the solar panels?
Cheers!
slowpuncheurFree MemberPosted 9 years agoSuggestion for rear shelf (shelves) if not too late. see 3 weeks ago instalment:
Go for a double shelve but size it using Ikea or similar plastic storage boxes. You’ll get 4 or 5 decent ones in that gap with timber supports. They’ll be easier for sorting stuff and it wont fly about quite as much.
skinnyboyFree MemberPosted 9 years agoLove these threads, top work oh and Sazters mini van is ace too. I’ve got my eyes out now looking for a suitable donor!
willardFull MemberPosted 9 years agoYeah Mike, where’s the update? If you don’t post something soon, I’ll have to do something on my van and you don’t want that (because people will see how rubbish mine is compared with yours).
gingerbiker67Free MemberPosted 9 years agoAn amazing thread, I’ll never do this but still very inspired…any updates?
OllyFree MemberPosted 9 years agoWow. Shes a monster! (in a brilliant way). Looks like you could handle a trip to outer mongolia in five star luxury.
FWIW, we have a Ducato at work, and while the body work is ruined due to it having a very hard life at the hands of neanderthals, the engine (2.5L i think)(is tight as a drum and the underside is in great condition.
Hmm, inspiring enough to make me go and find another job on our ongoing T5…
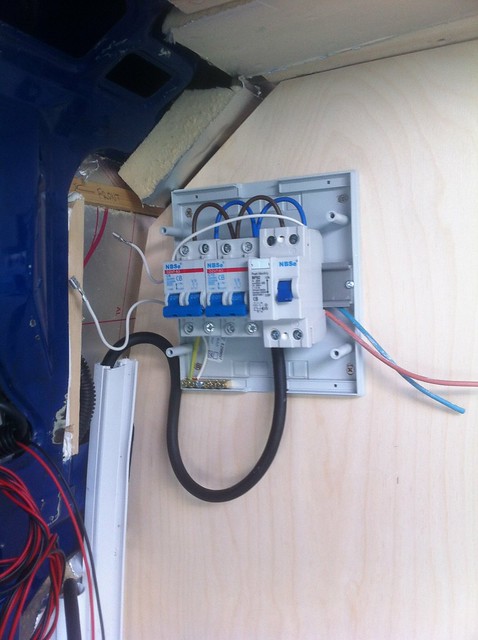
Mike_DFree MemberPosted 9 years agoBlimey, I’ve neglected this — my profound apologies. Imagine a wibbly-wobbly back-in-time effect and we end up here, fitting a mains hookup:

I’m not wild about it being right up against that bodywork seam, but it’s actually inside a pillar on the other side and there’s basically no scope for it to be anywhere other than where it is. Inside the cable heads up the wall and ends up here:
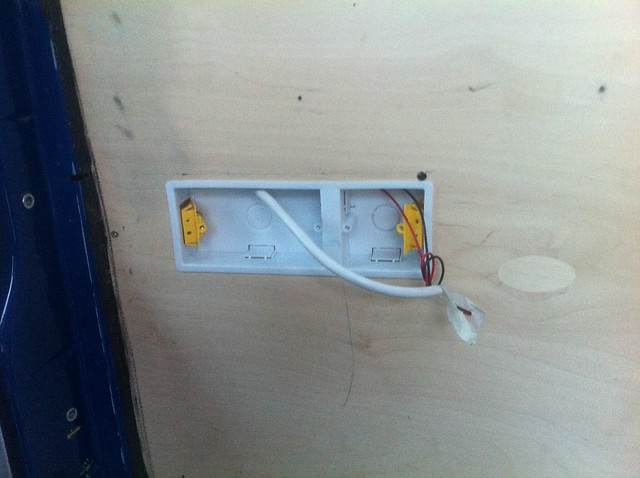
I hardly need to point out that the wiring isn’t finished in this picture 😉 From there cables head out to various locations, including the water heater at the back, a connection for a charger under the seats and a couple of sockets:
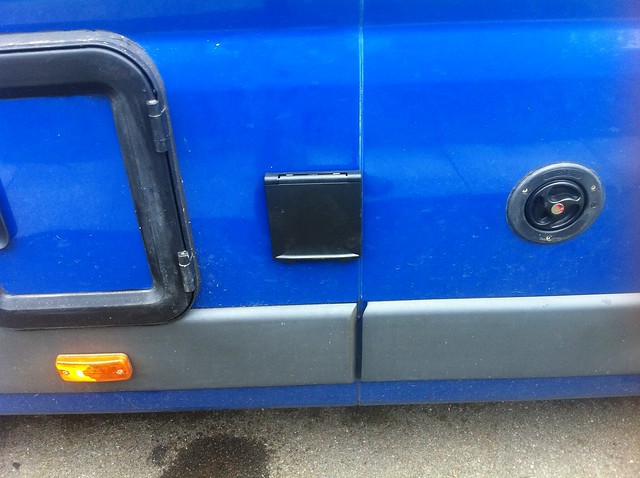
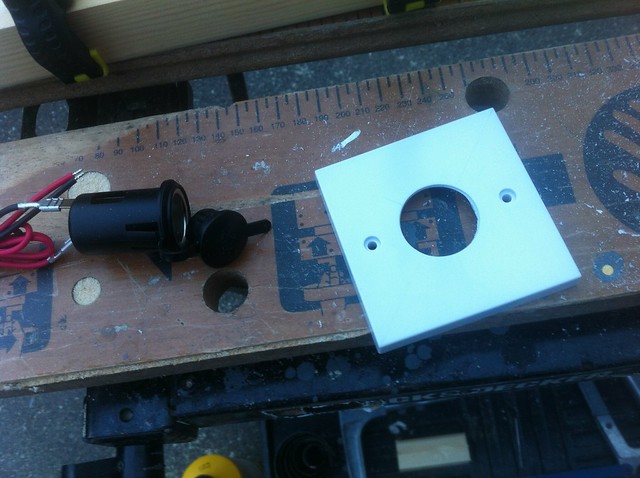
The single space next to the socket is for a 12V socket, which is made from a normal cigar lighter socket mounted in a standard blanking plate:
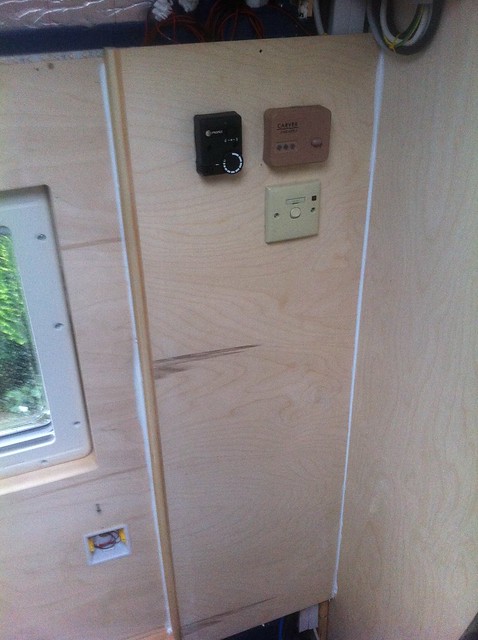
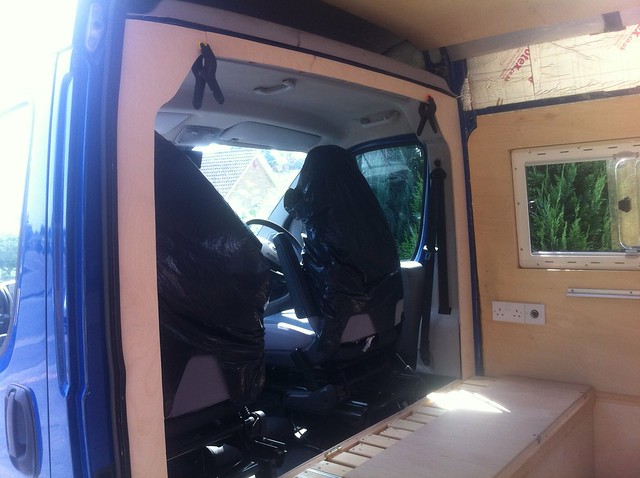
At this stage there was a whole load of exposed wiring (and bodywork and insulation) between the ply panel around the front window and the front washroom wall. So I made this bit:
Which goes here:
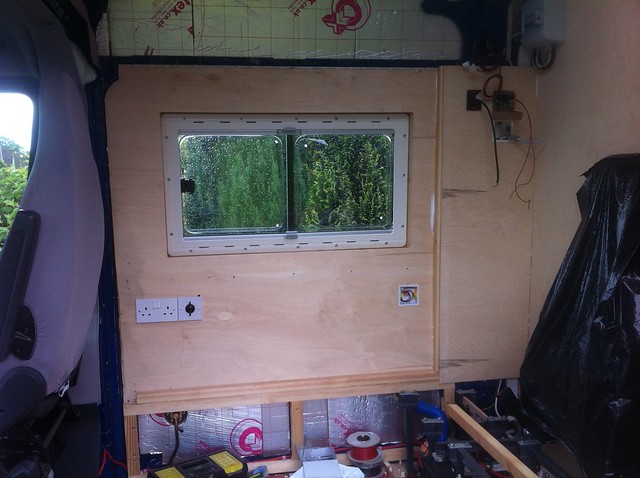
Propex control top left, water heater gas control top right, water heater mains switch bottom right — those are the nasty brown controls that came with the (second-hand) water heater, I’ll be changing them for nicer ones in The Fullness Of Time (which is pretty damn full). The overall effect is something like this:
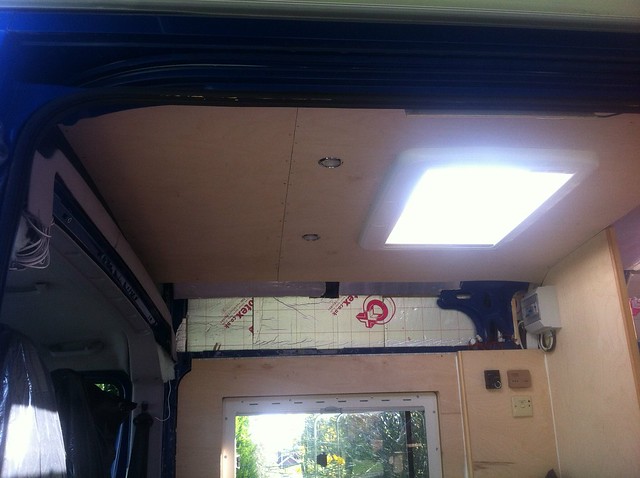
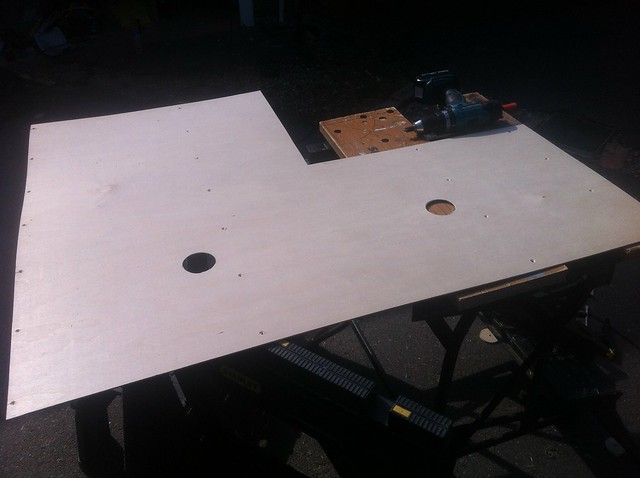
The space above the panelling will all be taken up by overhead locker, eventually. In a bid to hide some more bare insulation before our summer holiday, I started making a ceiling:
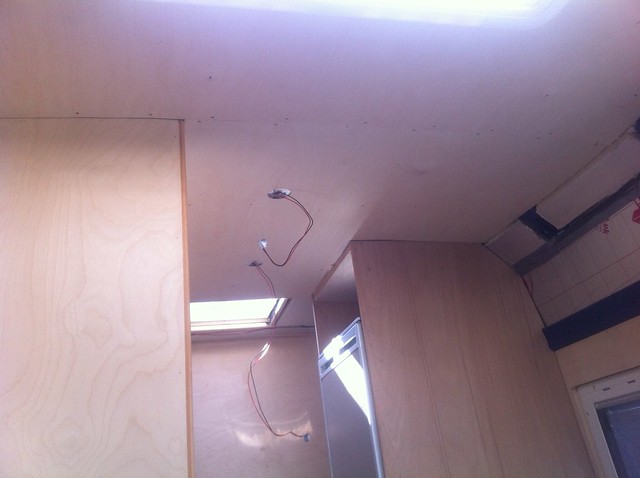
It’s 3mm ply, which is light and bendy and follows the curve of the roof nicely. Lights are recessed LEDs. Another bit further back:
Not forgetting to route lighting wires first:
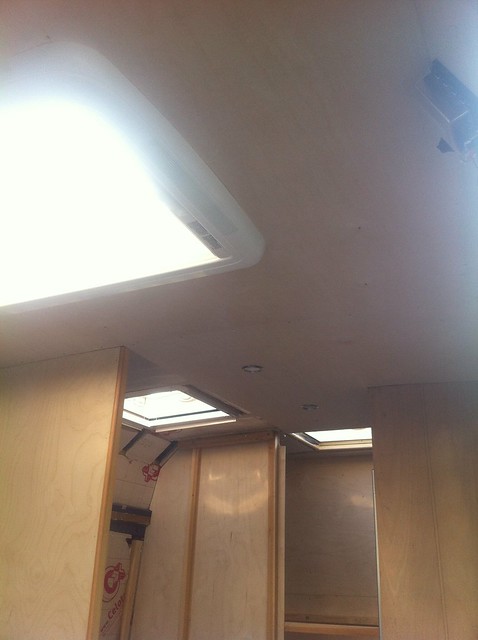
Not looking bad:
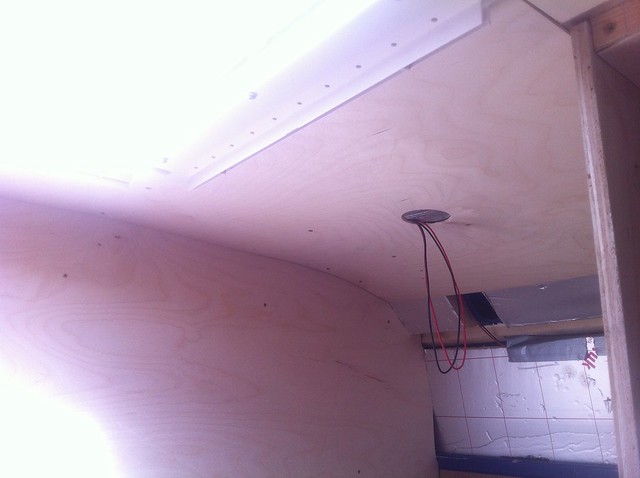
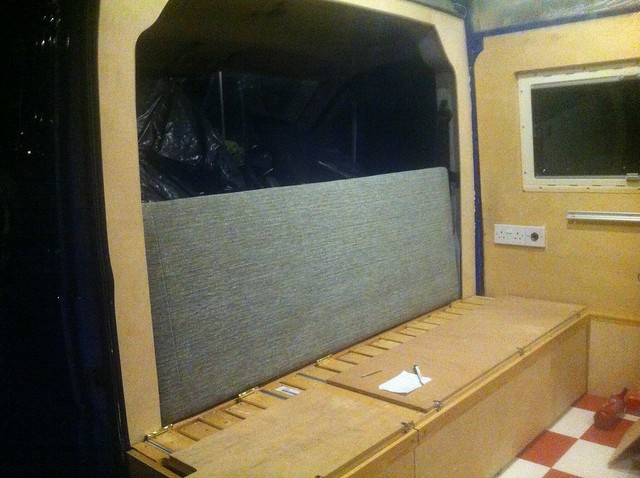
A final piece over the rear bunks:
And while I was at it, lining the walls — this was an arse of a job because we’d put the bed frames in and then put walls up so the frames wouldn’t come out in one piece, so I had to dismantle them and then put them back together in situ:
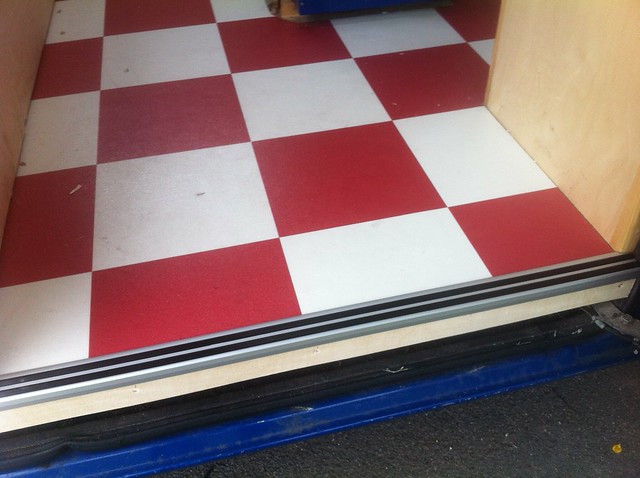
Once it’s filled/sanded/painted it’ll be pretty tidy. On the subject of tidy, a couple of little tidying jobs — finish off the edge of the floor at the sliding door:
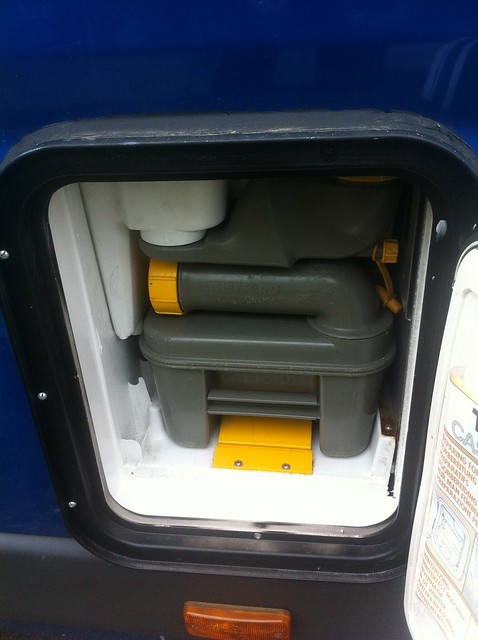
Line the gap between the toilet cassette hatch and the actual toilet:
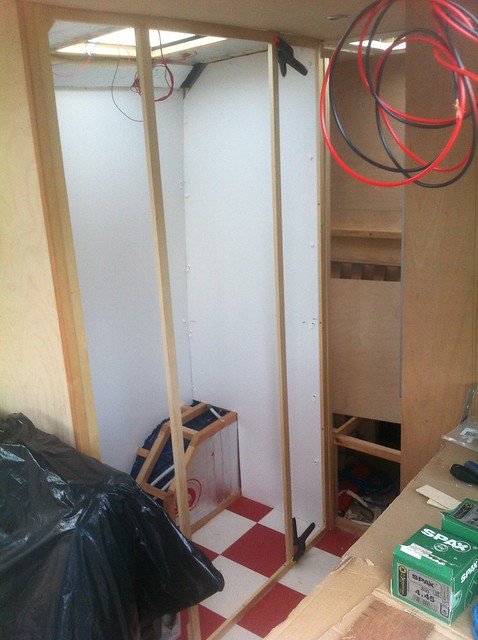
Rebuilt the temporary framework in the rear washroom wall and stuck some insulation in it mainly because there was some lying around (but it also stops the hollow wall sounding hollow):
And line out with PVC/ply stuff:
Line the outside wall and make a start on framing for the inside wall and door frame:
And that’ll probably do for this update. More soon, there’s a bit of a backlog 😉
Mike_DFree MemberPosted 9 years agoHave you got a link to the ebay seller of the solar panels?
Go for a double shelve but size it using Ikea or similar plastic storage boxes.
Good plan. It’s now double shelved but in a kind of “make it so the bikes go in” way and spacing them at what they end up as. With any luck we’ll find some boxes that’ll fit 😉
Postscript: Trip to Lakes wholly successful, and even managed to sort the minor smoking issue that we had — the van had been belching black smoke under power for a bit, but having hoofed it up a couple of Lakeland passes it magically cleared 😉
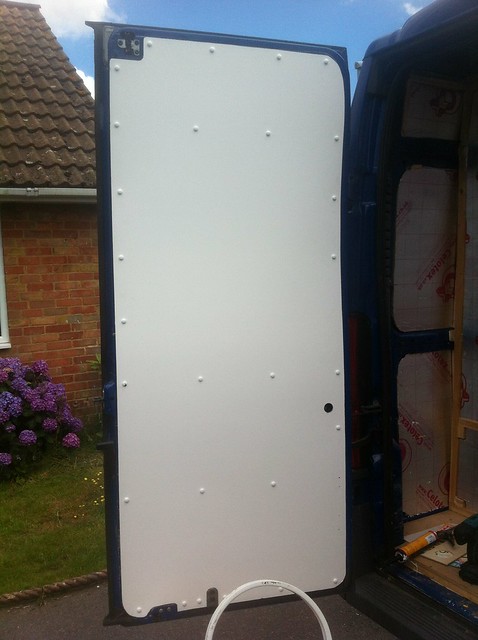
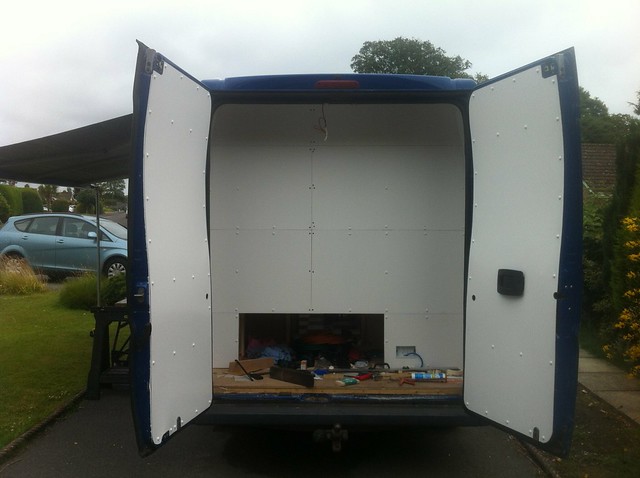
Mike_DFree MemberPosted 9 years agoUp to this point the boot/garage space was distinctly unfinished, being all exposed timber and insulation. Got around to sorting that, first by lining the doors:
(the little round holes are to access the stay releases so you can open the doors 180 degrees) and then lining the rest of the space:
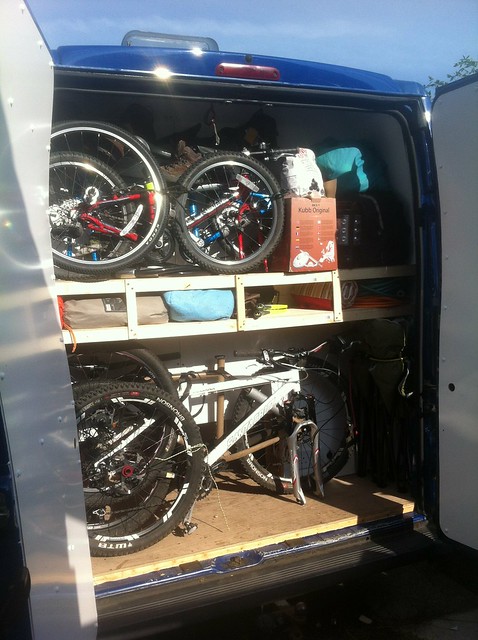
It’s a bit jigsawish because we were using up offcuts from the washroom — the stuff comes in 8×4 sheets which isn’t really a very convenient number for the inside of a van. We’ll be covering the joins with some PVC strip eventually. Redid the shelf as two shelves as discussed:
The vertical bits are temporary, I’ll be making a ply panel with access holes in it to go there. We made the useful discovery that if you take one pedal off then three bikes will go on the bottom layer, which is potentially handy.
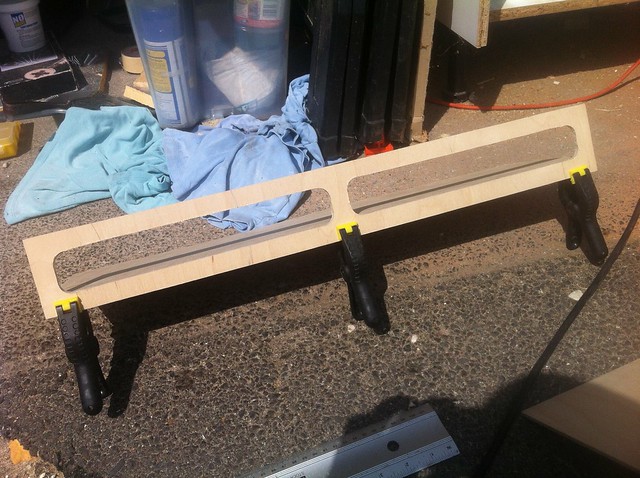
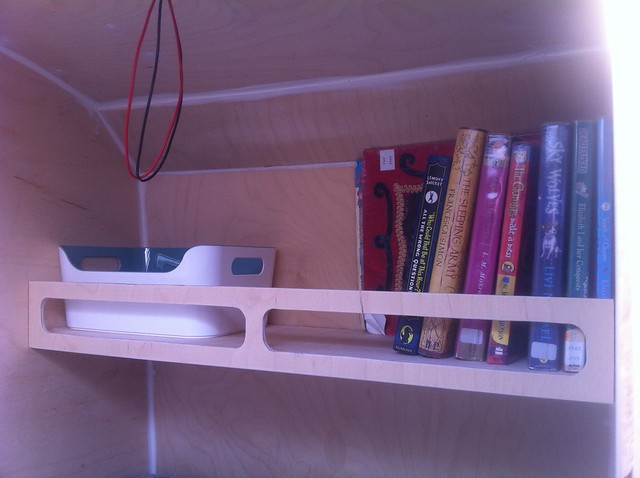
Made a couple of shelves to go over the foot end of the bunks for the kids to keep books/toys/etc:
4mm ply base and front with a 15×12 batten to join them (underneath the front edge), supported on more 15×12 batten on the sides of the van. Seems stiff enough:
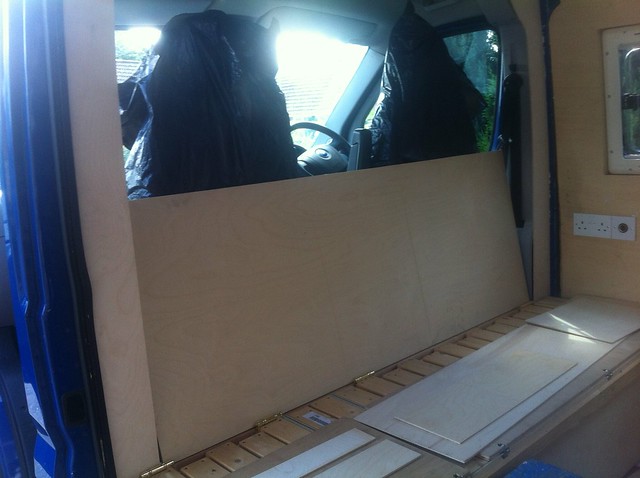
And put in a surround to cover the front door pillars where the bulkhead used to be:
AlexSimonFull MemberPosted 9 years agoLooks fantastic – thanks for the Solar panel link – they look very reasonably priced.
Liking the wipe-clean boot very much.
Mike_DFree MemberPosted 9 years agoThey were the cheapest panels I could find from a UK supplier, they’ve been fine so far. We’re using 2 x 100W ones.
Boot space needs some sort of suitable flooring, not quite worked out what to do there yet 🙂
Mike_DFree MemberPosted 9 years agoCheckerplate is the obvious answer, but it’s not particularly cheap (if I go for aluminium) and I’m not entirely sure if I like it or not. On the other hand, it’s the boot floor, I probably don’t have to like it 😉
mick_rFull MemberPosted 9 years agoDon’t do checkerplate with that pattern! I’ve got it in my brazing shed, and it is awful to sweep clean – the ridges at 90 degrees to each other just trap sweepings (i.e. sweep in one direction and half the ridges collect the dirt, sweep in the other and the opposite ridges collect the dirt). The aluminium will also be unkind to the bottom of fork legs and will leave black marks unless anodised.
I’d use heavy duty industrial vinyl (like bus / wet room flooring). Google Polyflor etc. A 1m x 2m strip was something like £50 when I last bought some. It isn’t cushioned so forks won’t rip it.
Mike_DFree MemberPosted 9 years agoI’d use heavy duty industrial vinyl (like bus / wet room flooring). Google Polyflor etc. A 1m x 2m strip was something like £50 when I last bought some. It isn’t cushioned so forks won’t rip it.
Sounds good. I’ll look into it 🙂
mattbeeFull MemberPosted 9 years agoHow big is the boot floor? I have a strip of heavy duty ‘coin’ moulded vinyl flooring left over from doing the back of my T5…
Mike_DFree MemberPosted 9 years agoThe main part is just under 1.9m across and about 0.5m deep, but I need to do the part under the bunks as well which is something like 1m x 0.7m. Ish 🙂
haakon_haakonssonFree MemberPosted 9 years agoChapeau, Mike!
This has got to be one of the best threads in ages, looking forward to seeing more. Glad you’re finding time to actually use the van too!
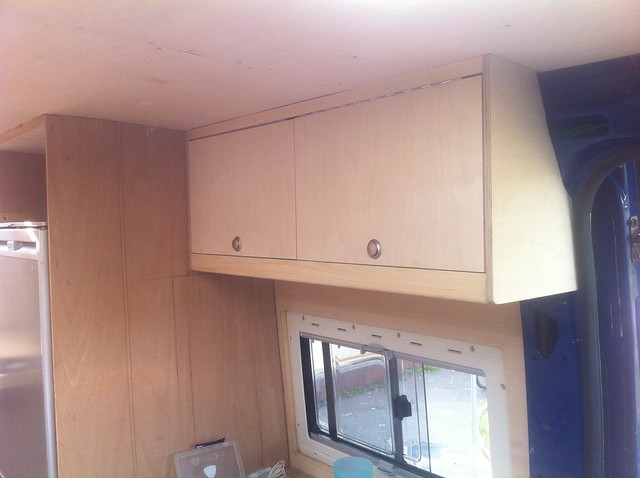
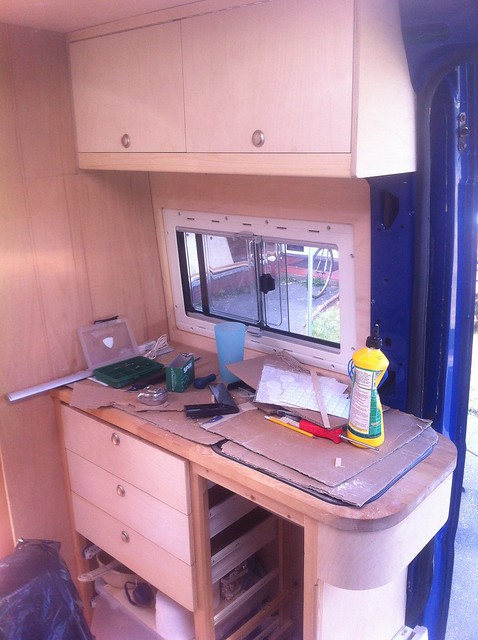
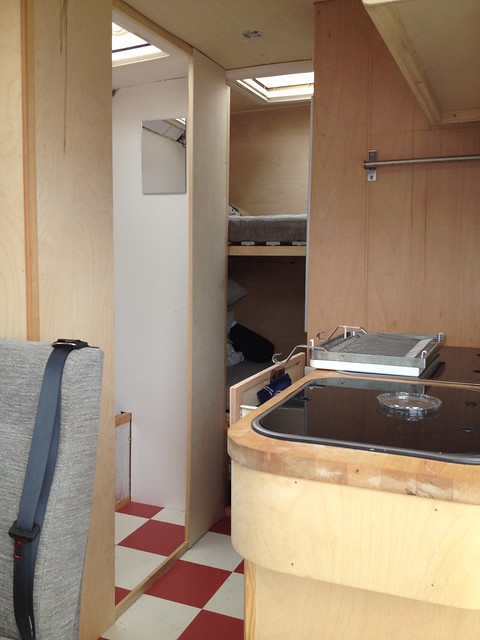
Mike_DFree MemberPosted 9 years agoBeginning to slightly lose track of what got done when now, but no matter. PLOUGH ON. Here’s the (unfinished) overhead locker for the kitchen, which, helpfully, my Dad made while I was faffing about with other bits:
In the interests of lightness, the doors are hollow — what you see there are 12mm ply frames, which then got skinned with 3mm ply to give this:
So the whole kitchen now looks like:
You’ll have to imagine away the pots of glue, boxes of screws and random tools.
While parents were helping out, father-in-law made a backrest for the bench seat:
And MiL upholstered it:
It’s made the seat way more comfy for relaxing in. The backrest is supported by a couple of short lengths of webbing attached to the B pillars — when driving it sits vertically, when parked up we can just roll the cab seats forward a bit and let it tip back to a comfy angle. We’ve sacrificed the ability to easily climb through from the cab but we were mostly walking round to the sliding door anyway. If it’s really chucking it down it’s still possible to scramble over, just not terribly dignified 😉
At this stage the interior was almost looking vaguely finished, if you don’t count the lack of washroom door (or indeed washbasin) and various other details:
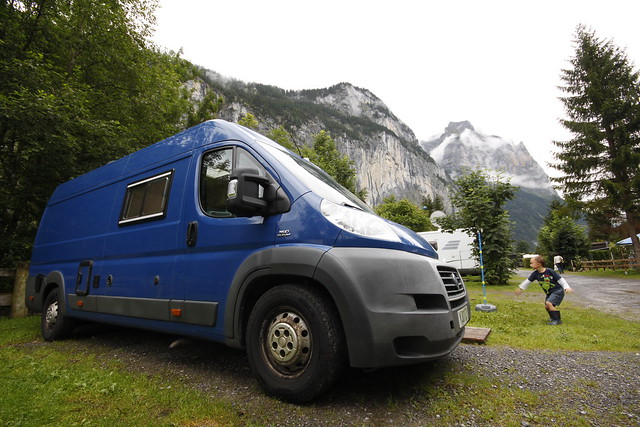
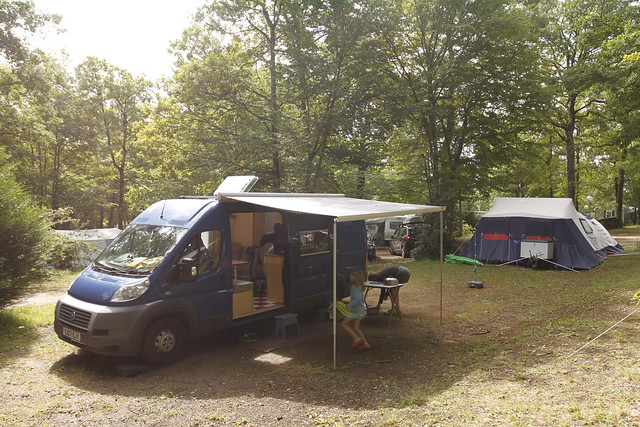
So then we went on holiday, which was ace:
(really must paint up those wheels…)
Although there was a minor hiccup on the way home:
Which resulted in us having to leave the van at a French Fiat dealer while we came home in a (very small) hire car:
That’s me trying to work out where the gear lever is.
It took the best part of a month for the van to rejoin us in the UK, but only a couple of days for a local garage to fix it. Water had got into the injector loom and made the ECU most unhappy, with properly torrential rain in France being the final straw. Fortunately the ECU survived (despite what the French garage initially said) and the repair was considerably less financially painful that we’d been fearing. Coming up in a future instalment: Sorting out Fiat’s woeful efforts at drainage 🙂
AlexSimonFull MemberPosted 9 years agoAce!
(apart from the breakdown obviously).I’ve often wondered about keeping DIY interiors lightweight.
I’m not a fan of all these composite materials they use in modern caravans/campers, but thin ply over a frame sounds good.Mike_DFree MemberPosted 9 years agoI do need to weigh it at some point 😉 I’m hoping we’ll have at least 500kg of payload, which would mean an unladen weight of 3t. IIRC the empty van was (on paper) just under 2.2t, giving 800kg for the conversion. Which sounds a lot, but then the batteries alone are nearly 50 kg, the rear seats are 30-odd, the LPG tank is 20 I think… It mounts up.
mick_rFull MemberPosted 9 years agoI bet the kids love it.
If you don’t mind me asking, where is the campsite with the mountains / cliffs in the background? Can’t decide if it looks like Switzerland.
northernerindevonFull MemberPosted 9 years agoThis. Is. Awesome.
Mike, you win! Keep the updates coming.Please. Bobbing around the North Atlantic waiting on weather & this thread has just helped me pass a good hour or so.
But left me feeling woefully inadequate.
Chappeau sir.
wingnutsFull MemberPosted 9 years agoIt’s wonderful work sir. I’m fighting a battle with the wife. She (unreasonably) wants me to finish the house before we start on another project.
My bet on the holiday pics is somewhere between Grenoble and Chambray.
mick_rFull MemberPosted 9 years agoWell if we’re betting on the photo, I’m going to (probably be completely wrong) and say Camping Jungfrau at Lauterbrunnen, Switzerland. Guess assisted by what might be a 2014 Swiss Vignette in the windscreen.
Mike_DFree MemberPosted 9 years agoCamping Jungfrau it is — well spotted 🙂
wingnuts: Our house has plenty of missing skirting boards and unpainted bits 😉
jwtFree MemberPosted 9 years agoThis is awesome, you’re doing a great job! I spent Saturday at the camping and caravan show at the NEC as I’ve been toying with building something similar for a while now, but you’re fit, finish and attention to detail knock a awful lot of what I saw into a cocked hat!
I was hoping to build into a sprinter LWB hi-top to enable a moto x style garage under a double, but I like the idea’s you’ve given me with your 4 berth arrangement as I’ll need to transport and sleep four as well. I’ve done the usual scouring of the internet but this is one of the best how-to threads I’ve seen.
Thanks for the inspiration, and good luck for the rest of the build.
😀mick_rFull MemberPosted 9 years agoI’m rather pleased with that guess – especially as it was 1995 when we stayed there (but been back to the area plenty of times since). Top tip with kids if you travel down there again, you can avoid some toll motorways in Germany and break the journey at Speyer where there is a fabulous technical museum with its own secure campervan area. Museum unlike any other I’ve seen – Jumbo Jet on stilts that they can climb around with a huge stainless steel tube slide, Buran Space Shuttle, Russian Submarine, Antonov cargo plane (all open to clamber around). Also a sister museum at Sinsheim with Concorde and Tupolev Concordski.
http://www.technik-museum.de/en
Fabulous job on the camper and the write up has been a highlight of many lunchtimes – is there a date when you will class it as “finished”?


The topic ‘Family-friendly bike-carrying camper build’ is closed to new replies.